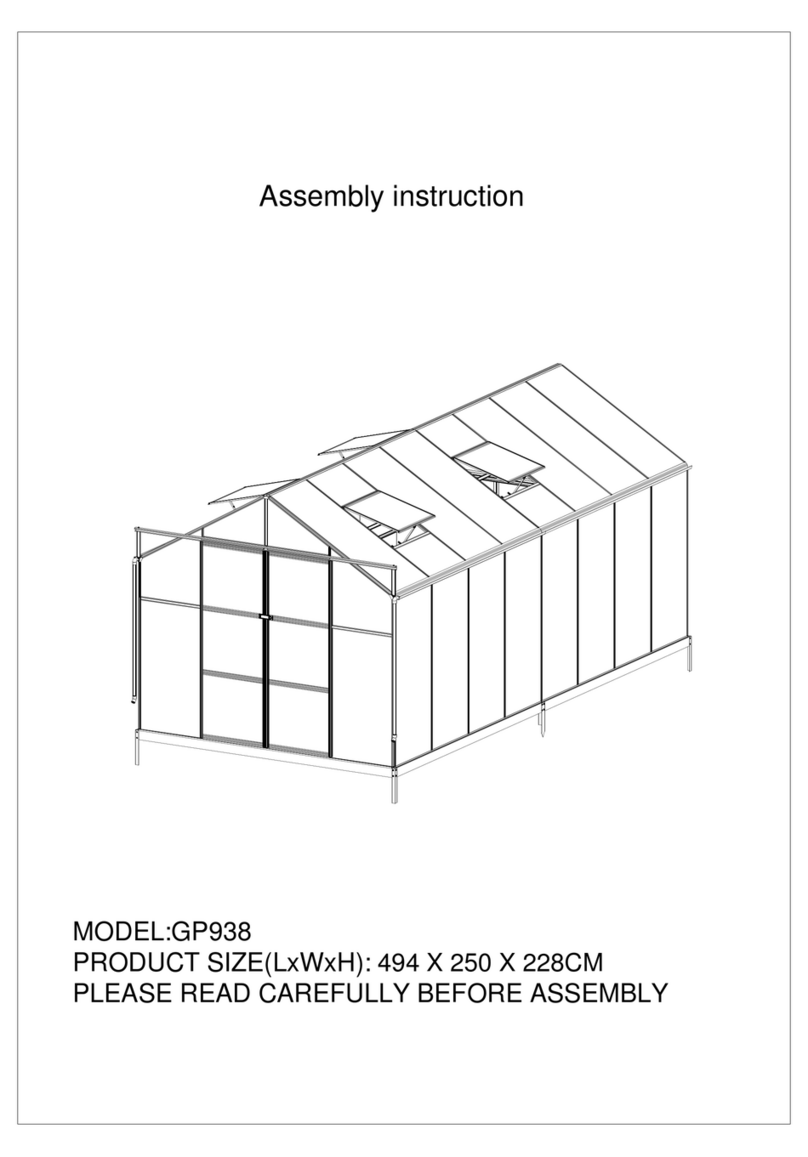
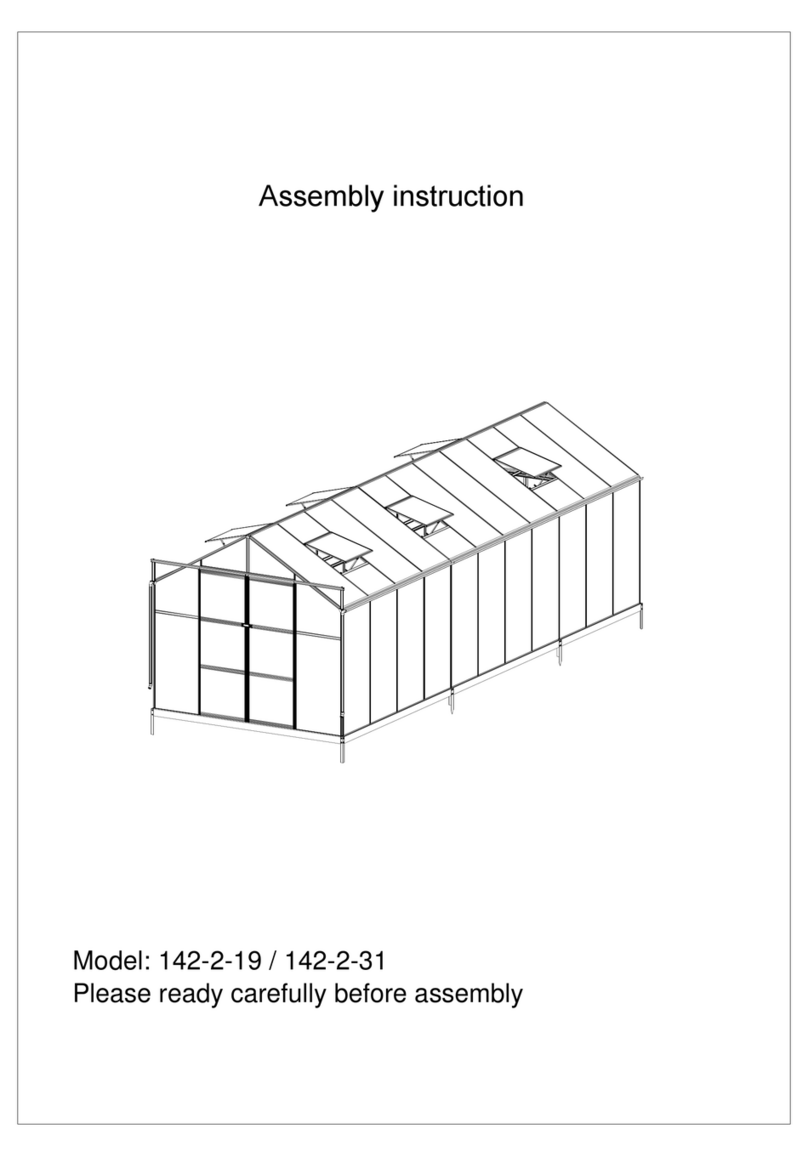
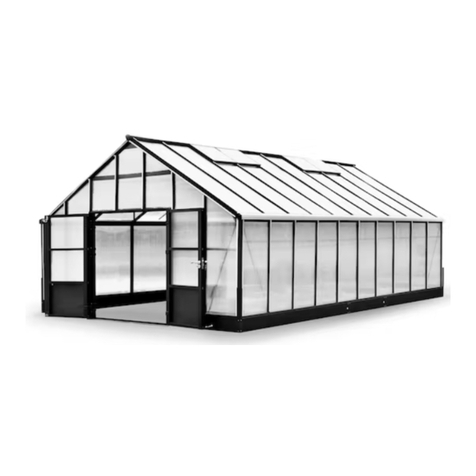
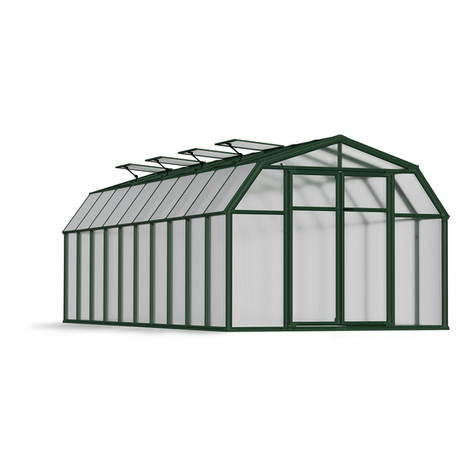
Metalcraft GC1510 User manual

MODEL:GC1510
PRODUCTSIZE(LxWxH):641x1275x146cm
PLEASEREADCAREFULLYBEFOREASSEMBLY
Assembly Instructions

11
3
Assembly and Maintenance Advice
1. For safety purposes, we strongly recommend that this product is assembled by at least
three persons.
2. Some components have sharp metal edges. Please be careful when handling metal
components. Please wear gloves, shoes and safety goggles during assembly.
3. DO NOT climb or stand on the roof. Heavy articles should not be leaned against
the greenhouse.
4. Keep the roof and gutter clear of snow, dirt & leaves. Allowing snow to build up on
the roof may damage the product.
5. When your product needs cleaning, use a mild detergent solution and rinse with cold
clean water. Do not use acetone, abrasive cleaners or strong detergents to clean
the panels.
Tools Provided:
Tools Required when Assembly (Not Provided)
Assembly at least by three Persons
6. Remove approximately 2 inches of film from all sheet edges before installing and remove
all film immediately after the construction is completed. Please ensure that the side
with the white film faces outwards.

ALU.BoxNo.1
2
GC1510
J02J02 150
PART NO QTY
10
L01A
01-L02B 1
L04A 20
01-L02A 1
L08B 1
01-L02G 2
01-L02H 2
L09A 2
2
L05A
02-L02B 1
02-L02A 2
03-L02B 1
03-L02A 2
04-L02B 1
04-L02A 2
05-L02B 1
05-L02A 1
30
L06A 30
L06A
L12 20
L08A 1
1
K1-1
1
K5-1
40
L11
HL 30
68
M6X35
S01
30
38
M02
30
M01
M6X60
Z01
PART NO QTY
246
M4.2X16
Z02
HL2 8
J01 212
W01 4
CX 8
16
M4.2X25
Z03
8
6X16
Z04
27M
J03
W02 1
L13 4
J04 8
150
M6X80
S02
(ALU Box)

3
GC1510
PART NO QTY
Y5 6
4
6
Y2
Y1
Y9 1
Y3
Y4
6
6
Y10 1
(PC Box)
PC BOX

4
PART NO QTY
2
HL 6
20
M6X35
S01
6
14
L01A
M02
01-L02B 1
6
M01
M6X60
Z01
PART NO QTY
L04A
8
L11
Y9 1
Y1 4
53
M4.2X16
Z02
4
PART NO QTY
01-L02A 1
L08A 1
Y10 1
01-L02G 2
01-L02H 2
L09A 2
HL2 8
2
L05A
J01 22
K1
1
K1-1
W01 4
CX 1
2
M4.2X25
Z03
8
6X16
Z04
PART NO QTY
7.14M
J03
W02 1
K1 Assembly

5
PART NO QTY
2
HL 6
4
M6X35
S01 6
6
HL
M02 S01 S01
M01
L01A L01A
L01A
L01A
M02
M02
L01A
L01A
1
6
M01
Z01
Z01
L01A
K1-1
L08A
Z02 L08A
K1-1
K1-1
6X60 5
M4.2X16
Z02
L08A 1
Fix the wheels onto L01A (3PCS),
using S01 & M01.
Fix L08A onto K1-1, using Z02.
Fix L01A * 2PCS onto K1-1 using Z01,
shown as above.

6
PART NO QTY
L04A
4L04A
Z02
Z02 L04A
L11
L11
Z02
K1-1
01-L02B
01-L02B 1
Y1 2
Z02
01-L02B
1
2
2
2
33
3
16
4
6X60
Z01
M4.2X16
Z02
Z01
01-L02B
01-L02B
2
Z01
L01A L01A
Y1 Y1
1. Insert L11 into L04A as shown, and fix it with L04A using Z02;
2. Fix L04A onto K1-1 as shown, using Z02.
Attention: Y1 must be placed into the channel of L04A & L01A at the same time.
Make sure all the panels are in the right position before fixing Z02 tight.
Fix 01-L02B with L01A and L04A, using Z01 & Z02.

7
PART NO QTY
L04A
4
L11
Y1 2
16
M4.2X16
Z02
2L04A
Z02
Z02 L04A
L11 Z02
01-L02B
1
01-L02A 1
Z01
01-L02A
L01A
2
Z02
01-L02A
3
4
Z01
Y1
Y1
Y9
Y9 1
01-L02A
6X60
3
3
2
2
01-L02A
J03
PART NO QTY
7.14M
J03
S01
L01A
4
4
HL 2
M6X35
S01 2
2
M02
2
M01
Attention: Y1 & Y9 must be placed into the channel of
L04A/L01A at the same time.
Make sure all the panels are in the right position
before fixing Z02.
Fix L04A onto 01-L02B as shown, using Z02.
Insert L11 into L04A as shown,
and fix it with L04A using Z02;
Slide Rubber J03 into
the channel of 01-L02A.
Fix 01-L02A with L01A and L04A, using Z01 & Z02.

8
PART NO QTY
Y10 1
8
M4.2X16
Z02
01-L02G 2
8
Z01 01-L02G
01-L02G
01-L02H
01-L02H
Y10
01-L02H 2
L09A 2
Z01
L09A
L09A
Z02
L09A
HL2 8
8
M01
6X60
01-L02H
Window Assembly

Z02
9
PART NO QTY
2
L05A
L05A
L05A
Z02 L05A
L05A
6
M4.2X16
Z02
Fix one L05A onto L01A and
the other one onto L04A, using Z02.
K1-1
01-L02A
01-L02A
L01A
L05A
01-L02A
K1-1

10
PART NO QTY
1
1
1
1
1
2
J01 22
2
CX Z03
2
M4.2X25
Z03
8
6X16
Z04
Z04
W01
W01 4
CX 1
3
Z02
W02 1
2
M4.2X16
Z02
01-L02G
01-L02G
3
Fix W01 (4PCS) onto both ends of L05A, using Z04.
Fix CX onto 01-L02A 10MM away from
the bottom, using Z03.
Fix the handle W02 onto window
profile 01-L02G, using Z02.
Cover all the holes with J01

11
K2
PART NO QTY
2
HL 6
12
M6X35
S01
6
6
L01A
M02
02-L02A 2
6
M01
M6X60
Z01
PART NO QTY
L04A
8
L11
02-L02B 1
32
M4.2X16
Z02
4
PART NO QTY
Y2 6
J01 8
CX 2
4
M4.2X25
Z03
PART NO QTY
6.82M
J03

12
PART NO QTY
2
HL 6
4
M6X35
S01 6
6
HL
M02 S01 S01
M01
L01A L01A
L01A
M02
M02
L01A
L01A
02-L02A
02-L02A 1
6
M01
Z01
M6X60
Z01
02-L02A
L01A
1
1
1
L01A
Fix the wheels onto L01A (3PCS),
using S01 & M01.
Fix L01A * 2PCS onto 02-L02A using Z01.

13
PART NO QTY
L04A
4
Z02
Z02 L04A
L11
L11
Z02
02-L02A
02-L02B
02-L02B 1
Y2 3
Z02
02-L02B
1
2
2
2
3
3
16
4
M6X60
Z01
Z02
Z01
02-L02B
02-L02B
2
Z01
L01A L01A
3
Y2
L04A
1
1
1
1
Y2
Y2
1. Insert L11 into L04A as shown, and fix it with L04A using Z02;
2. Fix L04A onto 02-L02A as shown, using Z02.
Attention: Y2 must be placed into the channel of L04A and L01A
at the same time.Make sure all the panels are in the right position
before fixing Z02 tight.

14
PART NO QTY
L04A
4
L11
Y2 3
16
Z02
2
Z02
Z02 L04A
L11 Z02
02-L02B
1
02-L02A
02-L02A 1
Z01
02-L02A
L01A
2
2
2
Z02
02-L02A
3
33
4
M6X60
Z01
L04A
Y2
Y2
1
1
1
1
Y2
02-L02A
J03
PART NO QTY
6.82M
J03
S01
L01A
4
4
Fix L04A onto 02-L02B as shown, using Z02.
Attention:
Y2 must be placed
into the channel
of L04A/L01A
at the same time.
Make sure all the
panels are in the
right position
before fixing Z02.
Insert L11 into L04A as shown,
and fix it with L04A using Z02;
Slide Rubber J03 into
the channel of 02-L02A.
Fix 02-L02A with L01A and L04A, using Z01 & Z02.

15
1
1
3
CX Z03
PART NO QTY
J01 8
4
M4.2X25
Z03
CX 2
Fix CX (2PCS) onto 02-L02A 10MM away from
the bottom, using Z03.
Cover all the holes with J01

16
K3
PART NO QTY
2
L01A
03-L02A 2
L04A
03-L02B 1
4
PART NO QTY
Y3 6
HL 6
12
M6X35
S01
6
6
M02
6
M01
M6X60
Z01
PART NO QTY
8
L11
32
M4.2X16
Z02
J01 8
CX 2
4
M4.2X25
Z03
PART NO QTY
6.5M
J03

17
PART NO QTY
2
HL
4
M6X35
S01
HL
M02 S01 S01
M01
L01A L01A
L01A
M02
M02
L01A
L01A
03-L02A
03-L02A 1
M01
Z01
M6X60
Z01
03-L02A
L01A
1
1
1
L01A
6
6
6
6
Fix the wheels onto L01A (3PCS),
using S01 & M01.
Fix L01A * 2PCS onto 03-L02A using Z01.

18
PART NO QTY
L04A
4
Z02
Z02 L04A
L11
L11
Z02
03-L02A
03-L02B
03-L02B 1
Y3 3
Z02
03-L02B
1
2
2
2
3
3
16
4
M6X60
Z01
Z02
Z01
03-L02B
03-L02B
2
Z01
L01A L01A
3
Y3
L04A
1
1
1
1
Y3
Y3
1. Insert L11 into L04A as shown, and fix it with L04A using Z02;
2. Fix L04A onto 03-L02A as shown, using Z02.
Attention: Y3 must be placed into the channel of L04A and L01A
at the same time. Make sure all the panels are in the right position
before fixing Z02 tight.
Fix 03-L02B with L01A and L04A, using Z01 & Z02.

19
PART NO QTY
L04A
4
L11
Y3 3
16
Z02
2
Z02
Z02 L04A
L11 Z02
03-L02B
1
03-L02A
03-L02A 1
Z01
03-L02A
L01A
2
2
2
Z02
03-L02A
3
33
4
M6X60
Z01
L04A
Y3
Y3
1
1
1
1
Y3
PART NO QTY
6.5M
J03
03-L02A
J03
Fix L04A onto 03-L02B as shown, using Z02.
Insert L11 into L04A as shown,
and fix it with L04A using Z02;
Slide Rubber J03 into
the channel of 03-L02A.
Fix 03-L02A with L01A and L04A, using Z01 & Z02.
Cover all the holes with J01
Table of contents
Other Metalcraft Greenhouse Kit manuals
