manuals.online logo
Brands
  1. Home
  2. •
  3. Brands
  4. •
  5. VOLYA
  6. •
  7. Greenhouse Kit
  8. •
  9. VOLYA ORBITA Programming manual

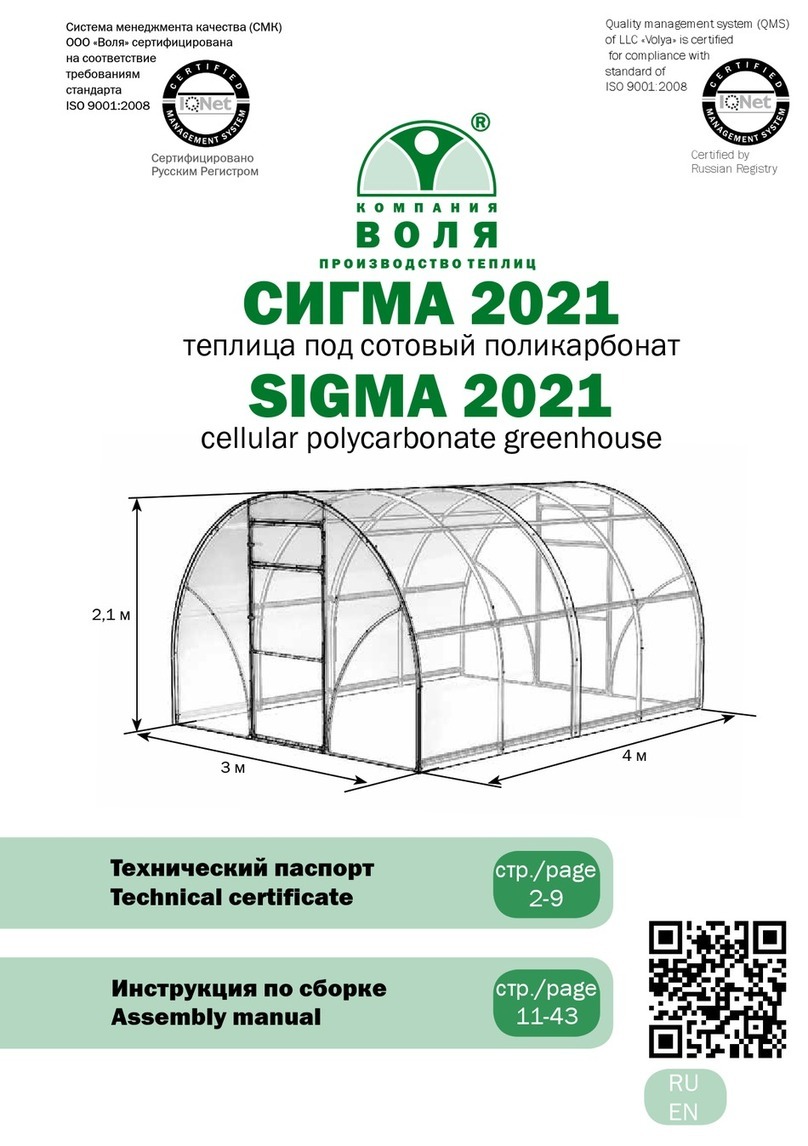
VOLYA ORBITA Programming manual

Технический паспорт
Technical certificate
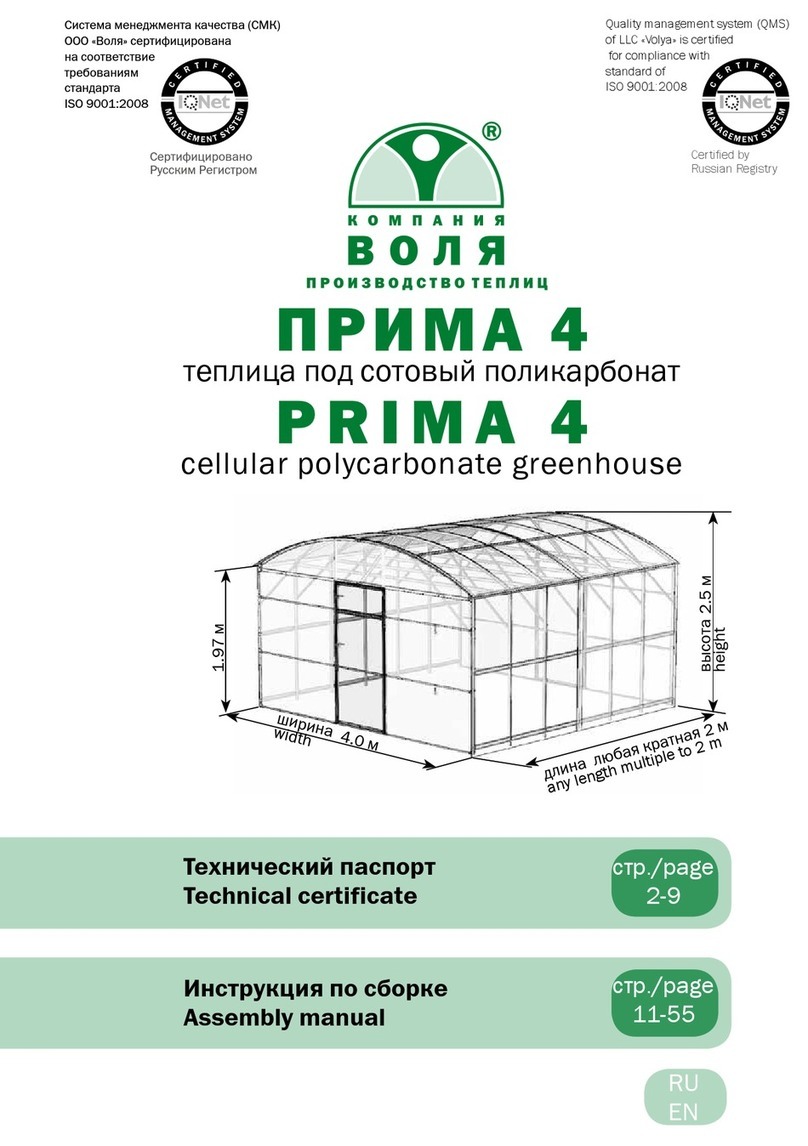
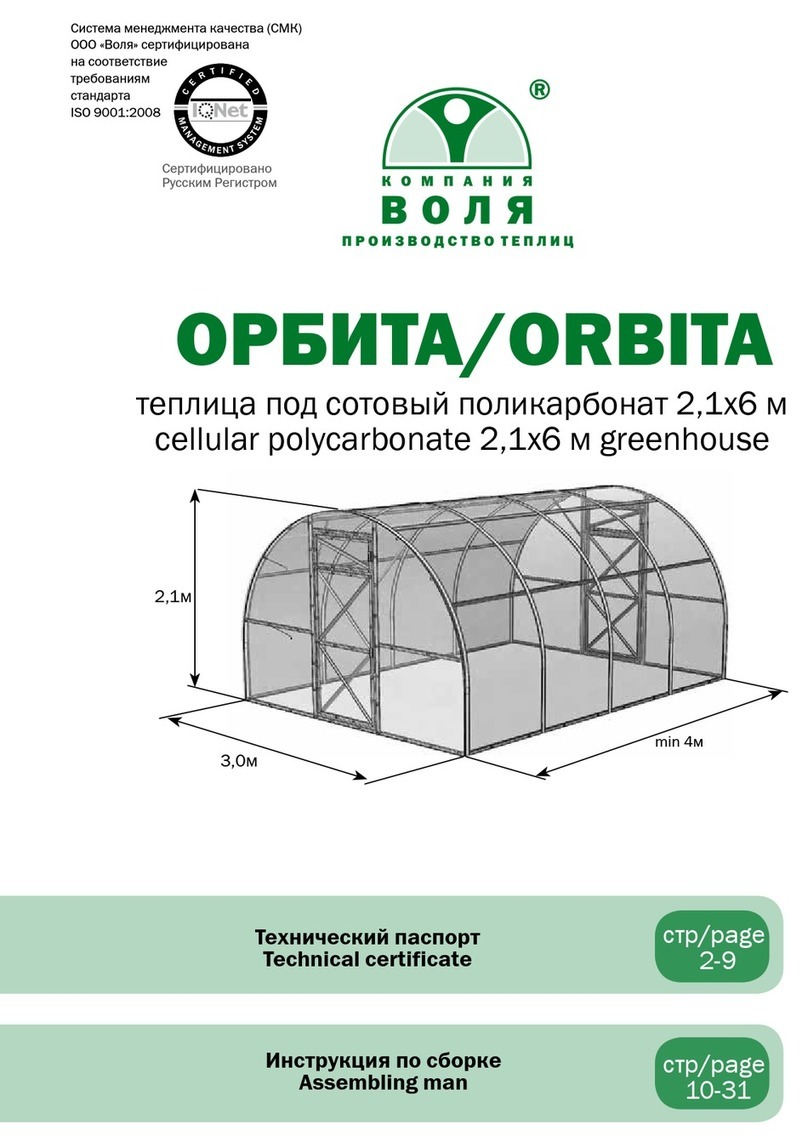
ОРБИТА/ORBITA
Система менеджмента качества (СМК)
ООО «Воля» сертифицирована
на соответствие
требованиям
стандарта
ISO 9001:2008
Сертифицировано
Русским Регистром
теплица под сотовый поликарбонат
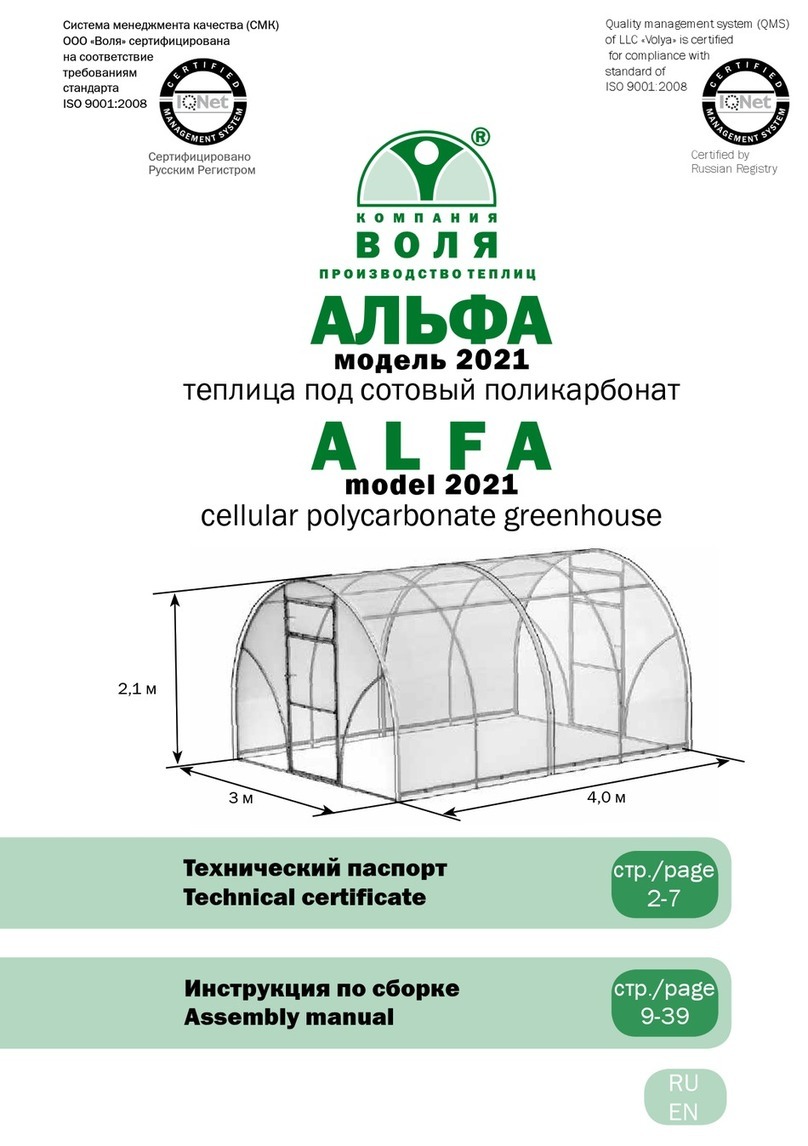
сellular polycarbonate greenhouse
3,0м
2,1м
min 4м
стр/page
2-9
стр/page
10-31
Инструкция по сборке
Assembling manual
3
2
Технический паспорт/ТЕПЛИЦА «ОРБИТА»
Описание
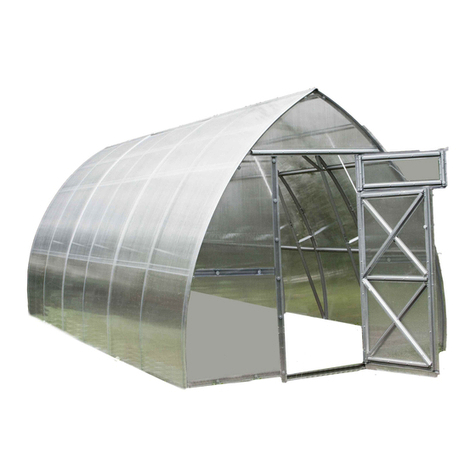
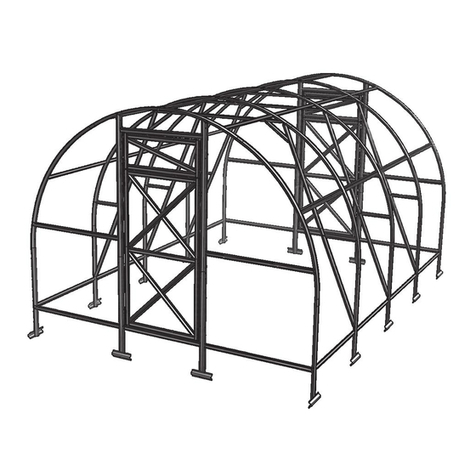
Теплица «ОРБИТА» предназначена для создания микроклимата, благоприятного для вы-
ращивания садово- огородных культур на дачных и приусадебных участках.
Теплица может иметь различную длину в зависимости от желания покупателя. Нужная
длина теплицы обеспечивается покупкой дополнительных пакетов с удлиняющими встав-
ками. Каждая вставка удлиняет базовый комплект теплицы на 2 м. Длина базового ком-
плекта 4 м. Высота установленного каркаса теплицы 2,1 м.
Каркас теплицы изготовлен из оцинкованного железа и собирается с помощью винтов
и гаек. Теплица крепится на грунте закапыванием специальных окончаний каркаса или
на фундаменте через крепежные уголки.
В комплект входит все необходимое для крепления покрытия. Комплектация теплицы
покрытием выполняется по заявке покупателя. Теплица имеет два дверных проёма и две
форточки в противоположных торцах.
На базовый комплект требуется 3 листа поликарбоната 2,1х6м толщиной 4 мм. На каж-
дую вставку - один лист поликарбоната размером 2,1х6 м.
Сборку и эксплуатацию теплицы «ОРБИТА» следует осуществлять строго
в соответствии с инструкцией и правилами эксплуатации, изложенными
в техническом паспорте. Технический паспорт обязательно сохранить.
!
Правила эксплуатации
Перед началом эксплуатации теплица должна быть собрана и установлена в соответ-
ствии с инструкцией. При установке теплицы третьими лицами покупателю следует про-
контролировать качество сборки на соответствие инструкции. В некоторых деталях оста-
ются свободные отверстия, являющиеся следствием однотипности деталей. При сборке
будьте аккуратны, чтобы не повредить детали, т.к. до окончательной сборки они не имеют
достаточной жёсткости. Используйте подставки (например, стулья) на промежуточных
этапах сборки для равномерного поднятия собираемого каркаса. Для совмещения от-
верстий в сложных стыках используйте гвоздь диаметром 4мм или бородок с конусным
концом. При сборке каркаса соединение деталей следует осуществлять по всем предус-
мотренным отверстиям. «Упрощенное» соединение деталей является нарушением правил
сборки и основанием для снятия гарантийных обязательств с производителя.
Не устанавливайте теплицу близко от строений и деревьев, с которых могут упасть снег
или лед. Рекомендуемое расстояние не менее 2 м. Теплица рассчитана на ветер не более
24 м/с.
Покрытие теплицы на зимний период снимать не нужно при условии ограничения
снеговой нагрузки. Если теплица останется без присмотра на всю зиму, то покупатель
должен либо снять покрытие, либо оценить возможную снеговую нагрузку. Для каркаса
предельная снеговая нагрузка возникает при весе снегового покрова 60 кг на 1м2 гори-
зонтальной поверхности земли.
Description
Orbita greenhouse is designed for creation microclimate favorable for growing garden crops
on cottage and household plots.
Greenhouse might have variable length depending on customers’ desire. Required length of
greenhouse is provided by purchasing of packages with extending inserts. Each insert add 2m
to base length. Base length is 4m. Height of installed frame is 2.1 m
The frame of the greenhouse is made of galvanized iron and is to be assembled with screws
and nuts. Greenhouse is fixed on the ground by digging special frame endings or on fundament
using angles. Complete set includes all that is needed for fastening of coverage. Greenhouse
may be completed with coverage on buyer’s request. Greenhouse has two door openings and
two small windows in opposite ends.
Greenhouse base requires 3 sheets of cellular polycarbonate 2.1х6m with 6mm thickness.
For each Inserts - 1 sheet of cellular polycarbonate 2.1х6m
Perform assembling and operation of the greenhouse in strict accordance
with the manual and operating rules stated in the technical certificate.
Please keep this technical certificate for further reference.
!
Operation rules
Before the start of operation, the greenhouse should be assembled and installed as
prescribed in the manual. When the greenhouse is assembled by a third party the customer
should supervise the quality of works to ensure compliance with the present manual. Some
detail have extra holes due to uniformity of details. During assembly, be careful not to damage
the parts, because until they assembled fully, they do not have sufficient rigidity. Use supports
(e.g., chairs) at intermediate stages of assembly to evenly raise the assembled frame. To align
the holes in difficult joints use a nail with a diameter of 4mm or mandrel with a conical end.
During assembly of the frame details’ connections should be Implemented for all specified
openings. Simplified connection of the parts is a violation of assembly rules and cause of
removal warranty support by manufacturer.
Do not install the greenhouse too close to buildings or trees where masses of snow/ice can
fall on it. Recommended distance is at least 2 m. The greenhouse is designed to withstand
wind at the speed below 24 m/sec. The greenhouse cladding should not be removed for the
winter period if snow load is limited. If the greenhouse is left unattended for the entire winter
the customer should either remove the cladding or estimate the possible snow load. For the
frame assembled the layer of snow weight is 60 kg per 1 sqm of horizontal surface.
TECHNICAL CERTIFICATE
5
4
Технический паспорт/ТЕПЛИЦА «ОРБИТА»
Предприятие - изготовитель: 000 «Воля»
141983, г. Дубна Московской области, пер. Северный д.8.
Предприятие - изготовитель нес`т ответственность за качество продукции в соответствии с ГК РФ.
Предприятие оставляет за собой право на внесение изменений в конструкцию теплицы.
Дата изготовления:
Гарантийные обязательства
Срок предъявления претензий - 24 месяца со дня покупки.
Гарантийные обязательства не распространяются на случаи:
1. Установка теплицы с нарушением требований инструкции.
2. Нарушение правил эксплуатации.
3. Использование теплицы не по назначению.
4. Деформации теплицы вследствие подвижки грунта.
5. Наводнения, ураганы, другие стихийные бедствия.
Очистка и мытьё поликарбонатных листов
1. Ополосните лист тёплой водой.
2.
Промойте лист раствором мягкого мыла или бытовым моющим средством и тёплой
водой, используя мягкую тряпку или губку для удаления грязи.
3. Ополосните холодной водой и протрите мягкой тряпкой.
Никогда не используйте для чистки поликарбонатных листов абразивы или высокоще-
лочные чистящие составы. Сухая протирка поверхности повредит защитный слой покры-
тия и сократит срок его годности. Никогда не трите поверхность поликарбонатных листов
при помощи щеток, металлизированной ткани или другими абразивными материалами.
При дезинфекции теплицы от возбудителей грибковых и бактериальных болезней не
применять «cерные шашки» во избежании коррозии каркаса.
TECHNICAL CERTIFICATE
Manufacturing facility: LLC “Volya”
141983, Dubna, Moscow region, Severnyi per., 8.
The manufacturer is responsible for the quality of products in accordance with the RF Civil Code.
The company reserves the right to make changes in the greenhouse design
Production date
Warranty liabilities
Term for making claims is 24 months from the day of purchase
Warranty does not apply to cases of:
1. Greenhouse installation in violation of instruction requirements
2. Violation of the rules of operation.
3. Inappropriate use of the greenhouse.
4. Deformation of the greenhouse as a result of ground movement.
5. Floods, hurricanes and other natural disasters.
Cleaning and washing sheets of polycarbonate
1. Rinse the sheet with warm water.
2. Wash the sheet with a solution of mild soap or with a household detergent and warm
water, using a soft rag or a sponge to remove dirt.
3. Rinse with cold water and wipe with a soft cloth.
Never use abrasives or highly alkaline cleaning compositions for cleaning polycarbonate
sheets. Dry rubbing of the surface will damage the protective layer of the cladding and shorten
its shelf life. Never rub the surface of polycarbonate sheets with brushes, metallic cloth or
other abrasive materials.
When disinfecting the greenhouse from pathogens causing fungal and bacterial diseases,
do not use «sulfur blocks» to avoid frame corrosion (blackening).
7
6
№
марки-
ровка/
marking
описание/
description
кол-во/
quantity
1 КОРОБКА БАЗА/ 1 BASIC BOX
14н Дуга нижняя/
Bottom arc L=1,62 m 6
24в Дуга верхняя/
Top arc L=1,62 m 3
34вк Дуга верхняя крайняя/
Top end arc L=1,62 m 2
44нк Дуга нижняя крайняя правая/
Right end bottom arc L=1,62 m 2
54нк-1 Дуга нижняя крайняя левая/
Left end bottom arc L=1,62 m 2
61Стойка/
Stand L=0,92 m 10
72в Прогон верхний/
Top balk L=0,96 m 12
89-1 Стойка проёма нижняя/
Bottom door opening stand L=0,98 m 4
99-2 Стойка проёма верхняя правая/
Right top door opening stand L=1,4 m 2
10 9-3 Стойка проёма верхняя левая/
Left top door opening stand L=1,4 m 2
11 -Торцевой усилитель/
End ampflifier 4
2 КОРОБКА БАЗА/ 2 BASIC BOX
12 11 Стяжка торца средня правая/
Middle right end strainer
L=1,02 m
2
13 11-1 Стяжка торца средняя левая/
Middle left end strainer L=1,02 m 2
14 12 Вертикаль дверная/
Door vertical L=0,756 m 8
15 12-1 Вертикаль форточки/
Small window vertical L=0,32 m 4
16 13 Горизонталь двери/
Door horizontal L=0,713 m 6
17 13-1 Горизонталь форточки/
Small window horizontal L=0,713 m 4
18 14 Диагональ дверная малая/
Small door diagonal L=0,958 m 4
№марки-
ровка/
marking
описание/
description кол-во/
quantity
19 15 Диагональ дверная большая/
Large door diagonal L=1,0 m 4
20 16 Диагональ форточки/
Small window diagonal L=0,73 m 2
21 2Прогон /
Balk L=0,96 m 16
22 3Опора нижняя /
Support L=0,14 m 14
23 8Стяжка торца нижняя/
Bottom end strainer L=1,04 m 4
24 10 Стяжка дверного проёма/
Screed door opening L=0,82 m 4
25 -Крючок для дверей и форточек/
Hook for door and small windows 4
26 5Накладка вертушка/
Rotator cover plate L=0,09 m 4
27 -Кронштейн/
Bracket 8
28 -Кронштейн для крючка/
Bracket for the hook 8
29 -Петли навески дверей и форточек/
Loops for doors and windows 8
30
-
Заготовка для запирания
(вертушок с 2-я эластичными насадками)/
Workpiece for locking (turner
with 2 elastic nozzles
)
4
31 -Трубка для загиба вертушка/
Tube bend spinner 1
32 -Ручка-кнопка/
Handle 8
33 -Шпилька/
Pin 4
34 -Винт М4 х 8/
Screw 440
35 -Винт М4 х 10/
Screw 56
36 -Винт М4 х 25/
Screw 132
9
8
№марки-
ровка/
marking
описание/
description кол-во/
quantity
37 -Винт М4 х 35/
Screw 32
38 -Гайка М4/
Nut 660
39 -Шайба 32х4/
Washer 160
40 -Скотч /
Adhesive tape 1
41 2Прогон /
Balk L=0,96 m 8
42 -Профиль/
Siding L=1,05 m 4
43 -Профиль/
Siding L=1,0 m 4
44 -Бандаж верхний/
Top steel band 5
45 -Бандаж нижний/
Bottom steel band 10
46 -Болт М6 х 60/
Bolt 10
47 -Гайка М6/
Nut 10
48 -Шайба 6/
Washer 20
49 -Скотч двухсторонний/
Bi-adhesive tape L=5,0 m 2
№марки-
ровка/
marking
описание/
description кол-во/
quantity
1 КОРОБКА ВСТАВКА/ 1 BOX INSERT
50 4н Дуга нижняя/
Bottom arc L=1,62 m 4
51 4в Дуга верхняя/
Top arc L=1,62 m 2
52 1Стойка/
Stand L=0,92 m 4
53 2Прогон /
Balk L=0,96 m 12
54 2в Прогон верхний/
Top balk L=0,96 m 6
55 3Опора нижняя /
Support L=0,14 m 4
56 -Профиль/
Siding L=1,0 m 4
57 -Бандаж верхний/
Top steel band 2
58 -Бандаж нижний/
Bottom steel band 4
59 -Винт М4 х 8/
Screw 116
60 -Винт М4 х 25/
Screw 24
61 -Болт М6 х 60/
Bolt 4
62 -Гайка М4/
Nut 140
63 -Гайка М6/
Nut 4
64 -Шайба 6/
Washer 8
65 -Шайба 32х4/
Washer 16
66 -Скотч двухсторонний/
Bi-adhesive tape L=5 m 1
11
10
№4НК
№4НК-1
№4Н
3
4
№4Н
№4Н
№2
№4НК-1
№2
№2
№4Н
№2 №2 №2 №2
№4Н
х4
х4
M4x8
х2
х2
M4x8
х4
х4
M4x8
№4В
№2В №2В №2В №2В
2
№2В №2В
№4В
№2В
№4ВК
№2В №2В №2В №2В
х4
х4
M4x8
х2
х2
M4x8
1
№2В №2В №2В №2В
№4ВК
№2В
№2В
№2В
№4В
х4
х4
M4x8
х2
х2
M4x8
№4ВК
№4ВК
№4В
№4В
№4В
13
12
7
№1
№1
№1
№1
№1
№1
№1
№1
№1
№1
№1
№4Н
№2 №2 №2 №2
№2 №2 №2 №2
8
х4
х4
M4x8
5
6
х10
№2 №2 №2 №2
№1
№1
№3
№3
х2
х2
M4x8
15
14
№8
№8
№11
№4ВК
№4НК
№11
№9-2
№9-2
№10
№9-1
№1
№2
х2
х2
M4x8
х2
х2
M4x8
х2
х2
M4x8
х2
х2
M4x8
9
№9-3
№11-1
№8
№10
№10
№9-3
№11-1
№10
№8
№9-1
№9-1
№3
№9-1
х2
х2
M4x8
х4
х4
M4x8
х4
х4
M4x8
х2
х2
M4x8
17
16
ВСТАВКА/INSERT
10-А
4 м
БАЗА/BASIC
10
2 м
6 м
19
18
13
N13-1
№13-1
№13-1
N12-1
№12-1
№12-1
N12-1
N16
№16
N13-1
х2
х2
M4x8
х4
х4
M4x8
№13
№13
№13
№13
№12
№12 №12
№12
№12 №12
N15
N15
N14
N14
№15
№15
№15
№15
№15
№15
№14
№14
№14
№14
N13
N13
N13
N12
N12
N12
N12
х2
х2
M4x8
х4
х4
M4x8
х7
х7
M4x8
х8
х8
M4x8
х2
х2
M4x8
х4
х4
M4x8
11
12
№4ВК
№4НК
№4НК
№4ВК
№4НК-1
№4НК-1
х1х1
M4x8
х1
х1
х1
M4x8
х1
х1
х1
M4x8
х1
х1х1
M4x8
х1
№2В
№9-3
х1
х1
M4x8
х1х1
M4x8
№2В
№9-2
х1
х1
M4x8
х1х1
M4x8
21
20
14 16
х1
M4x25
х1 х1
х1 х1
х1 х1
х1 х1
M4x10
х1
M4x25
х15
х15
х15
х1
х1
M4x10
х1
Cellular polycarbonate shall be installed strictly defined side out (towards the sun), which has a
protective layer. The protective layer is usually at the side with the inscriptions on the transport film. The
film on the other side of sheet is transparent. After marking the sheet, but prior to its cutting, make a mark
on the protected side of the sheet for each piece: after removal of the transport film sheet sides are not
visually different. The transport film is stripped from both sides immediately before fixing the cladding on
the frame.
15
825
2100
6000
L1
L2
L1=L2
!
14
7781093
1490
2085
340
804
1322
225
85
7мм
M4x35
х16 х16
х16
Сотовый поликарбонат устанавливается строго определенной стороной наружу (к
солнцу), имеющей защитный слой. Защитный слой обычно имеет сторона с надписями
на транспортировочной пленке. С другой стороны листа пленка прозрачная.
После разметки листа, но до его разрезки, сделайте пометки защитной стороны листа на каждом
куске: после снятия транспортировочной плёнки стороны листа визуально не отличаются. Транспор-
тировочная пленка снимается с обеих сторон непосредственно перед закреплением покрытия на
каркасе.
Срезы поликарбоната с открытыми сотами необходимо оклеить скот-
чем. Sections of polycarbonate with open honeycombs should be covered by
adhesive tape
23
22
18
№5
х2
х1
M4x10
х2
х2
х1
M4x10
х2
х4
M4x10
х4
M4x25
х7
х7
х7
х1 х2
х1
х1
х1
M4x25
х1
х1
7мм
5мм
30..35мм
10мм
5мм
M4x25
х17 х17
х17
17
х1 х2
х1
х2
х1
M4x10
х2
№5
х4
х4
M4x10
7мм
х1
х1
M4x25
х1
х1
30..35мм
10мм
25
24
5,15м
№9-2
№12
№5
х1 х1
х2
19
№9
х2
M4x10
х2
№2
№2
х4
х4
M4x8
Верх теплицы в базовом варианте покрывается цельными листами со-
тового поликарбоната размером 2,1х6 м с укладкой длины листа по дугам.
Соседние листы укладываются в нахлёст. Закрепление листов на каркасе
такое же, как на торцевой плоскости.
In basic variant the top of the greenhouse is covered by undivided sheets
of cellular polycarbonate 2.1x6 in size with a long direction of sheet mounted
along arcs. Near-by sheets are mounted with overlap. Sheets on the frame are
fastened the same as on the end surface.
В случае поставки теплицы с дополнительным набором и разрезанными листами для
покрытия верха теплицы выполняются этапы 21...28.
In case of delivery of a greenhouse with an extra package and cut sheets assembly stages
21…28 are to be done.
20
27
26
23
22
х2
M4x25
х2
!
До конца не закручивать!
Don’t tighten up
х1
Скотч односторонный
из основного ком-
плекта
Bi-adhesive tape from
the basic package
1050
21
12000
2000
1000 1050
2100
х1
х2
L=1,05м
двухсторонний скотч
Bi-adhesive tape
Стрелка на детали
направлена к торцу
теплицы
Arrow is pointed on the
end surface of a
greenhouse
1050
2000 2000 2000 2000 2000
29
28
24
х4
х4
M4x25
х4
Из основного пакета
from the basic package
25
M6x60
M6
х1
х2
х1
х1
х1
х2
M4x25
х2
1 м
1050
26
1000
х1
1000
!
Затянуть!
Tighten!
31
30
27
866
4060
1000100010001000
2988
Для установки на фундамент
for installing on fundament
1061
А
Б
60
60
21
21
А
Б
А
1000
1050
1000
Данное руководство не может быть воспроизведено в любой форме целиком или
частично без письменного разрешения компании «Воля»
This manual may not be reproduced in any form in full or partially without written
permission of Volya Company
RU
EN
Manufacturer:
Volya LLC, Dubna, Moscow Oblast
Phone/fax: 8 (495) 598-5-999
www.perchina.ru
e-mail: [email protected]

Other manuals for ORBITA

1

Other VOLYA Greenhouse Kit manuals

VOLYA DACHNAYA DVUSHKA User manual

VOLYA

VOLYA DACHNAYA DVUSHKA User manual

VOLYA Dachnaya Tryoshka Programming manual

VOLYA

VOLYA Dachnaya Tryoshka Programming manual

VOLYA Alfa User manual

VOLYA

VOLYA Alfa User manual

VOLYA 2017 User manual

VOLYA

VOLYA 2017 User manual

VOLYA FERMER-3,5 User manual

VOLYA

VOLYA FERMER-3,5 User manual

VOLYA VENT User manual

VOLYA

VOLYA VENT User manual

VOLYA SIGMA EURO User manual

VOLYA

VOLYA SIGMA EURO User manual

VOLYA DACHNAYA DVUSHKA Programming manual

VOLYA

VOLYA DACHNAYA DVUSHKA Programming manual

VOLYA DACHNAYA STRELKA 2020 User manual

VOLYA

VOLYA DACHNAYA STRELKA 2020 User manual

VOLYA SIGMA 2021 User manual

VOLYA

VOLYA SIGMA 2021 User manual

VOLYA PRIMA 4 User manual

VOLYA

VOLYA PRIMA 4 User manual

VOLYA DACHNAYA-STRELKA 2011 User manual

VOLYA

VOLYA DACHNAYA-STRELKA 2011 User manual

VOLYA SIGMA 2020 User manual

VOLYA

VOLYA SIGMA 2020 User manual

VOLYA PRIMA 3 2022 User manual

VOLYA

VOLYA PRIMA 3 2022 User manual

VOLYA FERMER-4,2 User manual

VOLYA

VOLYA FERMER-4,2 User manual

VOLYA FERMER-5.0 User manual

VOLYA

VOLYA FERMER-5.0 User manual

VOLYA ORBITA Programming manual

VOLYA

VOLYA ORBITA Programming manual

VOLYA FERMER-5 User manual

VOLYA

VOLYA FERMER-5 User manual

VOLYA Sigma 2021 Euro Programming manual

VOLYA

VOLYA Sigma 2021 Euro Programming manual

VOLYA DACHNAYA STRELKA-3 Programming manual

VOLYA

VOLYA DACHNAYA STRELKA-3 Programming manual

Popular Greenhouse Kit manuals by other brands

Metalcraft 142-2-19 Assembly instruction

Metalcraft

Metalcraft 142-2-19 Assembly instruction

Metalcraft GC1510 manual

Metalcraft

Metalcraft GC1510 manual

Grow Freedom Greenhouse Base Preparation Instructions

Grow

Grow Freedom Greenhouse Base Preparation Instructions

Eden Burford manual

Eden

Eden Burford manual

Palram Harmony 6'x4' - Clear Glazing Assembly instructions

Palram

Palram Harmony 6'x4' - Clear Glazing Assembly instructions

Backyard Discovery WILLOW 2404014 owner's manual

Backyard Discovery

Backyard Discovery WILLOW 2404014 owner's manual

Westfalia ZBH-J-047 instruction manual

Westfalia

Westfalia ZBH-J-047 instruction manual

Sproutwell GRANGE-7 Assembly instructions

Sproutwell

Sproutwell GRANGE-7 Assembly instructions

Vitavia VM0061-JR Assembly instructions

Vitavia

Vitavia VM0061-JR Assembly instructions

NBB SR8063-F Assembly instructions

NBB

NBB SR8063-F Assembly instructions

Norfolk Greenhouses Porch 1.3m Assembly instructions

Norfolk Greenhouses

Norfolk Greenhouses Porch 1.3m Assembly instructions

GF RUBY Pro 4m Passport and instructions for assembly and operation

GF

GF RUBY Pro 4m Passport and instructions for assembly and operation

STC Clear View Assembly instructions

STC

STC Clear View Assembly instructions

GrowSpan 500 Series Assembly instructions

GrowSpan

GrowSpan 500 Series Assembly instructions

Growhouse Lean To 6 x 8 Erection and Glazing Instructions

Growhouse

Growhouse Lean To 6 x 8 Erection and Glazing Instructions

Tradgardsteknik SCANDI 600 installation guide

Tradgardsteknik

Tradgardsteknik SCANDI 600 installation guide

Redpath Tunnelhouse Mk2 manual

Redpath

Redpath Tunnelhouse Mk2 manual

Palram Lean To Assembly instructions

Palram

Palram Lean To Assembly instructions

manuals.online logo
manuals.online logoBrands
  • About & Mission
  • Contact us
  • Privacy Policy
  • Terms and Conditions

Copyright 2025 Manuals.Online. All Rights Reserved.