19
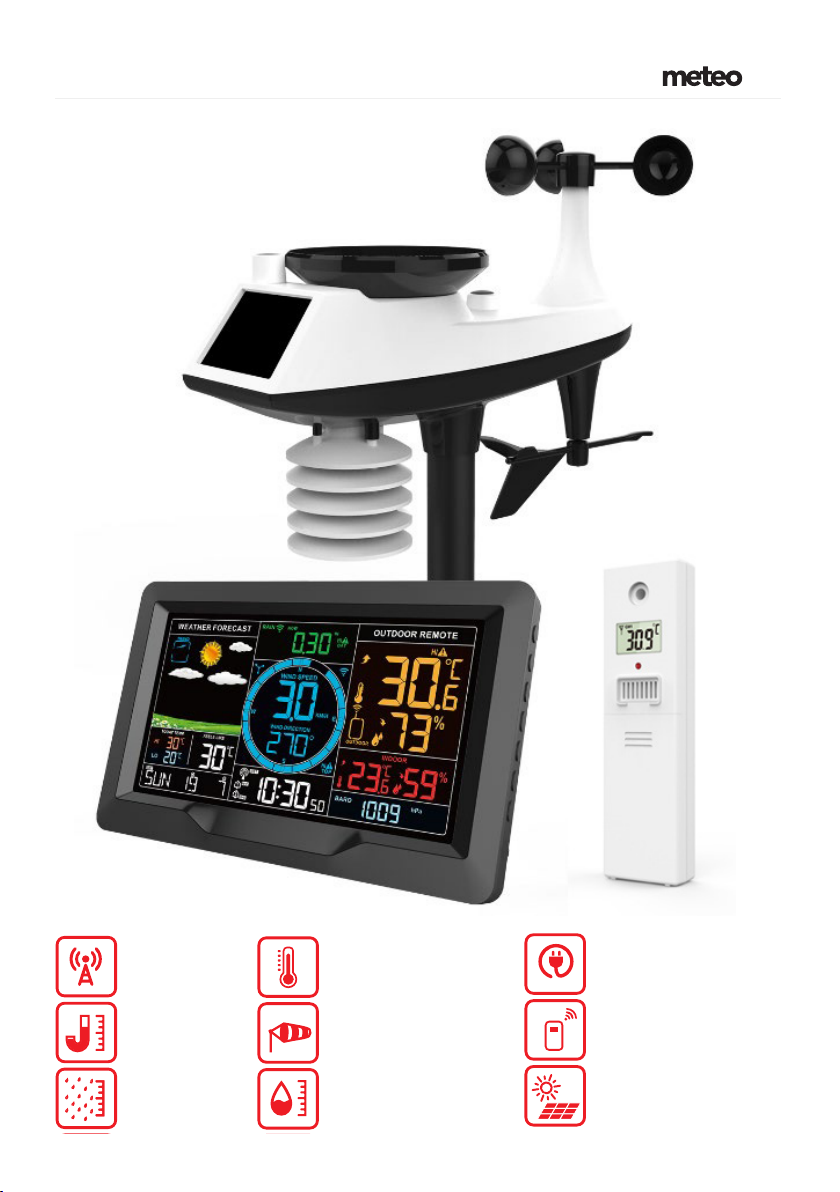
meteo – SP89 Manual
8. Time zone: -1 to 2 hr
9. Hour format: 24Hr | 12Hr
10. Hour
11. minutes
12. Calendar display format: Month/Date | Date/Month
13. Year
14. Month
15. Date
16. Week display language: a total of seven countries
17. Initialize weather settings
Note: There are 8 languages of Weekday: English, Deutsch, Français, Italian, Español, Nederlands and Dansk.
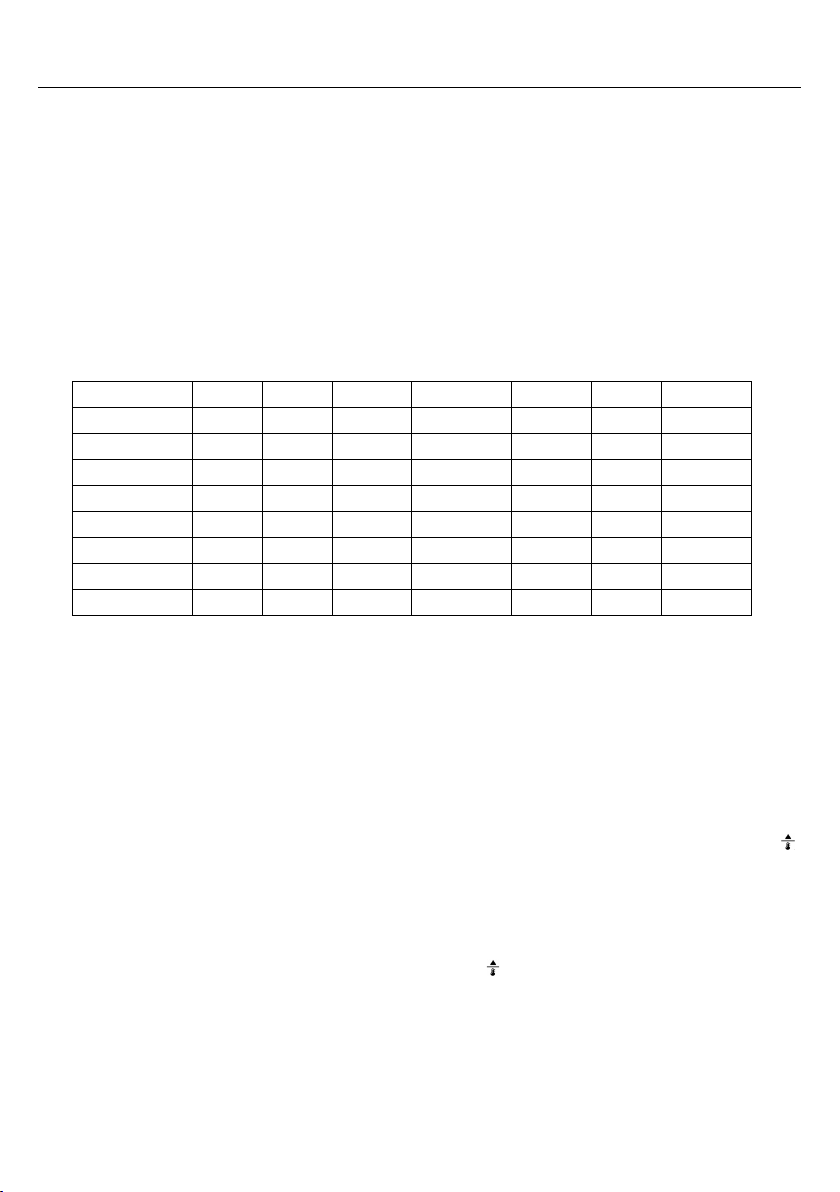
Week language display
English, ENG SUN MON TUE WED THU FRI SAT
German, GER SON MON DIE MIT DON FRE SAM
French, FRE DIM LUN MAR MER JEU VEN SAM
Italian, ITA DOM LUN MAR MER GIO VEN SAB
Danish, DAN SON MAN TIR ONS TOR FRE LOR
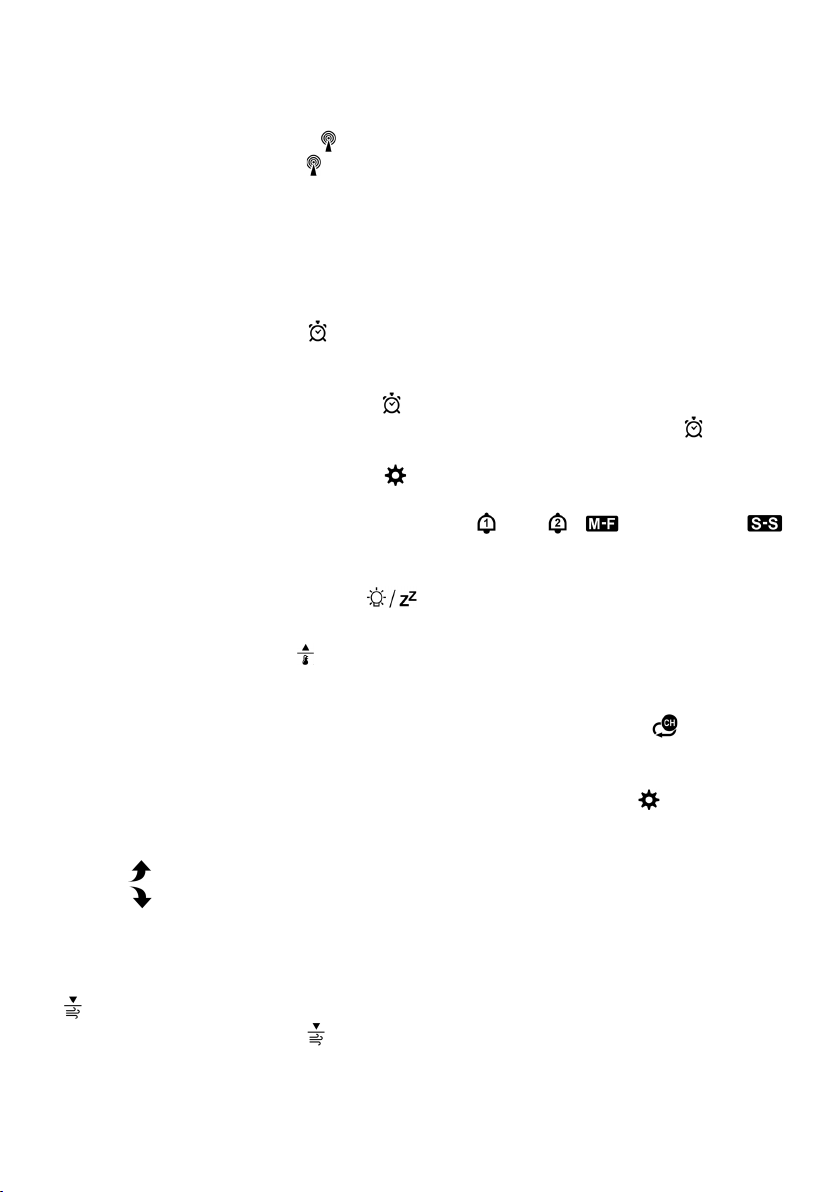
Radio control clock (Abbreviation: RCC) timing:
After the weather station searches for the wireless sensor after power-on, (up to 3 minutes) will automatically enter the
RCC timing mode. The weather station will automatically search for the RCC signal for 7 minutes, the RCC signal icon will
flash and the backlight will automatically turn off.
Note: Enter the RCC signal search mode. Since the RCC signal search requires the device to be in a static working
state as much as possible, the backlight is automatically turned off to prevent signal interference. Please try not to control
the weather station within seven minutes. If you need to exit the search mode of the RCC signal, press and hold the “ ”
button for 3 seconds to exit.
The weather station will automatically perform an RCC signal search at 1:00 / 2:00 / 3:00 every day to correct any
deviation from the precise time. If this sync attempt is unsuccessful (the radio mast icon disappears from the display), the
system will automatically try another sync for the next full hour. This process is automatically repeated up to 5 times a day.
If you need to manually search for RCC signals, press and hold the “ ” button for 3 seconds to enter the search mode.
Again, the longest search is 7 minutes.
Note: The flashing radio mast icon indicates that the RCC signal search is in progress. Continuous display of the
continuously displayed radio mast icon indicates that the successful RCC signal timing is completed and the calibration
time is successful. The icon “DST” indicates that the calibration time is the daylight saving time.
Note:
Exceeding the German signal tower
diameter of 1500KM or more, the signal received
by the radio clock signal is very poor. It is
recommended to set the RCC to OFF.
Note: In the set time, the number of minutes of the
change,
automatically from the zero second
forward
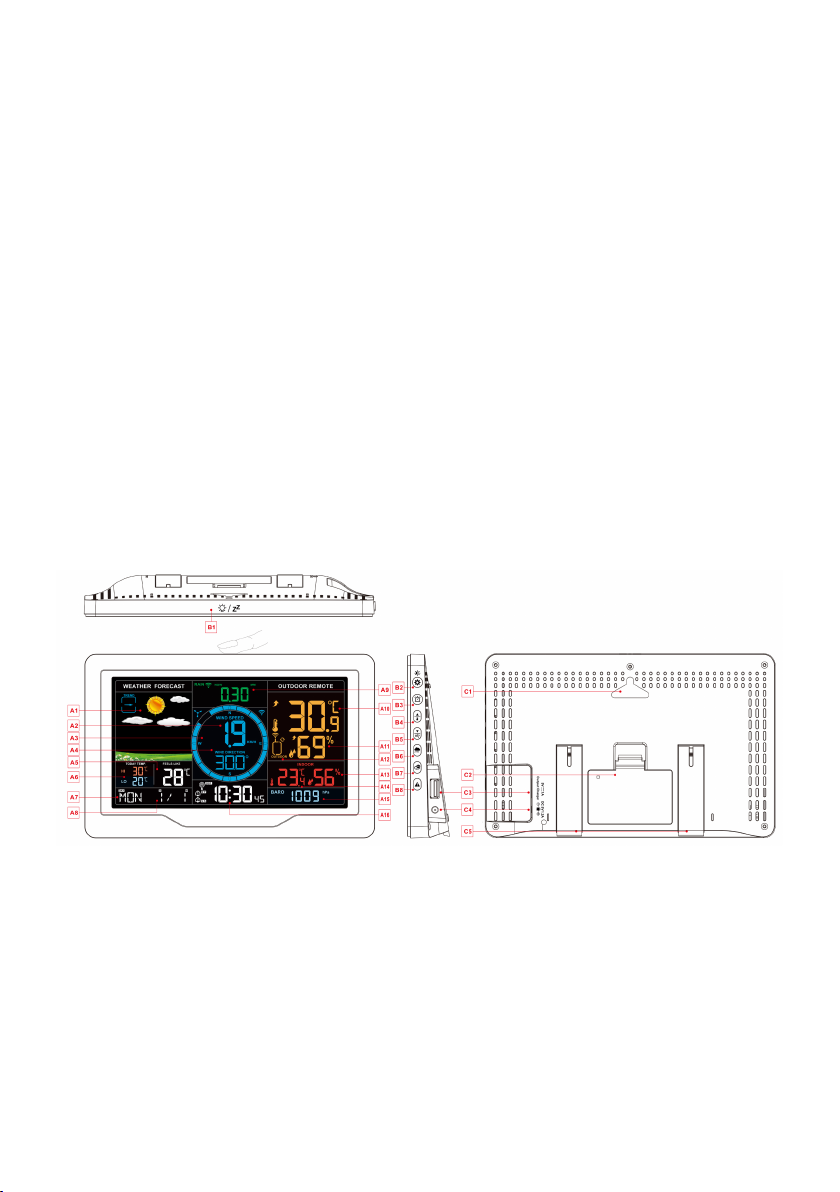
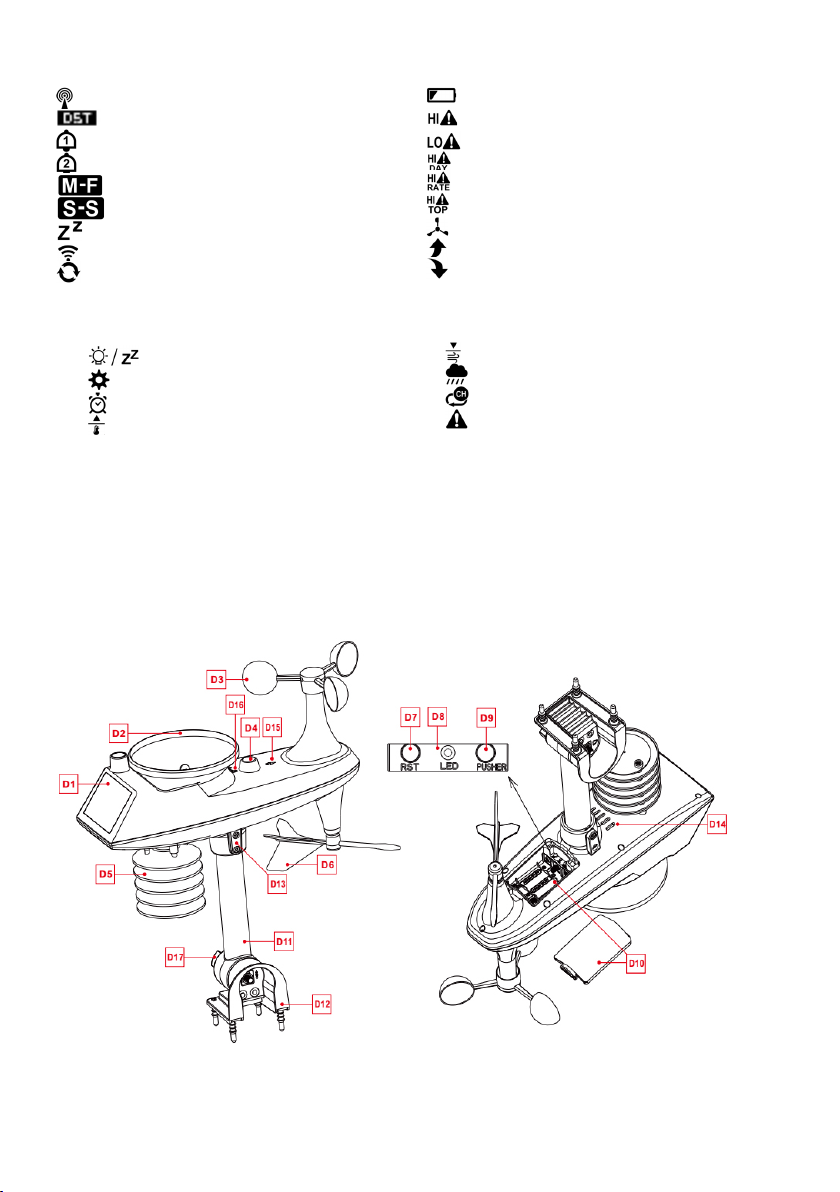
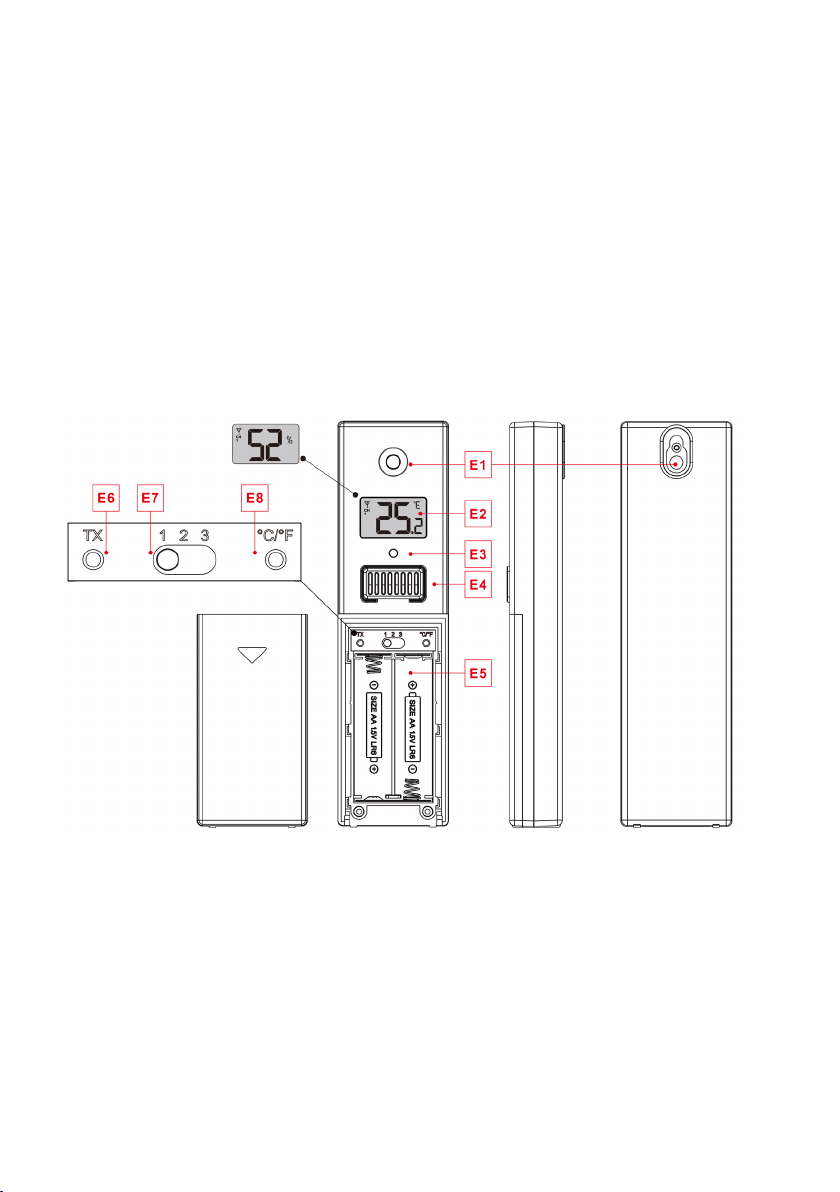
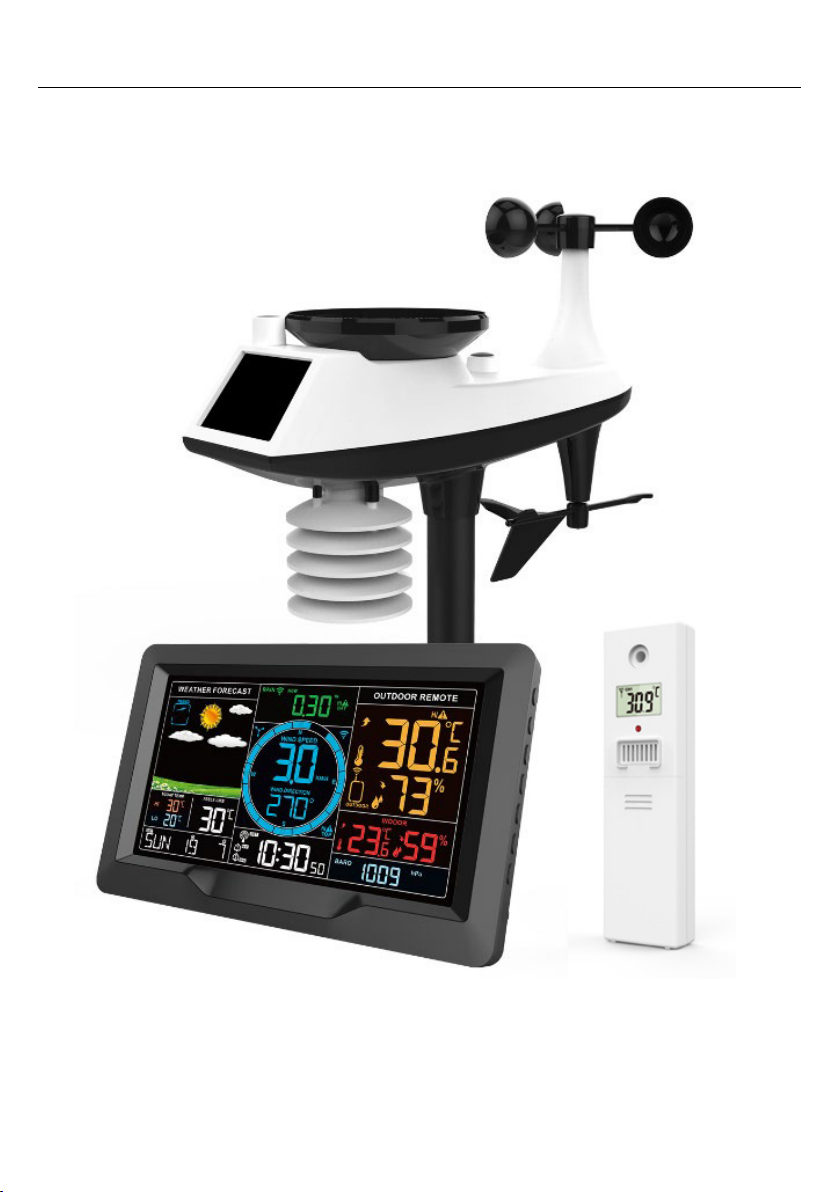
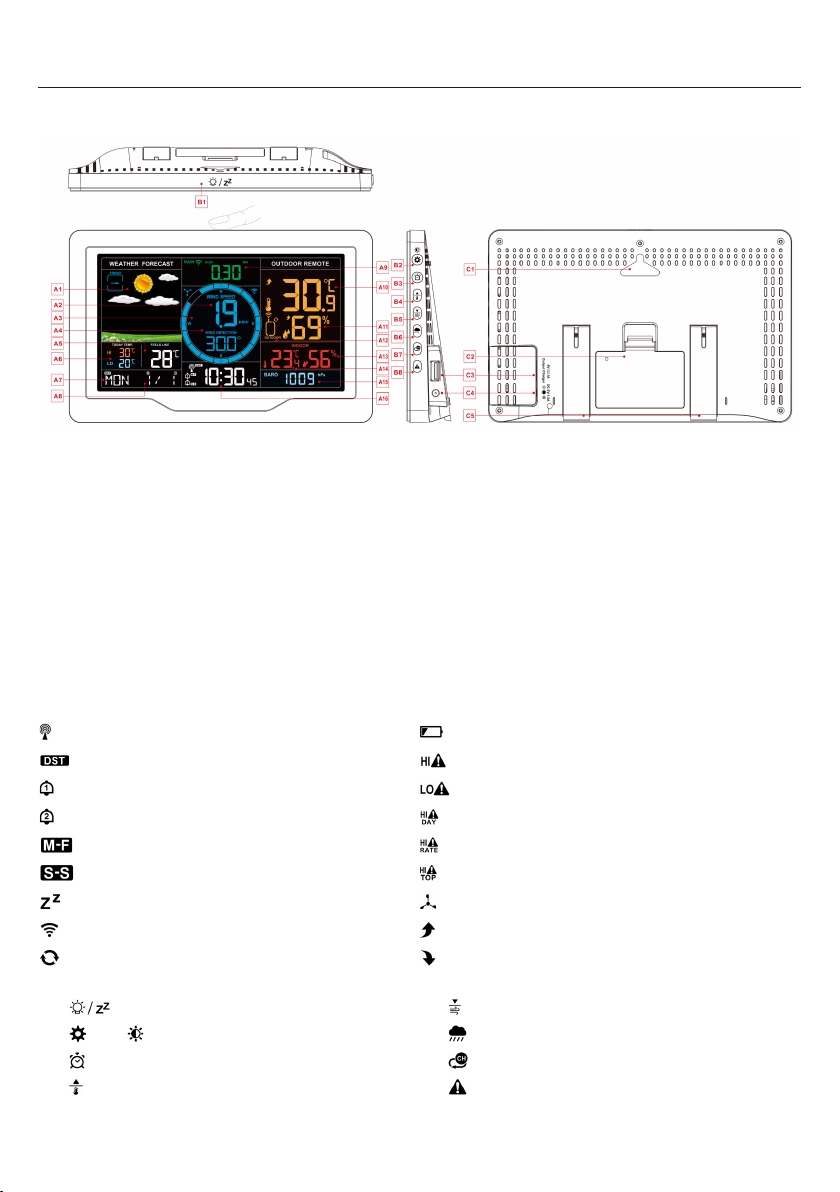
meteo – SP89 Manual
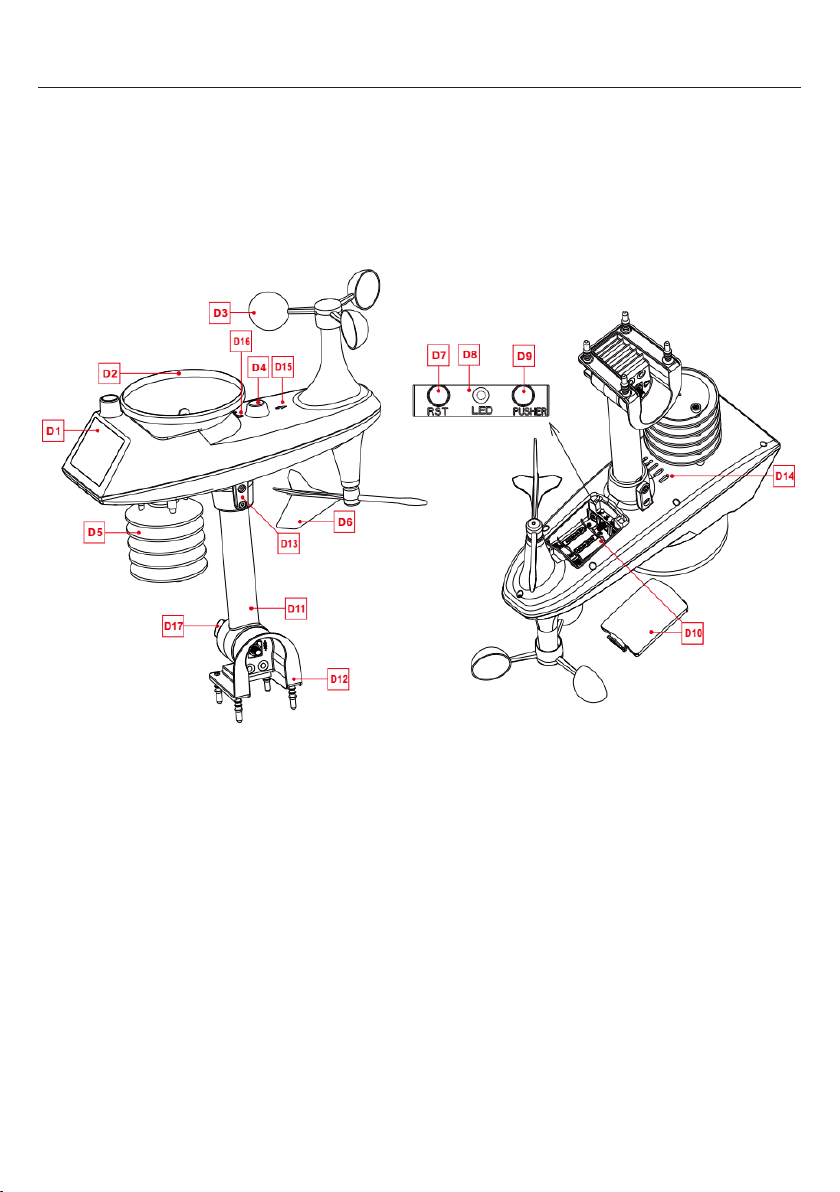
Setup Preparation
Items you will need to setup your station (not included):
1. Crosshead screwdriver and hex driver for assembly.
2. Fresh Batteries:
2 (two) AA alkaline or lithium batteries for the weather station.
3 (three) AA alkaline or lithium batteries for the multi-combination sensor.
2 (three) AA alkaline or lithium batteries for the temperature | humidity sensor (Optional)
For best results:
• Remove weather station and sensors from the package and place together on a table or bench, within easy reach.
• Place batteries and screwdriver within reach of setup location.
• Keep sensors and weather station 0.15-0.3 meter or 5-10 feet for at least 15 minutes after installing batteries, to
allow the sensors and station to connect repeatedly.
Quick Setup
1. Insert 3 AA batteries into the multi-combination wireless remote sensor
2.3-AA battery entry temperature | humidity wireless remote sensor
3. Then plug the power cord into the weather station
4. Configure basic settings. Set time, date, unit, etc.
5. Insert 2 AA batteries into the weather station (when the power adapter is unexpectedly powered off, the settings will not
be lost)
6. Move the remote sensor to outdoor or other location after 5 minutes
7. Move the weather station to the appropriate location, with a minimum distance of 2.5 meters from all sources of
interference, such as a television or computer monitor, radio reception is weaker in rooms with concrete walls (e.g.: in
cellars) and in offices. In such extreme circumstances, place the weather station close to the window.
Note: The weather station has a radio control clock calibration time function. After power-on, after searching the
wireless sensor for 3 minutes or all channels successfully search for the wireless sensor, the weather station
will automatically enter the radio control clock timing mode. If you need to set the time and unit manually, you
need to press and hold the "" button to exit the radio time mode, and then continue to the next step.
Time and unit settings
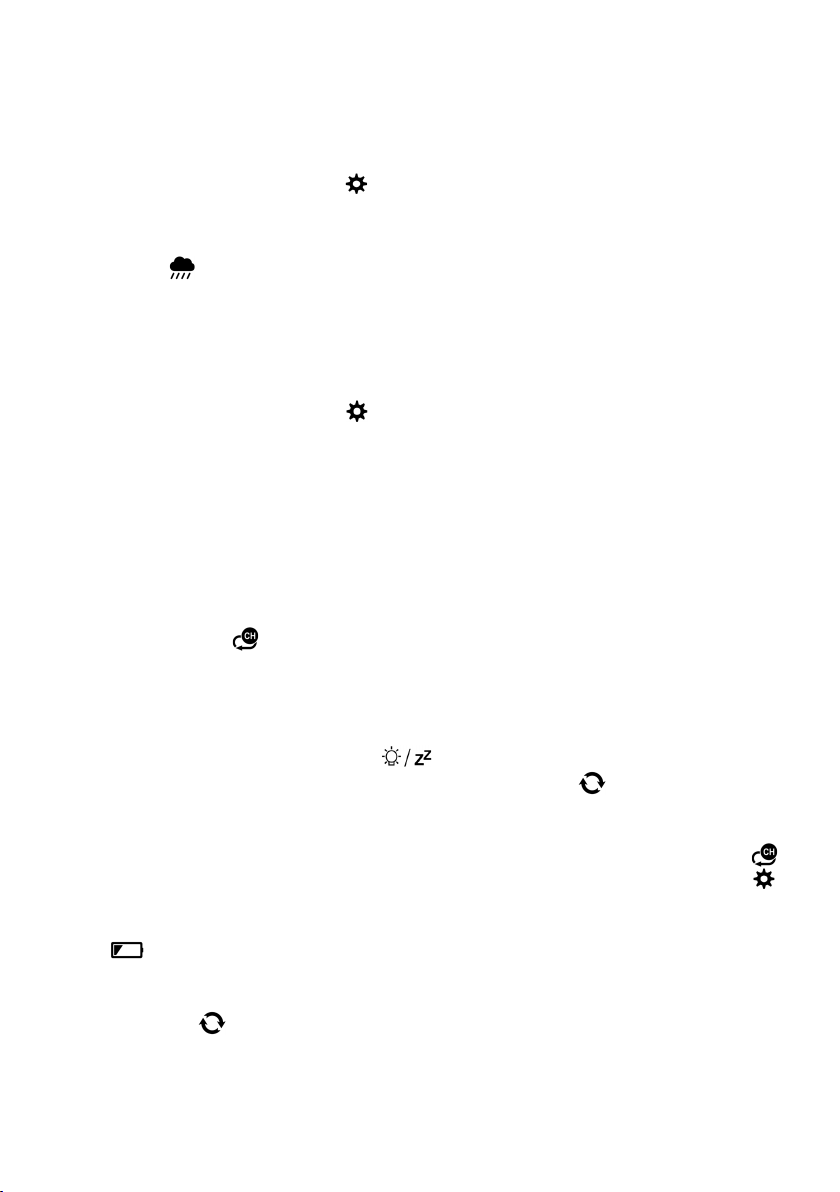
Press and hold the “ ” button for 3 seconds to enter the time setting mode.
Press and release the “ ” or “ ” button to adjust the value. Hold the “ ” or “” button to adjust quickly.
Press and release the “ ” button to confirm and move to the next item.
Note: After 20 seconds without pressing any button or touch the “ ” location button at any time to exit the
settings.
Settings order:
1. BEEP ON/OFF
2. Temperature unit: °C | °F
3. Pressure unit: hPa| inHg | mmHg
4. Wind speed unit: KM/H |MPH
5. Wind degree (angle) or direction (letter) selection
6. Rainfall unit: MM| inch
7. Radio control clock function: ON |OFF
Note: When the weather station is in the same
area as Germany, the time zone is set to 00, one
hour slower than German time, the time zone is set
to -01, one hour faster than German time, the time
zone is set to 01, 2 hours faster than German time,
time zone Set to 02