manuals.online logo
Brands
  1. Home
  2. •
  3. Brands
  4. •
  5. Metra Electronics
  6. •
  7. Car Receiver
  8. •
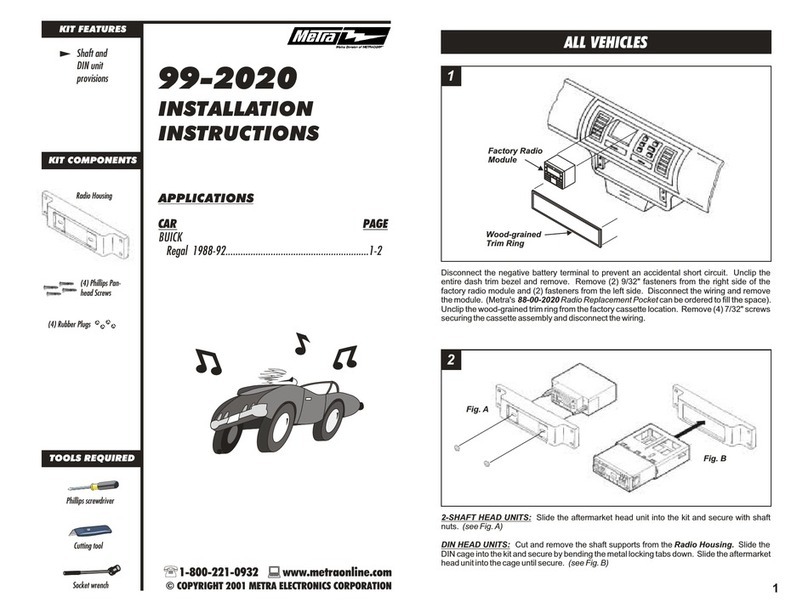
  9. Metra Electronics 99-7509 User manual

Metra Electronics 99-7509 User manual

Metra. The World’s Best Kits.®MetraOnline.com © COPYRIGHT 2019 METRA ELECTRONICS CORPORATION REV. 8/26/19 INST99-7509
INSTALLATION INSTRUCTIONS
99-7509
Attention! Let the vehicle sit with the key
out of the ignition for a few minutes before
removing the factory radio. When testing the
aftermarket equipment, ensure that all factory
equipment is connected before cycling the
key to ignition.
KIT FEATURES
• DIN radio provision with pocket
• ISO DIN radio provision with pocket
• ISO DDIN radio provision
• Painted to match factory dash
KIT COMPONENTS
• A) Radio housing • B) ISO DIN radio brackets • C) ISO DIN radio trim plate • D) ISO DDIN radio brackets • E) ISO DDIN radio trim plate • F) Pocket TOOLS REQUIRED
• Cutting tool • Phillips screwdriver
• Panel removal tool
TABLE OF CONTENTS
Dash Disassembly ...............................................2-3
Kit Assembly
–DIN radio provision with pocket ........................4
–ISO DIN radio provision with pocket ..................5
–ISO DDIN radio provision .....................................6
WIRING & ANTENNA CONNECTIONS
(sold separately)
Wiring Harness: 70-7903
Steering Wheel Control Interface: ASWC-1
A B C E
F
D
Mazda 5 (without NAV) 2006-2010
Visit MetraOnline.com for more detailed information about the product and up-to-date vehicle
specific applications
1.800.221.0932
|
MetraOnline.com
2
DASH DISASSEMBLY
1. Unclip and remove the shifter trim
panel. (Figure A)
2. Remove (2) Phillips screws exposed
below the shifter trim panel. (Figure B)
3. Unclip and remove the center console
trim panels, then remove (1) Phillips
screw per side. (Figure C, D)
Continued on the next page
P
R
N
M-D
A/C
A/C
(Figure A) (Figure B)
(Figure C) (Figure D)
REV. 8/26/2019 INST99-7509 3
DASH DISASSEMBLY (CONT.)
4. Unclip and pull the center console
towards the rear of the vehicle, then set
aside. The console does not need to be
removed. (Figure E)
5. Remove (2) screws securing the radio
trim panel. (Figure F)
6. Unclip, unplug and remove the radio
trim panel. (Figure G)
Continue to Kit Assembly
A/C
A/C
(Figure E) (Figure F)
(Figure G)
1.800.221.0932
|
MetraOnline.com
4
DIN radio provision with pocket
1. Remove the metal DIN sleeve from the
aftermarket radio
2. Slide the sleeve into the radio housing
and secure by bending the metal locking
tabs outward. (Figure A)
3. Slide the radio into the sleeve until it
snaps into place. (Figure B)
4. Snap the pocket into the radio housing.
(Figure C)
5.
Locate the factory wiring harness and
antenna connector in the dash. Metra
recommends using the proper mating
adapter from Metra or AXXESS. Test the
radio for proper operation
.
6.
Reassemble the dash in reverse order of
disassembly to complete the installation.
KIT ASSEMBLY
(Figure A) (Figure B) (Figure C)
REV. 8/26/2019 INST99-7509 5
ISO DIN radio provision with pocket
1. Remove the metal DIN sleeve and trim
ring from the aftermarket radio
2. Secure the ISO DIN radio brackets to the
radio using screws supplied with the
radio. (Figure A)
3. Slide the radio into the radio housing
until it snaps into place. (Figure B)
4. Snap the ISO DIN trim plate onto the
front of the radio housing. (Figure C)
5. Snap the pocket into the radio housing.
(Figure D)
6.
Locate the factory wiring harness and
antenna connector in the dash. Metra
recommends using the proper mating
adapter from Metra or AXXESS. Test the
radio for proper operation
.
7.
Reassemble the dash in reverse order of
disassembly to complete the installation.
KIT ASSEMBLY
(Figure A) (Figure B)
(Figure C) (Figure D)
1.800.221.0932
|
MetraOnline.com
6
KIT ASSEMBLY
(Figure A) (Figure B) (Figure C)
ISO DDIN radio provision
1. Cut and remove the center bar from the
radio housing. (Figure A)
2. Attach the ISO DDIN radio brackets to
the inside edge of the radio housing.
(Figure B)
3. Slide the radio into the bracket/radio
housing assembly, then secure the using
screws supplied with the radio.
(Figure C)
4. Snap the ISO DDIN trim plate onto the
front of the radio housing.
(Figure C)
5.
Locate the factory wiring harness and
antenna connector in the dash. Metra
recommends using the proper mating
adapter from Metra or AXXESS. Test the
radio for proper operation
.
6.
Reassemble the dash in reverse order of
disassembly to complete the installation.
REV. 8/26/2019 INST99-7509 7
KNOWLEDGE IS POWER
Enhance your installation and fabrication skills by
enrolling in the most recognized and respected
mobile electronics school in our industry.
Log onto www.installerinstitute.com or call
800-354-6782 for more information and take steps
toward a better tomorrow.
®
Metra recommends MECP
certified technicians
Metra. The World’s Best Kits.®MetraOnline.com © COPYRIGHT 2019 METRA ELECTRONICS CORPORATION REV. 8/26/19 INST99-7509
INSTALLATION INSTRUCTIONS
99-7509
If you are having difficulties with the installation
of this product, contact our Tech Support line
either by phone at 386-257-1187, or email at
techsupport@metra-autosound.com. Before
doing so, look over the instruction booklet a
second time and ensure that the installation was
performed exactly as the instruction booklet
is stated. Have the vehicle apart and ready to
perform troubleshooting steps before contacting
Metra/Axxess Tech Support.

Other manuals for 99-7509

1

Other Metra Electronics Car Receiver manuals
Metra Electronics AT-807HD User manual

Metra Electronics

Metra Electronics AT-807HD User manual

Metra Electronics Ford F-150 2009-up User manual

Metra Electronics

Metra Electronics Ford F-150 2009-up User manual

Metra Electronics 99-3400 User manual

Metra Electronics

Metra Electronics 99-3400 User manual

Metra Electronics 99-6527B User manual

Metra Electronics

Metra Electronics 99-6527B User manual

Metra Electronics 99-5825S User manual

Metra Electronics

Metra Electronics 99-5825S User manual

Metra Electronics 95-7882B User manual

Metra Electronics

Metra Electronics 95-7882B User manual

Metra Electronics 99-7313 User manual

Metra Electronics

Metra Electronics 99-7313 User manual

Metra Electronics 95-7863 User manual

Metra Electronics

Metra Electronics 95-7863 User manual

Metra Electronics 99-7427 User manual

Metra Electronics

Metra Electronics 99-7427 User manual

Metra Electronics 99-9605B User manual

Metra Electronics

Metra Electronics 99-9605B User manual

Metra Electronics 99-5025 User manual

Metra Electronics

Metra Electronics 99-5025 User manual

Metra Electronics 99-7382HG User manual

Metra Electronics

Metra Electronics 99-7382HG User manual

Metra Electronics 99-9604B User manual

Metra Electronics

Metra Electronics 99-9604B User manual

Metra Electronics 99-5815 User manual

Metra Electronics

Metra Electronics 99-5815 User manual

Metra Electronics 99-3044 User manual

Metra Electronics

Metra Electronics 99-3044 User manual

Metra Electronics 99-8209 User manual

Metra Electronics

Metra Electronics 99-8209 User manual
Metra Electronics 99-8219 User manual

Metra Electronics

Metra Electronics 99-8219 User manual

Metra Electronics 95-7377B User manual
Metra Electronics

Metra Electronics 95-7377B User manual

Metra Electronics 95-8210 User manual

Metra Electronics

Metra Electronics 95-8210 User manual

Metra Electronics 99-7607B User manual

Metra Electronics

Metra Electronics 99-7607B User manual

Metra Electronics 99-6519B User manual

Metra Electronics

Metra Electronics 99-6519B User manual

Metra Electronics 99-8163 User manual

Metra Electronics

Metra Electronics 99-8163 User manual

Metra Electronics 99-7397B User manual

Metra Electronics

Metra Electronics 99-7397B User manual

Metra Electronics 99-5839CH User manual

Metra Electronics

Metra Electronics 99-5839CH User manual

Popular Car Receiver manuals by other brands

Sony XR-CA330 Installation/Connection Specifications

Sony

Sony XR-CA330 Installation/Connection Specifications

Blaupunkt Concept Pro II Operating and installation instructions

Blaupunkt

Blaupunkt Concept Pro II Operating and installation instructions

Kenwood KDC-BT370U instruction manual

Kenwood

Kenwood KDC-BT370U instruction manual

Sony XR-C7300 Installation instruction

Sony

Sony XR-C7300 Installation instruction

Trevi XCD 5760 USB instruction manual

Trevi

Trevi XCD 5760 USB instruction manual

Blitz BZC-1802MP owner's manual

Blitz

Blitz BZC-1802MP owner's manual

Pioneer MEH-P5150 Operation manual

Pioneer

Pioneer MEH-P5150 Operation manual

Kenwood KDC-BT47SD instruction manual

Kenwood

Kenwood KDC-BT47SD instruction manual

Pioneer Super Tuner III D AVH-P4950DVD installation manual

Pioneer

Pioneer Super Tuner III D AVH-P4950DVD installation manual

VDO CR 3100 datasheet

VDO

VDO CR 3100 datasheet

Eclipse AVN4400 owner's manual

Eclipse

Eclipse AVN4400 owner's manual

Clarion DXZ835MP  DXZ835MP DXZ835MP Installation

Clarion

Clarion DXZ835MP DXZ835MP DXZ835MP Installation

JVC KD-X200 instruction manual

JVC

JVC KD-X200 instruction manual

Clarion CX400 owner's manual

Clarion

Clarion CX400 owner's manual

Jensen VX6628 Installation & quick start guide

Jensen

Jensen VX6628 Installation & quick start guide

JVC KWAVX800 - EXAD - DVD Player Installation & connection manual

JVC

JVC KWAVX800 - EXAD - DVD Player Installation & connection manual

Pioneer DEH-4200SD installation manual

Pioneer

Pioneer DEH-4200SD installation manual

Blaupunkt Ravenna C32 Service manual

Blaupunkt

Blaupunkt Ravenna C32 Service manual

manuals.online logo
manuals.online logoBrands
  • About & Mission
  • Contact us
  • Privacy Policy
  • Terms and Conditions

Copyright 2025 Manuals.Online. All Rights Reserved.