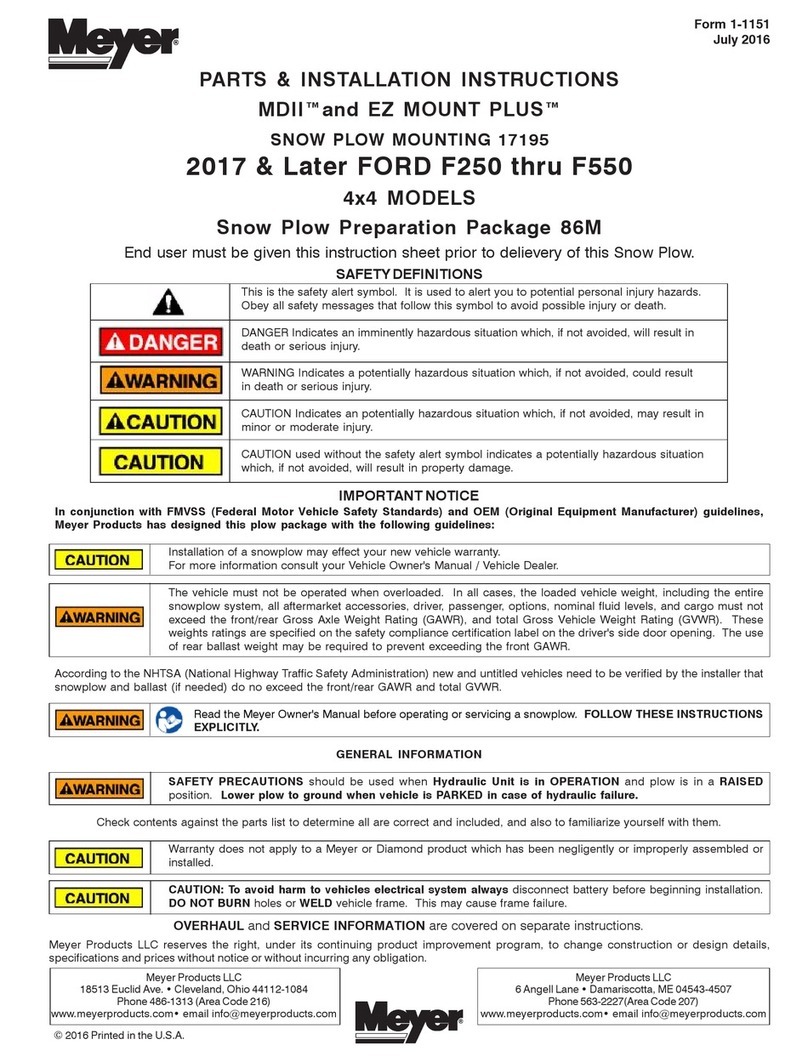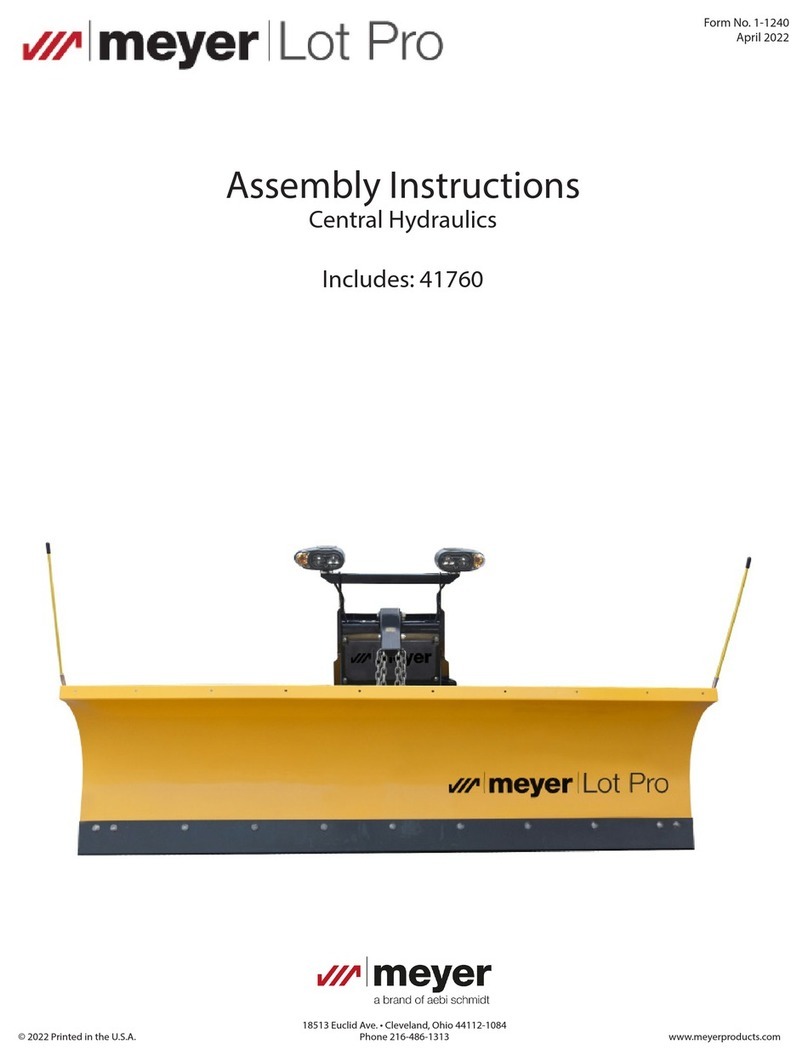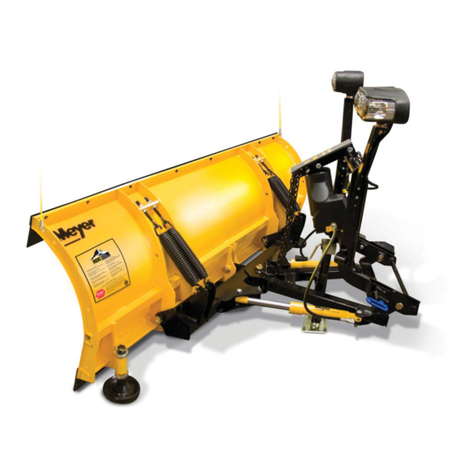
INSTALLATION INSTRUCTIONS
IMPORTANT NOTICE
1. "If a snow plow is installed on this vehicle,
compensating weight must be added and securely
anchored at the extreme rear of the cargo box to
prevent overloading of the front axle."
If the front axle loading exceeds either 62 percent of
theemptytrucktotalweight,orthefrontGAWR,ballast
compensating weight must be permanently attached
at the rear of the truck to bring front axle weight within
weight specifications.
2. Before the snow plow installation begins a
measurement is to be taken from the vehicle front
crossmember to the ground.
Once the mounting, all wiring and lights are installed,
boththevehicle'storsion barsmayneedtobe tightened
to bring the vehicle back to the height that it was prior
to the installation. This adjustment is made before the
addition of the compensating weight.
A. Remove splash shield from radiator and
crossmember. Splash shield will not be reused.
Disconnect fog lights if vehicle is so equipped.
B. Remove front bumper from vehicle by removing
two upper bolts to inner frame brackets, and two
side bolts to outer frame brackets. Remove inner
frame bumper brackets from vehicle. Retain all
material, only hardware at outside of frame and
top of inner bracket will be reused.
C. Position clevis frame (1) to inside of vehicle frame.
Attach to frame using 1/2-13 x 1-1/2” Bolts (10),
Locknuts (13) and Flatwashers (16).
NOTE: Before tightening the fasteners, the clevis
frame should be pushed back as far as possible
under the vehicle.
GENERAL INFORMATION
CAUTION: Always disconnect battery before
beginning installation.
DO NOT BURN holes or WELD vehicle frame. This
may cause frame failure.
After first use, retighten all mounting bolt connections
to specified torque. All mounting bolt connections to
be checked periodically for tightness.
Locknuts are furnished DO NOT tighten bolts and nuts
until installation is complete (unless otherwise
specified), then be sure to tighten all attaching parts
per specified torque chart.
NOTE: It is important that the Meyer harness, all wires
from the Meyer light switch, and all other electrical
wires be routed around hot or moving engine parts,
and any sharp metal. Protection must be provided to
guard against wire damage at these points. All
excess or loose wires must be neatly secured using
wire ties.
Check contents against the parts list to determine all
are correct and included, and also to familiarize
yourself with them.
SAFETY PRECAUTIONS should be used when
Hydraulic Unit is in OPERATION and EZ-Sweep is in
a RAISED position. Lower plow to ground when
vehicle is PARKED.
OVERHAUL and SERVICE INFORMATION are
covered on separate instructions.
Follow these instructions explicitly. Warranty does
not apply to a Meyer product which has been
negligently or improperly assembled or installed.
20
21 17
18
19


