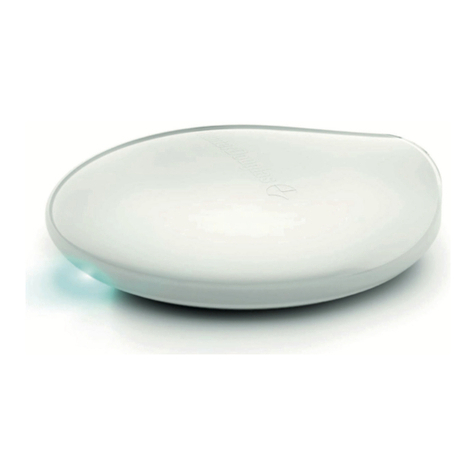
MHZ PowerView User manual

PowerView® Hub DE IT ESFR EN NL

PowerView® DE
2
LIEFERUMFANG POWERVIEW® HUB
1 Hub
2 LAN-Anschlußkabel
3 USB-Anschlußkabel
4 USB-Netzteil inkl.
2 Netzteiladapter für verschiedene
Steckdosensysteme
1
2
3
4

3
DE
HUB FUNKTIONEN
Der Hub sollte zentral platziert werden, um die optimale
Reichweite zu erlangen.
1 LAN-Anschluß
2USB-Anschluß
3„P“ Programm-Taste
Kurz tippen: Signal aussenden
6 Sek. drücken: Update
4 „R“ Reset-Taste
Kurz tippen: Neustart
6 Sek. drücken: Zurücksetzen auf Werkeinstellung
1
23
4

PowerView® DE
4
VERBINDEN SIE DEN HUB MIT
DER USB-STROMVERSORGUNG.
VERBINDEN SIE DEN HUB MIT
EINER STECKDOSE.
Anmerkung: Während des Startvorgangs kann die LED des
Hubs aus- und wieder angehen. Sobald der Hub den Vor-
gang abgeschlossen hat, leuchtet die LED des Hubs dauer-
haft magentafarben. Unterbrechen Sie den Startvorgang
nicht, indem Sie die Stromversorgung unterbrechen oder
die Tasten auf der Rückseite des Hubs drücken.
DEN HUB VERBINDEN

5
DE
PowerView® App:
alle weiteren Schritte werden in
der PowerView-App erklärt
VERBINDUNG VIA WI-FI:
Öffnen Sie die PowerView® App auf Ihrem Smartphone
oder Tablet. Folgen Sie den Instruktionen auf dem Bild-
schirm, um den Hub mit Ihrem Wi-Fi Netzwerk zu verbin-
den. Sobald der Hub mit dem Heimnetzwerk verbunden
ist, zeigt er an, dass er bereit ist, dem PowerView®-Netz-
werk beizutreten.
VERBINDUNG VIA ETHERNET-KABEL OPTIONAL:
Achtung: Wenn Sie den Hub via Ethernet in Ihr Heimnetz-
werk/LAN einbinden, sollten Sie den Hub zuerst an den
Router und danach an die Stromversorgung anschließen.
Verbinden Sie das Ethernet-Kabel mit dem Hub und einem
LAN-Anschluß an Ihrem Router.

PowerView® DE
6
Die LED-Lampe
an dem Hub
Gerätestatus
Leuchtet hellblau
Blinkt hellblau
Leuchtet orange
Leuchtet magenta
Blinkt orange
Der Hub fährt hoch.
Der Hub lädt und installiert Updates.
Bitte haben Sie Geduld, dies kann
zwischen 5 und 15 Minuten dauern.
Stellen Sie sicher, dass keine Firewall
den Hub blockiert.
Der Hub ist bereit, sich mit dem
Heimnetzwerk zu verbinden.
Der Hub ist bereit, dem PowerView®
Netzwerk beizutreten.
Der Strom ist eingeschaltet.
DEN GERÄTESTATUS ABLESEN

7
DE
Blinkt dunkelblau
Leuchtet grün
Blinkt grün Der Hub sendet ein PowerView®
Signal.
(Sekundärer Hub)
Leuchtet
dunkelblau
Leuchtet rot
Der Hub ist mit dem PowerView®
Netzwerk verbunden.
(Sekundärer Hub)
Die Verbindung mit dem Heimnetz-
werk ist fehlgeschlagen.
Der Hub ist mit dem PowerView®
Netzwerk verbunden.
Der Hub sendet ein PowerView®
Signal.
www.mhz.de

PowerView® FR
8
CONTENU DE LA LIVRAISON HUB POWERVIEW®
1 Hub
2 Câble de raccordement LAN
3 Câble de raccordement USB
4 Bloc d’alimentation USB,
2adaptateurs d’alimentation pour différents
systèmes de prises inclus
1
2
3
4

9
FR
FONCTIONS DU HUB
Le hub doit être placé de manière centrale an d’at-
teindre une portée optimale.
1 Raccordement LAN
2Raccordement USB
3 Touche de programme «P»
Appui bref: émission du signal
Appui pendant 6s: mise à jour
4 Touche de réinitialisation «R»
Appui bref: redémarrage
Appui pendant 6s: réinitialisation aux paramètres
d’usine
1
23
4

PowerView® FR
10
RACCORDER LE HUB AU
CÂBLE D’ALIMENTATION USB.
BRANCHER LE HUB À
UNE PRISE.
Remarque: lors du processus de démarrage, la LED du hub
peut s’éteindre et se rallumer. Dès que le processus est ter-
miné, la LED du hub reste allumée en magenta. N’interrom-
pez pas le processus de démarrage en débranchant le câble
d’alimentation électrique ou en appuyant sur les touches
situées à l’arrière du hub.
RACCORDER LE HUB

11
FR
Application PowerView®:
toutes les étapes suivantes sont
expliquées dans l’application
PowerView®
CONNEXION VIA WI-FI:
Ouvrez l’application PowerView® sur votre smartphone ou
votre tablette. Suivez les instructions af chées à l’écran a n
de connecter le hub à votre réseau Wi-Fi. Dès que le hub
est connecté au réseau domestique, il af che qu’il est prêt
à rejoindre le réseau PowerView®.
RACCORDEMENT VIA CÂBLE ETHERNET (EN OP-
TION):
Attention: si vous intégrez le hub à votre réseau domes-
tique/LAN via Ethernet, vous devez d’abord raccorder le
hub au routeur, puis à l’alimentation électrique.
Branchez le câble Ethernet au hub et à un raccordement
LAN de votre routeur.

PowerView® FR
12
La lampe LED
sur le hub
État de l’appareil
S’allume en bleu clair
Clignote en bleu clair
S’allume en orange
S’allume en magenta
Clignote en
orange
Le hub démarre.
Le hub charge et installe des mises
à jour. Veuillez patienter, cette étape
peut durer entre 5et 15minutes.
Assurez-vous qu’aucun pare-feu ne
bloque le hub.
Le hub est prêt à se connecter au
réseau domestique.
Le hub est prêt à rejoindre le réseau
PowerView®.
L’appareil est branché.
LIRE L’ÉTAT DE L’APPAREIL

13
FR
Clignote en
bleu foncé
S’allume en vert
Clignote en vert
Le hub envoie un signal PowerView®
(hub secondaire).
S’allume en
bleu foncé
S’allume en rouge
Le hub est connecté au réseau
PowerView®
(hub secondaire).
La connexion au réseau domestique
a échoué.
Le hub est connecté au réseau
PowerView®.
Le hub envoie un signal Power-
View®.
www.mhz.de

PowerView® EN
14
INCLUDED WITH THE POWERVIEW® HUB
1 Hub
2 LAN connection cable
3 USB connection cable
4 USB power supply incl.
2 power supply adapters for different
socket systems
1
2
3
4

15
EN
HUB FUNCTIONS
The hub should be positioned centrally to achieve opti-
mum range.
1 LAN port
2USB port
3“P” Program button
Press briey: emit signal
Hold for 6 seconds: update
4 “R” Reset button
Press briey: restart
Hold for 6 seconds: restore factory settings
1
23
4

PowerView® EN
16
CONNECTING THE HUB
CONNECT THE HUB TO
THE USB POWER SUPPLY UNIT.
CONNECT THE HUB TO
A POWER SOCKET.
Note: During the start-up process, the LED on the hub can
ash on and off. Once the hub has completed the process,
the hub LED will glow magenta continuously. Do not inter-
rupt the start-up process by disconnecting the power supply
or pressing the buttons on the back of the hub.

17
EN
PowerView® app:
all subsequent steps are
explained in the PowerView app
CONNECTION VIA WI-FI:
Open the PowerView® app on your smartphone or tablet.
Follow the on-screen instructions to connect the hub to
your Wi-Fi network. Once the hub is connected to the
home network, it indicates that it is ready to join the Power-
View® network.
CONNECTION VIA ETHERNET CABLE (OPTIONAL):
Caution: When adding the hub to your home network/
LAN via Ethernet, you should rst connect the hub to the
router and then to the power supply.
Connect the Ethernet cable to the hub and a LAN port on
your router.

PowerView® EN
18
READING THE DEVICE STATUS
LED light
on the hub
Device status
Steady light blue
Flashing light blue
Steady orange
Steady magenta
Flashing orange
Hub is starting up.
Hub is loading and installing up-
dates. Please be patient, this can take
between 5 and 15 minutes. Make sure
there is no rewall blocking the hub.
Hub is ready to connect
to the home network.
Hub is ready to join the PowerView®
network.
Power is on.

19
EN
www.mhz.de
Flashing dark blue
Steady green
Flashing green Hub is sending a PowerView®
signal.
(Secondary hub)
Steady
dark blue
Steady red
Hub is connected to the Power-
View® network.
(Secondary hub)
Connection to the home network
failed.
Hub is connected to the Power-
View® network.
Hub is sending a PowerView®
signal.

PowerView® NL
20
ONDERDELEN POWERVIEW® HUB
1 Hub
2 Ethernetkabel
3 USB-aansluitkabel
4 USB-stekker incl.
2 stekkeradapters voor verschillende
stopcontactsystemen
1
2
3
4
Other manuals for PowerView
2
Table of contents
Languages:
Other MHZ Switch manuals
Popular Switch manuals by other brands

LevelOne
LevelOne GEU-2429 Quick installation guide
Bircher Reglomat
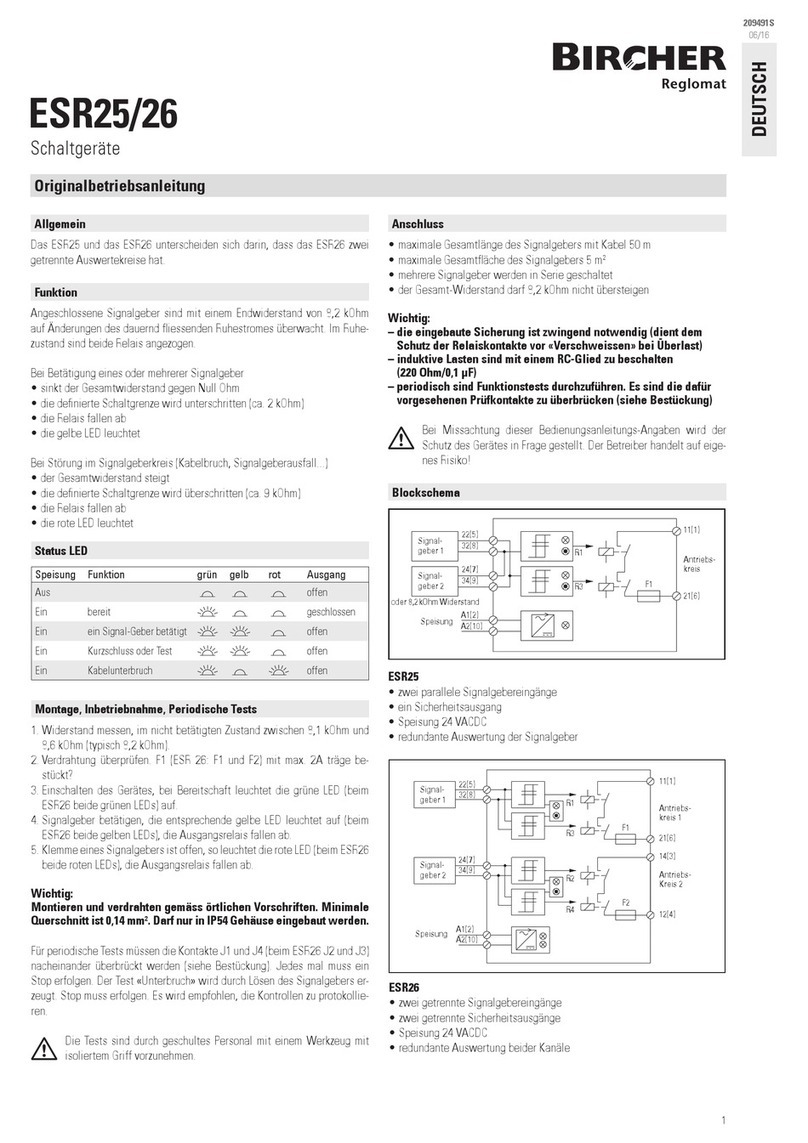
Bircher Reglomat ESR25 operating instructions
Cisco
Cisco Edge 300 Series installation guide
Extron electronics
Extron electronics IN1804 Series Setup guide
Patton electronics
Patton electronics SmartNode 4658 Series quick start guide
Alfa Network
Alfa Network AMS226 Specifications
