XTP601 Quick Start Guide
97327 Issue 1, July 2012
Warm Up
Once power is applied, the unit will require up to 30 minutes to warm up, plus a further 15 minutes
to stabilize. There will be a warming symbol visible in the top right hand corner of the screen (on the
display version) until the analyzer is ready for use.
Accessing the Menu to Check Settings (for Display Version only)
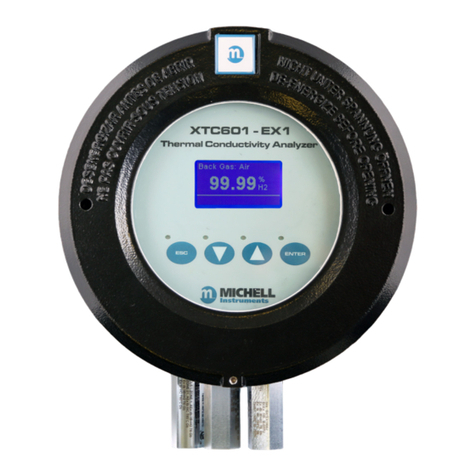
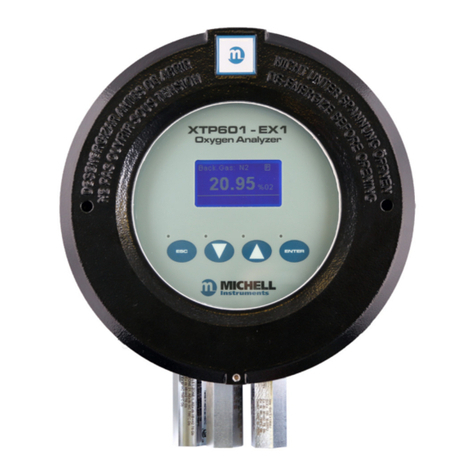
XTP601-EX1
Oxygen Analyzer
ENTER
ESC
Up/Down
Arrow
Buttons
ESC
Button
ENTER
Button
Blue LEDs
Backlit LCD
• Press the ENTER button from the Main Page to access the Passcode Page.
• The User Passcode is 1919
• Use the Up () and Down ()buttons and press ENTER after each value.
• View or change settings (refer to user manual for complete menu structure).
Setting the Internal Clock
From the User Menu Page scroll down to the CLOCK menu and press the ENTER button. Check that
the date and time match the clock on the plant control system. If not, set these via the display, or
the Application Software.
Calibration Check
Zero & Span gases will be required at this point to perform a calibration check. These will be
dependent on the range of the analyzer. Please refer to the Test Result Sheet, supplied with each
analyzer.
• PasstheZerogasthroughtheunit,leavingatleastveminutestostabilize.Makeanoteof
the value.
• PasstheSpangasthroughtheunit,leavingatleastveminutestostabilize.Makeanoteof
the value.
• If the readings are within the stated tolerance of the gas cylinder, the analyzer is ready to use.
• If the readings are not correct, proceed to Section 3 of the manual for calibration instructions.
Final Checks
Check/adjustallthesettings(Alarms,mAOutputs,ExternalInputs,HighSpeedResponse(HSR)and
HMI),tomatchthesiterequirements.
