Midea KJRH-120H / BMKO-E User manual

OPERATION MANUAL
Thank you very much for purchasing our product.
Before using your unit, please read this manual carefully and keep it for future reference.


●This manual gives detailed description of the
precautions that should be brought to your attention
during operation.
●In order to ensure correct service of the wire
controller please read this manual carefully before
using the unit.
●For convenience of future reference, keep this
manual after reading it.

CONTENTS PAGE
1 GENERAL SAFETY PRECAUTIONS............................................1
2 A GLANCE OF THE USER INTERFACE......................................4
3 USING HOME PAGES...................................................................6
4 HOW TO GO TO MENU STRUCTURE.........................................11
5 BASIC USAGE.............................................................................12
6 INSTALLATION MANUAL..........................................................24
1
1 GENERAL SAFETY PRECAUTIONS
1.1 About the documentation
1.1.1 Meaning of warnings and symbols
The original documentation is written in English. All other languages
are translations.
The precautions described in this document cover very important
topics, follow them carefully.
All activities described in the installation manual must be performed
by an authorized installer.
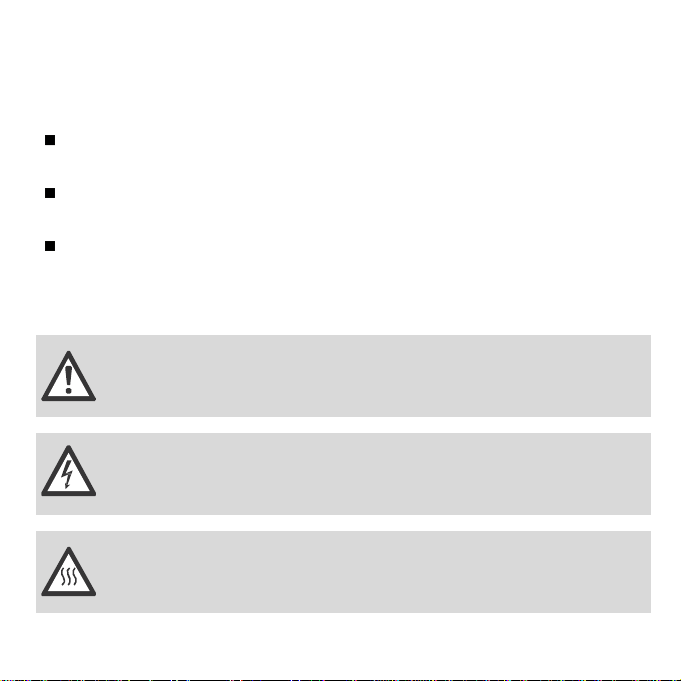
DANGER
Indicates a situation that results in death or serious injury.
DANGER: RISK OF BURNING
Indicates a situation that could result in burning because of
extreme hot or cold temperatures.
DANGER: RISK OF ELECTROCUTION
Indicates a situation that could result in electrocution.

2
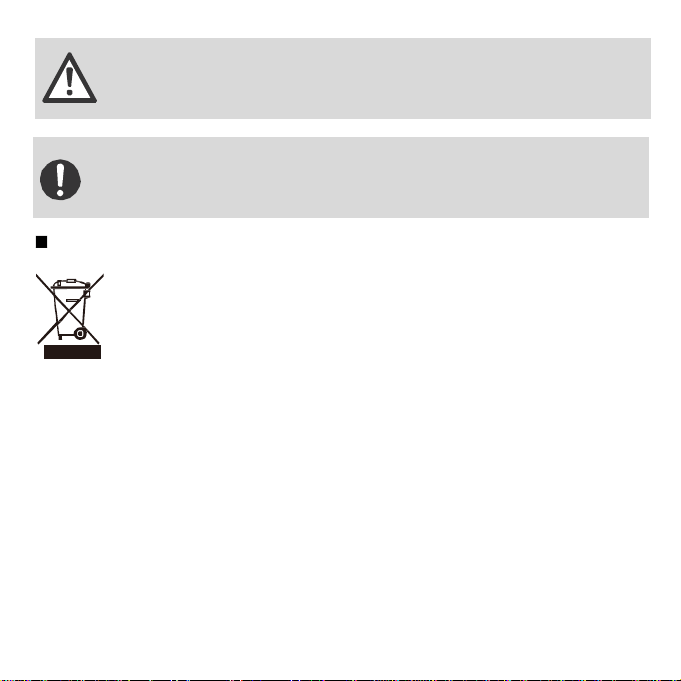
CAUTION
Indicates a situation that could result in minor or moderate injury.
WARNING
Indicates a situation that could result in death or serious injury.
INFORMATION
Indicates useful tips or additional information.
NOTICE
Indicates a situation that could result in equipment or property
damage.
1.2 For the user
If you are not sure how to operate the unit, contact your installer.
The appliance is not intended for use by persons, including children,
with reduced physical, sensory or mental capabilities, or lack of
experience and knowledge, unless they have been given supervision
or instruction concerning use of the appliance by a person
responsible for their safety. Children must be supervised to ensure
that they do not play with the product.
3
CAUTION
Do NOT rinse the unit. This may cause electric shocks or fire.
NOTICE
▪Do NOT place any objects or equipment on top of the unit.
▪Do NOT sit, climb or stand on the unit.
Units are marked with the following symbol:
This means that electrical and electronic products may not be
mixed with unsorted household waste. Do NOT try to dismantle
the system yourself: the dismantling of the system, treatment of
the refrigerant, of oil and of other parts must be done by
an authorized installer and must comply with applicable legislation. Units
must be treated at a specialized treatment facility for reuse, recycling and
recovery. By ensuring this product is disposed of correctly, you will help to
prevent potential negative consequences for the environment and human
health. For more information, contact your installer or local authority.

2 A GLANCE OF THE USER INTERFACE
4
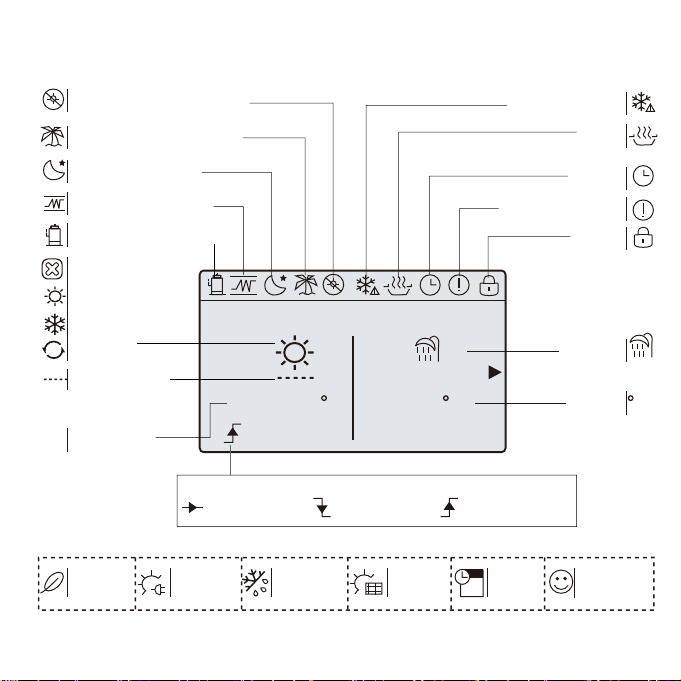
2.1 The appearance of the wire control device
Turn on or off the
space operation
mode or DHW
mode turn on or
off the function in
the menu
structure
Enter the menu
structure from
the home page
Navigate the
cursor on the
display/navigate
in the menu
structure/adjust
the settings
Come back to
the up level
Long press for
unlocking /locking
the controller
unlock /lock some
function such as
''TANK'' temp.
adjusting''
Go to the next step when
programming a schedule in the
menu structure / confirm a
selection/enter a submenu in
the menu structure
5
2.2 Status icons
Lock icon
Timer icon
Prevent freezing icon
The AHS
(additional heating source such as gas boiler)
is activated
A malfunction occured
Silent mode is activated
The disinfect function is activated
Holiday away/home is activated
Backup heater is activated
The compressor is activated
Desired temp.
DHW mode
the desired temp.
will not change.
the desired temp.
will decrease.
the desired temp.
will increase.
TANK 5527
SET
SET
08 : 30
c c c
ON
ON
DHWMAIN
21: 55 08 - 08 - 2015 SAT.
Tank temp.
Heat mode
Cool mode
Auto mode
Mode
is operating
A
At the next scheduled action, the desired temp. will increase.
Shutoff
ECO mode
is activated
Tank heater
is activated
Defrost mode
is activated
The solar
energy
is activated
Weekly
schedule
7
Comfort mode
is activated

3 USING HOME PAGES
3.1 About home pages
You can use the home pages to read out and change settings that are
meant for daily usage. What you can see and do on the home pages is
described where applicable. Depending on the system layout, the
following home pages may be possible:
■Room temperature (ROOM )
■Outlet water temperature (MAIN)
■DHW tank temperature (TANK)
DHW=domestic hot water
①home page1:
If you have set the WATER FLOW TEMP. is YES and ROOM TEMP.
is NON. There will be only main page. The system has the function
including floor heating and making hot water. The page will appear:
6
NOTE:
All the pictures in the manual are used to explain, the actual pages in
the screen maybe have some difference.
Table of contents
Other Midea Controllers manuals

Midea
Midea KJR-120C/TF-E Operating instructions
 User manual")
Midea
Midea KJR-12B/DP(T) User manual

Midea
Midea CCM30/BKE-A User manual

Midea
Midea KSACN0401AAA User manual

Midea
Midea KJR-29B/BK-E User manual

Midea
Midea CCM-270A/WS User manual
/BGEF Installation instructions")
Midea
Midea KJR-120M(X4)/BGEF Installation instructions

Midea
Midea KJR-120G1/TFBG-E Installation instructions

Midea
Midea KJR-29B/BKE-E User manual
Popular Controllers manuals by other brands

Digiplex
Digiplex DGP-848 Programming guide

YASKAWA
YASKAWA SGM series user manual

Sinope
Sinope Calypso RM3500ZB installation guide

Isimet
Isimet DLA Series Style 2 Installation, Operations, Start-up and Maintenance Instructions

LSIS
LSIS sv-ip5a user manual

Rockwell Automation
Rockwell Automation 1769-L31 installation instructions


