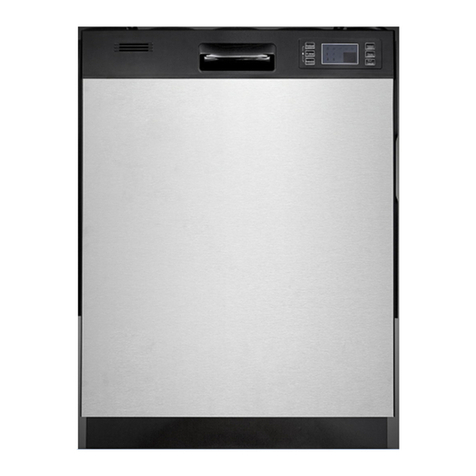
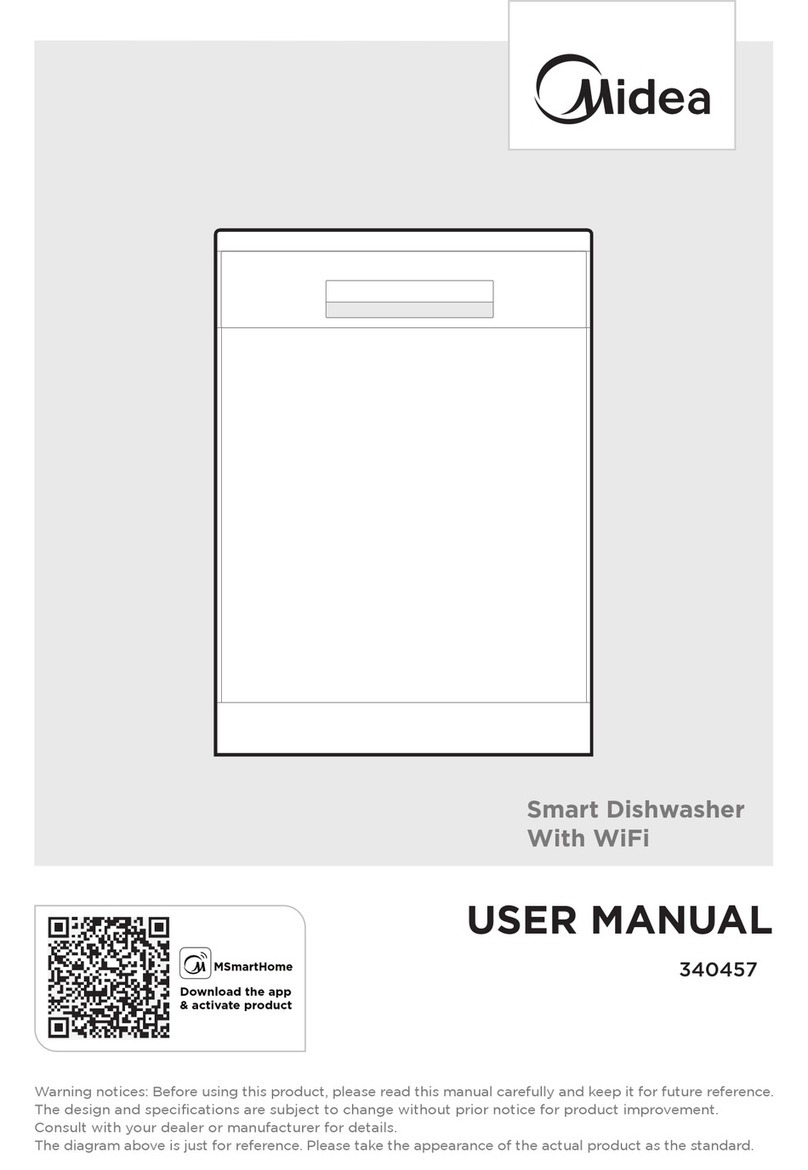
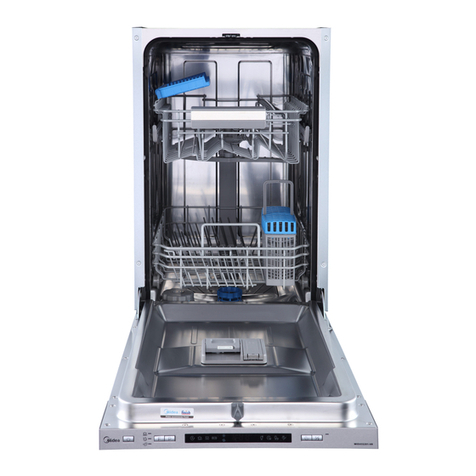
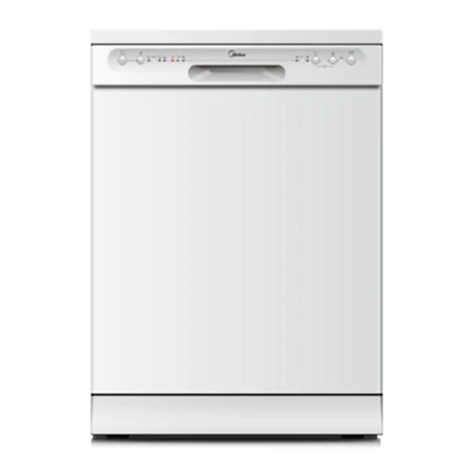
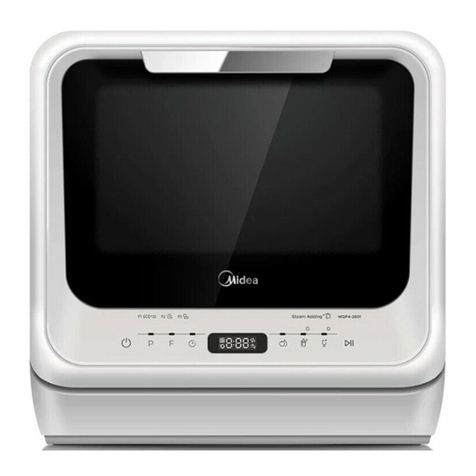
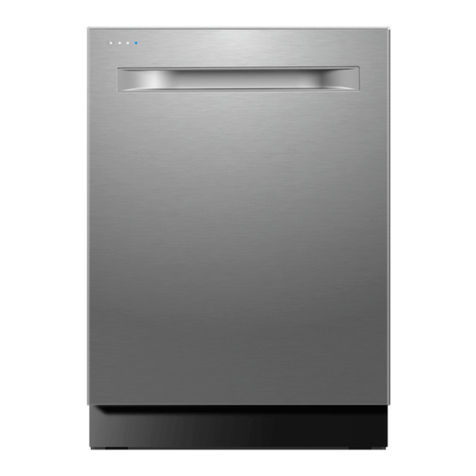
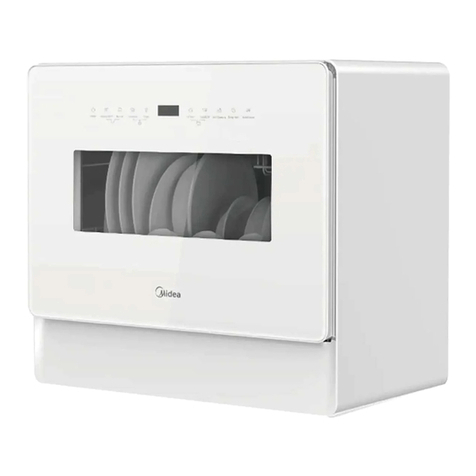
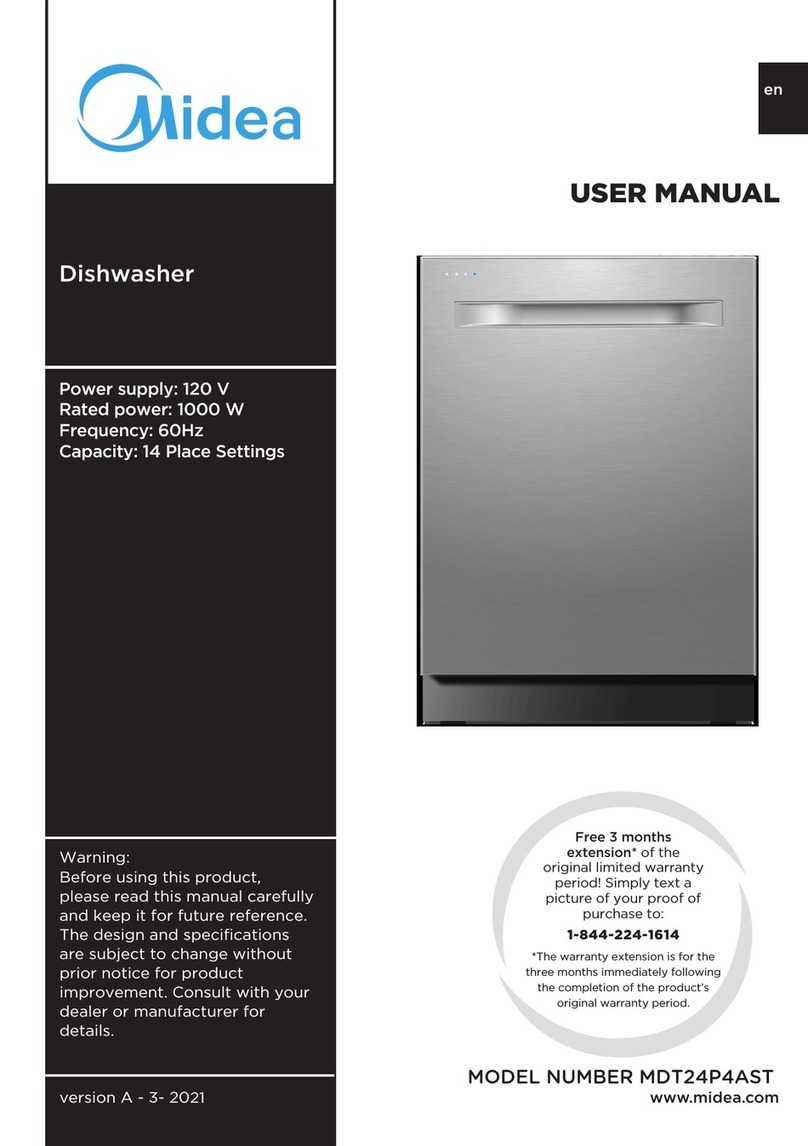
Midea 340660 User manual

340660
USER MANUAL
Warning notices: Before using this product,please read this manual carefully and keep it for future reference.
The design and specifications are subject to change without prior notice for product improvement.
Consult with your dealer or manufacturer for details.
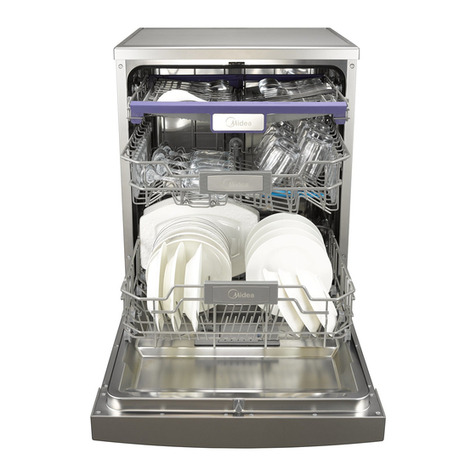
The diagram aboveis just for reference. Please take the appearance of the actual product as the standard.
Download the app
& activate product
MSmartHome
Smart Dishwasher
With WiFi

THANK YOU LETTER 01
02
18
12
11
34
36
39
42
43
08
10
44
SAFETY INSTRUCTIONS
SPECIFICATIONS
PRODUCT OVERVIEW
QUICK START GUIDE
PRODUCT INSTALLATION
OPERATION INSTRUCTIONS
APP SETUP AND OPERATION
CLEANING AND MAINTENANCE
TROUBLESHOOTING
TRADEMARKS,COPYRIGHTS AND LEGAL STATEMENT
DISPOSAL AND RECYCLING
DATA PROTECTION NOTICE
THANK YOU LETTER
Thank you for choosing Midea! Before using your new Midea product, please read
this manual thoroughly to ensure that you know how to operate the features and
CONTENTS

Intended Use
Explanation of Symbols
SAFETY INSTRUCTIONS
02
The following safety guidelines are intended to
prevent unforeseen risks or damage from unsafe
or incorrect operation of the appliance. Please
check the packaging and appliance on arrival to
make sure everything is intact to ensure safe
operation. If you find any damage, please contact
the retailer or dealer.
Please note modifications or alterations to the
appliance are not allowed for your safety concern.
Unintended use may cause hazards and loss of
warranty claims.
●
●
Danger
This symbol indicates that there are dangers
to the life and health of persons due to
extremely flammable gas.
Warning of electrical voltage
This symbol indicates that there is a danger
to life and health of persons due to voltage.
Warning
The signal word indicates a hazard with a
medium level of risk which, if not avoided,
may result in death or serious injury.

Read these operating instructions carefully and
attentively before using/commissioning the unit and
keep them in the immediate vicinity of the installation
site or unit for later use!
03
Caution
The signal word indicates a hazard with a
low degree of risk which, if not avoided,
may result in minor or moderate injury.
Attention
The signal word indicates important
information (e.g. damage to property),
but not danger.
Observe instructions
This symbol indicates that a service
technician should only operate and maintain
this appliance in accordance with the
operating instructions.

04
DANGER: Risk of Fire/Flammable materials
●●
●
●
●
●
●
●
●
When using your dishwasher, follow the precautions
listed below:
Installation and repair can only be carried out by a
qualified technician.
This appliance is intended to be used in household
and similar applications such as:
-staff kitchen areas in shops, offices and other
working environments;
-farm houses;
-by clients in hotels, motels and other residential
type environments;
-bed and breakfast type environments.
This appliance can be used by children aged from 8
years and above and persons with reduced physical,
sensory or mental capabilities or lack of experience
and knowledge if they have been given supervision
or instruction concerning use of the appliance in a
safe way and understand the hazards involved.
Children shall not play with the appliance. Cleaning
and user maintenance shall not be done by children
without supervision. (For EN60335-1)
This appliance is not intended for use by persons
(including children) with reduced physical, sensory
or mental capabilities, or lack of experience and
knowledge, unless they have been given supervision
or instruction concerning use of the appliance by a
person responsible for their safety. (For IEC60335-1)
Packaging material could be dangerous for children!
Children should be supervised to ensure that they do
not play with the appliance.
This appliance is for indoor household use only.

Earthing Instructions
05
●
●
●
●
●
●
●
●
●
●
●
To protect against the risk of electrical shock, do not
immerse the unit, cord or plug in water or other liquid.
Please unplug before cleaning and maintenance the
appliance. Use a soft cloth moisten with mild soap,
and then use a dry cloth to wipe it again.
If the supply cord is damaged, it must be replaced by
the manufacturer or its service agent or a similarly
qualified person in order to avoid a hazard.
This appliance must be earthed. In the event of a
malfunction or breakdown, earthing will reduce the
risk of an electric shock by providing a path of least
resistance of electric current. This appliance is
equipped with an earthing conductor plug.
The plug must be plugged into an appropriate outlet
that is installed and earthed in accordance with all
local codes and ordinances.
Improper connection of the equipment-earthing
conductor can result in the risk of an electric shock.
Check with a qualified electrician or service
representative if you are in doubt whether the
appliance is properly grounded.
Do not modify the plug provided with the appliance
if it does not fit the outlet.
Have a proper outlet installed by a qualified
electrician.
Do not abuse, sit on, or stand on the door or dish
rack of the dishwasher.
Do not operate your dishwasher unless all enclosure
panels are properly in place.
Open the door very carefully if the dishwasher is

06
●
●
●
●
●
●
●
●
●
●
●
●
operating, there is a risk of water squirting out.
Do not place any heavy objects on or stand on the
door when it is open. The appliance could tip
forward.
When loading items to be washed:
1) Locate sharp items so that they are not likely to
damage the door seal;
2) Warning: Knives and other utensils with sharp
points must be loaded in the basket with their points
facing down or placed in a horizontal position.
Some dishwasher detergents are strongly alkaline.
They can be extremely dangerous if swallowed.
Avoid contact with the skin and eyes and keep
children away from the dishwasher when the door is
open.
Check that there are no detergent residues after
completion of the wash cycle.
Do not wash plastic items unless they are marked
“dishwasher safe” or the equivalent.
For unmarked plastic items not so marked, check the
manufacturer's recommendations.
Use only detergent and rinse agents recommended
for use in an automatic dishwasher.
Never use soap, laundry detergent, or hand washing
detergent in your dishwasher.
The door should not be left open, since this could
increase the risk of tripping.
During installation, the power supply must not be
excessively or dangerously bent or flattened.
Do not tamper with controls.
The appliance needs to be connected to the main
water valve using new hose sets. Old sets should not
be reused.

Disposal
07
●
●
●
●
●
●
●
●
●
To save energy, in stand by mode, the appliance will
switch of automatically after 15 minutes without any
user interaction.
The maximum number of place settings to be
washed is 15.
The maximum permissible inlet water pressure is
1MPa.
The minimum permissible inlet water pressure is
0.04MPa.
For disposing of package and the appliance please
go to a recycling center.
Therefore cut off the power supply cable and make
the door closing device unusable.
Cardboard packaging is manufactured from recycled
paper and should be disposed in the waste paper
collection for recycling.
By ensuring this product is disposed of correctly, you
will help prevent potential negative consequences for
the environment and human health, which could
otherwise be caused by inappropriate waste handling
of this product.
For more detailed information about recycling of this
product, please contact your local city office and
your household waste disposal service.
DISPOSAL: Do not dispose this product as unsorted
municipal waste. Collection of such waste separately
for special treatment is necessary.

08
SPECIFICATIONS
845 mmHeight (H)
Width (W)
Depth (D1)
Depth (D2)
598 mm
600 mm (with the door closed)
1175 mm (with the door opened 90°)
W
D1
H
D2

Product information sheet
Manufacturer
Type/Description
Standard place settings
Energy efficiency class
Water consumption class
Standard cleaning cycle
Energy consumption of the standard cleaning cycle
Water consumption of the standard cleaning cycle
Program duration of the standard cleaning cycle
Noise level
Mounting
Could be built-in
Power consumption
Rated voltage/frequency
Water pressure (flow pressure)
MIDEA
340660
15
ECO
0.664 kWh
12 liter
195 min
44 dB(A) re 1 pW
Build in
YES
1760-2100W
AC 220-240V/50Hz
0.04-1.0MPa=0.4-10 bar
4
5
09

Inner pipe
Dispenser
Lower spray arm
Filter assembly
Top spray arm
Cutlery rack Lower basketUpper basket
Upper spray
arm
Cup rack
Product
PRODUCT OVERVIEW
IMPORTRANT
To get the best performance from your dishwasher, read all operating
instructions before using it for the first time.
NOTE
Pictures are only for reference, different models may be different.
10
Drain Pipe(nondetachable)
Inlet Pipe
Lenght: 1800mm
Connector: 3/4(inch) Lenght: 1614mm
External diameter:35mm

QUICK START GUIDE
Please read the corresponding content in the instruction manual
for detailed operating method.
11
1.Install the dishwasher
3. Load the baskets.
Inside Outside
5. Select a suitable program
and start the dishwasher.
4. Fill the dispenser with
detergent and rinse aid.
2. Remove larger residue
from dishes.
Avoid pre-rinsing.

About Power Connection
Water Supply And Drain
Electrical Shock Hazard
Disconnect electrical power before installing dishwasher.
Failure to do so could result in death or electrical shock.
For personal safety:
Do not use an extension cord or an adapter plug with this appliance.
Do not, under any circumstances, cut or remove the earthing
connection from the power cord.
The installation of the pipes and electrical equipments should
be done by professionals.
Electrical requirements
Please look at the rating label to know the rating voltage and connect the dishwasher
to the appropriate power supply. Use the required fuse 10A/13A/16A, time delay fuse or
circuit breaker recommended and provide separate circuit serving only this appliance.
Cold water connection
Connect the cold water supply hose to a threaded
3/4(inch) connector and make sure that it is fastened
tightly in place.
If the water pipes are new or have not been used for
an extended period of time, let the water run to make
sure that the water is clear. This precaution is needed
to avoid the risk of the water inlet to be blocked and
damage the appliance.
Electrical connection
Ensure the voltage and frequency of the power being corresponds to those on the
rating plate. Only insert the plug into an electrical socket which is earthed properly.
If the electrical socket to which the appliance must be connected is not appropriate
for the plug, replace the socket, rather than using a adaptors or the like as they could
cause overheating and burns.
Ensure that proper earthing exists before use
ordinary supply hose
WARNING
WARNING
Attention
12
PRODUCTINSTALLATION

13
Insert the drain hose into a drain pipe with a minimum diameter of 4 cm, or let it run into
the sink, making sure to avoid bending or crimping it. The height of drain pipe must be
less than 1000 mm. The free end of the hose must not be immersed in water to avoid
the back flow of it.
A hose that attaches to a tap can burst if it is installed on the same water line as the
dishwasher. If your sink has one, it is recommended that the hose be disconnected
and the hole plugged.
How to connect the safety supply hose
1. Pull the safety supply hoses out from storage compartment located at
rear of dishwasher.
2. Tighten the screws of the safety supply hose to the faucet with thread 3/4inch.
3. Turn the water fully on before starting the dishwasher.
How to disconnect the safety supply hose
1. Turn off the water.
2. Unscrew the safety supply hose from the faucet.
Connection Of Drain Hoses
Please securely fix the drain hose in either position A or position B
WARNING
B
A
MAX 1000 mm
Counter
Drain hose
Back of dishwasher
Water Inlet
Drain Pipe
Mains Cable
40 mm
Drain Pipe

14
Built-In Installation (for the integrated model)
Extension hose
If you need a drain hose extension, make sure to use a similar drain hose.
It must not be longer than 4 meters, otherwise the cleaning effect of the dishwasher
could be reduced.ance.
Step 1. Selecting the best location for the dishwasher
The installation position of the dishwasher should be near the existing inlet and drain
hose and power socket.
Illustrations of cabinet dimensions and installation position of the dishwasher.
1. Less than 5 mm between the top of dishwasher and cabinet and the outer door
aligned to cabinet.
Positioning The Appliance
Position the appliance in the desired location. The back should rest against the wall
behind it, and the sides, along the adjacent cabinets or walls. The dishwasher is
equipped with water supply and drain hoses that can be positioned either to the
right or the left sides to facilitate proper installation.
Syphon connection
The waste connection must be at a height less than 1000 mm (maximum) from the
bottom of the dishwasher.
How to drain excess water from hoses
If the connection to the drain pipe is positioned higher than 1000 mm, excess water
may remain in the drain hose. It will be necessary to drain excess water from the hose
into a bowl or suitable container that is held outside and lower than the sink.
Water outlet
Connect the water drain hose. The drain hose must be correctly fitted to avoid water
leaks. Ensure that the water drain hose is not kinked or squashed.
90 ° 90 °
580mm
820mm
100
Electrical, drain
and water supply
line connection
Space between cabinet
bottom and floor
600 mm(for 60cm model)
450 mm(for 45cm model)
80

15
Step 2. Aesthetic panel's dimensions and installation
2. If dishwasher is installed at the corner of the cabinet,
there should be some space when the door is opened.
Follow the specific installation instruction for attaching the
aesthetical door panel.
Depending on where your electrical outlet is, you may
need tocut a hole in the opposite cabinet side.
Semi-integrated model
Seperate velcro stripe A and velcro stripe B and attach velcro stripe A on the inner
side of the aesthetic panel. Attach the felted velcro stripe B on the outer door of
dishwasher (see figure A). After positioning of the panel, fix the panel onto the
outer door by screws and bolts (See figure B).
Dishwasher
Door of
dishwasher
Cabinet
Minimum space
of 50mm
A
B
Velcro
stripe
1.Take away the four short screws
2.Pin up the four long screws

16
1. The door springs are set at the factory to
the proper tension for the outer door. If
aesthetic panel are installed, you
will have to adjust the door spring tension.
Rotate the adjusting screw to drive the
adjustor to strain or relax the steel cable.
2. Door spring tension is correct when the
door remains horizontal in the fully opened
position, yet rises to a close with the slight
lift of a finger.
Fully-integrated model
Install the hook on the aesthetic panel and put the hook into the slot of the outer
door of dishwasher (see figure A). After positioning of the panel, fix the panel
onto the outer door by screws and bolts (See figure B).
Step 4. Dishwasher installation steps
Step 3. Tension adjustment of the door spring
Please refer to the specific installation steps in the installation drawings.
1. Affix the condensation strip under the work surface of cabinet. Please ensure the
condensation strip is flush with edge of work surface. (Step 2)
2. Connect the inlet hose to the cold water supply.
3. Connect the drain hose.
4. Connect the power cord.
5. Place the dishwasher into the cabinet.
6. Level the dishwasher. The rear foot can be adjusted from the front of the
dishwasher by turning the Philips screw in the middle of the base of dishwasher
use a Philips screw driver. To adjust the front feet, use a flat screw driver and turn
the front feet until the dishwasher is level. (Step 5 to Step 6)
7. Install the furniture door to the outer door of the dishwasher. (Step 7 to Step 10)
8. Adjust the tension of the door springs by using a Philips screw driver turning in a
clockwise motion to tighten the left and right door springs. Failure to do this
could cause damage to your dishwasher. (Step 11)
B
A1.Take away the four short screws
2.Pin up the four long screws

17
Step 5. Levelling the dishwasher
Dishwasher must be level for proper dish rack operation and wash performance.
1. Place a spirit level on door and rack track inside the tub as shown to check that
the dishwasher is level.
2. Level the dishwasher by adjusting the three levelling feet individually.
3. When level the dishwasher, please pay attention not to let the dishwasher tip over.
The maximum adjustment height of the feet is 50 mm.
9. The dishwasher must be secured in place. There are two ways to do this:
A. Normal work surface: Put the installation hook into the slot of the side plane
and secure it to the work surface with the screws.
B. Marble or granite work top: Fix the side with screws.
Check level
front to back
Check level
side to side
A
B
UP
DOWN

Description
●
No.1 Press this button to turn on your dishwasher.
Power
●
No.2 Wi-Fi
Indicator slowly flashing: Waiting for connection
Indicator quickly flashing: Connecting
Indicator keeping lighted: Connected with your
mobile device.
If your mobile device(APP) has finished connecting
with your dishwasher for the first time. Then press
the button for more than 3 seconds to confirm the
connection.
If you want to unconnect with current mobile device,
press thebutton more than 15 seconds.
●Press these buttons to select the appropriate
washing program, the corresponding program
indicator will be lit.
No.3 Program
●Press the button to increase the delay start time.
Delay a cycle for up to 24 hours in one-hour
increments.
No.4 Delay
11
Control Panel
OPERATIONINSTRUCTIONS
18
1 2 3 11 3 3 4 5 7 86 910 12
●
No.5
Press the button to select either upper basket or
lower basket loaded, and the corresponding
indicator will light up.
Alt

Description
●
No.9
After completing program and function selection or
delay time setting, press this button to start.
When the washing program is running, after the
program is suspended by opening the door, press
this button for 3 seconds to cancel the current
program and function.
Start/Cancel
19
●
No.6
Press the button to select either upper basket or
lower basket loaded, and the corresponding
indicator will light up.
Alt
●
No.7 To wash very dirty, hard to clean dishes. (It can't not
be used with Auto, Rapid, MachineCare+)
Power Wash
●
No.8
Ion Dishfresh sterilize the dishwasher and also keep it
odor-free. As such, fresh dishes are always ready for
you and better keep your delicacies'flavor.
Ion Dishfresh
●
No.6
After washing, the door will open automatically to
achieve better drying effect. (It can't not be used
with Rapid)
Press and hold the Delay button + Alt button for
3 seconds simultaneously to select or cancel this
function.
You can press the button to activate or remove the
Auto Open option.
The dishwasher door must not be blocked when set
to open automatically. This can disrupt door lock
functionality.
Auto open
Rapid
No.10
Program
indicators
●A shorter wash for lightly soiled loads that do not
need drying.
90 min ●For normally soiled loads that need quick wash.
IntensiveCare+ ●For the heaviest soiled crockery, and normally soiled
pots, pans, dishes etc. With dried-on food.
Auto ●Auto sensing wash, lightly, normally or heavily soiled
crockery, with or with out dried-on food.
●This is standard program, it is suitable to clean
normally soiled tableware and it is the most efficient
program in terms of its combined energy and water
consumption for that type of tableware.
ECO
No.12
Cloud
wash
●This button refers to a variety of washing programs
or function that can be selected in the APP.
If the washing program has not been activated in
the APP, the Glass will be activated by default.
Cloud wash
Table of contents
Other Midea Dishwasher manuals

Midea
Midea DWP63608 User manual

Midea
Midea MDF24P1B Series User manual

Midea
Midea WQP6-3705 How to use

Midea
Midea WQP6-3705-AU How to use

Midea
Midea DW143W User manual

Midea
Midea SB 80-9373 User manual
Midea
Midea MDWS-2703 User manual

Midea
Midea MDT24H3AST User manual

Midea
Midea EGT 2.60 IX User manual
Midea
Midea MDWMINIW User manual

Midea
Midea MDT24H2AST User manual

Midea
Midea JHDWSD7SS User manual

Midea
Midea ST 3.6F wi User manual

Midea
Midea TORRINO User manual

Midea
Midea UP2-HK User manual

Midea
Midea MDW 10E4 S User manual

Midea
Midea Wp5C User manual

Midea
Midea WQP8-3802D User manual

Midea
Midea WQP6-3208-US User manual

Midea
Midea MID45S201-HR User manual