manuals.online logo
Brands
  1. Home
  2. •
  3. Brands
  4. •
  5. Midwest
  6. •
  7. Pet Care Product
  8. •
  9. Midwest Spree User manual

Midwest Spree User manual

LIMITED MANUFACTURER’S WARRANTY
1. For one (1) year from the date of original purchase, MidWest Homes For Pets (“MIDWEST”) warrants to the purchaser of this pet carrier that,
should it prove defective by reason of improper workmanship and/or material, the manufacturer will repair or replace, at its option, any
defective part of the pet carrier, without charge for the part or for shipping. Replacement parts are warranted for the remainder of the original
period.
2. THIS WARRANTY DOES NOT COVER defects in the enclosure caused by any animal, any physical abuse to or misuse of the pet carrier, any
damage caused by the original purchaser or any third party, or any defects arising or discovered more than one (1) year from the original retail
purchase date.
3. STEPS TO OBTAIN WARRANTY SERVICE:
A. The purchaser must call the manufacturer’s HELPLINE, 800-428-8560, to report the alleged defect to a customer service representative or
obtain missing parts.
B. The customer service representative will determine if the defect is covered by this warranty, and if it is, will authorize and instruct the
purchaser in how to obtain corrective action.
C. The manufacturer may require the purchaser to present the sales receipt or other proof of purchase prior to authorizing any return or
replacement. No returns or replacements will be permitted without proper authorization. If a return or replacement is authorized, you may be
requested to return the item to the manufacturer or to make the item available for pick-up by the manufacturer.
4. ANY EXPRESS WARRANTY NOT PROVIDED IN THIS WARRANTY DOCUMENT, AND ANY REMEDY FOR BREACH OF CONTRACT
THAT, BUT FOR THIS PROVISION, MIGHT ARISE BY IMPLICATION OR OPERATION OF LAW, IS HEREBY EXCLUDED AND
DISCLAIMED. THE IMPLIED WARRANTIES OF MERCHANTABILITY AND OF FITNESS FOR ANY PARTICULAR PURPOSE ARE
EXPRESSLY LIMITED TO A TERM OF ONE (1) YEAR. SOME STATES DO NOT ALLOW LIMITATIONS ON HOW LONG AN IMPLIED
WARRANTY LASTS, SO THE ABOVE LIMITATIONS MAY NOT APPLY TO YOU.
5. UNDER NO CIRCUMSTANCES SHALL THE MANUFACTURER BE LIABLE TO PURCHASER OR ANY OTHER PERSON OR ANY
SPECIAL, INCIDENTAL OR CONSEQUENTIAL DAMAGES, WHETHER ARISING OUT OF BREACH OF WARRANTY, BREACH OF
CONTRACT OR OTHERWISE, SOME STATES DO NOT ALLOW THE EXCLUSION OR LIMITATIONS OF INCIDENTAL OR
CONSEQUENTIAL DAMAGES, SO THE ABOVE LIMITATIONS OR EXCLUSION MAY NOT APPLY TO YOU.
6. This warranty gives you specific legal rights, and you
may also have other rights which vary from state to state.
TOLL-FREE SERVICE HELPLINE: If you have any problems or questions with the assembly of your Spree
Pet Carrier, call our Service Helpline at: 1-800-428-8560 between 9:00 a.m. and 4:00 p.m. (EST) Monday
through Friday.
INST_Spree_Top Door (206)
- Come Visit Our Website
www.midwesthomes4pets.com
Crates • Kennels • Pet Beds
Cat Furniture • Ex Pens •Accessories . . .
For a Complete Listing of Products
4
12. Attach the Top Door Latches. Insert each latch between the first two horizontal wires and just to the outside of the
first two vertical wires as shown. When the Top Door is down, the latches will twist into a locked position to keep
the door securely closed.
Your Spree Pet Carrier is now ready to
use. Always be sure both doors are
fully latched and secure when the
carrier is in use. Do not use this carrier
with pets weighing more than 25 lbs. Plastic Bottom (1) Plastic Top (1) Knobs (2) Front Door Hinges (4) Front Door (1)
Top Handle (1) Top Handle Clips (2) Top Door (1) Top Door Latches (2)
Twist the Knobs and Front Door Hinges to detach them from the plastic packaging. Lay out all pieces,
along with the Top Handle, Top Handle Clips, and Top Door Latches.
1.
2.
800-428-8560
midwesthomes4pets.com
3142 S. Cowan Rd.
Muncie, Indiana 47302
Remove collar, tags, and leads from pet before placing it in the home to prevent possible entanglement.
This carrier is intended for use by small pets weighing no more than 25 lbs.
Unwrap and remove all parts from the box. Keep the box and packing material until the product is assembled.
In case of return or exchange, failure to return product in similar condition as received could result in limited
reimbursement. Please save sales receipt as proof of purchase for warranty purposes. Check to ensure you have
all the parts below. If you discover any parts are missing, immediately call our toll-free service helpline at
1-800-428-8560 (Monday - Friday 9 a.m. to 4 p.m. EST) or email customer service at [email protected].
IMPORTANT INFORMATION
ASSEMBLY INSTRUCTIONS
PARTS IDENTIFICATION
Assembly Instructions for 1424SPG-TD, 1424SPB-TD, 1424SPR-TD
1
Attach the knobs to the front side of the plastic bottom. To insert, start with the “unlock” symbol at the bottom.
When assembled, the knob will twist 90 degrees clockwise to lock and 90 degrees counter-clockwise to unlock.
Starting at the back of the carrier, place the Plastic Top
on the Plastic Bottom, aligning the tabs on the top with
the holes on the bottom around the carrier’s
perimeter. Slide the top slightly forward until it clicks
into place on the plastic bottom.
3.
100267
Turn the Knobs 90 degrees clockwise to lock the top and
the bottom together.
4.
Insert the four Front Door Hinges at the top and bottom
of the carrier’s opening.
NOTE: This step can also be completed at the
beginning, before Step 2; either way is fine and will not
affect assembly. Simply place the Front Door Hinges in
the hinge holes and press down until they click into
place.
5.
2
The hinges allow the door to be inserted, removed, or opened left-to-right or right-to-left. Simply twist the hinges
to the open and closed position as needed.
6.
Open Closed
With all four Front Door Hinges in the open position,
insert the prongs of the Front Door into the bottom
and top of the carrier opening.
7.
Turn all four Front Door Hinges to the closed
position to secure the door in place.
To open the door left to right: turn the left side
hinges to the open position.
To open the door right to left: turn the right
side hinges to the open position.
To remove the door completely: turn all four
hinges to the open position and remove the
door.
8.
9.
3
10.
11.
With the vertical wires on the Top Door facing down and underneath the horizontal wires of the door, insert the
first Top Handle Clip up through the bottom and between the middle horizonal wires.
In this step, be sure
the vertical wires on
the Top Door are
underneath the
horizonal wires.
Middle
Closed and locked position.
Secure the peg on the Top Door Handle through the hole in the Top Door Handle Clip. Then, repeat Steps 9 and
10 with the second handle clip, pushing it up through the bottom and between the middle horizonal wires on the
other end of the door, then inserting the second peg of the handle into this clip.
Attach the Top Door to the top of the carrier. On one side of the carrier’s top opening there are four fixed plastic
hinges. With the curved end of the handle facing the front of the carrier, guide the side of the Top Door into the
fixed plastic hinges, applying a small amount of pressure until the door snaps securely into the hinges.

This manual suits for next models

3

Other Midwest Pet Care Product manuals

Midwest Life Stages 524DR User manual

Midwest

Midwest Life Stages 524DR User manual

Midwest Pet Gate 2924WEW User manual

Midwest

Midwest Pet Gate 2924WEW User manual

Midwest New World B24 User manual

Midwest

Midwest New World B24 User manual

Midwest Pet Gate 2929SW-GL-3 User manual

Midwest

Midwest Pet Gate 2929SW-GL-3 User manual

Midwest Pet Gate 2924WEW-2 User manual

Midwest

Midwest Pet Gate 2924WEW-2 User manual

Midwest Feline Nuvo 139R-BL User manual

Midwest

Midwest Feline Nuvo 139R-BL User manual

Midwest Solutions SL54DD User manual

Midwest

Midwest Solutions SL54DD User manual

Midwest Life Stages 524SDR User manual

Midwest

Midwest Life Stages 524SDR User manual

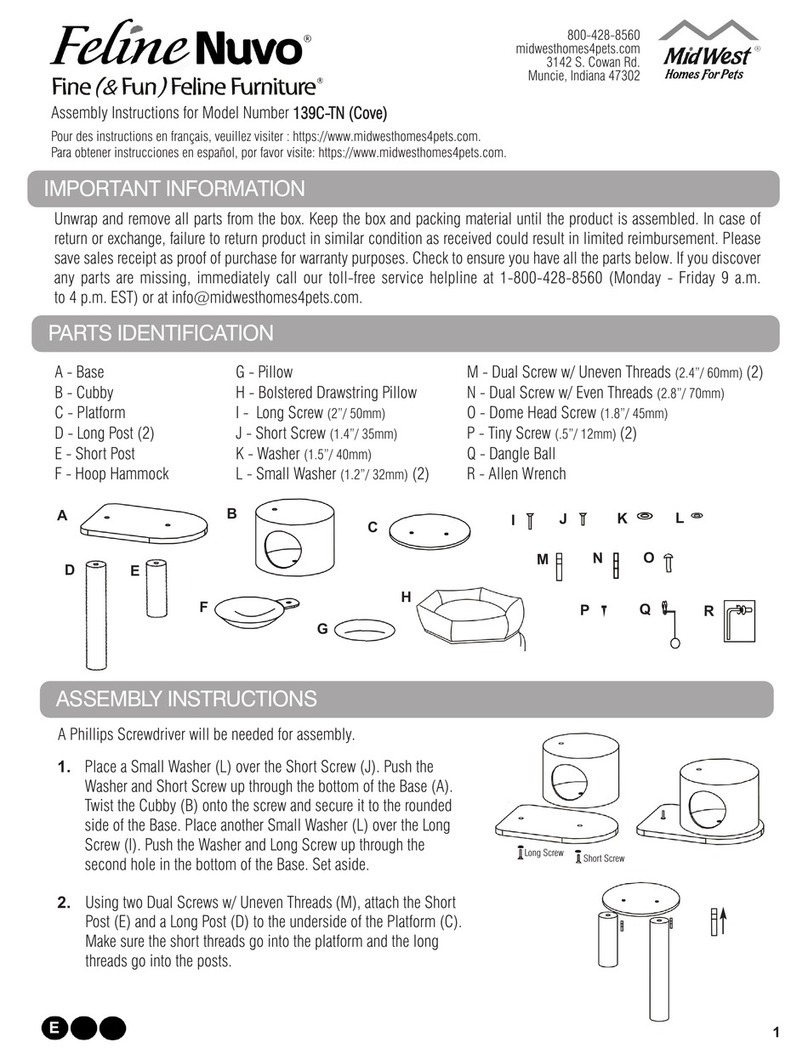
Midwest Feline Nuvo Fine & Fun Feline Furniture 139C-TN... User manual

Midwest

Midwest Feline Nuvo Fine & Fun Feline Furniture 139C-TN... User manual

Midwest Spree Series User manual

Midwest

Midwest Spree Series User manual

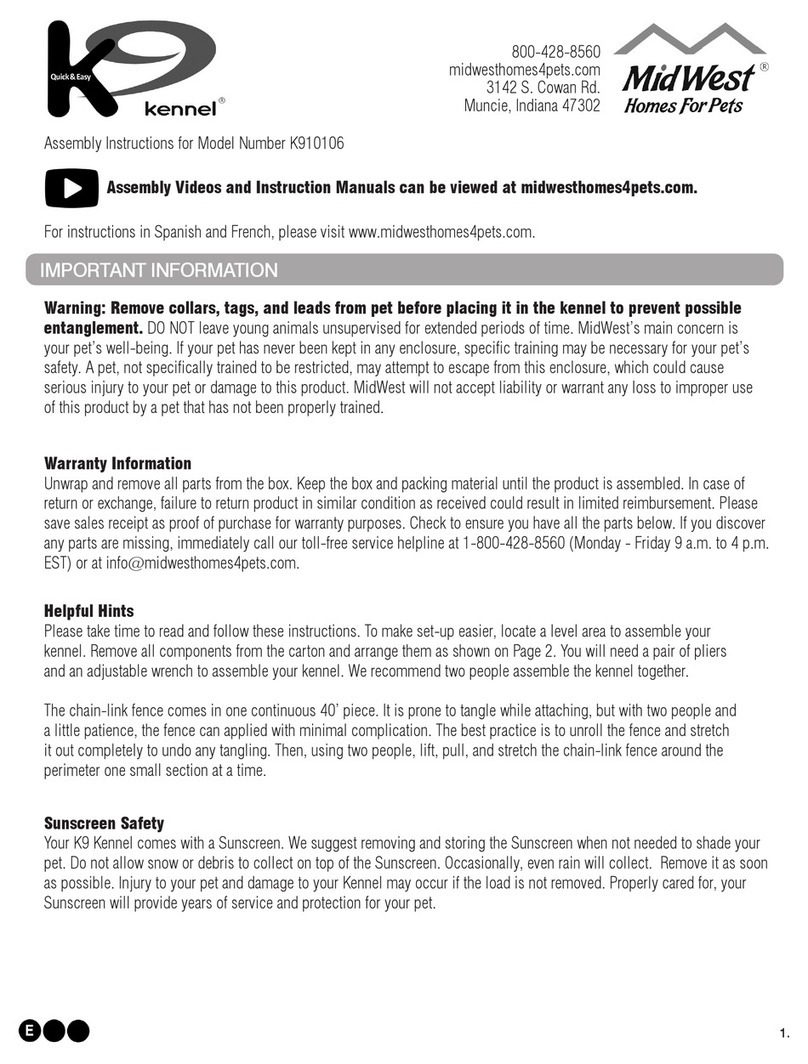
Midwest K9 Kennel K910106 User manual

Midwest

Midwest K9 Kennel K910106 User manual

Midwest 542-30 User manual

Midwest

Midwest 542-30 User manual

Midwest Exercise Pens 550-18 User manual

Midwest

Midwest Exercise Pens 550-18 User manual

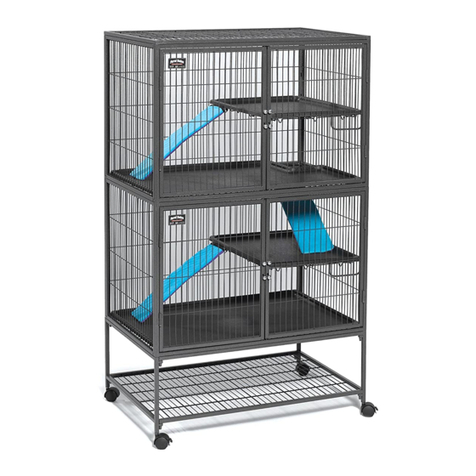
Midwest Ferret Nation 143 User manual

Midwest

Midwest Ferret Nation 143 User manual

Midwest Ferret Nation 182 User manual

Midwest

Midwest Ferret Nation 182 User manual

Midwest Skudo 1418TSG User manual

Midwest

Midwest Skudo 1418TSG User manual

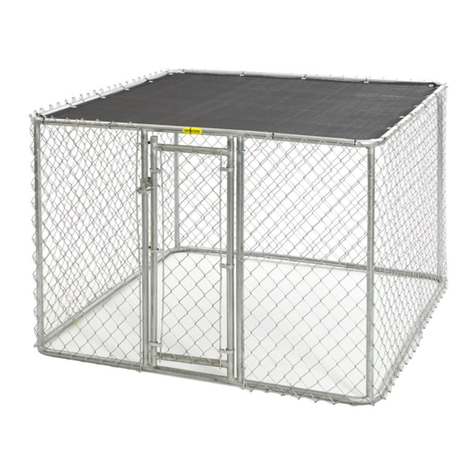
Midwest K9 Kennel K9664 User manual

Midwest

Midwest K9 Kennel K9664 User manual

Midwest Life Stages A.C.E. 418 User manual

Midwest

Midwest Life Stages A.C.E. 418 User manual

Midwest Skudo 1427SG User manual

Midwest

Midwest Skudo 1427SG User manual

Midwest Spree 1419SPR User manual

Midwest

Midwest Spree 1419SPR User manual

Midwest Guinea Habitat plus 171GHP User manual

Midwest

Midwest Guinea Habitat plus 171GHP User manual

Midwest I Crate CA1524DD User manual

Midwest

Midwest I Crate CA1524DD User manual

Midwest kennel K9644 User manual

Midwest

Midwest kennel K9644 User manual

Midwest Avian Adventure Hacienda User manual

Midwest

Midwest Avian Adventure Hacienda User manual

Popular Pet Care Product manuals by other brands

AmazonBasics B076VXVB2L manual

AmazonBasics

AmazonBasics B076VXVB2L manual

Famree Smart Cat Litter Box user manual

Famree

Famree Smart Cat Litter Box user manual

Zoo Med REPTI RAPIDS RR-21 instructions

Zoo Med

Zoo Med REPTI RAPIDS RR-21 instructions

Sharper Image IONIC BATH SI588 instructions

Sharper Image

Sharper Image IONIC BATH SI588 instructions

Tinyloc Hound Finder instruction manual

Tinyloc

Tinyloc Hound Finder instruction manual

Hobby Terra Fix & Easy XL 3 Mounting instructions

Hobby

Hobby Terra Fix & Easy XL 3 Mounting instructions

Best Wireless Dog Fence instruction manual

Best

Best Wireless Dog Fence instruction manual

Dogtra PM10U owner's manual

Dogtra

Dogtra PM10U owner's manual

Drinkwell D360-CA17 operating guide

Drinkwell

Drinkwell D360-CA17 operating guide

Chewy frisco 951774 instruction manual

Chewy

Chewy frisco 951774 instruction manual

Suncast DCW13624 owner's manual

Suncast

Suncast DCW13624 owner's manual

Yummynator 08233 instructions

Yummynator

Yummynator 08233 instructions

Dogwidgets DW-1 user manual

Dogwidgets

Dogwidgets DW-1 user manual

aeolus UC-1801-RCK user manual

aeolus

aeolus UC-1801-RCK user manual

Formex Snap Lock Chicken Coops Assembly instructions

Formex

Formex Snap Lock Chicken Coops Assembly instructions

Petsafe Indoor Bark Control operating guide

Petsafe

Petsafe Indoor Bark Control operating guide

Jenlis FeedSavr quick start guide

Jenlis

Jenlis FeedSavr quick start guide

Next BRONX PET BED Assembly instructions

Next

Next BRONX PET BED Assembly instructions

manuals.online logo
manuals.online logoBrands
  • About & Mission
  • Contact us
  • Privacy Policy
  • Terms and Conditions

Copyright 2025 Manuals.Online. All Rights Reserved.