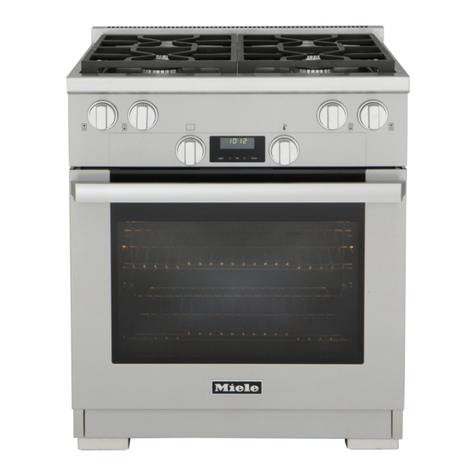
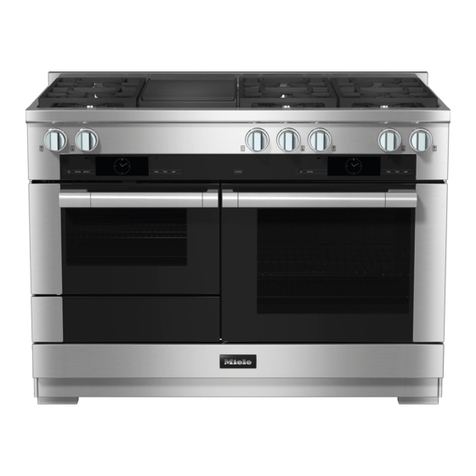
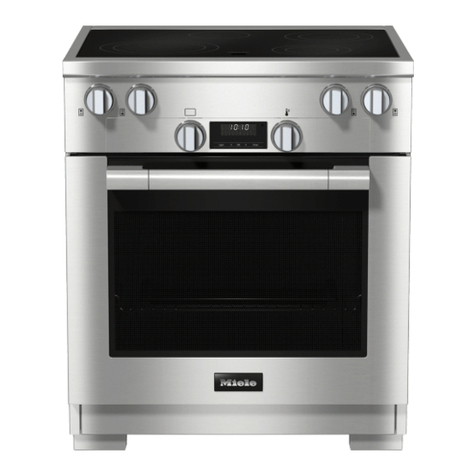
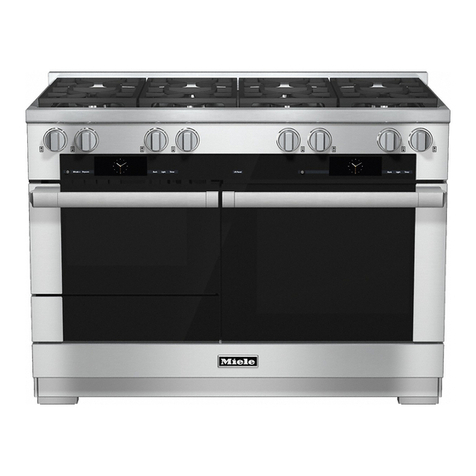
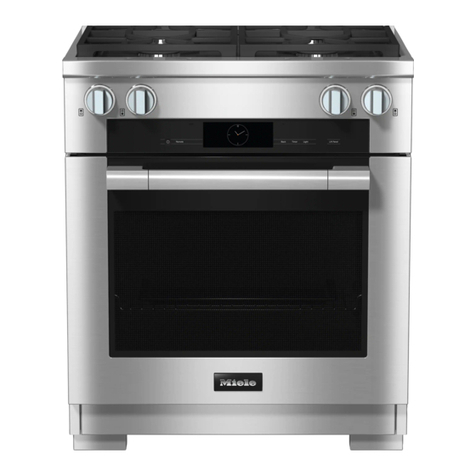
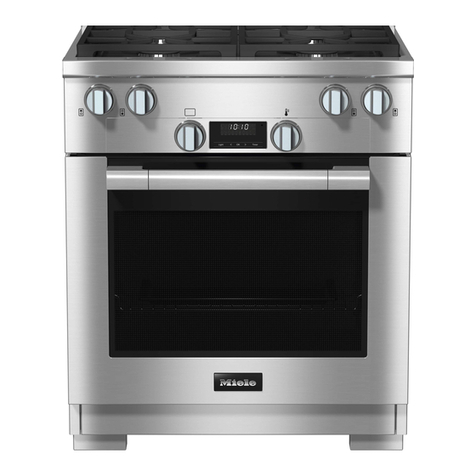
Miele HR 1956 User manual

Operating instructions
Dual Fuel Range Cooker 48"
(Gourmet warming drawer)
It is essential to read all instructions supplied before installing and using
the appliance. This prevents both personal injury and damage to the
appliance.
en-GB M.-Nr. 10 754 350

Important installation information
2
This Range Cooker can be used in countries other than those
specified on the appliance. It is, however, set up for connection to
the gas and electricity supplies in the countries specified. For
trouble-free operation of the appliance, it is best to use it in the
countries specified for use.
For use in other countries, please contact Miele in your country.
Deadly danger from tipping!
If the Range Cooker is not yet secured it could tip over and fatally
injure children or adults.
Secure the Range Cooker with the anti-tip device in accordance
with the installation instructions.
The Range Cooker must be secured and connected according to
the installation instructions.
If you have moved the Range Cooker, slide the locking latch onto
the anti-tip device until you feel it lock into place.
Do not use the Range Cooker if the anti-tip device has not been
properly installed and engaged.

Gas-heated appliances
3
Safety precautions to take if you smell gas
Turn off the gas emergency control valve immediately.
This is usually located near the gas meter.
Eliminate all sources of ignition in a safe manner.
Do not smoke, light cigarette lighters or matches.
Do not operate electrical lights or switches, i.e. do not switch them "On" or
"Off".
Open all doors and windows to ventilate the area.
If the smell of gas persists, evacuate the building.
In the UK you must now:
Call the Gas Emergency Contact Centre (Tel: 0 800 111 999).
For any gas work in the UK always use a Gas Safe registered engineer.
In other countries please follow relevant country specific procedures on gas.

Contents
4
Important installation information ....................................................................... 2
Warning and Safety instructions.......................................................................... 5
Overview Range Cooker ..................................................................................... 12
Gourmet warming drawer...................................................................................... 12
Control panel for gourmet warming drawer ..................................................... 13
Features................................................................................................................ 14
Model numbers ..................................................................................................... 14
Data plate ............................................................................................................. 14
Items supplied....................................................................................................... 14
Using for the first time ........................................................................................ 15
Cleaning for the first time ...................................................................................... 15
Heating up the drawer for the first time ................................................................ 15
Operation.............................................................................................................. 16
Opening and closing the drawer ........................................................................... 16
Using the appliance............................................................................................... 16
Operating modes................................................................................................... 17
Selecting an operating mode ................................................................................ 17
Temperature settings............................................................................................. 18
Duration ................................................................................................................. 19
Keeping food warm ............................................................................................. 20
Heating crockery ................................................................................................. 22
Tips........................................................................................................................ 22
Heating up times ................................................................................................... 22
Capacity ................................................................................................................ 23
Further applications ............................................................................................ 24
Cleaning and care ............................................................................................... 25
Unsuitable cleaning agents ................................................................................... 25
Problem solving guide ........................................................................................ 27
After sales service............................................................................................... 29
Contact in case of malfunction ............................................................................. 29
Data plate ............................................................................................................. 29
Warranty ................................................................................................................ 29
Copyright and licences ....................................................................................... 30

Warning and Safety instructions
5
This Range Cooker conforms to current safety requirements.
Inappropriate use can, however, lead to personal injury and
damage to property.
Read the Installation instructions carefully before installing and
connecting the Range Cooker.
Read the Operating instructions carefully before using the Range
Cooker. Installation and operating instructions are always jointly
applicable and both contain important information on its
installation, safety, use and maintenance. This prevents both
personal injury and damage.
Miele cannot be held liable for damage caused by non-compliance
with these instructions.
Keep the installation instructions and the operating instructions in
a safe place and pass them both on to any future owner.

Warning and Safety instructions
6
Correct application
The drawer is intended for domestic use and use in other similar
environments.
The drawer is not intended for outdoor use.
It is intended for domestic use only as described in these
operating instructions. Any other usage is not supported by the
manufacturer and could be dangerous.
People with reduced physical, sensory or mental capabilities, or
lack of experience and knowledge who are not able to use the
drawer safely on their own must be supervised whilst using it. They
may only use it unsupervised if they have been shown how to use it
safely and recognise and understand the consequences of incorrect
operation.
Safety with children
Children must be kept away from the drawer unless they are
constantly supervised.
Children 8 years and older may only use the drawer unsupervised
if they have been shown how to use it in a safe way and can
recognise and understand the consequences of incorrect operation.
Children must not be allowed to clean the drawer unsupervised.
Please supervise children in the vicinity of the drawer, and do not
let them play with it.
The warming drawer gets hot when in use and remains hot for a
while after being switched off. Keep children well away from the
warming drawer until it has cooled down and there is no danger of
burning.
Danger of suffocation. Packaging, e.g. plastic wrappings, must be
kept out of the reach of babies and children. Whilst playing, children
could become entangled in packaging or pull it over their head and
suffocate.

Warning and Safety instructions
7
Technical safety
Unauthorised installation, maintenance and repairs can cause
considerable danger for the user. Installation, maintenance and
repairs must only be carried out by a Miele authorised technician.
Do not lift or carry the Range Cooker by the oven door handle or
control panel.
A damaged drawer can be dangerous. Always check for visible
signs of damage. Never use a damaged appliance.
Reliable and safe operation of the Range Cooker can only be
guaranteed if it is connected to the mains electricity supply.
The electrical safety of the Range Cooker can only be guaranteed
when correctly earthed. It is most important that this basic safety
requirement is present and tested regularly. If in doubt, consult a
suitably qualified electrician.
Before connecting the Range Cooker to the mains supply, ensure
that the connection data on the data plate (voltage and frequency)
match the mains electricity supply. This data must correspond in
order to avoid the risk of damage to the appliance.
Compare this before connecting the appliance to the mains. Consult
a qualified electrician if in any doubt.
Multi-socket adapters and extension leads do not guarantee the
required safety of the appliance (fire hazard). Do not use these to
connect the Range Cooker to the mains electricity supply.
This Range Cooker must not be installed and operated in mobile
installations (e.g. on a ship).
Any contact with live connections or tampering with the electrical
or mechanical components of the Range Cooker will endanger your
safety and may lead to appliance malfunctions.
Do not open the Range Cooker housing under any circumstances.

Warning and Safety instructions
8
While the Range Cooker is under warranty, repairs should only be
undertaken by a Miele authorised service technician. Otherwise the
warranty is invalidated.
Miele can only guarantee the safety of the appliance when
genuine original Miele replacement parts are used. Faulty
components must only be replaced by Miele spare parts.
The connection to the gas supply must be carried out by a
suitably qualified and competent person in accordance with current
local and national safety regulations (GasSafe in the UK).
If the plug is removed from the connection cable or if the cable is
supplied without a plug, the Range Cooker must be connected to
the electrical supply by a suitably qualified electrician.
During installation, maintenance and repair work, e.g. if the oven
lighting is faulty (see "Problem solving guide"), the Range Cooker
must be completely disconnected from the household electricity
supply.). The gas inlet valve must be closed To ensure this:
– disconnect the mains fuse, or
– completely unscrew the screw-out fuse (in countries where this is
applicable), or
– switch off at the isolator switch, or switch off at the wall socket
and withdraw the plug. Do not pull on the cable, but pull the plug
instead in order to do this.
– Close the gas inlet valve.

Warning and Safety instructions
9
If the Range Cooker is to be built in behind a furniture front (e.g. a
door) do not close the door while the Range Cooker is in use. Heat
and moisture can build up behind the closed door. This can result in
damage to the Range Cooker, surrounding cupboards and the floor.
Leave the furniture front/door open until the Range Cooker has
cooled down completely.
In areas which may be subject to infestation by cockroaches or
other vermin, pay particular attention to keeping the appliance and
its surroundings clean at all times. Any damage caused by
cockroaches or other vermin will not be covered by the warranty.
Correct use
You could burn yourself on a hot drawer or on hot crockery.
Protect your hands with heat-resistant pot holders or gloves when
working with the hot appliance. Do not let them get wet or damp, as
this causes heat to transfer through the material more quickly with
the risk of scalding or burning yourself.
Do not store any plastic containers or inflammable objects in the
drawer. They could melt or catch fire when the appliance is switched
on, causing a fire hazard.
Due to the high temperatures radiated, objects left near the drawer
when it is in use could catch fire. Do not use the drawer to heat up
the room.
Never replace the anti-slip mat supplied with the appliance with
paper kitchen towel or similar.
The telescopic runners can support a maximum load of 25kg.
Overloading or leaning or sitting on the open drawer will damage the
telescopic runners.
The underside of the drawer gets hot when switched on. Be
careful not to touch it when the drawer is open.

Warning and Safety instructions
10
The anti-slip mat is heat-resistant up to 200°C.
It is possible for the bottom of cookware to exceed this temperature,
especially after it has been used to sear food. Allow the cookware to
cool down for a minute or two before placing it in the drawer.
Cookware made of plastic or aluminium foil will melt at high
temperatures. When keeping food warm, use only heat-resistant
cookware made of porcelain, glass, etc.
Liquids that get inside the drawer can cause the appliance to
short-circuit. Open and close a loaded drawer carefully to prevent
liquids from spilling.
The Keeping food warm function is designed to keep hot food
warm and not to warm up cold food. Ensure food is really hot when
placed inside the drawer.
Bacteria can develop on the food if the temperature is too low.
Make sure that you set a high enough temperature to keep food
warm.
Stainless steel appliances
Adhesives will damage the stainless steel surface and cause it to
lose its dirt-repellent protective coating. Do not use sticky notes,
transparent adhesive tape, masking tape or other types of adhesive
on the stainless steel surface.
The surface is susceptible to scratching. Even magnets can cause
scratching.
Cleaning and care
Do not use a steam cleaning appliance to clean the drawer.
The steam could reach electrical components and cause a short
circuit.
Do not clean the anti-slip mat in the dishwasher or washing
machine. Never place it in the oven to dry!

Warning and Safety instructions
11
KEEP THE OPERATING AND INSTALLATION INSTRUCTIONS IN A SAFE
PLACE AND REVIEW THEM PERIODICALLY

Overview Range Cooker
12
Gourmet warming drawer
aControl panel for microwave
combination oven, oven and hob
bMicrowave combination oven
cGourmet warming drawer with anti-
slip mat
dControls
eAir vents
fData plate
The data plate is located behind the
plinth cover.
gFood probe holder
hOven
iHob

Control panel for gourmet warming drawer
13
Sensor controls
Sensor control Description
On/Off sensor
For selecting an operating mode
For setting the temperature
For setting the duration
Display
Display Description
Operating mode for warming cups and glasses
Operating mode for warming plates and dishes
Operating mode for keeping food warm
Operating mode for low temperature cooking
Temperature bar
1h Duration 1hour
2h Duration 2hours
3h Duration 3hours
4h Duration 4hours

Features
14
Model numbers
A list of the models described in these
operating instructions can be found on
the back page.
Data plate
The data plate is located behind the
plinth cover. The plinth cover is
attached to the plinth of the Range
Cooker by magnets so it can be
removed and put back again easily.
The data plate states the model number
of your Range Cooker, the serial
number as well as connection data
(voltage, frequency and maximum
connected load).
Please have this information to hand,
should you need to contact Miele
regarding any questions or problems.
Items supplied
The appliance is supplied with:
– Installation instructions for the Range
Cooker
– Operating instructions for the Range
Cooker:
– Gas hob
– Oven
– Microwave combination oven
– Gourmet warming drawer
– A cookbook or order voucher for a
cookbook depending on country
– Descaling tablets and a plastic tube
with suction cup for descaling the
steam injection system
– An anti-tip device including screws
for securing the Range Cooker
– Various accessories

Using for the first time
15
Cleaning for the first time
Remove any protective foil.
Remove the anti-slip mat from the
drawer and clean it with a solution of
hot water, washing-up liquid and a
clean sponge or clean, damp
microfibre cloth.
Dry the anti-slip mat with a soft cloth.
Before heating it up, wipe the drawer
inside and out with a damp cloth to
remove any dust or left-over
packaging.
Dry all surfaces with a soft cloth.
Replace the anti-slip mat in the
drawer.
Heating up the drawer for the
first time
Heat the empty drawer for at least two
hours.
Touch the On/Off sensor to switch
the drawer on.
Touch the sensor repeatedly until
the symbol lights up.
Touch the sensor repeatedly until
far right LED lights up.
Touch the sensor repeatedly until
2h lights up.
Close the drawer.
The drawer will switch itself off
automatically after two hours.
The drawer is fitted with a contact
switch. This ensures that the heating
element and fan in the appliance only
work when the drawer is closed.
The metal components have a
protective coating. For that reason they
will give off a slight smell temporarily
when the drawer is heated for the first
time. The smell and any vapours given
off will dissipate after a short time, and
do not indicate a faulty connection or
appliance.
It is important to ensure that the kitchen
is well ventilated during this operation.

Operation
16
Opening and closing the
drawer
The base of the drawer is fitted with
an anti-slip mat which stops crockery
sliding about when the drawer is
opened and closed.
Open or close the drawer by pressing
lightly in the middle of the drawer
front.
Using the appliance
The On/Off sensor must be kept
free of dirt and liquids. Soiling and
liquid on the sensor could cause it to
fail to react or switch the appliance
on or off unintentionally.
Liquids that get inside the drawer
can cause a short-circuit.
Open and close a loaded drawer
carefully to prevent liquids from
spilling.
Open the drawer.
Touch the On/Off sensor to switch
the drawer on.
Touch the sensor repeatedly until
the required operating mode lights
up.
Touch the sensor repeatedly until
the LED for the required temperature
lights up.
If you wish to set a duration, touch
the sensor until the desired
number of hours lights up.
Close the drawer.

Operation
17
Operating modes
The following operating modes are
available:
–
Warming cups/glasses
–
Warming dishes/plates
–
Keeping food warm
–
Low temperature cooking
Selecting an operating mode
The last operating mode selected is
automatically activated the next time
the drawer is switched on, and this is
shown in the display.
Touch the sensor repeatedly until
the required operating mode lights
up.
The Gourmet warming drawer has a fan
which distributes the warm air evenly
through the drawer.
The fan runs continuously in the
"Warming cups/glasses" and "Warming
dishes/plates" operating modes, and at
intervals in "Keeping food warm" and
"Low temperature cooking" operating
modes.
Caution!
Plates and dishes will take longer to
warm up, but can get very hot!
The Gourmet warming drawer can be
used to keep food warm at the same
time as warming plates and dishes. Use
the "Keeping food warm" operating
mode for this.

Operation
18
Temperature settings
A temperature range is assigned to each operating mode. The factory set
recommended temperatures are shown in bold. The temperature can be altered in
5°increments by touching the sensor.
The last temperature selected is automatically activated the next time the drawer is
switched on, and this is shown in the display. (Exception: Low temperature
cooking).
Temperature
display
Temperature
[°C] *
40 60 65 65
45 65 70 70
50 70 75 75
55 75 80 80
60 80 85 85
* Approximate temperature values, measured in the middle of the Gourmet warming drawer
when empty

Operation
19
Duration
Do not leave the Gourmet warming
drawer unattended for long periods
in operation. Long warming times
result in the food drying out, which
may cause it to catch fire.
The Gourmet warming drawer is
fitted with a safety cut-out that
switches off after a maximum of
12hours operating time.
The Gourmet warming drawer is set for
continuous operation mode. (Exception:
Low temperature cooking).
A limited duration can be selected by
touching the sensor. One touch for 1
hour (1h), two touches for 2 hours (2h)
etc, up to a maximum of 4 hours.
Continuous operation is restored by
touching the sensor a fifth time.

Keeping food warm
20
Do not allow the warming drawer to
fall below the minimum required
temperature for keeping food warm
(65°C).
Use only the "Keeping food warm"
operating mode to ensure that
the minimum temperature is
maintained.
This operating mode is for keeping food
warm which has just been cooked and
is still hot. It is not for reheating food
that has gone cold!
Select the operating mode.
Select the desired duration.
Pre-heat the Gourmet warming
drawer for 15 minutes to ensure that
the interior reaches the required
temperature. Place the crockery
inside the drawer during the pre-
heating.
The crockery will get hot.
Use oven gloves when handling hot
dishes.
Remove the pre-heated dishes from
the drawer after 15minutes and fill
them with the hot food.
Then place the dishes in the drawer
and close it carefully to prevent any
liquid food from spilling.
Tips
– Place the hot food in pre-heated
dishes. To pre-heat dishes, place
them in the drawer while it is heating
up.
– Do not cover roast or fried food
which you want to keep crisp. These
types of food need to be kept warm
at a higher temperature.
– Cover food with a high moisture
content and liquid and food which
can develop a skin, with aluminium
foil or a plate.
– To avoid spillages, do not overfill
dishes.
– Freshly cooked food is hotter than
food which is being kept warm. Serve
the food on pre-warmed plates.
– Nutrients are lost when food is
cooked, and continue to diminish
when food is kept warm. The longer
food is kept warm, the greater the
loss of nutrients.
– We do not recommend food being
kept warm for too long, as it will
continue to cook.
– Food may cool down if the drawer is
opened and closed too often.
Other manuals for HR 1956
3
Table of contents
Other Miele Range manuals

Miele
Miele 30" Induction Range User manual

Miele
Miele HR 1936 User manual

Miele
Miele HR 1954 User manual

Miele
Miele HR 1954-3 DF User manual

Miele
Miele HR1421 User manual

Miele
Miele HR1421 User manual

Miele
Miele H2160E User manual

Miele
Miele HR16222I User manual

Miele
Miele HR19562G User manual

Miele
Miele HR19542DFG User manual
Popular Range manuals by other brands

Frigidaire
Frigidaire FFED3015PWA installation instructions

Whirlpool
Whirlpool RF306BXV Use & care guide

Vulcan-Hart
Vulcan-Hart V6B36S manual

KitchenAid
KitchenAid KDRP463LSS0 parts manual

STOVES
STOVES 900G User, installation & servicing instructions

Waldorf
Waldorf RN8610G Installation and operation manual