Miele HS17 User manual

en Operating Instructions Robot vacuum cleaner
fr Instructions d'utilisation Aspirateur-robot
M.-Nr. 09 860 912
HS17

2
en ....................................................................................................................... 5
fr ......................................................................................................................... 38

en - Contents
3
IMPORTANT SAFETY INSTRUCTIONS ................................................................ 5
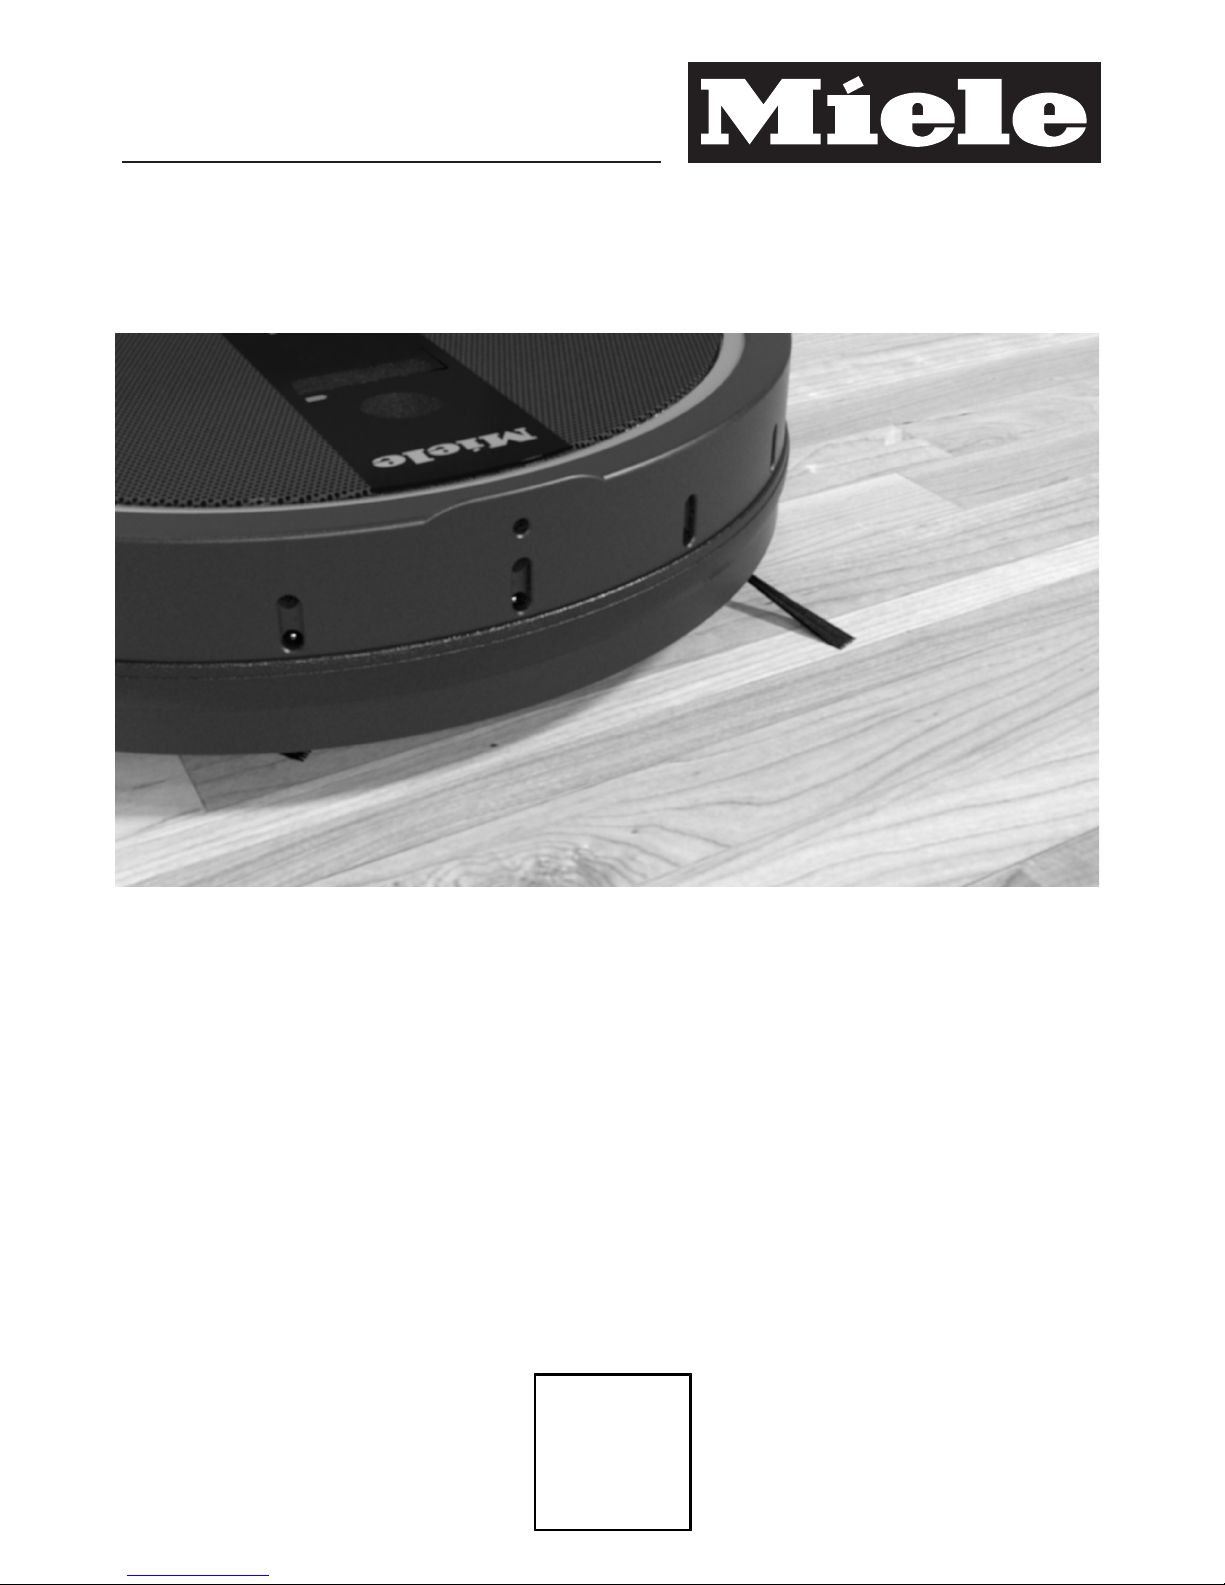
Appliance overview ............................................................................................. 10
Caring for the environment ................................................................................ 12
Functions and features of the robot vacuum cleaner...................................... 13
Included accessories .......................................................................................... 13
Preparing for use................................................................................................. 13
Insert the side brushes......................................................................................... 13
Remove the protective foil.................................................................................... 13
Place the batteries in the remote control ............................................................. 13
Switch on the robot vacuum cleaner ................................................................... 13
Connect the base station ..................................................................................... 14
Charge the rechargeable battery.......................................................................... 14
Set the time of day ............................................................................................... 14
Define the area to be vacuumed .......................................................................... 15
Use........................................................................................................................ 15
To turn the appliance on and off ........................................................................... 15
Starting vacuuming ............................................................................................... 15
Finish vacuuming: if vacuuming started from the base station............................. 16
Finish vacuuming: if vacuuming started from somewhere in the room................. 16
Manually controlled vacuuming............................................................................. 16
Interrupting vacuuming ......................................................................................... 16
Manual navigation (without vacuuming)................................................................ 16
Directing the robot vacuum cleaner to the base station ....................................... 16
Finishing vacuuming manually .............................................................................. 17
Vacuuming modes................................................................................................. 17
Selecting the vacuuming mode............................................................................. 17
Setting the timer.................................................................................................... 18
Deactivating the timer ........................................................................................... 19
Deactivating the acoustic signals.......................................................................... 19
Reducing the maximum crossing over height....................................................... 19
Maintenance ........................................................................................................ 20
Purchasing accessories ........................................................................................ 20
Ordering the correct accessories.......................................................................... 20
Emptying the dust box .......................................................................................... 20
Cleaning the dust box ........................................................................................... 20
Replacing the exhaust filter................................................................................... 21
Cleaning the roller brush ....................................................................................... 21
Cleaning the side brushes..................................................................................... 22

en - Contents
4
Cleaning the seal on the dust box......................................................................... 22
Replacing the seal on the dust box....................................................................... 22
Cleaning the front wheel........................................................................................ 23
Cleaning the sensors............................................................................................. 23
Changing the batteries in the remote control........................................................ 23
Replacing the rechargeable battery ...................................................................... 23
Storage ................................................................................................................. 24
Cleaning and care ............................................................................................... 24
Frequently Asked Questions .............................................................................. 25
Fault messages.................................................................................................... 28
After sales service............................................................................................... 29
Warranty conditions ............................................................................................ 29
Electrical connection AU, NZ ............................................................................. 29
Copyright and licenses ....................................................................................... 30
LIMITED WARRANTY Vacuum Cleaners - USA ................................................ 31
LIMITED WARRANTY - Australia / New Zealand.............................................. 32

en - IMPORTANT SAFETY INSTRUCTIONS
5
READ ALL INSTRUCTIONS BEFORE USING THIS APPLI-
ANCE
This robot vacuum cleaner complies with current safety require-
ments. Inappropriate use can, however, lead to personal injury and
damage to property.
To avoid the risk of accidents and damage to the robot vacuum
cleaner, please read these instructions carefully before using it for
the first time. They contain important information on its safety, op-
eration and maintenance.
Keep these operating instructions in a safe place and pass them
on to any future user.
Correct use
This robot vacuum cleaner is intended for cleaning flooring in do-
mestic households and similar working and residential environments.
The robot vacuum cleaner is not intended for outdoor use.
The robot vacuum cleaner must only be used for domestic house-
hold purposes to vacuum dry floor surfaces. Any other usage, modi-
fication or alteration is not supported by the manufacturer and could
be dangerous.
Persons which lack physical, sensory or mental abilities or experi-
ence with the machine should not use it without supervision or in-
struction by a responsible person.
Safety with children
Children must be kept away from the robot vacuum cleaner unless
they are constantly supervised.
Please supervise children in the vicinity of the robot vacuum
cleaner and do not let them play with it.
Keep the rechargeable battery and the batteries for the remote
control out of the reach of children.

en - IMPORTANT SAFETY INSTRUCTIONS
6
Technical safety
The Robot vacuum cleaner operates at 14.8 V.
It is classified as a class III appliance.
Class III appliances are supplied by a safety extra-low voltage (SELV)
power source where the voltage is low enough to protect users from
the risk of electrical shock.
Before using the robot vacuum cleaner and the accessories sup-
plied, check for any visible signs of damage. Do not use a damaged
appliance or damaged accessories.
Ensure that the connection data on the data plate of the robot
vacuum cleaner and the base station (voltage and frequency) match
the household electrical supply.
The wall socket must be protected against short circuit by a delay
fuse 16 A or 10 A (AUS).
The electrical outlet must be fitted with a 15 A fuse.
Reliable and safe operation of this robot vacuum cleaner can only
be assured if its docking station has been connected to the house-
hold electrical supply.
While the vacuum cleaner is under warranty, repairs should only
be performed by a Miele-authorized service technician. Otherwise
the warranty will be void.
Repairs should only be carried out by a Miele-authorized service
technician. Repairs and other work by unqualified persons can cause
considerable danger to users.
Make sure that the power cord is not damaged, bent or twisted.
Do not place any heavy items on top of it.
Do not let the robot vacuum cleaner travel over the power cord or
other cords.

en - IMPORTANT SAFETY INSTRUCTIONS
7
Switch the robot vacuum cleaner off with the OFF switch on the
side before cleaning / maintaining it. Also switch it off in this way if it
is operating unusually.
Only use the parts supplied (power cord, power supply unit and
base station) to charge the rechargeable battery.
Batteries can leak corrosive fluids. Avoid contact with the eyes
and skin. In the event of contact, rinse thoroughly with water and
seek medical advice.
Do not stick any labels on the base station infrared transmitter. Do
not place any items in front of it.
Do not cover the robot vacuum cleaner's sensors or the camera in
the display.
Do not immerse the robot vacuum cleaner or the parts supplied in
water. Clean all parts with a dry or slightly damp cloth only.
AUS: The robot vacuum cleaner must only be supplied at safety
extra low voltage corresponding to the marking on the appliance.
Proper use
Do not use the robot vacuum cleaner without the exhaust filter fit-
ted.
Remove all breakable or lightweight items from the floor and make
sure that the robot vacuum cleaner cannot become entangled in
cords, curtains, fringes or similar.
Animals must be kept away from the robot vacuum cleaner. Do
not allow animals to stand or sit on the robot vacuum cleaner.
Do not use the robot vacuum cleaner to vacuum up anything
which has been burning or is still glowing e.g. cigarettes, ashes or
coal, whether glowing or apparently extinguished. Do not use it in
the vicinity of a fireplace.

en - IMPORTANT SAFETY INSTRUCTIONS
8
Do not use the robot vacuum cleaner to vacuum up any water, liq-
uid or damp dirt. Wait until any freshly cleaned or shampooed car-
pets or floor coverings are completely dry before attempting to vac-
uum.
Do not use the robot vacuum cleaner to vacuum toner dust. Toner,
such as that used in printers and photocopiers, can conduct elec-
tricity.
Do not use the robot vacuum cleaner to vacuum up any in-
flammable or combustible liquids or gases and do not use it in areas
where such substances are stored.
Do not allow loosely fitting clothes or long hair near the roller
brush or other moving parts of the robot vacuum cleaner.
Handling the rechargeable battery and remote control batteries:
Do not drop or throw the rechargeable battery. For safety reasons
do not continue to use a rechargeable battery which has been
dropped or damaged.
Keep the rechargeable battery or the batteries away from naked
flames or other heat sources. Do not heat the rechargeable battery
or batteries or place them in direct sunlight.
Do not dismantle the rechargeable battery.
Do not cause a short circuit by bridging the contacts of the
rechargeable battery or the batteries, either unintentionally or delib-
erately.
Do not allow the rechargeable battery or the batteries to come
into contact with liquids.
Discontinue use of the rechargeable battery if you notice an un-
usual smell from it, if liquid is leaking from it, it is significantly over-
heating or if it is discolored or deformed. Dispose of the recharge-
able battery immediately.
Do not attempt to recharge the remote control batteries.

en - IMPORTANT SAFETY INSTRUCTIONS
9
Disposing of batteries: Remove the rechargeable battery from the
robot vacuum cleaner and the batteries from the remote control. In-
sulate metal contacts prior to disposal to avoid a short circuit. Dis-
pose of the rechargeable battery and the batteries from the remote
control in a designated collection/recycling bin for batteries. Do not
dispose of them with the normal household waste.
Accessories
Only use genuine accessories with the "Original Miele" logo on
them. Otherwise the manufacturer cannot guarantee the safety of the
product.
SAVE THESE INSTRUCTIONS

en - Appliance overview
10
Illustrations A, B and C for this section are on the pull-out pages in the back of
these operating instructions.
A - Robot vacuum cleaner and base station
Top of the robot vacuum cleaner
aCamera
bDisplay
cSensors (collision protection)
dImpact protection
eON/OFF switch
fPower supply unit socket
gDust box
hDust box release button
Bottom of the robot vacuum cleaner
iSide brushes
jBattery compartment
kFront wheel
lSensors (toppling protection)
mCharging contacts
nDrive wheels
oData plate
pRoller brush holder
qRoller brush
rDust box seal
Base station
aPower supply unit storage compartment
bPower supply unit socket (not visible)
cInfrared transmitter
dCharging contacts

en - Appliance overview
11
eCleaning brush storage compartment
fContact indicator
B and C - Remote control and display
B - Remote control
aStart / Pause button ()
bTimer button
cSpot vacuuming mode button
dCorner vacuuming mode button
eBase button
fOK confirmation button with direction buttons around it
gTurbo vacuuming mode button
hAuto standard vacuuming mode button
iClock button
jPower button
kBattery compartment cover
C - Display
aCamera
bRechargeable battery status indicator
cClock display
dSpot vacuuming mode indicator
eCorner vacuuming mode indicator
fVacuuming mode selection sensor
gStart / Pause sensor
hTurbo vacuuming mode indicator
iAuto standard vacuuming mode indicator
jTimer indicator

en - Caring for the environment
12
Disposal of packing material
The packaging is designed to protect
the robot vacuum cleaner from damage
during transportation. The packaging
materials used are selected from mate-
rials which are environmentally friendly
for disposal and should be recycled.
Recycling the packaging reduces the
use of raw materials in the manufactur-
ing process and also reduces the
amount of waste in landfill sites.Make
sure the packaging is disposed of in the
proper manner for your area.
Disposal of your old appli-
ance
Old electrical and electronic machines
often still contain valuable materials.
However, they also contain harmful
substances that were essential for the
proper functioning and safe use of the
equipment. Handling these materials
improperly or disposing of them in your
household waste can be harmful to your
health and the environment. Therefore,
please do not dispose of your old ma-
chine with regular household waste.
Old appliances may contain materials
that can be recycled. Please contact
your local recycling authority about the
possibility of recycling these materials.
You can obtain information on this mat-
ter from your dealer, if necessary.
The lithium-ion rechargeable battery is
located in the battery compartment on
the bottom of the robot vacuum
cleaner. Remove the rechargeable bat-
tery from the robot vacuum cleaner and
the batteries from the remote control.
Dispose of the rechargeable battery and
the batteries in a designated collection
bin for batteries.
Ensure that the vacuum cleaner
presents no danger to children while
being stored for disposal.

en
13
Functions and features of the
robot vacuum cleaner
The robot vacuum cleaner is suitable for
the daily cleaning of short pile area
rugs, installed carpeting and hard floor-
ing.
Please be sure to observe your floor-
ing manufacturer's cleaning and care
instructions.
The robot vacuum cleaner is fitted with
a camera and various sensors. During
operation, the room plan as well as the
items present in the room are recorded.
The robot vacuum cleaner uses this
data to create an efficient vacuuming
plan of the surfaces to be vacuumed,
which it can then vacuum au-
tonomously.
Included accessories
– Two side brushes
– Two replacement exhaust filters
– Remote control / two batteries
– Base station, including a cleaning
brush
– Power supply unit with connector
– Power cord with plug
– Magnetic strip
Preparing for use
Diagrams 1 - 13 for this section are
at the end of these operating instruc-
tions.
Insert the side brushes(Fig. 01)
Place the robot vacuum cleaner up-
side down on a level, clean surface.
Do not lift the robot vacuum cleaner
by the area around the dust box as it
can come loose.
Press the two side brushes supplied
firmly but carefully onto the pins pro-
vided. Ensure that they match up cor-
rectly with the L and R markings.
Remove the protective foil(Fig. 02)
Remove the protective foil from the
base station and from the top of the
robot vacuum cleaner.
Place the batteries in the remote
control(Fig. 03)
Remove the battery compartment
cover.
Insert the two batteries supplied,
making sure the polarity is correct.
Switch on the robot vacuum
cleaner(Fig. 04)
Press the ON switch on the side of
the robot vacuum cleaner.
The rechargeable battery status and the
Auto standard vacuuming mode indica-
tors will light up in the display.
After approx. 60 seconds the robot vac-
uum cleaner will switch into standby.
The battery status indicator will con-
tinue to light up.
The robot vacuum cleaner is reactivated
by pressing any button on the remote
control or one of the two sensors in the
robot vacuum cleaner display.

en
14
Connect the base station
(Fig. 05 + 09)
Open the storage compartment at the
back of the base station(Fig. 05).
Insert the power unit connector sup-
plied into the socket at the top of the
storage compartment(Fig. 06).
Connect the power cord to the power
supply unit and the plug to an electri-
cal outlet (Fig. 07).
The contact indicator will light up red on
the base station.
Stow the power supply unit in the
storage compartment in the base sta-
tion and feed the power cord through
the slot(Fig. 08).
Place the base station on a level sur-
face against a free wall. Ensure that
there is an obstacle free distance of
at least 5 ft. / 1.5 m in front and 1.5
ft. / 0.5 m to the right and left of the
base station(Fig. 09).
Charge the rechargeable
battery(Fig. 10)
The rechargeable battery is supplied
not fully charged. It needs to be
charged fully before first use.
The battery can also be charged when
the robot vacuum cleaner is switched
off (OFF switch). In this case, the vac-
uum cleaner indicators will not react.
Connect the robot vacuum cleaner
correctly to the charging contacts on
the base station.
Do not lift the robot vacuum cleaner
by the area around the dust box as it
can come loose.
The base station contact indicator will
go out as soon as the robot vacuum
cleaner has been positioned correctly.
The battery will charge and the battery
status indicator will flash in the display.
The charging process takes up to 120
minutes and is complete when the bat-
tery status indicator in the display lights
up green. You can then vacuum for up
to two hours.
You can also charge the battery without
using the base station directly via the
power supply unit.
Insert the power supply unit connec-
tor into the socket on the side of the
robot vacuum cleaner(Fig. 11).
Connect the power cord to the power
supply unit and the plug to an electri-
cal outlet (Fig. 07).
Rechargeable battery status indica-
tor in the display
Red Charged capacity approx.
0% - 20%
Or-
ange
Charged capacity approx.
20% - 50%
Green Charged capacity approx.
50% - 100%
Set the time of day(Fig. 12)
Use the remote control to set the clock.
Press the Clock button for three sec-
onds.
The hour indicator will flash in the clock
display on the robot vacuum cleaner.
Press the + or - direction button to
set the current hour.

en
15
Press the OK button to confirm your
selection.
The minutes indicator will flash in the
clock display on the robot vacuum
cleaner.
Press the + or - direction button to
set the current minutes.
Press the OK button to confirm your
selection.
If you want to alter the time of day, pro-
ceed as described above.
Define the area to be vacuumed
(Fig. 13)
The robot vacuum cleaner is 3
7/16" (88 mm) high. Any items which
are to be vacuumed under should
have a minimum clearance of 3
9/16" (90 mm).
You can define any areas which the ro-
bot vacuum cleaner should not have
access to.
Place the magnetic strip supplied
with the groove facing downwards on
the floor.
The robot vacuum cleaner will not cross
over the magnetic strip.
Adhesive strips are supplied for perma-
nent fixing.
Additional magnetic strips are available
to order from Miele or online at
www.miele-shop.com.
Use
Always watch the robot vacuum
cleaner when it is vacuuming new
surroundings for the first time. This
way you will be able to detect and
remove any problematic obstacles or
define the area they are in with the
magnetic strip.
To turn the appliance on and off
Press the Power button on the re-
mote control.
The display will be activated.
Starting vacuuming
There are two ways to start vacuuming
in the Auto standard vacuuming mode.
Option 1 (Remote control)
Press the button.
Option 2 (Display)
Press the sensor in the display.
The area to be vacuumed will be
cleaned.

en
16
Finish vacuuming: if vacuuming
started from the base station
The robot vacuum cleaner will return to
the base station automatically and
recharge.
The robot vacuum cleaner will return
to the base station and recharge even
when there is low battery capacity.
II will appear in the clock display. The
robot vacuum cleaner will then con-
tinue vacuuming from the point at
which it was interrupted.
Finish vacuuming: if vacuuming
started from somewhere in the room
The robot vacuum cleaner will return to
its starting point and switch into
standby.
The robot vacuum cleaner will stand
still when there is low battery capacity.
You should then recharge it.
Manually controlled vacuuming
You can use the direction buttons on
the remote control to vacuum a particu-
lar area of the room.
While the robot vacuum cleaner is
vacuuming, press and hold one of the
direction buttons.
The robot vacuum cleaner will turn in
the desired direction.
Press and hold the + direction button.
The robot vacuum cleaner will travel in
the desired direction and continue to
vacuum.
Interrupting vacuuming
Press the button on the remote
control.
Press the button again to continue vac-
uuming.
Manual navigation (without vacuum-
ing)
You can use the direction buttons on
the remote control to direct the robot
vacuum cleaner to a specific area of the
room.
Press and hold one of the direction
buttons.
The robot vacuum cleaner will travel in
the desired direction without vacuum-
ing.
You cannot direct the robot vacuum
cleaner manually to the base station in
order to recharge it.
Directing the robot vacuum cleaner
to the base station
Press the Base button on the remote
control.

en
17
The robot vacuum cleaner will travel to
the base station and recharge. The
base station contact indicator will go
out.
Finishing vacuuming manually
Press the Power button on the re-
mote control.
The robot vacuum cleaner will switch
into standby automatically after approx.
60 seconds. The display will be deacti-
vated. The battery capacity status indi-
cator will continue to light up.
You can switch the robot vacuum
cleaner into standby before 60 sec-
onds is up by pressing the Power but-
ton again.
The robot vacuum cleaner is reactivated
by pressing any button on the remote
control or one of the two sensors in the
robot vacuum cleaner display.
Vacuuming modes
There are four different vacuuming
modes.
Auto Standard vacuuming mode
for normally soiled flooring.
Spot Targeted vacuuming of an
area approx. 6 x 6 ft (1.8 x
1.8 m) around the selected
starting point of the robot
vacuum cleaner.
Corner For vacuuming normally
soiled flooring (see Auto).
Additional edge vacuuming
after returning the starting
point.
Short For vacuuming lightly soiled
flooring with a short vacu-
uming duration.
Selecting the vacuuming mode
Press the Power button on the re-
mote control.
There are two ways of selecting the
vacuuming mode.
Option 1 (Remote control)
Press the button for the vacuuming
desired mode. The corresponding
vacuuming mode symbol will light up
in the display.

en
18
To start vacuuming, press the but-
ton on the remote control or the
sensor in the display.
Option 2 (Display)
Press the sensor repeatedly until
the symbol for the vacuuming desired
mode lights up.
To start vacuuming, press the but-
ton on the remote control or the
sensor in the display.
Setting the timer
(only possible if the clock has been set)
If you would like the robot vacuum
cleaner to start at the same time every
day, you can save the start time and
vacuuming desired mode to memory.
You can also use the robot vacuum
cleaner to vacuum in the dark. How-
ever, please be aware that vacuuming
may be less thorough. The camera
needs light to enable it to navigate with-
out restriction.
Use the remote control to set the timer.
Press the Timer button for at least
three seconds.
The Timer and the hour indicators
will flash in the display.
Press the + or - direction button to
set the hour you want.Press the + or -
direction button to set the hour you
want.
Press the OK button to confirm your
selection.
The Timer and the minutes indica-
tors will flash in the display.
Press the + or - direction button to
set the minutes you want.
Press the OK button to confirm your
selection.
On the remote control, press the but-
ton for the vacuuming desired mode
or the direction buttons until the sym-
bol for the vacuuming mode you want
flashes.

en
19
Press the OK button to confirm your
selection.
The settings will be displayed for ap-
prox. three seconds.The robot vacuum
cleaner will now start to vacuum at the
same time each day.
The Timer indicator lights up to
show that the timer has been acti-
vated.
To alter the entries, proceed as de-
scribed previously.
Deactivating the timer
Press the Timer button on the remote
control briefly.
The Timer indicator will go out.
Activating the timer / displaying a set
start time
Press the Timer button on the remote
control briefly.
The Timer indicator lights up, the
set start time is shown briefly and the
robot vacuum cleaner will start vacuum-
ing at the set start time.
Deactivating the acoustic signals
The acoustic signals are activated as
standard. You can deactivate and then
reactivate them.
Press the OK button on the remote
control for at least three seconds.
OFF will appear briefly in the clock dis-
play.
Acoustic signals for fault messages
cannot be deactivated.
Reducing the maximum crossing
over height
The robot vacuum cleaner is set as
standard so that it can negotiate a
height of up to 3/4" (20 mm).
This allows it to vacuum carpets, cross
over thresholds, etc.
If you would like to reduce this height
(down to approx. 1/4" (6 mm)) in order
to protect chair or table legs, or lamps
for example, you can deactivate the
factory default setting.
Press the Base button on the remote
control for at least three seconds.
LO will appear in the clock display.
Press the Base button again for at least
three seconds if you want to reactivate
the maximum crossing over height of
3/4" (20 mm). HI will appear in the clock
display.

en
20
Maintenance
Before any maintenance work
switch the robot vacuum cleaner off
with the OFF switch on the side.
Only use genuine accessories with
the "Original Miele" logo on them.
This will ensure that the suction
power of the robot vacuum cleaner is
maintained, giving the best possible
cleaning results.
Purchasing accessories
Original Miele accessories can be or-
dered from Miele, your Miele retailer or
online.
Ordering the correct accessories
Original Miele accessories are identified
by the "Original Miele" logo on the
packaging.
Emptying the dust box
Empty the dust box of the robot vac-
uum cleaner after each use.
Press the dust box release button
and remove the dust box.
Remove the lid from the dust box.
Empty the dust box.
The contents of the box can be dis-
posed of with the normal household
waste, providing it contains general
household dust only.
Cleaning the dust box
Clean the dust box of the robot vacuum
cleaner after each use.
There is a storage compartment for the
cleaning brush on the top of the base
station.
Open the storage compartment and
remove the cleaning brush.
Clean the dust box with the brush
end of the cleaning brush.
Other manuals for HS17
3
Table of contents
Languages:
Other Miele Vacuum Cleaner manuals

Miele
Miele Scout RX1 User manual

Miele
Miele HS14 User manual

Miele
Miele S 500 Series User manual

Miele
Miele HS15 User manual

Miele
Miele Classic C1 Exclusive PowerLine User manual

Miele
Miele SCAE0 User manual

Miele
Miele SKCE0 User manual

Miele
Miele SGDE0 User manual

Miele
Miele S516 User manual

Miele
Miele Triflex HX2 User manual

Miele
Miele HS15 User manual

Miele
Miele HS15 User manual

Miele
Miele S 700 series User manual

Miele
Miele S 7000 series User manual

Miele
Miele S2 Series Manual

Miele
Miele SERIE S 5 Assembly instructions

Miele
Miele C1 Classic Junior User manual

Miele
Miele S 388 User manual

Miele
Miele HS15 User manual

Miele
Miele S 230 I User manual