manuals.online logo
Brands
  1. Home
  2. •
  3. Brands
  4. •
  5. Mier products
  6. •
  7. Enclosure
  8. •
  9. Mier products BW-230 User manual

Mier products BW-230 User manual

C1 & C2
Parts List for Mier Product’s Indoor, NEMA 1, Fan-Ventilated,
Rack-Mountable DVR Lockboxes
Enclosure Parts List:
One (1) Removable
Top Panel
One (1) Chassis with
Drop-Down Door and
Front-Rack Brackets
attached
One (1) BW-E001 Cam Lock
Installed
A
B
E
D
One (1) Continuous-Duty Fan
with fan-guard installed
BW-230
BW-235
Two (2) Adjustable
Rear-Rack Brackets
F
One (1) Fan-Cord Installed
G
Eight (8) 1/4-20 Zinc-Plated
nuts
J
Eight (8) 10-32 x 3/8” Black
Screws
H
Eight (8) 1/4-20 x 3/8” Zinc-
Plated Screws
I
Two (2) BW-E001 Cam
Lock Keys
Outside Dimensions:17.73W x 8.1H x 24D
Inside Dimensions: 17.65W x 8H x 23.9D
(21.9”D where fan protrudes into the back)
Outside Dimensions:17.73W x 5.1H x 24D
Inside Dimensions: 17.65W x 5H x 23.9D
(21.9”D where fan protrudes into the back)
800-473-0213 | [email protected] | www.mierproducts.com
Step 1:
Unlock the Drop-Down Door on the Chassis (B), allow the front door to drop down. Lift up the Removable Top Panel (A)
from the Chassis, and slide it gently backwards so the tabs un-hook from the chassis and allow you to lift the top panel off.
Set the top panel aside.
Step 2:
If using a two-post rack, skip this step. If you want to attach the enclosure to a four-post rack: use eight (8)
1/4-20 x 3/8” screws (Part I), and eight (8) 1/4-20 nuts (Part J), to mount the Adjustable Rear Mounting Brackets (Parts C1 &
C2) to the side of the Chassis (Part B). The slots in the Adjustable Rear Brackets, along with the corresponding sets of slots
in the rear of the Chassis, allow you to adjust the Rear Bracket position for mounting to various styles of four-post racks.
Step 3:
Use four (4) 10-32 x 3/8” Black Screws (Part H) to mount through the front mounting ears on the Chassis (Part B) into the
FRONT two posts of your rack. The Chassis (B) should now be mounted securely into your rack and ready for the
installation of your DVR/NVR or other equipment.
Step 4:
If using a two-post rack, skip this step. If you are attaching the lockbox to a four-post rack, use four (4)
10-32 x 3/8” Black Screws (Part H) to mount through the Adjustable Rear Mounting Brackets (Parts C1 & C2) into the REAR
two posts of your rack.
Step 5:
Install your equipment inside the Chassis (B), which is now mounted in your rack.
Step 6:
Re-install the Removable Top Panel (A) by sliding the tabs into the guide holes into the back of the Chassis (B), and then
dropping the Top Panel (A) into place on top of the Chassis (B). Now, lift up the front Drop-Down Door over the opening of
the Chassis and the Removable Top Panel and lock it. This will secure the entire unit, and your components mounted within.
Assembly & Mounting Instructions for Mier Product’s
Indoor, NEMA 1, Fan-Ventilated,
Rack-Mountable DVR Lockboxes
C2
C1
A
B
H H
HH
I & J
I & J


This manual suits for next models

1

Other Mier products Enclosure manuals

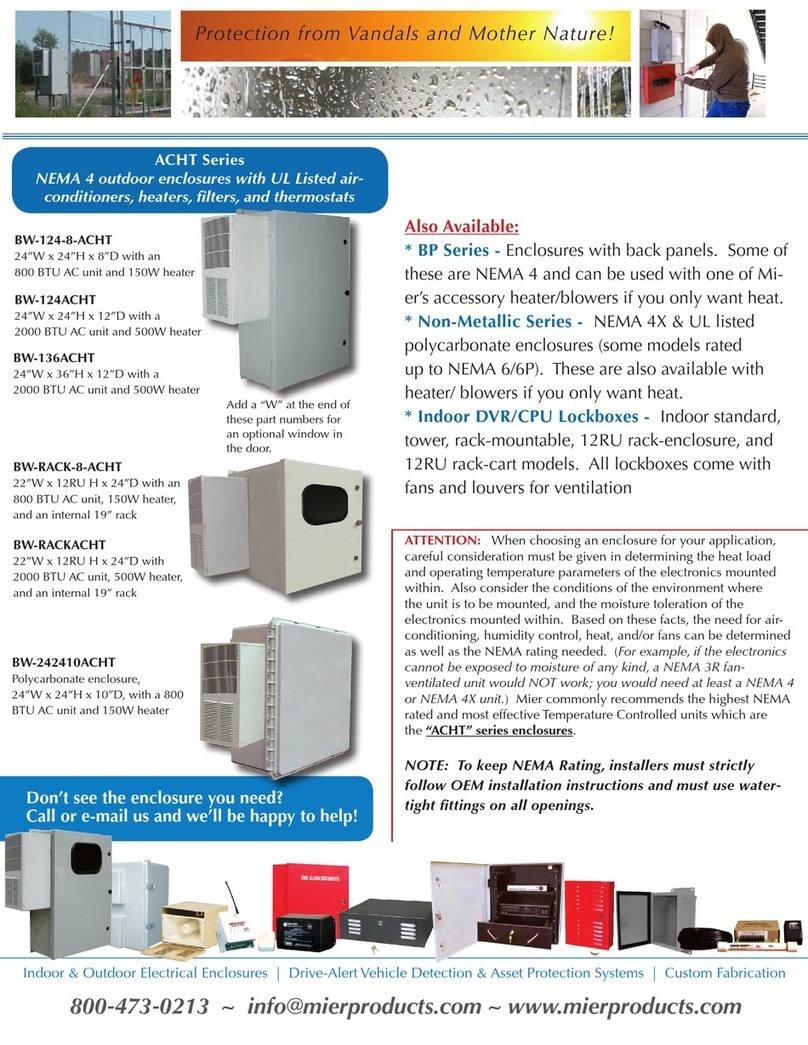
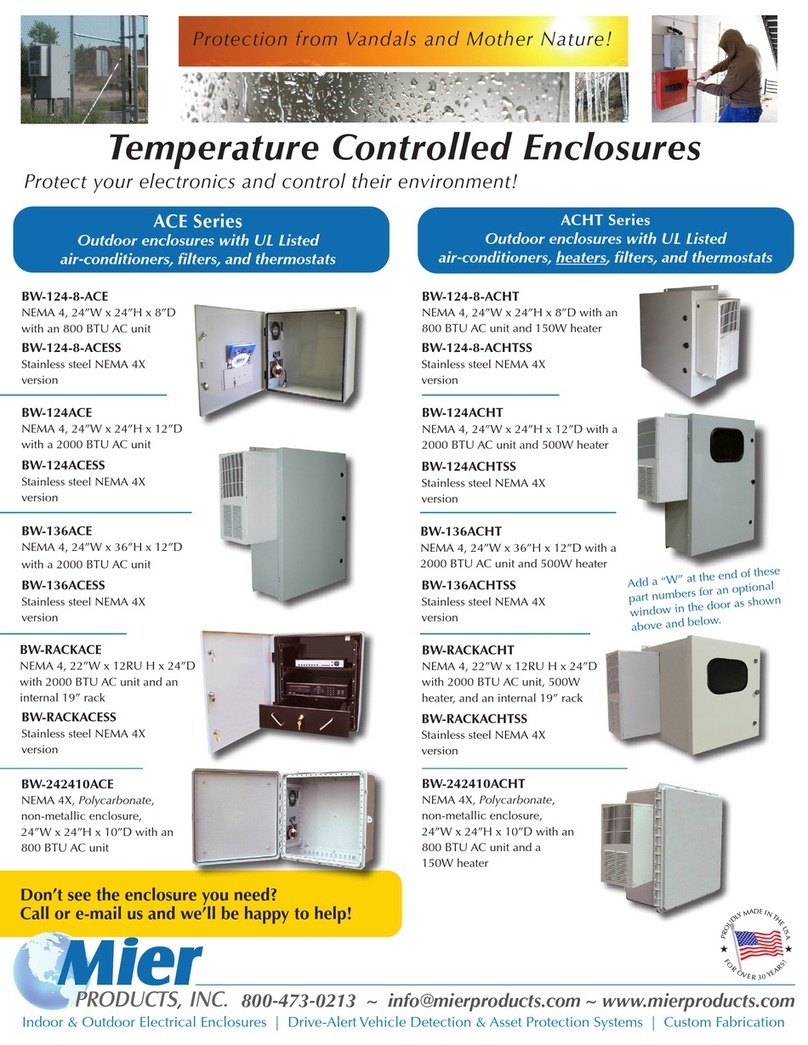
Mier products ACHT Series User manual

Mier products

Mier products ACHT Series User manual

Mier products ACE Series User manual

Mier products

Mier products ACE Series User manual

Popular Enclosure manuals by other brands

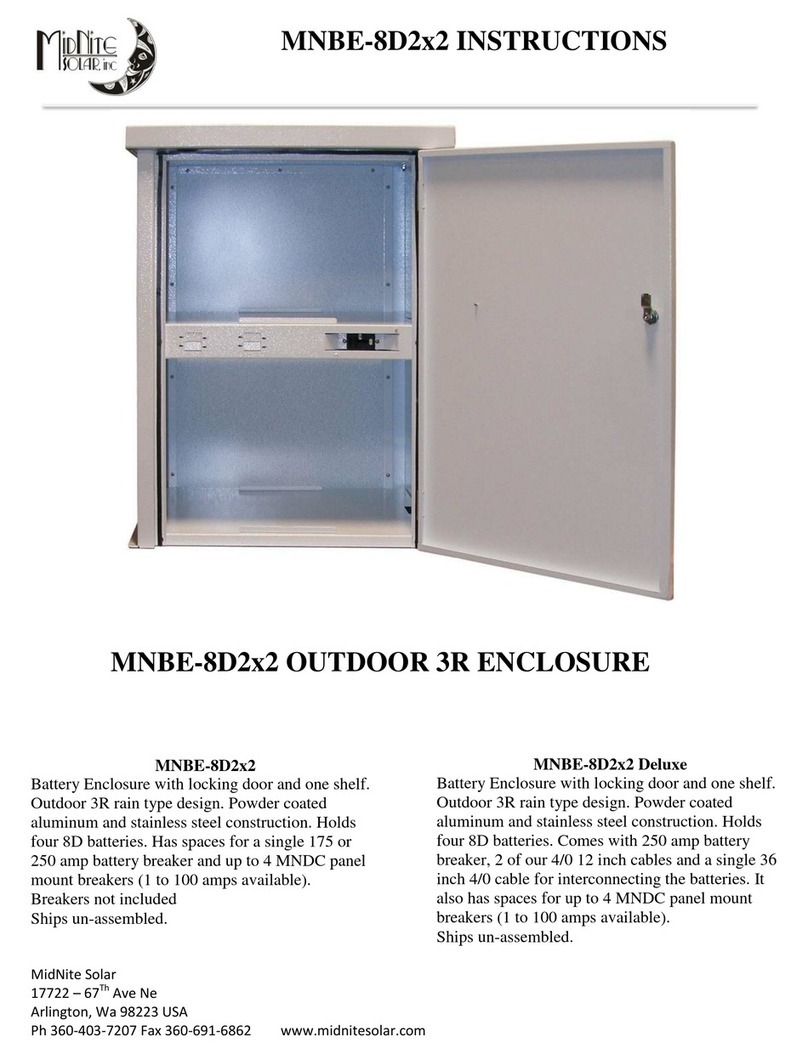
MidNite Solar MNBE-8D2x2 instructions

MidNite Solar

MidNite Solar MNBE-8D2x2 instructions

Diablotek EMVOTB25-BK Specifications

Diablotek

Diablotek EMVOTB25-BK Specifications

Bosch AMC2 Series installation manual

Bosch

Bosch AMC2 Series installation manual

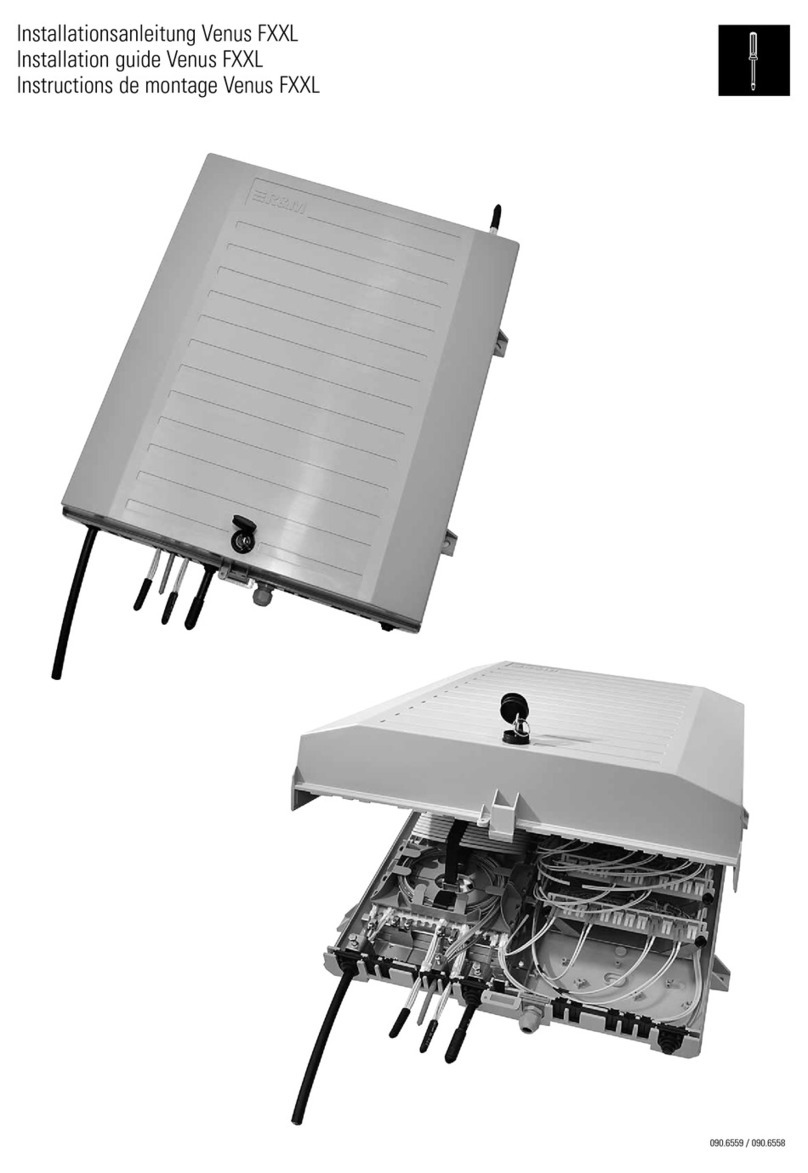
R&M Venus FXXL installation guide

R&M

R&M Venus FXXL installation guide

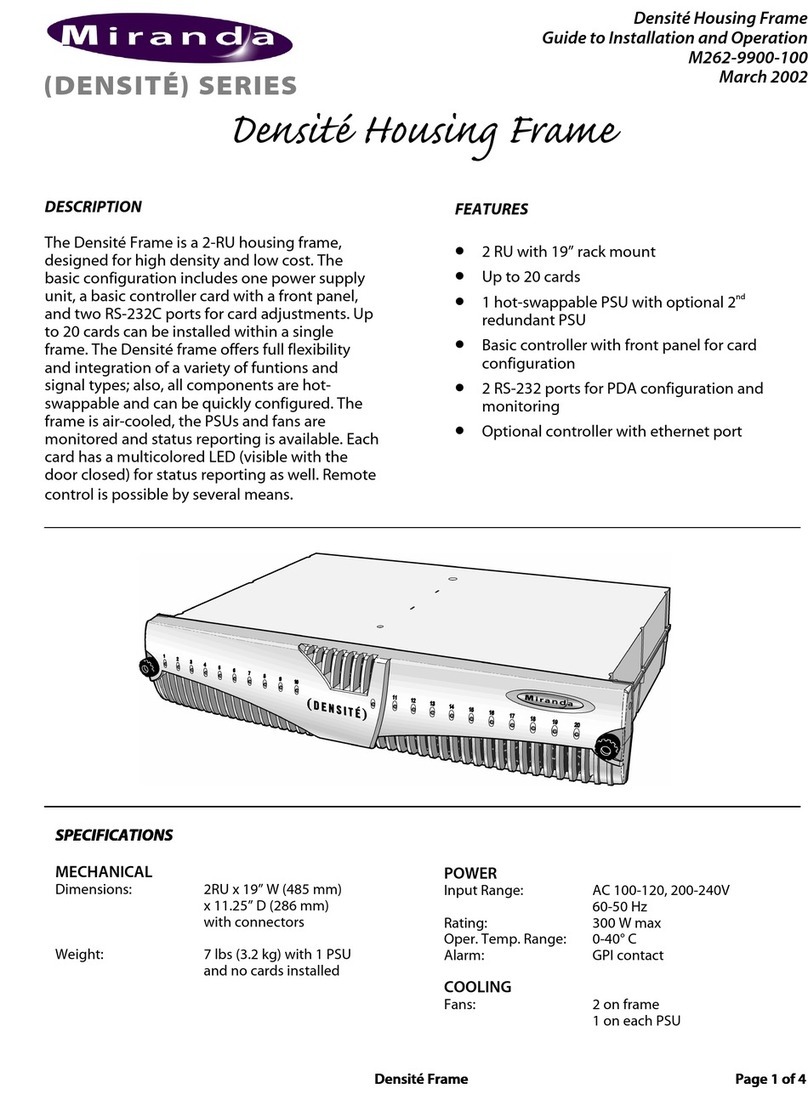
Miranda DENSITE series Guide to installation and operation

Miranda

Miranda DENSITE series Guide to installation and operation

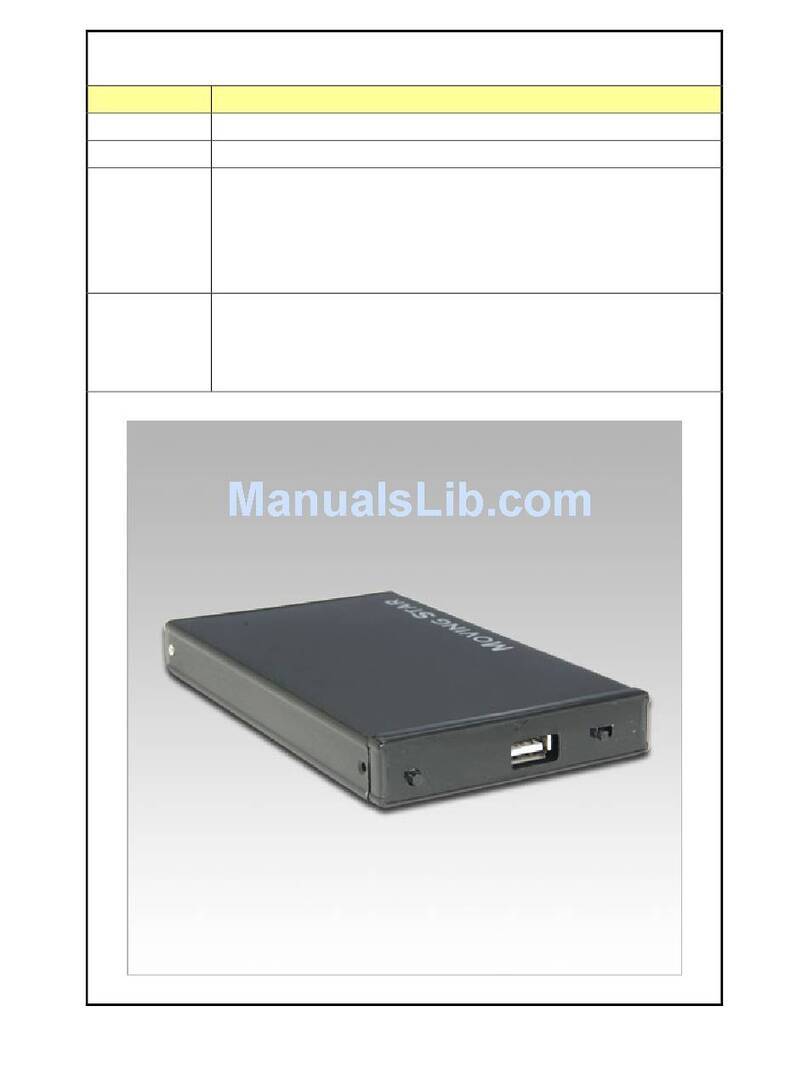
StarTech.com SAT2510BU3 instruction manual

StarTech.com

StarTech.com SAT2510BU3 instruction manual

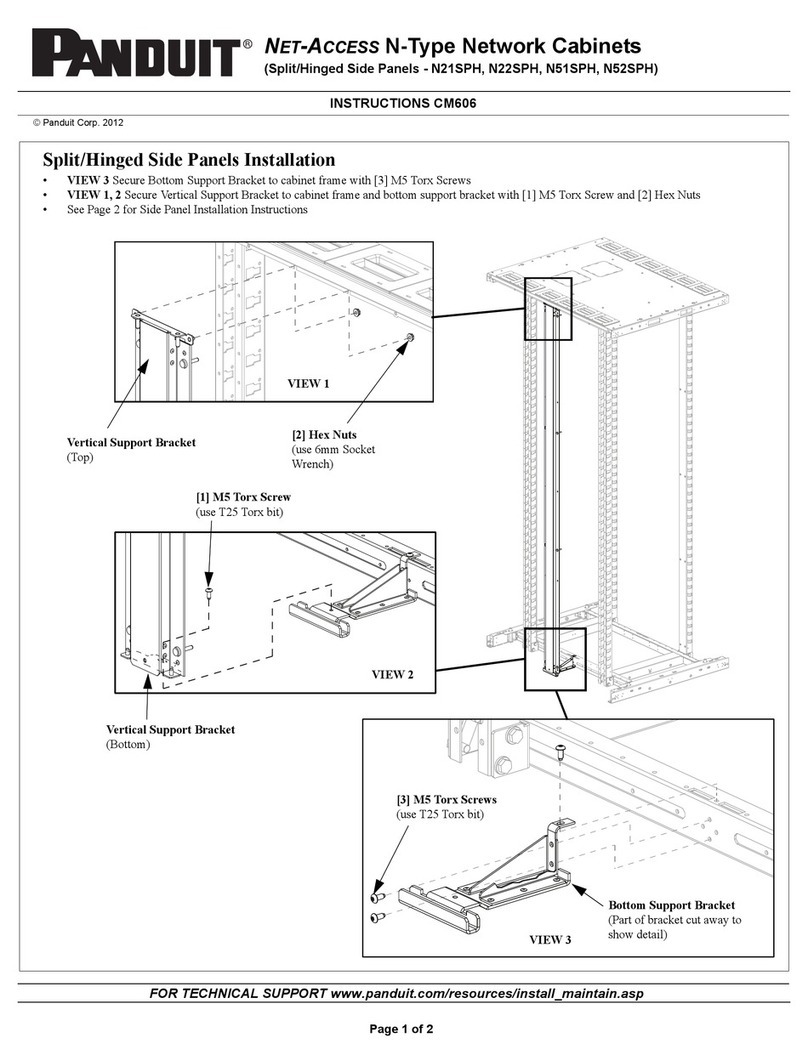
Panduit NET-ACCESS N21SPH instructions

Panduit

Panduit NET-ACCESS N21SPH instructions

StarTech.com UNI2510U2V instruction manual

StarTech.com

StarTech.com UNI2510U2V instruction manual

Pulsar AWO 624 installation manual

Pulsar

Pulsar AWO 624 installation manual

CommScope Flex Frame Splice Cabinet user manual

CommScope

CommScope Flex Frame Splice Cabinet user manual

Peavey HiSys 6XT operating instructions

Peavey

Peavey HiSys 6XT operating instructions

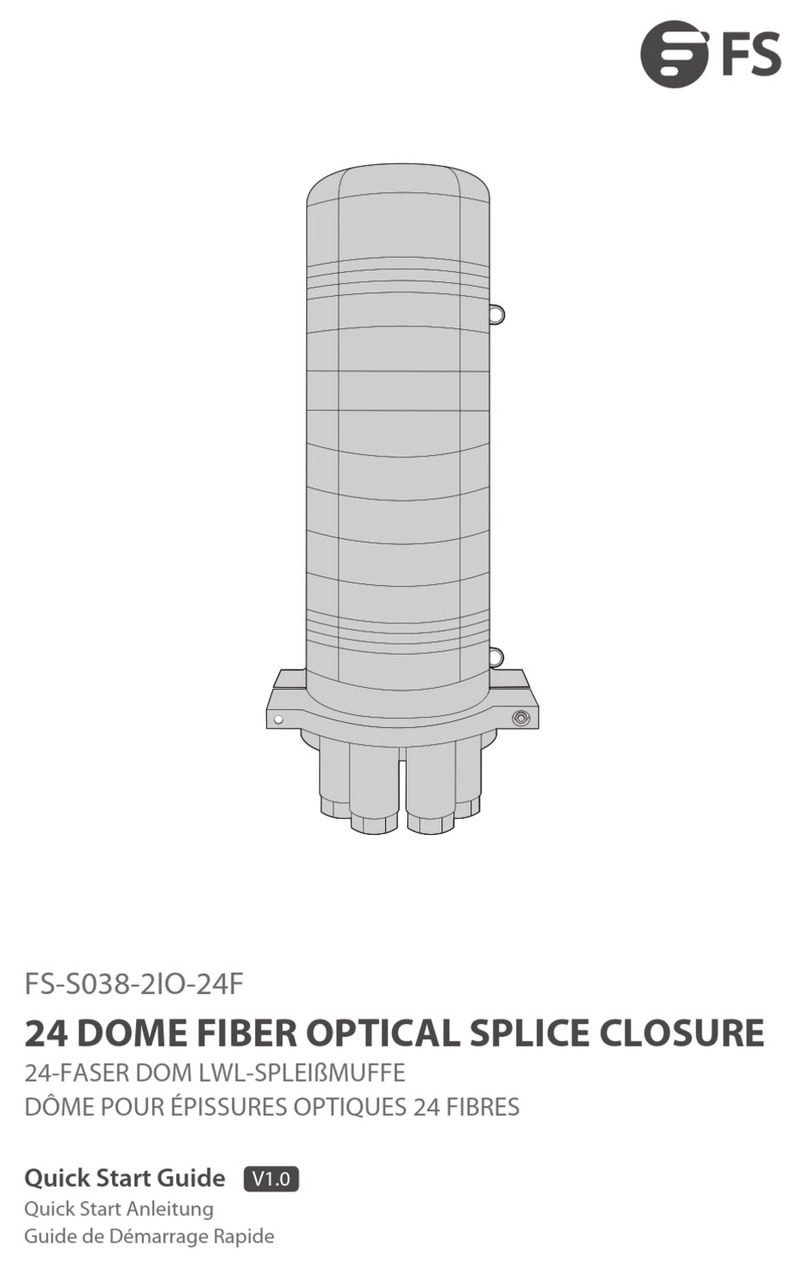
FS FS-S038-2IO-24F quick start guide

FS

FS FS-S038-2IO-24F quick start guide

Electrolab 2110EX-12 user manual

Electrolab

Electrolab 2110EX-12 user manual

Focal POLYGLASS SUBWOOFERS - OTHER 2 manual

Focal

Focal POLYGLASS SUBWOOFERS - OTHER 2 manual

Sharkoon NightShark Series manual

Sharkoon

Sharkoon NightShark Series manual

Rittal HD 1302.600 Assembly and operating instructions

Rittal

Rittal HD 1302.600 Assembly and operating instructions

Hammond Manufacturing HWC Series instructions

Hammond Manufacturing

Hammond Manufacturing HWC Series instructions

HP StorageWorks EVA8000 Disassembly instructions

HP

HP StorageWorks EVA8000 Disassembly instructions

manuals.online logo
manuals.online logoBrands
  • About & Mission
  • Contact us
  • Privacy Policy
  • Terms and Conditions

Copyright 2025 Manuals.Online. All Rights Reserved.