Mikroe EasyMx PRO v7a User manual

U S E R M A N U A L
mikroBUS™
SOCKETS
CODEGRIP
ON BOARD
MCUs
SUPPORTED
857+
MULTIMEDIA
PERIPHERALS
AMAZING
CONNECTIVITY

We are excited to have the opportunity to present you the NEW generation of our flagship development
board – the E a s y M x P R O v 7 a!
From the day one, we in MikroElektronika gave ourselves the highest possible goals in pursuit of excellence.
That same day, the idea of EasyMX development board was born. And we all grew together with EasyMX.
In its each and tiniest piece we had put all of our energy, creativity and sense of what’s the best for an
engineer. I’ve personally assembled hundreds of early EasyMx boards myself with my home soldering iron.
Today, in 2022, we present you the Ageneration of the board, which brings us some awesome new features.
We hope that you will like it as much as the previous one.
Use it wisely and have fun!
Thank you for being our valued customer!
Nebojsa Matic,
CEO

All images shown in the manual are for illustration purpose only.
Introduction
Introduction 4
It's good to know 6
Power supply unit
Power supply 7
How to power the board? 8
Supported MCUs
Default MCU Card 9
How to properly place your MCU into the DIP socket? 11
Other supported MCU cards 12
Programmer/debugger
On-board programmer 13
Connectivity
INPUT/OUTPUT group 15
Headers, buttons, LEDs 16
mikroBUS™sockets 17
Click boards™ 18
Communication
USB UART A 20
USB UART B 21
USB host 22
USB device 23
Ethernet 24
CAN 25
Multimedia
Audio I/O 26
microSD card slot 27
TFT display 28
Touch panel controller 29
GLCD 128x64 30
Navigation switch 31
Other modules
DS1820 Digital temp. sensor 32
LM35 Analog temp. sensor 33
Serial Flash Memory 34
I2C EEPROM 35
ADC INPUTS 36
Piezo buzzer 37
Additional GNDs 338
Table of contents

P A G E 4
E a s y M x P R O v 7 a U s e r M a n u a l
INTRODUCTION
ARM® Cortex™-M0, Cortex™-M3, Cortex™-M4 and Cortex™-M7 are vastly popular microcontrollers. They are rich with modules, with high
performance and low power consumption, so creating a development board the size of EasyMx PRO v7a for STM32 was really a challenge.
We wanted to put as many peripherals on the board as possible, to cover many internal modules.
We asked ourselves what we can do to make such a great board even greater. And we equiped it with our revolutionary new programmer
& debugger - CODEGRIP. We now present you with the new version 7a that brings so much more, and we hope that you will be thrilled with
your new board, just as we are.
EasyMx PRO v7a is all about
connectivity. Having two different
connectors for each port, you can
connect accessory boards, sensors
and your custom electronics easier
then ever before.
Powerful on-board CODEGRIP
USB-C programmer and In-Circuit
debugger can program and debug
over 850 microcontrollers. You will
need it, whether you are a
professional or a beginner.
2 CONNECTORS FOR EACH PORT EVERYTHING IS ALREADY HERE
Amazing connectivity CODEGRIP on board
TFT 320x240 with touch panel, stereo
mp3 codec, audio input and output,
navigation switch and microSD card
slot make a perfect set of peripherals
for multimedia development.
ALL KINDS OF DEVELOPMENT
Multimedia peripherals
Just plug in your Click board, and
it’s ready to work. We picked up a
set of the most useful pins you need
for development and made a pinout
standard you will enjoy using.
FOR EASIER CONNECTIONS
mikroBUS™support
INTRODUCTION


P A G E 6
E a s y M x P R O v 7 a U s e r M a n u a l
INTRODUCTION
IT'S GOOD TO KNOW!
SYSTEM SPECIFICATIONS
PACKAGE CONTAINS
POWER SUPPLY
7–23V AC or 9–32V DC
or via USB cable (5V DC)
Damage
resistant
protective
box
EasyPIC v7a
development
board
USB
cable
POWER CONSUMPTION
~76mA when all peripheral
modules are disconnected
BOARD DIMENSION
266 x 220 mm
(10.47 x 8.66 inch)
BOARD WEIGHT
~500g
(1.1 lbs)
123
STM32F207VGT6 belongs to ARM®Cortex™-M3 family. It has 120MHz frequency, 1 Mbyte of Flash memory, 128K + 4K bytes of
general-purpose SRAM, integrated Ethernet controller, USB 2.0 (OTG, Host, Device), 83 General purpose I/O pins, 12x16-bit and
2x32-bit timers, 3x12-bit A/D (24 channels), 2x12-bit D/A , 4xUSARTs, 2xUARTs, internal Real time clock (RTC), 2xI2C, 3xSPI and
2xCAN controllers. It has Serial wire debug (SWD) and JTAG interfaces for programming and debugging.
STM32F207VGT6 is the default microcontroller!

E a s y M x P R O v 7 a U s e r M a n u a l
P A G E 7
POWER
SUPPLY
POWER SUPPLY
Board contains switching power supply that creates stable voltage and current
levels necessary for powering each part of the board. Power supply section contains
specialized MC33269DT3.3 power regulator which creates VCC-3.3V power supply,
thus making the board capable of supporting 3.3V microcontrollers. Power supply
unit can be powered in three different ways: with USB power supply (CN20), using
external adapters via adapter connector (CN30) or additional screw terminals
(CN31). External adapter voltage levels must be in range of 9-32V DC and 7-23V AC.
Use jumper J9 to specify which power source you are using. Upon providing the power
using either external adapters or USB power source you can turn on power supply by
using SWITCH 1 (Figure 3-1). Power LED ON (Green) will indicate the presence of
power supply.
J9C
D3
1N4007
D4
1N4007
D5
1N4007
D6
1N4007
CN30 CN31
VCC-5V
POWER
R68
2K2
LD78A
E18
220uF/35V/LESR
E19
220uF/35V/LESR
1
2
3
4
8
7
6
5
SWC
SWE
CT
GND
DRVC
IPK
VIN
CMPR
U8
MC34063A
R69
0.22
R74
3K
VCC-SWC39
220pF
D7
MBRS140T3
L1 220uH
VCC-EXT
R76
1K
VCC-5V
2
1
3
SWITCH1
VCC-USB
VCC-SW
+ -
5V SWITCHING POWER SUPPLY
C38
100nF
VCC-5V
2
1
3
GND
Vout
Vin
REG1
MC33269DT3.3 E16
10uF
VCC-3.3V
E17
220uF/35V/LESR
C37
100nF
3.3V VOLTAGE REGULATOR

P A G E 8
E a s y M x P R O v 7 a U s e r M a n u a l
POWER SUPPLY
HOW TO POWER THE BOARD?
1. With USB cable
2. Using adapter
3. With laboratory PSU
POWER SUPPLY:
via DC connector or screw terminals
(7V to 23V AC or 9V to 32V DC),
or via USB cable (5V DC)
POWER CAPACITY:
Up to 500mA with USB, and up
to 600mA with external power
supply
Powered by USB
Powered by wall-adapter
Powered by laboratory PSU
Board power supply creates stable
3.3V necessary for operation of the
microcontroller and all on-board modules.
To power the board with USB cable, place jumper J9 in USB position. You
can then plug in the USB cable as shown on images, and turn the power
switch ON.
To power the board via adapter connector, place jumper J9 in EXT position.
You can then plug in the adapter cable as shown on images, and turn the
power switch ON.
To power the board using screw terminals, place jumper J9 in EXT position.
You can then screw-on the cables in the screw terminals as shown on
images, and turn the power switch ON.

E a s y M x P R O v 7 a U s e r M a n u a l
P A G E 9 SUPPORTED MCUs
Default MCU card
Microcontrollers are supported using specialized MCU cards containing 104 pins,
which can be placed into the on-board female MCU socket. There are several
types of cards which cover multiple microcontroller families of STM32® and
different architectures. The Default MCU card that comes with the EasyMx PRO™
v7a for STM32® package is shown on Figure 4-1. It contains STM32F207VGT6
microcontroller with on-chip peripherals and is a great choice for both beginners
and professionals. After testing and building the final program, this card can also be
taken out of the board socket and used in your final device.
STM32F207VGT6 is the default chip of EasyMx PRO v7a. It has 120MHz
frequency, 1 Mbyte of Flash memory, 128K + 4K bytes of general-purpose
SRAM, integrated Ethernet controller, USB 2.0 (OTG, Host, Device), 83 General
purpose I/O pins, 12x16-bit and 2x32-bit timers, 3x12-bit A/D (24 channels),
2x12-bit D/A , 4xUSARTs, 2xUARTs, internal Real time clock (RTC), 2xI2C, 3xSPI
and 2xCAN controllers.
25MHz crystal oscillator. We carefully chose the most convenient crystal
value that provides clock frequency which can be used directly, or with the PLL
multipliers to create higher MCU clock value. MCU card also contains 32.768
kHz crystal oscillator which provides external clock for RTC module.
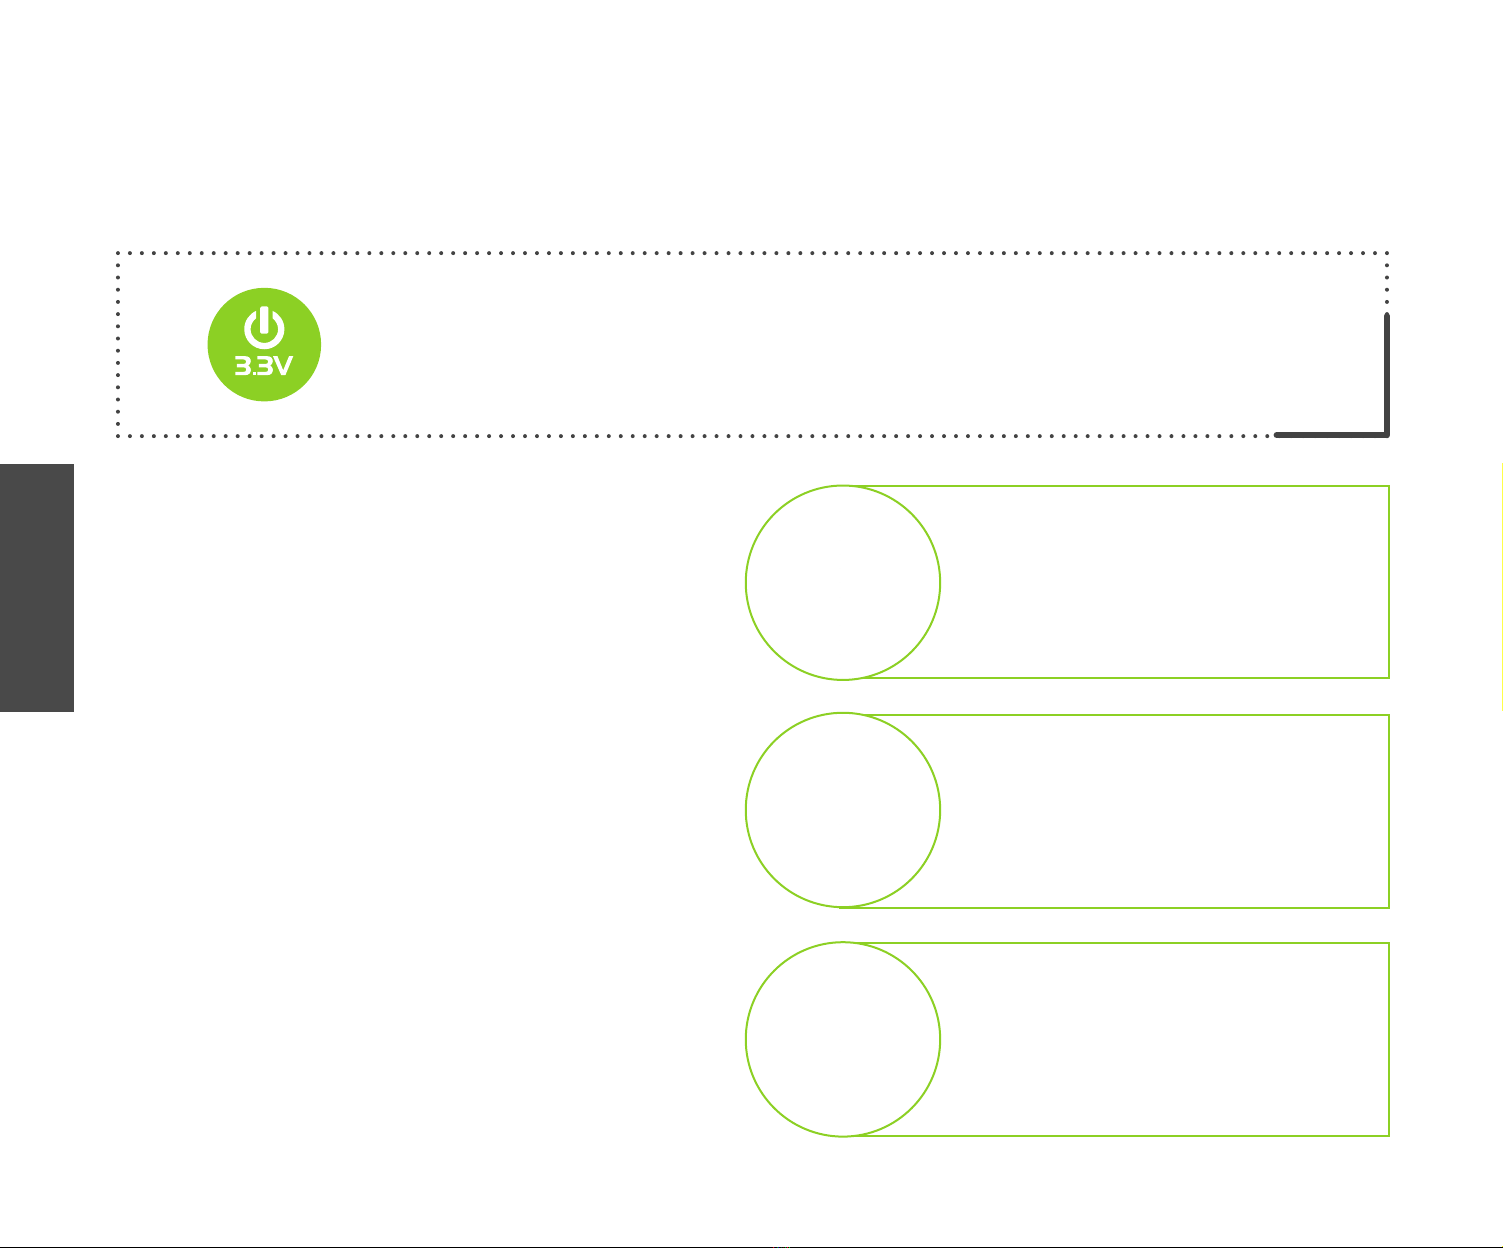
USB communications lines. These two jumpers, when in USB position,
connect D+ and D- lines of the on-board USB connector with PA11 and PA12
microcontroller pins. Since STM32F207VGT6 supports USB, jumpers are in
USB position.
1
1
2
2
3
3
4
4
Figure 4-1: Default MCU card with STM32F207VGT6
Ethernet transceiver. Default MCU card contains single-chip Ethernet physical
(PHY) layer transceiver which provides additional Ethernet functionality to
STM32F207VGT6 controller
With STM32® Cortex™-M3 and Cortex™-M4 microcontrollers you have the
ability to select specific boot space (User flash memory, system memory
or embedded SRAM), depending on the boot pins value (BT0, PB2). Boot
pins are set to ground (0) through 100K resistors. In order to set BT0 and
PB2 pins to VCC (1), you must push SW11.1 and SW11.2 DIP switches to ON
position, Figure 4-2. The values on the BOOT pins are latched on the fourth
rising edge of system clock after a reset.

P A G E 10
E a s y M x P R O v 7 a U s e r M a n u a l
13
14
24
23
22
21
18
17
16
15
19
20
U2
58
57
56
55
54
53
52
9
11
12
72
69
68
67
66
65
64
63
4
3
78
77
24
23
18
17
16
15
14
13
5
6
7
8
10
79
80
1
2
22
21
20
19
62
61
60
59
71
51
70
25
76
75
74
73
81
82
83
84
85
86
87
88
89
90
91
92
93
94
95
96
97
98
99
100
E3
10uF
VCC
E4
10uF
VCC
E1
10uF
VCC
E2
10uF
VCC
27 28
29 30
31 32
33 34
35 36
37 38
39 40
41 42
43 44
45 46
47 48
49 50
51 52
HD2
79
80
8182
8384
85
86
8788
8990
9192
93
94
95
96
9798
99100
101
102
103104
HD3
1 2
3 4
5 6
7 8
9 10
11 12
13 14
15 16
17 18
19 20
21 22
23 24
25 26
HD15354
5556
5758
5960
6162
6364
6566
6768
6970
7172
7374
7576
7778
HD4
VCC GND
VCC GND
VCC GND
Vbat
VCCGND
VCCGND
VCCGND
VCCGND
C1
100nF
VCC
C2
100nF
VCC
C3
100nF
VCC
C4
100nF
VCC
C5
100nF
VCC
C6
100nF
VCC
C7
100nF
VREF
VCC
OSC_IN
OSC_OUT
X1
25MHz
C11
22pF
C10
22pF
X2
32.768KHz
C8
22pF
C9
22pF
OSC32_IN
OSC32_OUT
RST#
PE2
PE3
PE4
PE5
PE6
PC0
PC2
PC3
PA0
MCO
PA3
PA4
PA5
PA6
PA7
PC4
PC5
PC6
PC7
PC8
PC9
VREF
PB0
PB1
PB2
PE7
PE8
PE9
PE10
PE11
PE12
PE13
PE14
PE15
PB11
PB12
PB13
PB14_nINT
PD8
PD9
PD10
PD11
PD12
PD13
PD14
PD15
PA9
PA10
PA13
PA14
PA15
PD0
PD1
PD2
PD3
PD4
PD5
PD6
PD7
PB3
PB4
PB5
PB6
PB7
PB8
PB9
BT0
PE0
PE1
PC13
R1 100K
PA11/DM
PA12/DP
PA11
PA12
DM
DP
J2
J3
DMDP
PA11/DM
PA12/DP
2
3
4
5
6
7
11
12
8
1
9
10
VDD2A
LED1
LED2
XTAL2
XTAL1
VDDCR
RXD1
RXD0
VDDIO
RXER
CRS_DV
MDIO
MDC
nINT
RST#
TXEN
TXD0
TXD1
TXP
RXP
Rbias
RXN
TXN
VDD1A
LAN8720A
GND
TXP
TXN
RXP
RXN
R2
12.1K FP1
VCC
LED1
LED2
LED1 LED2
TXD1
TXD0
TXEN
RST#
PB14_nINT
RXD1
RXD0
CRS_DV
TXD1
TXD0
TXENPC1_MDC
RXD1
RXD0
PB10_RXER
CRS_DV
PA2_MDIO
C13
100nF
C12
2.2uF
R3 1.5K
VCC
R4 27
R5 27
R6 27
R7 27
R8 27
R9 27
PC4
PC5
PB10_RXER
PC1_MDC
PA2_MDIO
PA7
PB13
PB12
PB11
MCO
MCO
R10
10K
C14
100nF
PC6PC7
PC8PC9
SPI_MOSI
PD8PD9
PD10PD11
PD12PD13
PD14PD15
PA9PA10
PA13
PA11PA12
PA14
PA15
PD0PD1
PD2PD3
PD4PD5
PD6PD7
PB3 PB4
PB5 PB6
PB7
PB8PB9
BT0
PE0PE1
PA3
PA4 PA5
PA6
PB0 PB1
PB2 PE7
PE8 PE9
PE10 PE11
PE12 PE13
PE14 PE15
RST#
PE2PE3
PE4PE5
PE6
PC0
PC2
PC3
PA0
VREF
PC13
TXPTXN
RXPRXN
Vbat
R11 100K
SPI_MOSI
SPI_SCK
SPI_MISO
SPI_SCK
SPI_MISO
30
29
28
27
34
33
46
36
35
42
43
44
45
37
50
48
49
32
38
39
40
41
47
31
26
PE11
PE10
PE6
VBAT
PC13/TAMPER_RTC
PC14/OSC32_IN
PA10
PA9
PA8
PD9
PE13
PE12
PB13
PB14
PB15
PD8
PE14
PE15
PB5
PB4
PB3
PB7
PD7
PD6
PE5
PE4
PE1
PE0
PB9
PB8
BOOT0
PB6
OSC_IN
PA0-WKUP
VDDA
VREF+
GNDA
VDD
PC3
PA12
PA11
PB12
PC8
NRST
VDD
GND
PE7
PDR_ON(RFU)
VDD
PE2
PE3
PA2
PA1
VCAP
VDD
PC9
PD13
PB10
PB11
PD10
PE8
PB2
PD11
PD14
PD5
PC2
PC1
PC0
PB1
PE9
PD12
PC7
OSC_OUT
PC15/OSC32_OUT
PD15
PC6
PA13
PC10
PA14
VCAP
GND
VDD
PA15
PC11
PC12
PD0
PA6
PA5
PC4
PA7
PC5
PB0
GND
VDD
PA3
PA4
PD1
PD2
PD3
PD4
STM32F207VGT6
U1
C15 2.2uF
C16
2.2uF
Figure 4-2: Default MCU card and boot configuration schematics
SUPPORTED MCUs

E a s y M x P R O v 7 a U s e r M a n u a l
P A G E 11
Before you plug the microcontroller card into the
socket, make sure that the power supply is turned
off. Images below show how to correctly plug the
microcontroller. First make sure that a half circular
cut in the microcontroller DIP packaging matches
the cut in the DIPI socket. Place both ends of the
microcontroller into the socket as shown on the first
image. Then put the microcontroller slowly down
until all the pins match the socket as shown on the
second image. Check again if everything is placed
correctly and press the microcontroller until it is
completely plugged into the socket as shown on the
third image. If done correctly all pins should be fully
inserted. Only now can you turn on the power supply.
How to properly place your microcontroller into the DIP socket?
Place both ends of
microcontroller on the
socket so the pins are
aligned correctly
With both fingers, evenly
distribute the force and
press the chip into the
socket.
Properly placed
microcontroller will have
equally leveled pins.
SUPPORTED MCUs

P A G E 12
E a s y M x P R O v 7 a U s e r M a n u a l
Empty HP MCU card for 100-pin
STM32F2(4)0x MCUs
Empty ETH MCU card for 100-pin
STM32F10x MCUs
Empty ETH HP MCU card for 100-pin
STM32F2(4)0x MCUs
Empty MCU card for 100-pin
STM32F10x MCUs
Standard 100-pin HP ETH MCU card
with STM32F207VGT6
Default 100-pin ETH MCU card with
STM32F107VCT6
Standard 100-pin HP ETH MCU card
with STM32F407VGT6
Standard 100-pin HP ETH MCU card
with STM32F746VGT6
MIKROE currently offers total of four populated MCU cards. Two with Cortex™-M3,
STM32F207VGT6 microcontroller (default), STM32F107VCT6 microcontroller, one with
Cortex™-M4 STM32F407VGT6 MCU, and one with Cortex™-M7 STM32F746VGT6 MCU.
You can also purchase empty PCB cards that you can populate on your own and solder
any supported microcontroller you need in your development. There are total of four
empty PCB cards available. This way your EasyMx PRO v7a board becomes truly flexible
and reliable tool for almost any of your ARM® projects. MCU cards can also be used in
your final devices. For complete list of currently available MCU cards, please visit the
board webpage:
Other supported MCU cards
http://www.mikroe.com/easymx-pro-v7a-for-stm32
"HP" (High performance) - Empty MCU cards that support only high performance STM32F20x and STM32F40x microcontrollers family.
"ETH" (Ethernet) - Empty MCU cards with single-chip Ethernet PHY layer transceiver which provides additional Ethernet functionality to microcontrollers
NOTE:
SUPPORTED MCUs

E a s y M x P R O v 7 a U s e r M a n u a l
P A G E 13
In order to start using CODEGRIP and program your microcontroller,
you just have to follow two simple steps:
1. Install the necessary software
∫ Install USB drivers
∫ Install CODEGRIP Suite software
2. Power up the board, and you are ready to go!
∫ Plug in the programmer USB cable
∫ LINK LED should light up.
"ETH" (Ethernet) - Empty MCU cards with single-chip Ethernet PHY layer transceiver which provides additional Ethernet functionality to microcontrollers
ON BOARD PROGRAMMER
PROGRAMMING
WHAT IS CODEGRIP?
WHERE TO START?
CODEGRIP is a unified solution, designed to perform programming and
debugging tasks on a range of different microcontroller devices (MCUs) based
on the Microchip PIC architecture. The USB-C connector offers improved
performance and reliability, compared to traditionally used USB Type A/B
connectors.
EasyMx PRO v7a development board is supported by a powerful CODEGRIP
Suite, offering complete control over the development board. It is used to
intelligently manage programming and debugging tasks, and to configure
various other options and settings, providing visual feedback through its clean
and comprehensive Graphical User Interface (GUI).
To betterunderstandhow to operate andconfigure EasyMx PROv7a development
board and its integrated CODEGRIP module, check out the CODEGRIP Suite quick
start guide on the http://www.mikroe.com/easymx-pro-v7a-for-stm32
Why so many LEDs?
Three LEDs indicate specific programmer operation. Link LED lights up when
USB link is established with your PC, Active LED lights up when programmer is
active. Data is on when data is being transferred between the programmer and
PC software. (Compiler or CODEGRIP).
CODEGRIP on board programmer

P A G E 14
E a s y M x P R O v 7 a U s e r M a n u a l
PROGRAMMING
SHIELD
0
GND B1A12
VBUS B4A9
CC2 B5
DP2B6
DN2 B7
SBU2 B8
SBU1 A8
DN1 A7
DP1A6
GND A1B12
VBUS A4B9
CC1 A5
CN20
USB TYPE-C
R94
5k1 R95
5k1
VCC-USB
D12
R105
27
L2
2.2µH
C62
33 uF
C61
220µF
USB-5V
C60
1u
USB-5V
USB-PROG_N
USB-PROG_P
R2
2K2
LD68
R96
6K8
LD80
R97
4K7
LD79
LINKACTIVEDATA
VCC-3.3V
NRST
PA13-MCU
PB3
PA15
PA14
PA13
PB3-MCU
PA15-MCU
PA14-MCU
CODEGRIP on board programmer schematic

E a s y M x P R O v 7 a U s e r M a n u a l
P A G E 15
Schematic of the single I/O group
connected to microcontroller PORTC
LD17LD18LD19LD20LD21LD22LD23LD24
RN8-1
10K
RN8-2
10K
RN8-3
10K
RN8-4
10K
RN8-5
10K
RN8-6
10K
RN8-7
10K
RN8-8
10K
T17T18T19T20T21T22T23T24
RC0
RC1
RC2
RC3
RC4
RC5
RC6
RC7
RC0
RC1
RC2
RC3
RC4
RC5
RC6
RC7
12345678
O
N
SW3
PC_LED
R80
220
J24
PRESS_LEVEL
DISABLE
PROTECTION
J17
VCC-MCU
1 2 3 4 5 6 7 8
+
_
SW7
VCC-BRDVCC-BRD
VCC-MCU
RC0
RC1
RC2
RC3
RC4
RC5
RC6
RC7
UP
DOWN
PULL
CN15 CN10
1
2
3
4
5
6
7
8
9
10
CN25
VCC-BRD
RC0RC1
RC2RC3
RC4RC5
RC6RC7
RC0RC1
RC2RC3
RC4RC5
RC6RC7
RC0
RC1
RC2
RC3
RC4
RC5
RC6
RC7
VCC-BRD
CN20
RC0RC1
RC2RC3
RC4RC5
RC6RC7
4k7
INPUT/OUTPUT GROUP
One of the most distinctive features of EasyMx PRO v7a are it’s Input/
Output PORT groups. They add so much to the connectivity potential of
the board.
EVERYTHING IS GROUPED TOGETHER
PORT headers, PORT buttons and PORT LEDs are next to each other, and
grouped together. It makes development easier, and the entire EasyMx PRO
v7a cleaner and well organized. We have also provided an additional PORT
headers on the right side of the board, so you can access any pin you want
from that side of the board too.
TRI-STATE DIP SWITCHES
Tri-state DIP switches, like SW15 on the image below, are used to enable 4K7
pull-up or pull-down resistor on any desired port pin. Each of those switches
has three states:
Tri-state DIP
switch
Tri-state DIP switch on PORTE/H
1. MIDDLE POSITION disables
both pull-up and pull-down
feature from the PORT pin
2. UP POSITION connects
the resistor in pull-up state to the
selected pin
3. DOWN POSITION connects
the resistor in pull-down state to
the selected PORT pin.
CONNECTIVITY

P A G E 16
E a s y M x P R O v 7 a U s e r M a n u a l
HEADERS
BUTTONS LEDs
With enhanced connectivity as one of the key features of EasyMx PRO v7a, we have
provided four connection headers for each PORT. I/O PORT group contains two male
IDC10 headers. These headers are all compatible with MIKROE accessory boards, and
enable simple connection. There is one more IDC10 header available on the left side
of the board, next to the section with displays.
INPUT/OUTPUT ports view
N O T EBecause of it's orientation, header on the bottom side of the board is not
meant for placing accessory boards directly. Instead, use wire jumpers or
other ways to establish connection and utilize these pins.
The logic state of all microcontroller digital
inputs may be changed using push buttons.
Tri-state DIP switch SW10 is available for
selecting which logic state will be applied
to corresponding MCU pin when button is
pressed, for each I/O port separately. If you, for
example, place SW10.1 in VCC position, then
pressing of any push button in PORTA/H I/O
group will apply logic one to the appropriate
microcontroller pin. The same goes for
GND. If DIP switch is in the middle position
neither of two logic states will be applied to
the appropriate microcontroller pin. You can
disable pin protection 220ohm resistors by
placing jumpers J6 and J7, which will connect
your push buttons directly to VCC or GND. Be
aware that doing so you may accidentally
damage MCU in case of wrong usage.
LED (Light-Emitting Diode) is a highly efficient
electronic light source. When connecting
LEDs, it is necessary to place a current limiting
resistor in series so that LEDs are provided
with the current value specified by the
manufacturer. The current varies from 0.2mA
to 20mA, depending on the type of the LED
and the manufacturer.. The EasyPIC v7a board
uses low-current LEDs with typical current
consumption of 0.2mA or 0.3mA, depending
of VCC voltage selection. Board contains 36
LEDs which can be used for visual indicativon
of the logic state on PORT pins. An active LED
indicates that a logic high (1) is present on
the pin. In order to enable PORT LEDs, it is
necessary to enable the corresponding DIP
switches on SW3.
Microcontroller SMD resistor - limiting
current through the LED
I/O PORT group also contains 1x10 connection pad which can be used for connecting
MIKROE PROTO boards, or custom user boards.

E a s y M x P R O v 7 a U s e r M a n u a l
P A G E 17
mikroBUS™SOCKETS
The superior connectivity features of the EasyMx PRO v7a development board are
rounded up with two standardized mikroBUS™host connectors. It is a considerable
upgrade for the board, as it allows interfacing with the vast amount of Click boards™.
mikroBUS™is the add-on board standard that offers maximum expandability with
the smallest number of pins. More information at www.mikroe.com/mikrobus
All the mikroBUS™sockets are now redesigned and improved. They became much
sturdier, allowing a better grip of the Click board™. In addition to added horizontal
supports between two 8-pin connectors, the right lower edge is chamfered at
the angle of 45°, the same as the Click board™, making it seamlessly fit into the
mikroBUS™socket. The new mikroBUS™socket is now a fully-fledged, standardized
monolithic component with all its pins clearly labeled, offering very good grip for the
Click board™, preventing it to flip over or to be placed incorrectly.
The mikroBUS™socket supports the following communication interfaces: SPI, UART,
and I2C. There are also single pins reserved for PWM, Interrupt, Analog input, Reset,
and SPI Chip Select. The mikroBUS™socket also contains pins with the two power
rails (3.3V and 5V), along with the GND pins.
R90 1K
VCC-3.3V VCC-5V
AN
RST
CS
SCK
MISO
MOSI
3.3V
GND
PWM
INT
RX
TX
SCL
SDA
5V
GND
1
R91 1K
VCC-3.3V VCC-5V
AN
RST
CS
SCK
MISO
MOSI
3.3V
GND
PWM
INT
RX
TX
SCL
SDA
5V
GND
2
RC5
RC4
RC3
RE1
RE0
RA2
RC6
RC7
RC3
RC4
RC0
RB0
RC5
RC4
RC3
RE2
RA5
RA3
RC6
RC7
RC3
RC4
RC1
RB1
mikroBUS™sockets schematic
mikroBUS™is not made to be only a part of our development boards. You can
freely place mikroBUS™host connectors in your final PCB designs, as long as
you clearly mark them with mikroBUS™logo and footprint specifications. For
more information, logo artwork and PCB files visit our website:
www.mikroe.com/mikrobus
Integrate mikroBUS™in your design
mikroBUS™ SOCKET IN DETAIL
Analog pin – AN
Reset pin – RST
SPI Chip Select line – CS
SPI Clock line – SCK
SPI Slave Output line – MISO
SPI Slave Input line – MOSI
VCC-3.3V power line – +3.3V
Reference Ground – GND
PWM - PWM output line
INT - Hardware Interrupt line
RX - UART Receive line
TX - UART Transmit line
SCL - I2C Clock line
SDA - I2C Data line
+5V - VCC-5V power line
GND - Reference Ground
CONNECTIVITY
P A G E 17

P A G E 18
E a s y M x P R O v 7 a U s e r M a n u a l
CONNECTIVITY
Click Boards™
THE LARGEST AND FASTEST-GROWING BASE OF
ADD-ON BOARDS IN THE WORLD!
Click boards™are standardized add-on boards that carry a variety of different
electronic devices. They are designed to perfectly fit the mikroBUS™socket.
Engineered to deliver the best performances for the used components, they save
developers of testing and troubleshooting often associated with the prototyping
phase. They enhance rapid development and accelerate time to market. These ready-
to-use boards require no additional hardware configuration. More information at
www.mikroe.com/click
CODE EXAMPLES
It's easy to get your Click board™
up and running. We provided
the examples for mikroC,
mikroBasic and mikroPascal
compilers on our Libstock
community website. Just
download them and you are
ready to start:
www.libstock.mikroe.com


P A G E 20
E a s y M x P R O v 7 a U s e r M a n u a l
USB-UART A
Enabling USB-UART A
The UART (universal asynchronous receiver/transmitter) is one of the most common
ways of exchanging data between the MCU and peripheral components. It is a serial
protocol with separate transmit and receive lines, and can be used for full-duplex
communication. Both sides must be initialized with the same baud rate, otherwise the
data will not be received correctly.
Modern PC computers, laptops and notebooks are no longer equipped with RS-232
connectors and UART controllers. They are nowadays replaced with USB connectors and
USB controllers. Still, certain technology enables UART communication to be done via
USB connection. Controllers such as FT232RL from FTDI® convert UART signals to the
appropriate USB standard.
USB-UART A communication is being done through a FT232RL controller, USB
connector (CN22), and microcontroller UART module. To establish this connection,
you must connect RX and TX lines of the microcontroller to the appropriate input and
output pins of the FT232RL. This selection is done using DIP switches SW12.1 and
SW12.2.
1
2
3
4
5
6
7
8
9
10
11
12
13
14 15
16
17
18
19
20
21
22
23
24
25
26
27
28
TXD
DTR#
RTS#
VCCIO
RXD
RI#
GND
NC
DSR#
DCD#
CTS#
CBUS4
CBUS2
CBUS3
CBUS0
CBUS1
OSCO
OSCI
TEST
AGND
NC
GND
GND
VCC
RESET#
3V3OUT
USBDM
USBDP
FT232RL
U2
FT232RL
VCC-3.3V VCC-5V
C11
100nF
LD69 LD70
RX-LED1
TX-LED1
R15
4K7
R14
2K2
VCC-3.3V VCC-3.3V
R18
4K7
R21
10K
FTDI1-D_N
FTDI1-D_P
RX TX
DATA BUS
12345678
O
N
SW12
TX-FTDI1
RX-FTDI1
PA9
PA10
SHIELD
0
GND
B1A12
VBUS
B4A9
CC2
B5
DP2
B6
DN2
B7
SBU2
B8
SBU1
A8
DN1
A7
DP1
A6
GND
A1B12
VBUS
A4B9
CC1
A5
CN22
USB TYPE-C
D-
D+
R82
5.1k
R83
5.1k
R84 27
R85 27
USB-VBUS
1
2
3
5
4
6
I/O1
GND
I/O2 I/O2
VBUS
I/O1
D8
USBLC6-2P6
D-
D+
D-
D+
USB-VBUSGND
In order to enable USB-UART A
communication, you must push
SW12.1 (PA9) and SW12.2 (PA10)
to ON position. This connects the
TX and RX lines to PA9 and PA10
microcontroller pins and its UART
module.
COMMUNICATION
This manual suits for next models
1
Table of contents
Other Mikroe Motherboard manuals

Mikroe
Mikroe Codegrip User manual

Mikroe
Mikroe CLICKER 4 for STM32 User manual

Mikroe
Mikroe CODEGRIP FOR PIC User manual

Mikroe
Mikroe Mikromedia 4 User manual

Mikroe
Mikroe EasyPIC V8 User manual

Mikroe
Mikroe MAGNETO click User manual

Mikroe
Mikroe EasyAVR PRO v8 User manual

Mikroe
Mikroe mikromedia 3 User manual

Mikroe
Mikroe EasyPIC V8 User manual

Mikroe
Mikroe mikromedia 5 User manual