manuals.online logo
Brands
  1. Home
  2. •
  3. Brands
  4. •
  5. Milwaukee
  6. •
  7. Rotary Hammer
  8. •
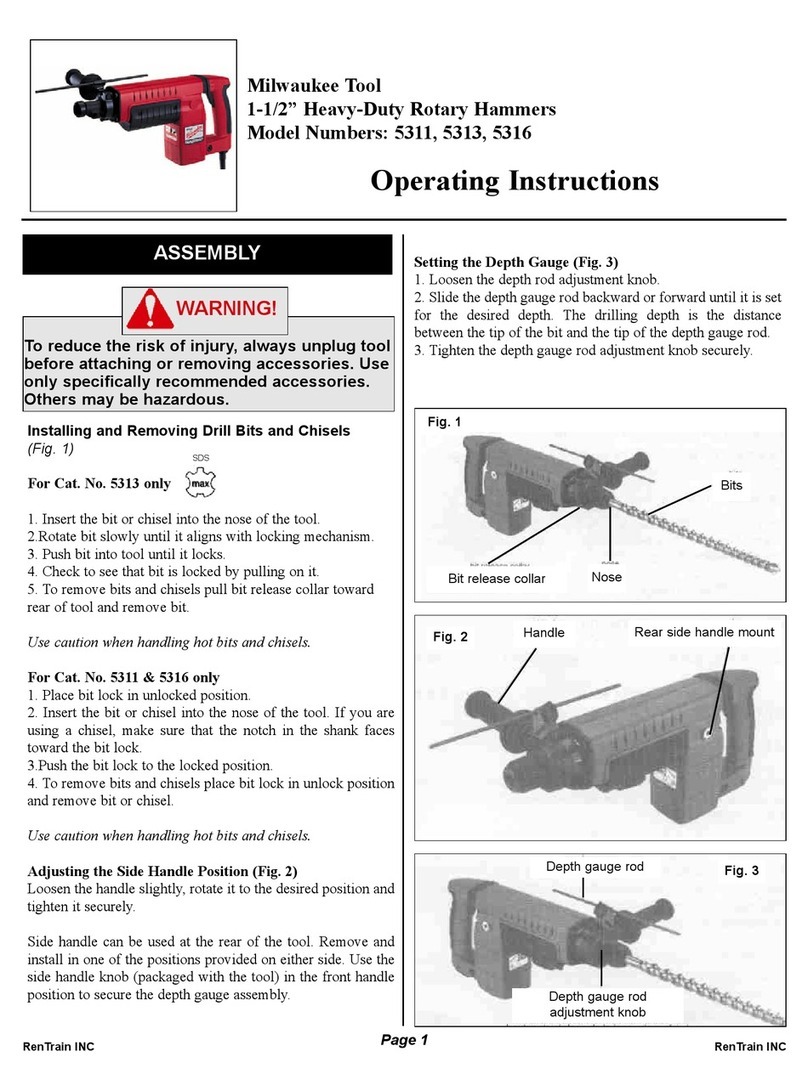
  9. Milwaukee M526221 User manual

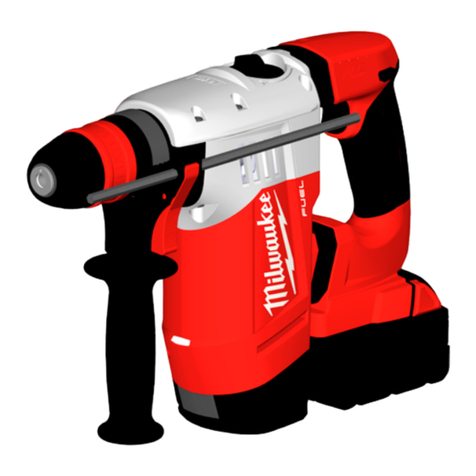
Milwaukee M526221 User manual

4
OPERATION
WARNING
To reduce the risk of injury, always
unplug tool before attaching or
removing accessories or making adjustments.
Use only specically recommended accessories.
Others may be hazardous.
To reduce the risk of injury, wear safety goggles
or glasses with side shields.
To reduce the risk of injury, wear a dust mask or
use an OSHA compliant dust extraction solution
when working in dusty situations.
To reduce the risk of injury, keep hands and cord
away from the bit and all moving parts.
To reduce the risk of injury, always use a side
handle when using this tool. Always brace or
hold securely.
Selecting Action
These MILWAUKEE Rotary Hammers have three
settings: rotation only, rotary hammer, and hammer
only. Always allow the motor to come to a complete
stop before changing the mode selection to avoid
damage to the tool.
1. For rotation only, press in the
selector release button and
turn the selector lever so the
arrow on the lever points to
the twist drill symbol.
2. For rotary hammering, press
in the selector release button
and turn the selector lever so the arrow points to
the hammer and twist drill symbol.
3. For hammering only, press in the selector release
button and turn the selector lever so the arrow
points to the hammer symbol.
4. To freely rotate the bit to the desired angle for ham-
mering only, press in the selector release button
and turn the selector lever to the symbol. Then,
follow step 3.
NOTE: To engage the hammering mechanism, main-
tain pressure on the bit. When pressure on the bit is
released, the hammering action will stop.
Using the Control Switch
Always allow the motor to come to a complete stop
before using the control switch.
For forward (clockwise) rotation, push the control
switch to the left side of the tool. Check the direction
of rotation before use.
For reverse (counterclockwise) rotation, push the
control switch to the right side of the tool. Check
direction of rotation before use.
Forward -
Push to
LEFT
Reverse -
Push to
RIGHT
Starting, Stopping and Controlling Speed
1. To start the tool, grasp the handle rmly and pull
the trigger.
2. To vary the speed, increase or decrease the pres-
sure on the trigger. The further the trigger is pulled,
the greater the speed.
FUNCTIONAL DESCRIPTION
1. Side handle
2. Clamp
3. Depth gauge rod
4. SDS Plus bit holder
5. Mode selector lever
6. Trigger
7. Control switch
8. Handle
1
3
5
46
2
7
8
ASSEMBLY
WARNING
To reduce the risk of injury, always
unplug tool before changing or
removing accessories. Only use accessories
specically recommended for this tool. Others
may be hazardous.
To reduce the risk of injury, always use a side
handle when using this tool. Always brace or
hold securely.
Adjusting the Side Handle Position
1. Loosen the side handle by unscrewing the side
handle grip until the side handle rotates freely.
2. Rotate the side handle to the desired position.
3. Tighten the side handle grip securely.
Setting the Depth Gauge
1. Press in the clamping lever.
2. Slide the depth gauge rod backward or forward
until it is set for the desired depth.
NOTE: The drilling depth is the distance between
the tip of the bit and the tip of the rod.
3. Release the clamping lever.
WARNING
To reduce the risk of injury, do not
grasp the bit while the chuck is
rotating or while the bit is falling from the chuck.
Installing Drill Bits and Chisels
Only use accessories with SDS or SDS Plus shanks.
Be sure that the shank of the bit is clean. Dirt particles
may cause the bit to line up improperly. Do not use
bits larger than the maximum recommended capacity
of the drill because gear damage or motor overload-
ing may result. For best performance, be sure that
the bit is properly sharpened and the shank is lightly
greased before use.
1. Insert the bit or chisel into the nose of the tool.
2. Rotate bit slowly until it aligns with the locking
mechanism.
3. Push bit into tool until it locks.
4. Check that the bit is locked
properly; it should be pos-
sible to pull the bit back and
forth slightly (about 1/4").
5. To remove bits and chisels,
pull bit holder release collar
toward the rear of tool and
remove bit.
NOTE: Use caution when
handling hot bits and chisels.
5
3. To stop the tool, release the trigger. Make sure
the tool comes to a complete stop before laying
the tool down.
Operating
Position the tool, grasp the handles rmly and pull
the trigger. Always hold the tool securely using both
handles to maintain control. This tool has been de-
signed to achieve top performance with only moder-
ate pressure. Let the tool do the work.
If the speed begins to drop o󰀨 when drilling large or
deep holes, pull the bit partially out of the hole while
the tool is running to help clear dust. Do not use water
to settle the dust since it will clog the bit utes and
tend to make the bit bind in the hole. If the bit should
bind, a built-in, non-adjustable slip clutch prevents
the bit from turning. If this occurs, stop the tool, free
the bit and begin again.
Using Rotary Percussion Core Bits
Core bits are useful for drilling larger holes for
conduit and pipe. MILWAUKEE Thin Wall Core Bits
have heat-treated steel bodies with durable carbide
tips. These core bits are specially designed for fast,
accurate drilling with combined hammering and
rotary action.
1. Clean and lubricate the threads
Adapter
Core
Bit
Center
Pin
Guide
Plate
Clean
and
lubricate
threads
on the adapter and core bit to
make later removal easier. Screw
the threaded end of the adapter
into the rear of the core bit.
NOTE: For core bits 1- 1/4" and
larger, push the guide plate onto
the pointed end of the center pin.
Insert the center pin and guide
plate assembly into the core
bit. Be sure the small end of the
center pin is securely placed into
the hole in the center of the core
bit.
2. Insert the adapter into the nose of
the tool as described in “Installing
Bits”. Set the hammer/drill shift
knob to hammering with rotation.
3. Press the center pin firmly
against your center mark, hold
the tool rmly and pull the trigger.
NOTE: If a center pin and guide
plate are not available, use a
template or notched board to start the hole.
4. After drilling to about the depth of the core bit teeth,
remove the center pin and guide plate from the
core bit. Resume drilling.
5. To change the core bit, hold the tool upwards,
pointing it away from your body, and run it briey
in forward to loosen the core bit from the adapter.
NOTE: To make holes deeper than 3", remove the
core bit, break and remove the core. Resume drilling.
MAINTENANCE
WARNING
To reduce the risk of injury, always
unplug the tool before performing
any maintenance. Never disassemble the tool.
Contact a MILWAUKEE service facility for ALL
repairs.
Maintaining Tools
Keep your tool in good repair by adopting a regular
maintenance program. Inspect your tool for issues
such as undue noise, misalignment or binding of
moving parts, breakage of parts, or any other condi-
tion that may a󰀨ect the tool operation. Return the tool
to a MILWAUKEE service facility for repair. After six
months to one year, depending on use, return the
tool to a MILWAUKEE service facility for inspection.
WARNING
To reduce the risk of personal in-
jury, electric shock and damage,
never immerse your tool in liquid or allow a liquid
to ow inside it.
Cleaning
Clean dust and debris from vents. Keep handles
clean, dry and free of oil or grease. Use only mild
soap and a damp cloth to clean, since certain clean-
ing agents and solvents are harmful to plastics and
other insulated parts. Some of these include gasoline,
turpentine, lacquer thinner, paint thinner, chlorinated
cleaning solvents, ammonia and household deter-
gents containing ammonia. Never use ammable or
combustible solvents around tools.
Repairs
For repairs, return the tool to the nearest service
center.
ACCESSORIES
WARNING
Use only recommended accesso-
ries. Others may be hazardous.
For a complete listing of accessories, go online to
www.milwaukeetool.com or contact a distributor.
SERVICE - UNITED STATES
1-800-SAWDUST (1.800.729.3878)
Monday-Friday, 7:00 AM - 6:30 PM CST
or visit www.milwaukeetool.com
Contact Corporate After Sales Service Technical
Support with technical, service/repair, or warranty
questions.
Email: [email protected]
Become a Heavy Duty Club Member at
www.milwaukeetool.com to receive important
notications regarding your tool purchases.
SERVICE - CANADA
Milwaukee Tool (Canada) Ltd
1.800.268.4015
Monday-Friday, 7:00 AM - 4:30 PM CST
or visit www.milwaukeetool.ca
LIMITED WARRANTY
USA & CANADA
Every MILWAUKEE power tool* (see exceptions below) is warranted
to the original purchaser only to be free from defects in material and
workmanship. Subject to certain exceptions, MILWAUKEE will repair
or replace any part on an electric power tool which, after examination,
is determined by MILWAUKEE to be defective in material or workman-
ship for a period of ve (5) years** after the date of purchase unless
otherwise noted. Return of the power tool to a MILWAUKEE factory
Service Center location or MILWAUKEE Authorized Service Station,
freight prepaid and insured, is required. A copy of the proof of purchase
should be included with the return product. This warranty does not
apply to damage that MILWAUKEE determines to be from repairs
made or attempted by anyone other than MILWAUKEE authorized
personnel, misuse, alterations, abuse, normal wear and tear, lack of
maintenance, or accidents.
Normal Wear: Many power tools need periodic parts replacement and
service to achieve best performance. This warranty does not cover
repair when normal use has exhausted the life of a part including,
but not limited to, chucks, brushes, cords, saw shoes, blade clamps,
o-rings, seals, bumpers, driver blades, pistons, strikers, lifters, and
bumper cover washers.
*This warranty does not cover Air Nailers & Staplers; Airless Paint
Sprayer; Cordless Battery Packs; Gasoline Driven Portable Power
Generators; Hand Tools; Hoist – Electric, Lever & Hand Chain; M12™
Heated Gear; Reconditioned Product; and Test & Measurement
Products. There are separate and distinct warranties available for
these products.

Other Milwaukee Rotary Hammer manuals

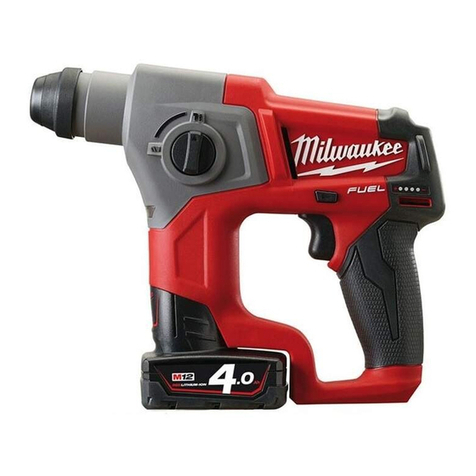
Milwaukee 5262-59 User manual

Milwaukee

Milwaukee 5262-59 User manual

Milwaukee 2717-20 User manual

Milwaukee

Milwaukee 2717-20 User manual

Milwaukee M12 2412-20 User manual

Milwaukee

Milwaukee M12 2412-20 User manual

Milwaukee M12 CH User manual

Milwaukee

Milwaukee M12 CH User manual

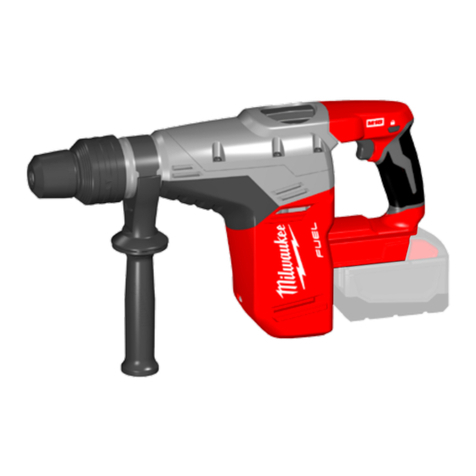
Milwaukee M18 FUEL SDS PLUS 2916-20 User manual

Milwaukee

Milwaukee M18 FUEL SDS PLUS 2916-20 User manual

Milwaukee 0756-20 User manual

Milwaukee

Milwaukee 0756-20 User manual

Milwaukee PFH 26 User manual

Milwaukee

Milwaukee PFH 26 User manual

Milwaukee 5263-20 User manual

Milwaukee

Milwaukee 5263-20 User manual

Milwaukee 5385-20 User manual

Milwaukee

Milwaukee 5385-20 User manual

Milwaukee sds 5363-21 User manual

Milwaukee

Milwaukee sds 5363-21 User manual

Milwaukee 2715-20 User manual

Milwaukee

Milwaukee 2715-20 User manual

Milwaukee 5366-1 User manual

Milwaukee

Milwaukee 5366-1 User manual

Milwaukee 1-1/2" User manual

Milwaukee

Milwaukee 1-1/2" User manual

Milwaukee 0756-20 User manual

Milwaukee

Milwaukee 0756-20 User manual

Milwaukee 5426-21 User manual

Milwaukee

Milwaukee 5426-21 User manual

Milwaukee 5362-6 User manual

Milwaukee

Milwaukee 5362-6 User manual

Milwaukee 5264-21 User manual

Milwaukee

Milwaukee 5264-21 User manual

Milwaukee 5264-59 User manual

Milwaukee

Milwaukee 5264-59 User manual

Milwaukee M18 2612-20 User manual

Milwaukee

Milwaukee M18 2612-20 User manual

Milwaukee 5268-21 User manual

Milwaukee

Milwaukee 5268-21 User manual

Milwaukee M28 CHPX-0 User manual

Milwaukee

Milwaukee M28 CHPX-0 User manual

Milwaukee PH 30 Power X User manual

Milwaukee

Milwaukee PH 30 Power X User manual

Milwaukee M12 FUEL 2416-20 User manual

Milwaukee

Milwaukee M12 FUEL 2416-20 User manual

Milwaukee HD18 HX User manual

Milwaukee

Milwaukee HD18 HX User manual

Popular Rotary Hammer manuals by other brands

Bosch GBH 7-46 DE Professiona Original instructions

Bosch

Bosch GBH 7-46 DE Professiona Original instructions

Bosch GBH 24 VFR Original instructions

Bosch

Bosch GBH 24 VFR Original instructions

Makita DHR164 instruction manual

Makita

Makita DHR164 instruction manual

Ronix 2707 manual

Ronix

Ronix 2707 manual

Hitachi DH24PB2 Handling instructions

Hitachi

Hitachi DH24PB2 Handling instructions

K-EIKO EDH620VRES Operator's manual

K-EIKO

K-EIKO EDH620VRES Operator's manual

stayer MD4BK instruction manual

stayer

stayer MD4BK instruction manual

Felisatti RH48/1300VE operating instructions

Felisatti

Felisatti RH48/1300VE operating instructions

Ryobi ED-400 Owner's operating manual

Ryobi

Ryobi ED-400 Owner's operating manual

Worcraft RH15-32X instruction manual

Worcraft

Worcraft RH15-32X instruction manual

Hitachi DH 25PA Handling instructions

Hitachi

Hitachi DH 25PA Handling instructions

Makita HR2300 instruction manual

Makita

Makita HR2300 instruction manual

CO/Tech PLCT0301-UK Original instructions

CO/Tech

CO/Tech PLCT0301-UK Original instructions

Textron Greenlee HRD44A instruction manual

Textron

Textron Greenlee HRD44A instruction manual

DeWalt DW563 instruction manual

DeWalt

DeWalt DW563 instruction manual

DeWalt D25712 instruction manual

DeWalt

DeWalt D25712 instruction manual

Bosch GBH 8-45 D Professional Original instructions

Bosch

Bosch GBH 8-45 D Professional Original instructions

Makita HR3200C instruction manual

Makita

Makita HR3200C instruction manual

manuals.online logo
manuals.online logoBrands
  • About & Mission
  • Contact us
  • Privacy Policy
  • Terms and Conditions

Copyright 2025 Manuals.Online. All Rights Reserved.