6
Heavy-duty Take-up / Feeding device Trouble for feeding Q&A
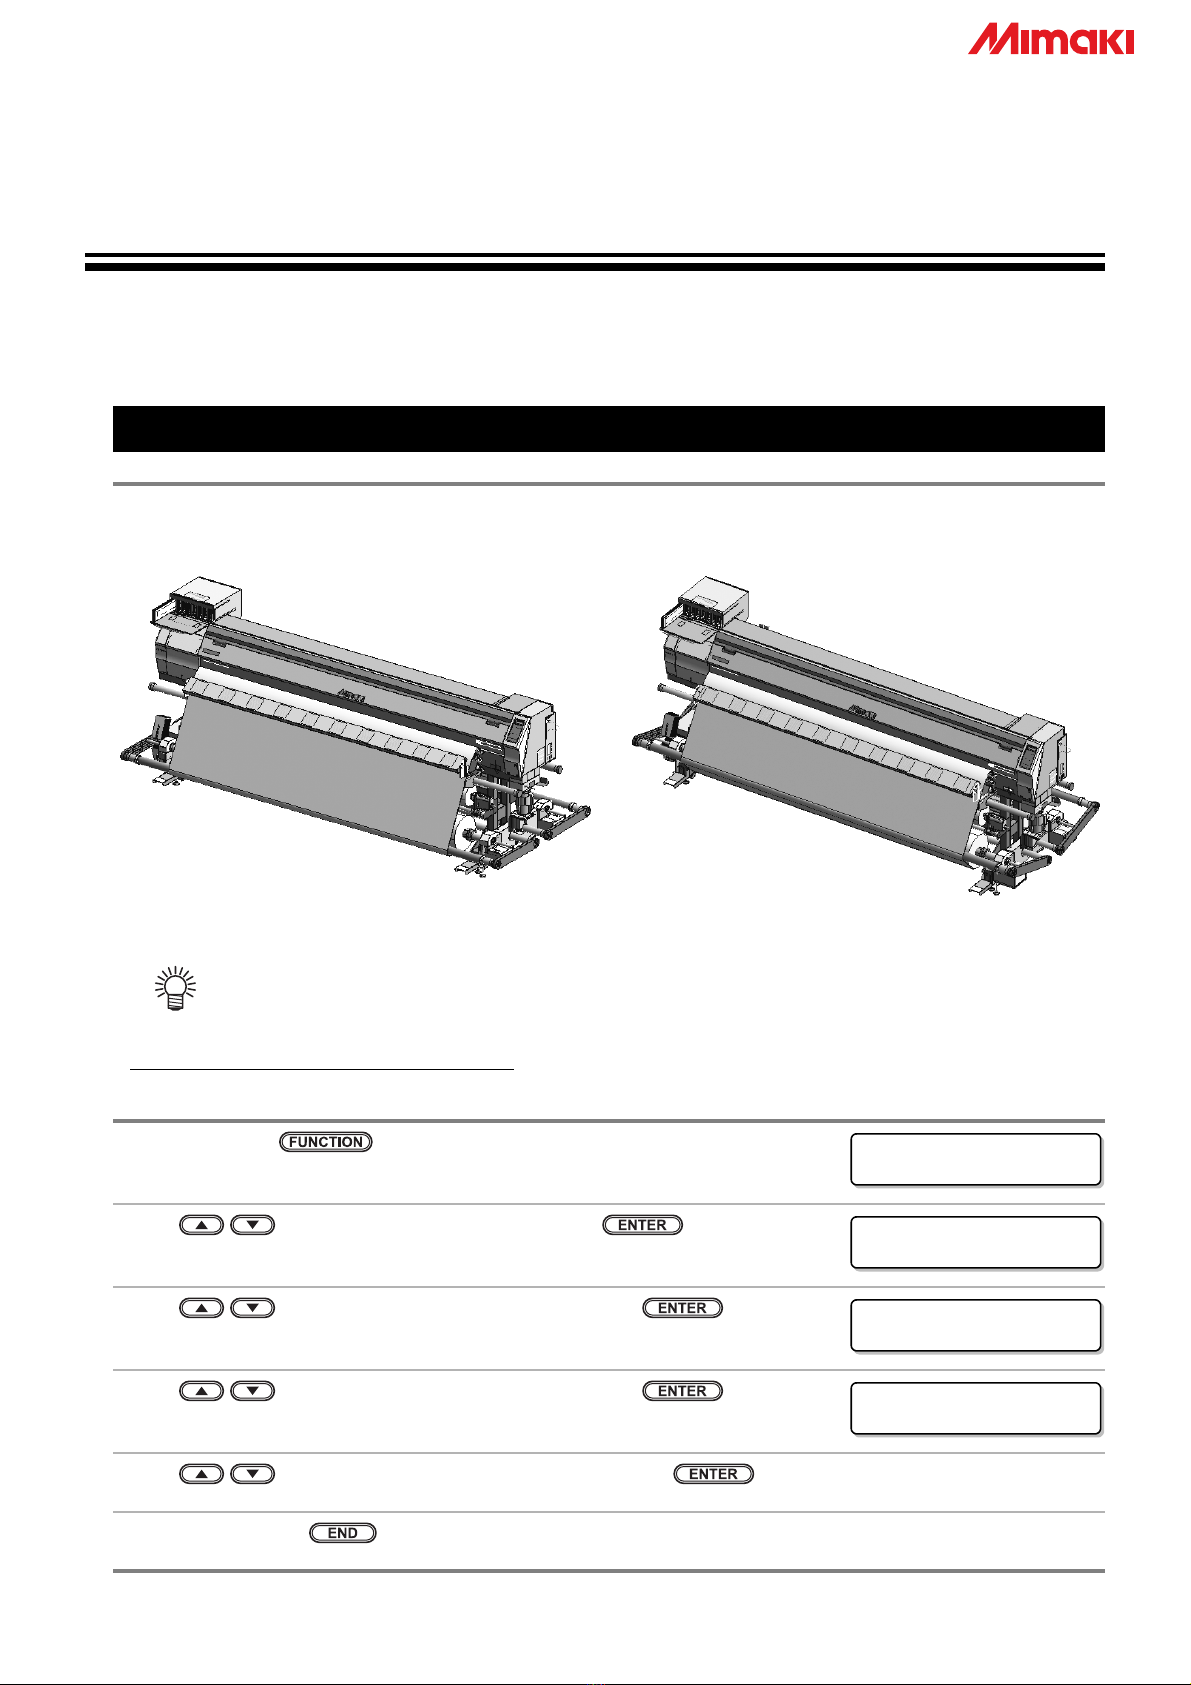
Narrow Take-up / Feeding device
This machine is equipped with the narrow take-up / feeding device for media with less than 1.6 m wide.
Narrow Take-up / Feeding device Trouble for feeding Q&A
Media skewing
• Set the media correctly.
(See Operation Manual P.2-9)
• Set the media in the center of this machine.
Setting media on one side or the other may cause skewing.
White lines / black lines in the
lateral direction
• Perform media compensation (See Operation Manual P.3-4) or
head cleaning (See Operation Manual P.2-34).
• After compensation, adjust the feed during printing as needed.
(See Operation Manual P.3-5)
Blurred white stripes in the
lateral direction
• Set [Tension-bar active position : any] and [Number of the weight
: 14 each], and adjust media feeding.
• If the trouble does not solve after the adjustment above, set the
print heater temperature to low.
• If media with less than 1.6 m wide is set on the heavy-duty take-up / feeding device, the media is
not correctly fed. Use the narrow take-up / feeding device.
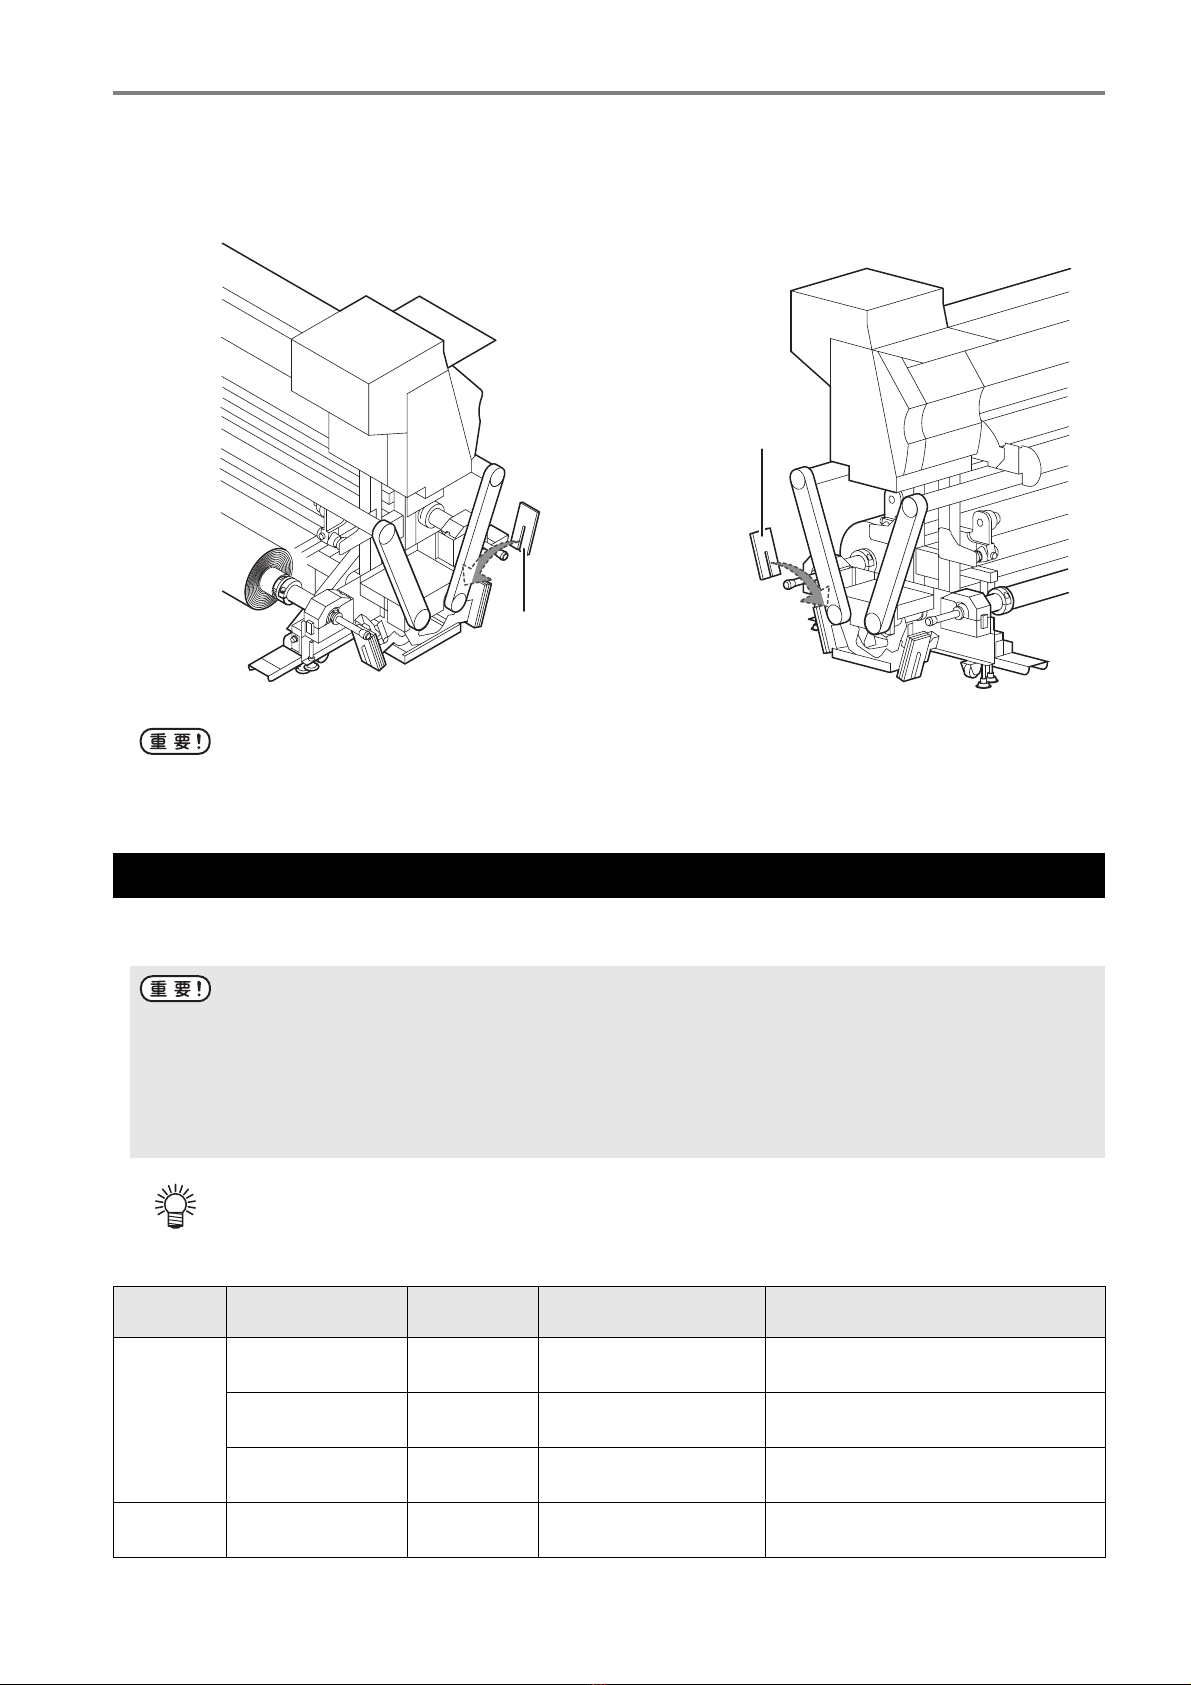
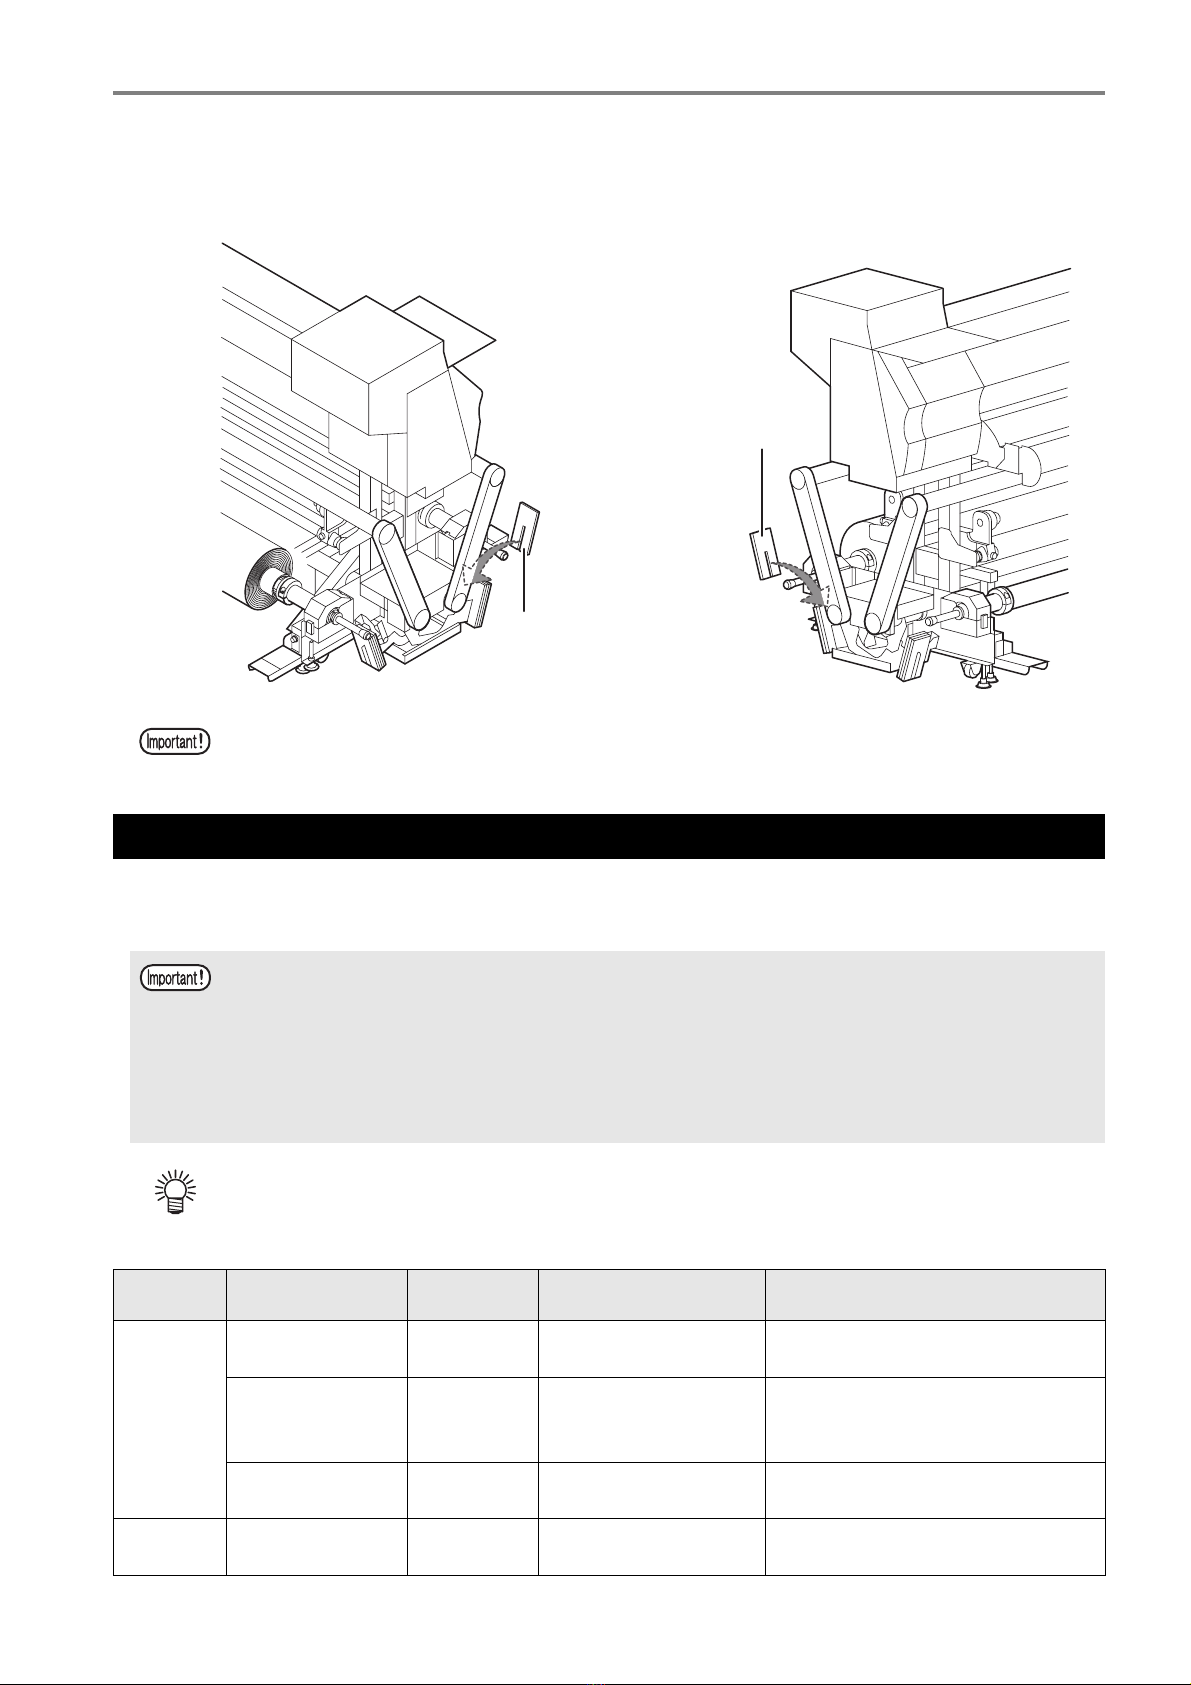
• Read Operation Manual P.2-20 to 27 with care, and set the media correctly.
• Adjust the torque limiter to adjust take-up tension of the media.
Turn the adjustment knut clockwise to increase the tension, and turn it anticlockwise to decrease
the tension. (See Operation Manual P.2-25 for details.)
Media skewing
• Set the media correctly.
(See Operation Manual P.2-20)
Setting media on a skew may cause skewing.
White lines / black lines in the
lateral direction
• Perform media compensation (See Operation Manual P.3-4) or
head cleaning (See Operation Manual P.2-34).
• After compensation, adjust the feed during printing as needed.
(See Operation Manual P.3-5)
PVC media is wrinkled on the
platen and the image is printed
with poor quality.
• Set the print heater temperature to low.
• Adjust the torque limiter to increase the take-up tension of the
media.
• Set the media adsorbing power on the platen to [STRONG].
(See Operation Manual P.3-24)