1
JV400LX Series
Requests for Daily Care and Maintenance
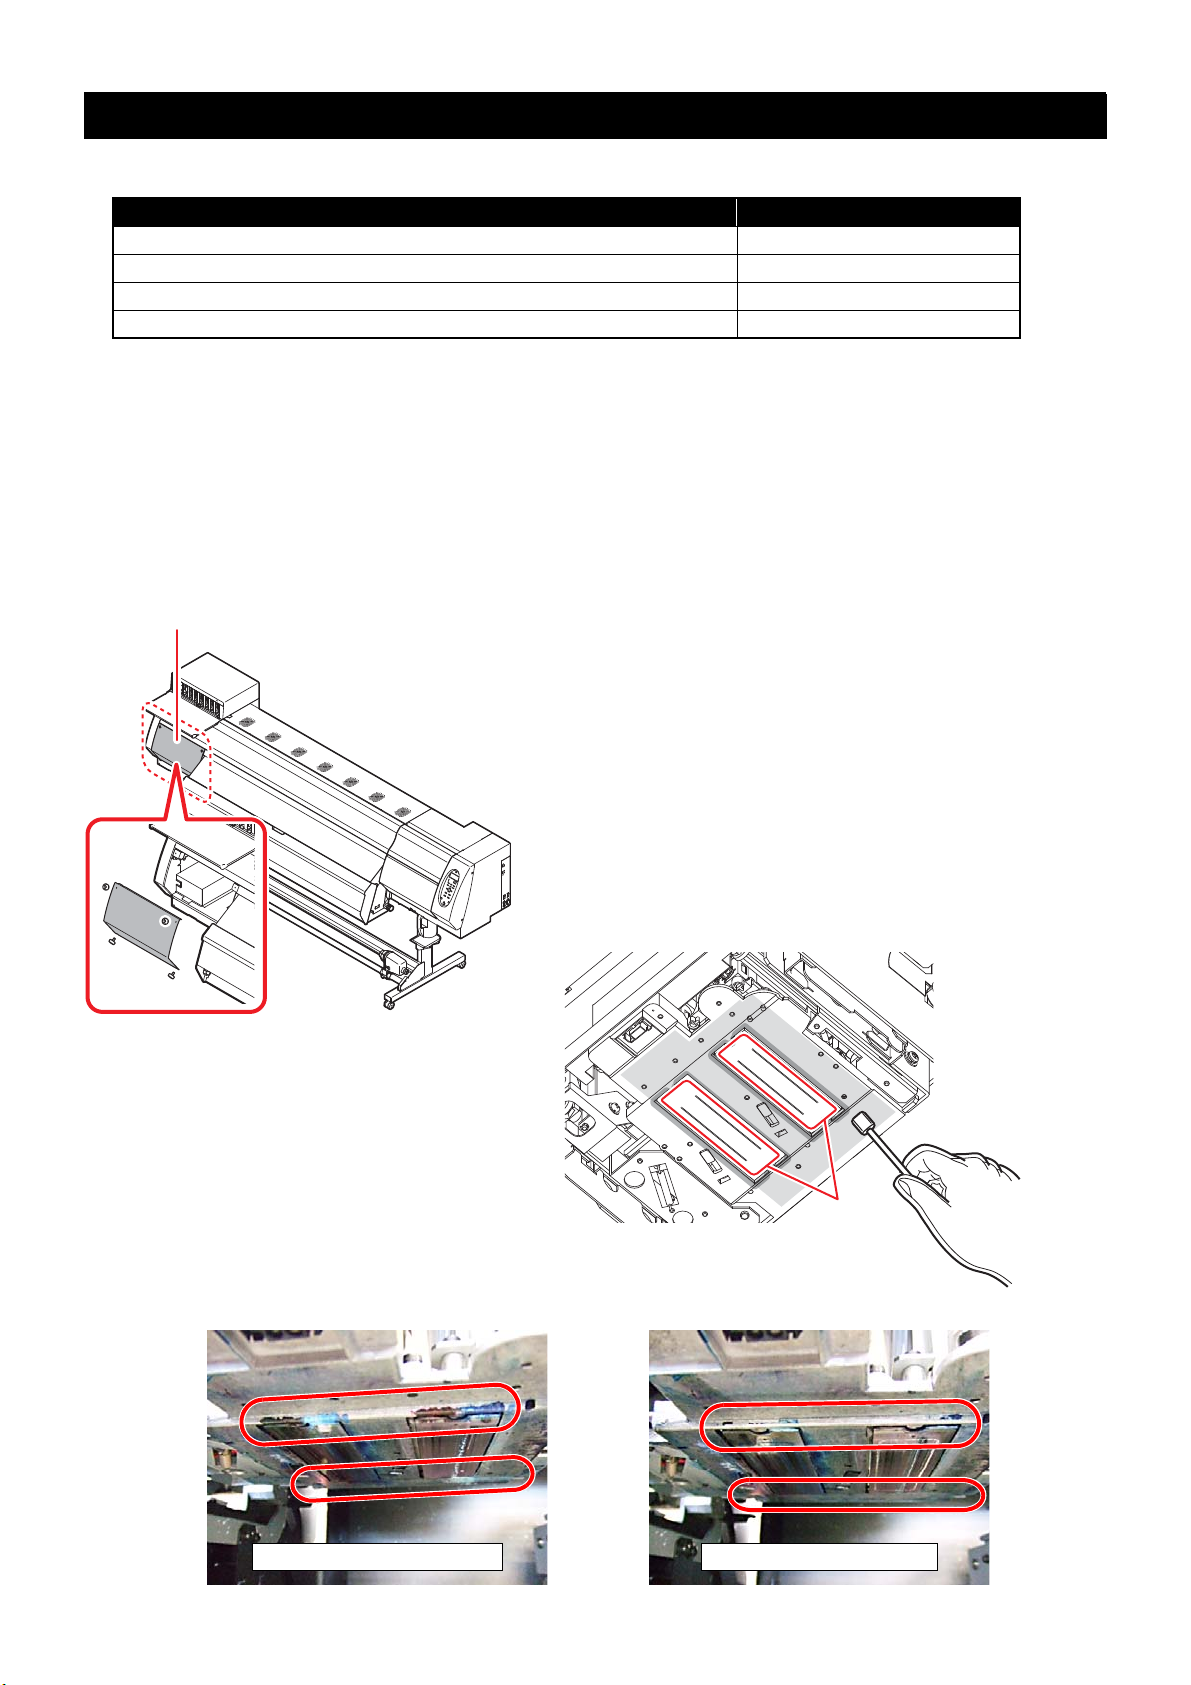
This machine is a precision machine equipped with extremely fine mechanisms. Especially, the nozzle surface of the
heads from which the ink is discharged is affected even by a slightest attachment of dust or paper powder and the
proper printing results could not be obtained. With a view to using this machine in a better condition, we would like to
recommend performing the following care and maintenance on daily basis.
Use this printer as much as possible in a dust-free environment. Fans and air-blowers could cause the dust-
spewing.
The using environment of this printer is from 20 to 30oC in temperature and from 35 to 65 % in relative
humidity. Avoid the use of this printer at a temperature and humidity higher or lower than the indicated
ranges.
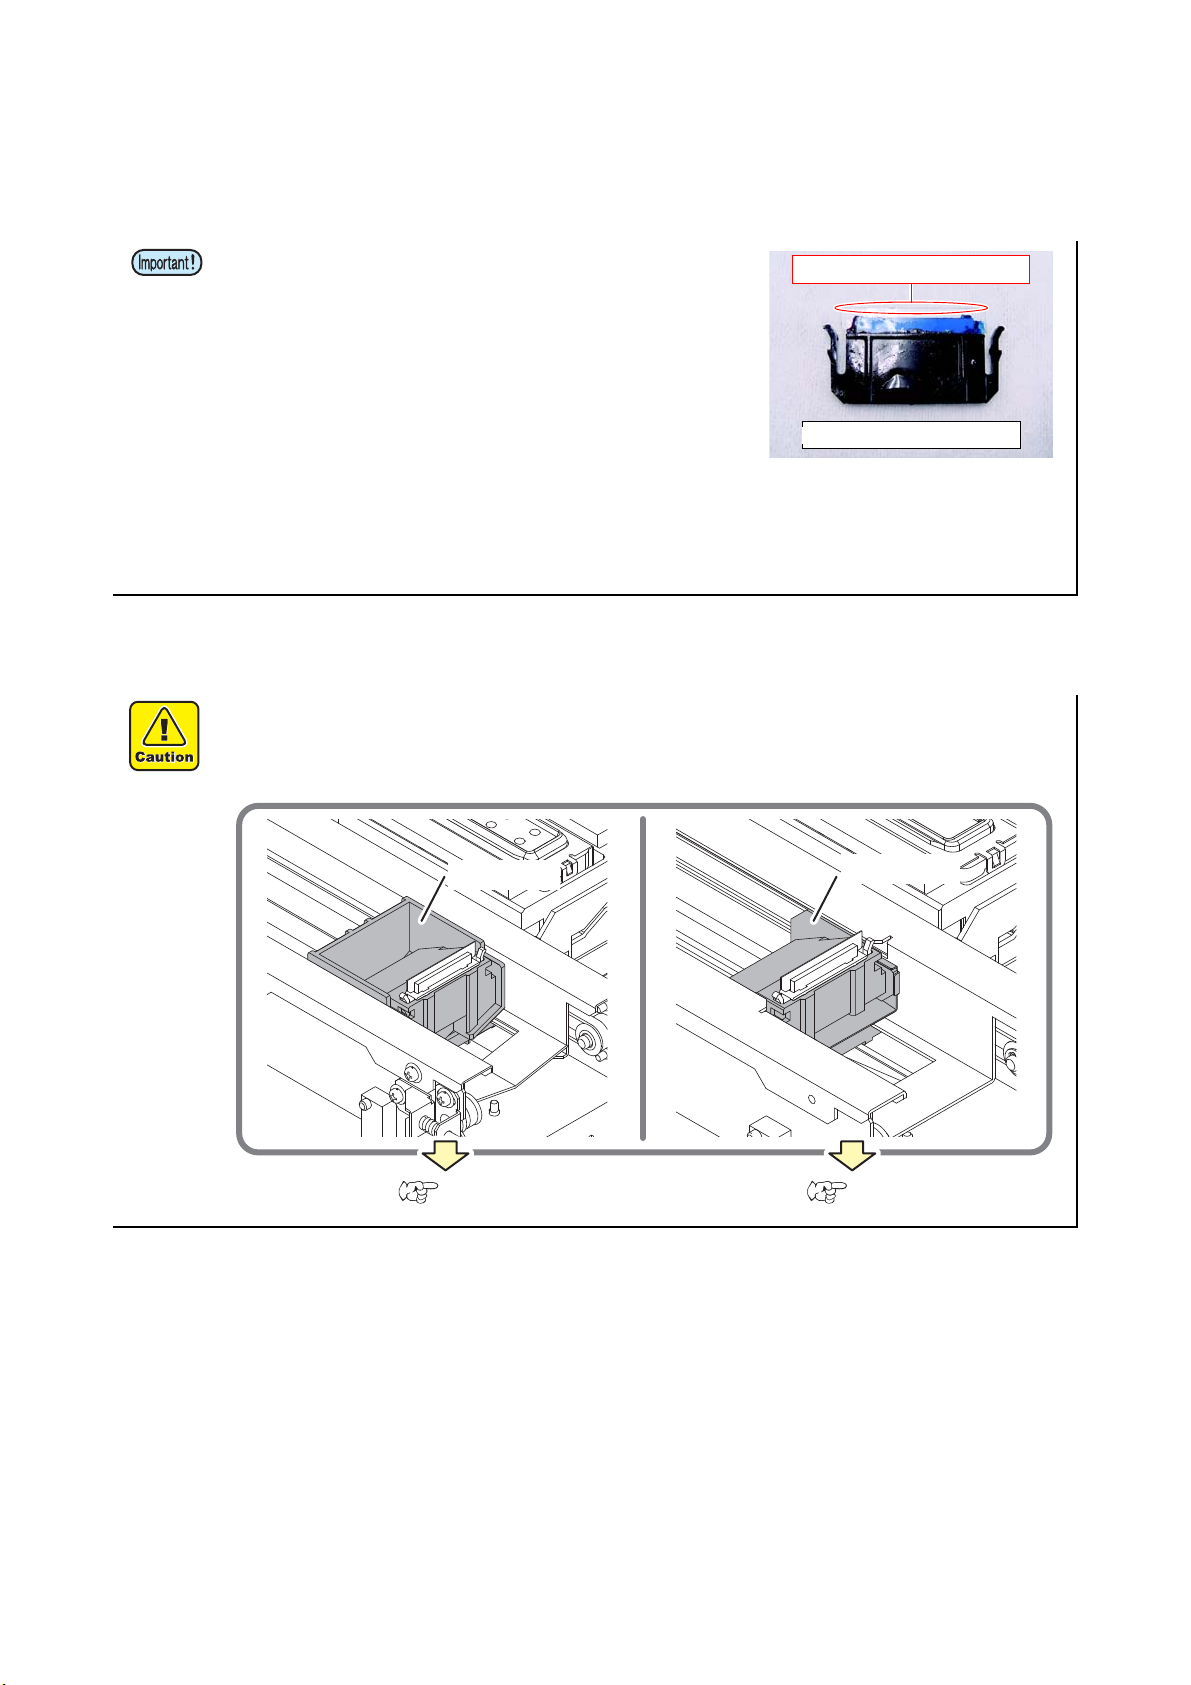
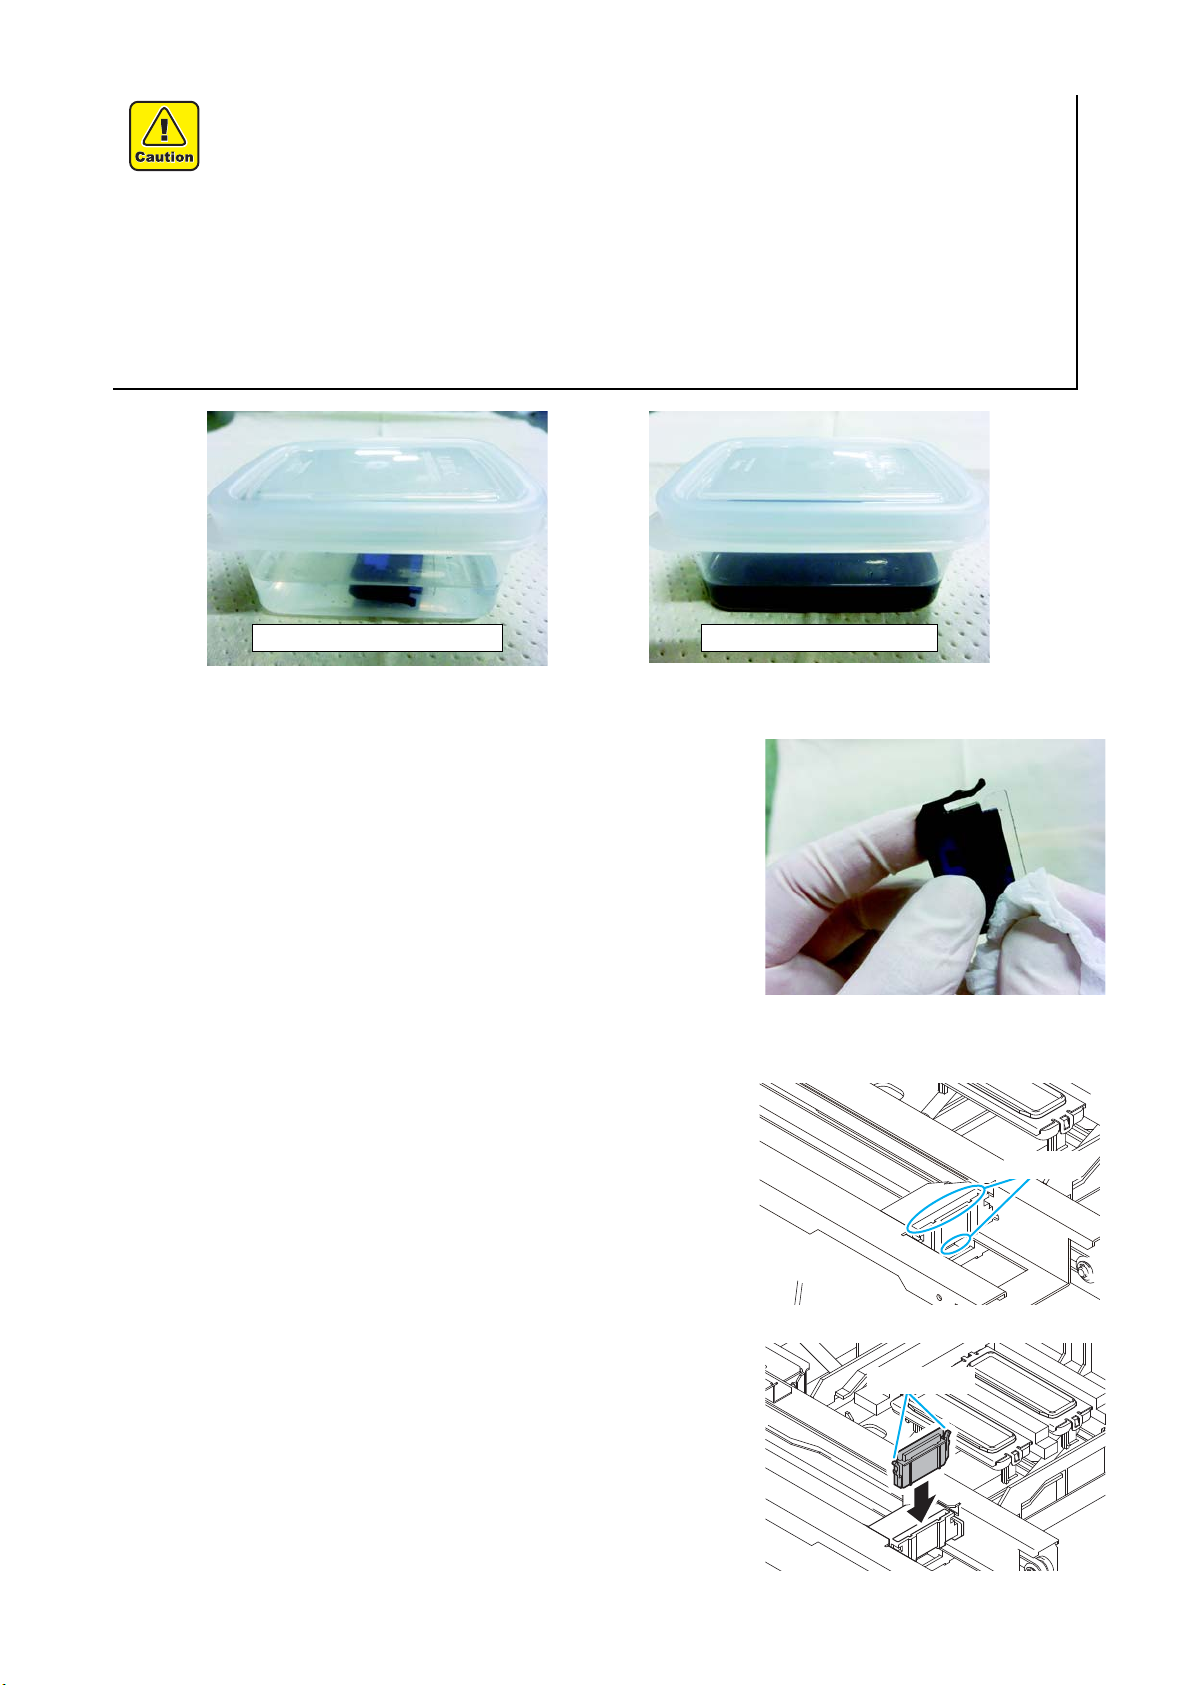
CAUTION
Make sure to wear the attached goggles and gloves.
The ink, if mixed with water or alcohol, generates condensed substances. Pay attention not to deposit
water or alcohol to the nozzle surface, surrounding area of the heads, caps and wipers.
To secure the stability of the ink discharge, when the printer is not used (output) for an extended
period of time, it could become necessary to discharge periodically a small amount of ink (flushing),
depending on the kinds of the ink.
When not using for an extended period of time, execute the [CUSTODY WASH] function of this equip-
ment, ("When the Machine Is Not Used for a Long Time (CUSTODY WASH)" Chapter 4 of Operation
Manual) and put off the power switch on the front, only. Leave the main power switch at the side of
the equipment on and keep the cable socket inserted into the plug.
Never disassemble this machine. It could cause electrical shock, fire and breakage.
Keep away the moisture from the inside of this machine. If the inside is moistened, it could cause elec-
trical shock, fire and breakage.
Perform the maintenance and care after switching off the power and taking off the power cable. Other-
wise, it could cause unexpected accidents.
Avoid using benzene, thinner, and chemicals containing abrasive compounds. The surface of the
cover could be degenerated or deformed.
Do not supply lubricant oil etc. to the inside this machine.
It could cause the breakdown of this machine.
1. Installation environment