Minebea Intec MP 90/04 User manual

Cable Junction Box MP 90/04
Installation Manual
Translation of the Original Installation Manual 9499 053 90401 Edition 3.1.0 09/26/2017
Minebea Intec GmbH, Meiendorfer Str. 205 A, 22145 Hamburg, Germany
Phone: +49.40.67960.303 Fax: +49.40.67960.383

Foreword
Must be followed!
Any information in this document is subject to change without notice and does not represent a commitment on
the part of Minebea Intec unless legally prescribed. This product should be operated/installed only by trained
and qualied personnel. In correspondence concerning this product, the type, name, and release number/serial
number as well as all license numbers relating to the product have to be cited.
Note
The product is partially protected by copyright. It may not be changed or copied, and it may not be used without
purchasing or written permission from the copyright owner (Minebea Intec). Its use constitutes acceptance by
you of the above-mentioned provisions.

Table of contents
1 Introduction......................................................................................................................................... 3
1.1 Read the manual.........................................................................................................................................................3
1.2 This is what instructions look like.............................................................................................................................3
1.3 This is what lists look like...........................................................................................................................................3
1.4 This is what menus and soft keys look like.............................................................................................................3
1.5 This is what safety instructions look like.................................................................................................................3
1.6 Hotline..........................................................................................................................................................................4
2 Safety instructions...............................................................................................................................5
2.1 General notes..............................................................................................................................................................5
2.2 Intended use................................................................................................................................................................5
2.3 Incoming goods inspection.......................................................................................................................................6
2.4 Before operational startup........................................................................................................................................6
2.5 Repairs and maintenance..........................................................................................................................................6
2.5.1 General information ........................................................................................................................................6
3 Specications ...................................................................................................................................... 7
3.1 Equipment supplied................................................................................................................................................... 7
3.2 Technical Data.............................................................................................................................................................8
3.3 Electromagnetic Compatibility (EMC) .....................................................................................................................8
3.4 Dimensions..................................................................................................................................................................9
4 Installation and connection information ............................................................................................ 10
4.1 General information................................................................................................................................................. 10
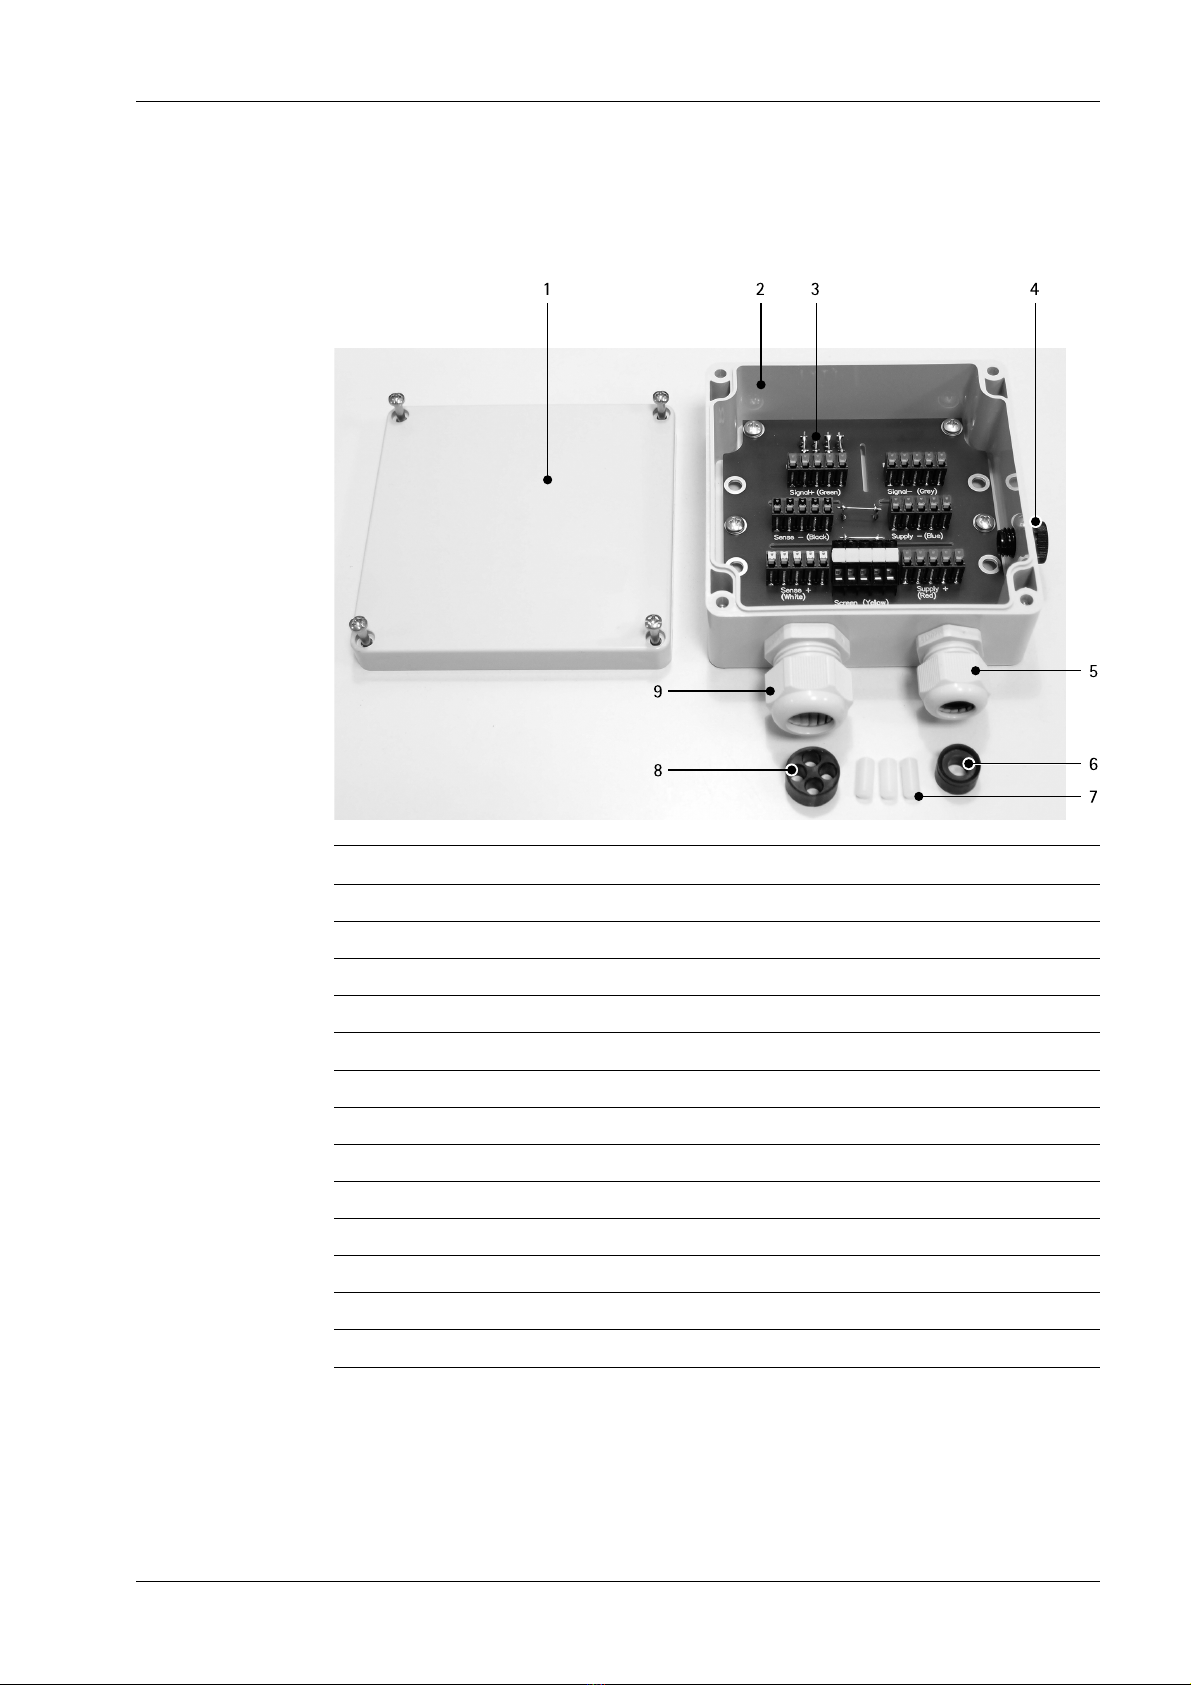
4.2 Terminals and jumpers............................................................................................................................................ 10
4.3 Cable gland................................................................................................................................................................. 11
4.4 Attaching the cable gland ........................................................................................................................................12
4.5 Fitting the reduction sealing ring/4-seal insert....................................................................................................13
5 Cable connections.............................................................................................................................. 14
5.1 General information................................................................................................................................................. 14
5.2 Connecting cables .................................................................................................................................................... 14
5.3 Cable connections .................................................................................................................................................... 14
5.4 Equipotential bonding conductor...........................................................................................................................15
5.5 Electronic corner correction.................................................................................................................................... 16
5.5.1 General information ...................................................................................................................................... 16
5.5.2 Procedure.........................................................................................................................................................17
6 Maintenance/repairs/soldering work/cleaning ................................................................................. 18
6.1 Maintenance.............................................................................................................................................................. 18
6.2 Repairs........................................................................................................................................................................ 18
6.3 Soldering work.......................................................................................................................................................... 18
Cable Junction Box MP 90/04 Table of contents
EN-1 Minebea Intec

6.4 Cleaning ..................................................................................................................................................................... 18
7 Disposal ............................................................................................................................................. 19
Cable Junction Box MP 90/04 Table of contents
Minebea Intec EN-2

1 Introduction
1.1 Read the manual
-Please read this manual carefully and completely before using the product.
-This manual is part of the product. Keep it in a safe and easily accessible location.
1.2 This is what instructions look like
1. - n. are placed before steps that must be done in sequence.
1.3 This is what lists look like
-indicates an item in a list.
1.4 This is what menus and soft keys look like
[ ] frame menu items and soft keys.
Example:
[Start]- [Applications]- [Excel]
1.5 This is what safety instructions look like
Signal words indicate the severity of the danger involved when measures for preventing
hazards are not followed.
DANGER
Warning of personal injury
DANGER indicates that death or severe, irreversible personal injury will occur if
appropriate safety measures are not observed.
Take appropriate safety measures.
WARNING
Warning of potential health risk or risk of personal injury!
WARNING indicates that death or severe, irreversible injury may occur if appropriate
safety measures are not observed.
Take appropriate safety measures.
CAUTION
Warning of personal injury and/or property damage.
CAUTION indicates that minor, reversible injury or damage to property may occur if
appropriate safety measures are not observed.
Take appropriate safety measures.
is placed before a step.
describes the result of a step.
1 Introduction Cable Junction Box MP 90/04
EN-3 Minebea Intec

NOTICE
Warning of property and/or environmental damage.
ATTENTION indicates that damage to property and/or the environment may occur if
appropriate safety measures are not observed.
Take appropriate safety measures.
Note:
User tips, useful information and notes.
1.6 Hotline
Phone: +49.40.67960.444
Fax: +49.40.67960.474
E-mail: [email protected]
Cable Junction Box MP 90/04 1 Introduction
Minebea Intec EN-4

2 Safety instructions
2.1 General notes
CAUTION
Warning of personal injury.
The product was in perfect condition with regard to safety features when it left the
factory.
To maintain this condition and to ensure safe operation, the user must follow the
instructions and observe the warnings in this manual.
2.2 Intended use
The cable junction box is designed for tank and hopper weighing applications.
It cannot be operated in potentially explosive atmospheres.
Product operation, commissioning and maintenance must be performed by trained and
qualied personnel who are aware of and able to deal with the related hazards and take
suitable measures for self-protection.
The device reects the state of the art.
The manufacturer does not accept any liability for damage caused by third-party system
components or due to incorrect use of the product. The use of this product signies
recognition of the stipulations listed above.
The following table shows the load cells that should and should not be used for dierent
applications.
Load cells to be used Load cells not to be used
PR 6201/..L, /..N, /..D1, /..C3, /..C4, /..C5,
/..C6 PR 6201/..LE, /..LA, /..NE, /..D1E, /..C3E,
/..C4E, /..C5E, /..C6E
PR 6201/..NDB, /..LDB PR 6201/..NDBE, /..LDBE
PR 6202/..C1, /..C3, /..C4 PR 6202/..C1E, /..C3E, /..C4E
PR 6204 Pendeo® Process
PR 6207/..D1, /..C3
PR 6211/..D1 500 kg–10 t PR 6211/..D1E, /..D1 30–300 kg, /..LT
PR 6212/..C1 PR 6212/..C1E, /..LT
PR 6221/.., all types
PR 6224 Pendeo® Truck
PR 6241/..D1, /..C3, /..C6 PR 6241/..D1E, /..C3E, /..C6E
Contego®/..D1, /..D1Ex, /..C3, /..C3Ex
PR 6246/..D1, /..C3, /..C6 PR 6246/..D1E, /..C3E, /..C6E
PR 6251/..L PR 6251/..LE, /..LA, /..LAC
Novego®/..D1, /..D1E, /..C3, /..C3E
MP 55/..C3MR+ MP 55/..C3MR+E
2 Safety instructions Cable Junction Box MP 90/04
EN-5 Minebea Intec

Load cells to be used Load cells not to be used
MP 70/..C3MR
MP 71/..C3MR
MP 72/..C3MR MP 72/..C3MR E
MP 76/..N, /..C3
MP 77/..C3MR MP 77/..C3MR E
MP 79(T)/..C3MR MP 79(T)/..C3MR E
2.3 Incoming goods inspection
The shipment must be checked for completeness. A visual inspection must be performed
to determine if the shipment has been damaged. If there are grounds for a complaint, this
must be brought to the attention of the delivery company immediately. A Minebea Intec
sales or service point must be informed.
2.4 Before operational startup
NOTICE
Perform visual inspection.
Before operational startup as well as after storage or transport, inspect the device
visually for signs of mechanical damage.
2.5 Repairs and maintenance
2.5.1 General information
Repairs are subject to inspection and must be carried out at Minebea Intec.
In case of defect or malfunction, please contact your local Minebea Intec dealer or service
center for repair.
When returning the device for repair, please include a precise and complete description of
the problem.
Maintenance work may only be carried out by a trained technician with expert knowledge
of the hazards involved and the required precautions.
Cable Junction Box MP 90/04 2 Safety instructions
Minebea Intec EN-6

3 Specications
3.1 Equipment supplied
No. Description
1 Cover
2 Box incl. electronics
3 Jumpers for corner correction resistors
4 Pressure compensation element
5 Cable gland M20
6 Reduction sealing ring M20 (for ≤8 mm)
7 Locking pin 6 mm (3×)
8 4-seal insert M25
9 Cable gland M25
The following items are not shown:
10 Drilling template
11 Installation manual 9499 053 90401
12 Certicates
3 Specications Cable Junction Box MP 90/04
EN-7 Minebea Intec

3.2 Technical Data
Protection classes per DIN EN 60529
IP65:
Dust-proof and leak-proof against water jets (nozzle)
from any angle.
Installation position Cable entry from below
Quantity of load cells 14
Pressure equalization Plastic pressure equalization element
Material of the junction box ABS
Color of the junction box gray, similar to RAL 7035
Net weight 0.65 kg
Shipping weight 0.85 kg
Service temperature area -30°C+70°C
Storage temperature range -30°C+80°C
Cable screw connections Plastic cable screw connections
Polyamide PA6 V-2
Insulation impedance (in service temperature range at
95% air humidity and 500 V DC) >1000 MΩ
3.3 Electromagnetic Compatibility (EMC)
All data corresponds to EN 61326 industrial section
High frequency electromagnetic elds
(803000 MHz) EN 61000-4-3 10 V/mHousing
Electrostatic discharge (ESD) EN 61000-4-2 6/8 kV
Fast transients (burst) EN 61000-4-4 1 kV
Peak voltages (surge) 1.2/50 µs EN 61000-4-5 1 kV
Signal and control
lines
Conducted disturbances by high fre-
quency coupling (0.1580 MHz) EN 61000-4-6 10 V
Cable Junction Box MP 90/04 3 Specications
Minebea Intec EN-8

3.4 Dimensions
all dimensions in mm
3 Specications Cable Junction Box MP 90/04
EN-9 Minebea Intec

4 Installation and connection information
4.1 General information
-Only use the cable glands provided by the manufacturer.
-Install the junction box so that the cable glands are on the bottom.
-Do not open the junction box when connected to the voltage supply.
Note:
At ambient temperatures >45°C, cables that are suitable for at least 85°C must be used.
4.2 Terminals and jumpers
Terminal contacts
1–4 + measuring voltage (load cells)Signal + green
Terminal contact
IND + measuring voltage (connection cable)
Terminal contacts
1–4 - measuring voltage (load cells)Signal - gray
Terminal contact
IND - measuring voltage (connection cable)
Terminal contacts
1–4 - supply voltage (load cells)Supply - blue
Terminal contact
IND - supply voltage (connection cable)
Sense - black Terminal contacts
1–4 - sense (load cells)
Cable Junction Box MP 90/04 4 Installation and connection information
Minebea Intec EN-10

Terminal contact
IND - sense (connection cable)
Terminal contacts
1–4 + sense (load cells)Sense + white
Terminal contact
IND + sense (connection cable)
Terminal contacts
1–4 + supply voltage (load cells)Supply + red
Terminal contact
IND + supply voltage (connection cable)
Terminal contacts
1–4 Screen (load cells)Screen yellow
Terminal contact
IND Screen (connection cable)
1 Jumper
2 Jumper
Connects the load cell supply line to the
sense line. Both jumpers must be opened
when 6-wire load cell cables are used.
4.3 Cable gland
The cable glands each have one sealing ring.
The M20 cable gland can be tted with a reduction sealing ring if cables ≤8 mm are used
(see Chapter 4.5).
The M25 cable gland must be tted with a four-seal insert to be able to feed in up to four
load cell cables.
The cable wires are connected to the terminals inside the device.
NOTICE
Property damage is possible.
If a seal insert is not used, it must be sealed with a supplied locking pin.
NOTICE
Property damage is possible.
Regularly check the tted cable gland for tightness and re-tighten it, if necessary.
4 Installation and connection information Cable Junction Box MP 90/04
EN-11 Minebea Intec

4.4 Attaching the cable gland
Note:
It is essential that the following tightening torques are observed:
M20: 4 Nm
M25: 6 Nm
1. Remove the parts from the packaging.
2. Screw the cable gland (2) into the cable junction box and tighten at the hex.
3. Screw the cap nut (1) onto the cable gland and tighten slightly.
Cable Junction Box MP 90/04 4 Installation and connection information
Minebea Intec EN-12

4.5 Fitting the reduction sealing ring/4-seal insert
Note:
It is essential to rst insert the side with the sealing lip in the metal sleeve!
1. Unscrew the cap nuts (2).
2. Remove the existing sealing ring from the metal sleeve (3).
3. Insert the reduction sealing ring (1) in the M20 cable gland (for cables ≤8 mm).
4. Insert the 4-seal insert (4) in the M25 cable gland.
5. Tighten the cap nuts (2) again.
4 Installation and connection information Cable Junction Box MP 90/04
EN-13 Minebea Intec

5 Cable connections
5.1 General information
In order to use the junction boxes for load cells with 6-wire cables, jumpers 1 and 2 must
be opened; see Chapter 4.2.
Cable entry must be from below.
Fit the wires and screen of the connection cable with wire end ferrules as per DIN 46228-1:
-0.5 mm2for green, gray, black, and white
-0.75 mm2for blue and red
This is not necessary for the load cell cables.
Connect the wires to the terminals according to the color coding .
Connect the screens on the other side of the connection cable with the equipotential
bonding terminal of the downstream device (see instrument manual) as described in
Chapters 5.3 and 5.4.
5.2 Connecting cables
To connect the junction box to the device, connection cable MP 80/.. must be used;
max. length: 300 m.
5.3 Cable connections
Note:
All components are only shown schematically.
Color code
bk = black
bu = blue
gn = green
gy = gray
rd = red
wh = white
Cable Junction Box MP 90/04 5 Cable connections
Minebea Intec EN-14

5.4 Equipotential bonding conductor
NOTICE
It is especially important that the ground is connected correctly to the components
and the cable junction box.
You must also ground the device separately and ensure the power supply is properly
shielded against the eects of lightning. Simply connecting the protective grounding
conductor is not enough!
If the installation is not carried out according to our instructions, this voids the
warranty. In particular, the entire installation, including the power supply, must be
suciently protected against lightning.
5 Cable connections Cable Junction Box MP 90/04
EN-15 Minebea Intec

5.5 Electronic corner correction
5.5.1 General information
Minebea Intec load cells are produced according to high quality standards and have
precisely adjusted output values.
Nonetheless, mechanical imbalances can cause impermissible corner load errors to arise,
which will need to be oset by soldering in resistors.
The correct installation and accurate alignment of load cells are imperative for good
measurement results and signicantly aect the behavior with corner loads. Therefore,
the installation and alignment of the load cell should always be checked rst if a corner
error is identied.
If necessary, carry out mechanical height adjustment (see Installation manual of the load
cell).
Cable Junction Box MP 90/04 5 Cable connections
Minebea Intec EN-16

NOTICE
Loss of calibration accuracy
An unstable signal can arise due to contact problems. This results in uctuating zero
points, which lead to the loss of calibration accuracy.
Do not use a potentiometer.
Only use resistors of 0–5.62 Ω (1%, P70 = 0.6 W) of size MBB0207
(approx. 2.5 × 6.5 mm) or CECC B.
5.5.2 Procedure
Electronic corner correction allows the sensitivity of each individual load cell to be
reduced separately.
The resistor required here can be calculated using the following formula:
R Resistor integrated in the output circuit of the load
cell (the resistance value is normally <7 Ω).
Weight actual Weight value on the display
Weight set point Weight of the placed load
ROOutput resistance of the load cell
Example:
placed load 12,000 kg
Display 12,052 kg
RO1010 Ω (see Installation manual of the load cell)
Calculated resistance 4.38 Ω
The following steps are necessary to minimize corner load errors:
This aligns the load cells with the displayed value of the reference cell.
Note:
The soldering studs are factory short-circuited for the resistances.
1. Select the load cell with the lowest displayed load as the reference cell.
2. In the junction box, remove the jumper from the relevant measurement
cable (Signal +) and solder in a resistor according to the abovementioned formula (in
the example 4.38 Ω).
3. After that, recalibrate the scale.
5 Cable connections Cable Junction Box MP 90/04
EN-17 Minebea Intec

6 Maintenance/repairs/soldering work/cleaning
6.1 Maintenance
Maintenance work may only be carried out by a trained technician with expert knowledge
of the hazards involved and the required precautions.
6.2 Repairs
Repairs are subject to inspection and must be carried out at Minebea Intec.
In case of defect or malfunction, please contact your local Minebea Intec dealer or service
center for repair.
When returning the device for repair, please include a precise and complete description of
the problem.
6.3 Soldering work
Soldering work on the device is permitted for corner correction.
6.4 Cleaning
NOTICE
Property damage caused by unsuitable cleaning utensils/agents.
Damage to the device.
Prevent moisture from penetrating the interior.
Do not use aggressive cleaning agents (solvents or similar agents).
For use in the food industry, use a cleaning agent suitable for that particular working
environment.
Use soft sponges, brushes and cloths.
1. Unplug device from mains supply, disconnect any data cables.
2. Clean the device with a cloth lightly moistened with a soap solution.
3. Wipe down the device with a soft, dry cloth after cleaning.
Cable Junction Box MP 90/04 6 Maintenance/repairs/soldering work/cleaning
Minebea Intec EN-18
Other manuals for MP 90/04
2
Table of contents
Languages:
Other Minebea Intec Industrial Electrical manuals
Popular Industrial Electrical manuals by other brands

Murata
Murata GRM155R71H222MA01 Series Reference sheet

Murata
Murata GRM1555C1H201GA01 Series Reference sheet

YOKOGAWA
YOKOGAWA JUXTA MD1 user manual

DRIESCHER-WEGBERG
DRIESCHER-WEGBERG MINEX Operation – and Assembly Instruction

LEGRAND
LEGRAND MOSAIC II 766 55 quick start guide

Teac
Teac TC-NSRSP-G3 Instructions for use