manuals.online logo
Brands
  1. Home
  2. •
  3. Brands
  4. •
  5. Model Rockets
  6. •
  7. Toy
  8. •
  9. Model Rockets Ruick Fly User manual

Model Rockets Ruick Fly User manual

Assembly
Instructions
Parts Included:
1 Nose Cone
1 Body Tube
1 Laser Cut Balsa Wing Set
1 Fuselage (1/8” Plywood)
1 Pod ount (1/8” Plywood)
2 Pod Hooks (1/8” Plywood)
1 Thrust Ring
1 otor Spacer Tube (yellow)
1 Launch Lug
1 Kevlar Shock Cord (yellow)
1 Elastic Shock Cord (white)
1 Plastic Streamer (color varies)
2 Tape Discs
1 Decal Sheet
Materials Not Included:
Yellow Wood or White Glue
Sanding Sealer
Paint Brush
Sandpaper (#240 grit)
asking Tape
Motor Mount and
Shock Cord Assembly
Step 1 –
Tie the yellow kevlar to the pre-
grooved thrust ring with a double knot. ake
sure the kevlar is tight in the groove and pull
the knot to the end of the thrust ring.
Step 2 –
Thread the end of the yellow
kevlar shock cord through the pre-marked
pod mount end of the body tube. Using a Q-
tip or the tip of your small finger, spread glue
around the inside of the body tube about 2”
from the end of the side that the shock cord
was inserted from.
Step 3 –
Using the yellow motor spacer
tube with the marked end outside, push the
thrust ring and yellow kevlar thread into the
tube until the motor spacer tube sticks out at
the ¼” mark from the end of the body tube.
Remove the motor spacer tube immediately
and set the body tube aside to dry for a few
minutes.
Assembling the Rocket Pod
Step 1 –
With the chamfers facing up and
in the same directions apply a thin layer of
glue to the both sides of the pod mount and
glider hooks and press together so that the
ends are flat and flush while on a flat table
surface. Leave on a flat surface to dry.
Step 2 – After the pod mount assembly has
dried apply a thin line of glue to the bottom of
the pod mount assembly and to pre-marked
location on the body tube. Press the assembly
firmly down on the body tube and use the
pre-marked lines to locate the assembly. Set
aside to dry.
2
Step 5 - Apply a thin line of glue along the
length of the launch lug and attach to the
body tube where the launch lug location is
pre-marked on the opposite side of the body
tube from the pod mount.
While drying, keep the pod mount and launch
lug aligned on the pre-marked areas on the
body tube and 180 degrees apart as shown.
Step 6 - Apply a glue fillet on both sides of
the pod mount and launch lug and smooth out
using your finger. Set aside to dry.
Assembling the Glider
Step 1 - Apply glue where the slots in the
wing come in contact with the tabs on the
underside of the fuselage. Attach the wing to
the fuselage.
Step 2 - Apply glue where the slots in the
canard come in contact with the tab on the
front top of the fuselage. Attach the canard to
the fuselage.
Align the canard horizontally to the wing by
referring to the alignment view. Set aside to
dry for a few minutes.
Step 3 - Apply glue where the slots in the
wing come in contact with the tab on the
bottom of the rudders. Attach the rudders to
the wing.
Step 4 - Apply glue to the surfaces where
the doublers come in contact with the sides of
the fuselage. Attach the doublers to the sides
of the fuselage just beneath the canard.
Align the rudders vertically to the wing by
referring to alignment view below.
The doublers should also be flat or flush with
the top of the fuselage and the canard. Set
aside to dry
Step 5 – Using 240 grit sandpaper, sand
between the glider hooks until the fuselage
fits in between easily. The glider should be
able to fall off the mount when turned upside
down.
3
Attaching the Streamer
and Nose Cone
Step 1 –
If it is not already, feed the yellow
kevlar shock cord through the bottom of the
body tube and pull out through the top.
Step 2 –
Tie both the white elastic shock
cord and the yellow kevlar shock cord
together with a single looping knot and pull
both shock cords to tighten the knot.
Step 3 – Remove the 2 tape discs from the
backing sheet and press firmly onto the
streamer on both sides over the hole that is
already punched in the end of the streamer.
Step 4 –
Pass the white elastic shock cord
through the hole and tape discs on the
streamer and then tie the nose cone to the
end of the white elastic shock cord with a
double knot.
Finishing Your Rocket
(Optional)
Step 1 –
Using 240 grit sandpaper, sand
the balsa surfaces of the glider and the poplar
plywood surfaces of the pod mount assembly
lightly to remove loose grain.
Step 2 –
Apply a thinned coat of sanding
sealer to all the wood surfaces and let dry.
Re-coat using a thinned coat of sanding
sealer, let dry and sand smooth 2 more times
until the wood surfaces are sealed and
smooth.
Step 3 –
Remove the pressure sensitive
decals from the backing paper and apply to
the fins and body tube. Use the picture on the
cover of this manual for a guide to decal
placement.
4
Flying Your Rocket
Flight checklist:
□
odel Rocket
□
Launch Pad & Controller w/Batteries
□
Recovery Wadding
□
odel Rocket otors and Igniters
□
asking Tape
Recommended otors for the Quick Fly rocket
glider are A8-3. A6-4. B4-4, B6-2, B6-4 C6-3
& C6-5.
Step 1 –
Insert 1 or 2 crumpled recovery
wadding sheets into the body tube and the
folded shock cord after the recovery wadding.
Step 2 –
Fold the streamer 3 times and roll
up small enough to fit into the rocket body
tube and insert into the rocket body tube,
then insert the nose cone to complete the
recovery assembly.
Step 3 –
Install a model rocket motor
igniter according to the rocket motor
manufacturers recommended procedure.
Step 4 –
Insert the rocket motor with the
nozzle/igniter end facing the rear of the
rocket. If the rocket motor is loose, add
masking tape to the outside of the rocket
motor until the motor inserts with enough
friction to retain the motor during flight. It
should not eject during recovery ejection.
Step 5 –
Fold some masking tape on the
launch rod about 8-10 above off the blast
plate and slide the rocket pod onto the launch
rod. The glider should hang freely from its
mount of the rocket pod without touching
anything on the launch pad.
Attach the glider to the rocket pod, attach the
igniter clips and you are ready to LAUNCH!
IMPORTANT:
FOLLOW THE N.A.R.
SAFETY CODE REGARDING
LAUNCHING ODEL ROCKETS AND
THE USE OF ODEL ROCKET OTORS

Other Model Rockets Toy manuals

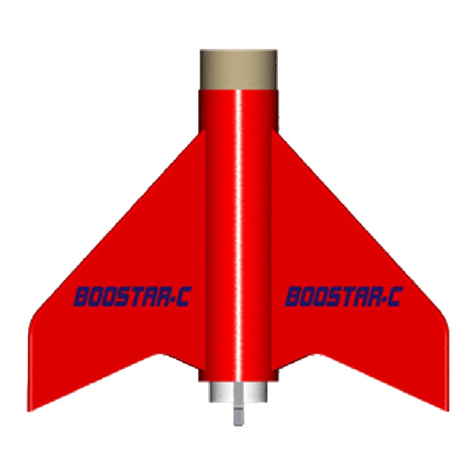
Model Rockets BOOSTAR-C User manual

Model Rockets

Model Rockets BOOSTAR-C User manual

Model Rockets Turbo User manual

Model Rockets

Model Rockets Turbo User manual

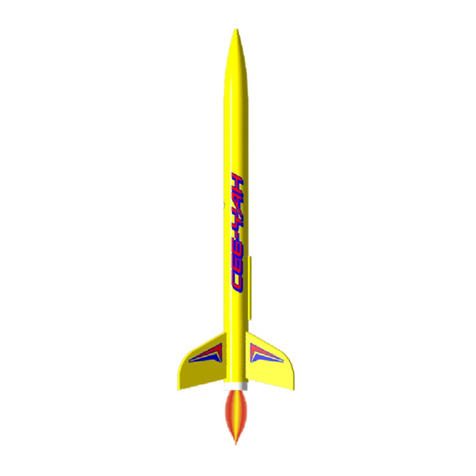
Model Rockets CEE-YAH User manual

Model Rockets

Model Rockets CEE-YAH User manual

Model Rockets 2.6 Rim-24 Tartar Expert Series User manual

Model Rockets

Model Rockets 2.6 Rim-24 Tartar Expert Series User manual

Model Rockets Super CENTAURI User manual

Model Rockets

Model Rockets Super CENTAURI User manual

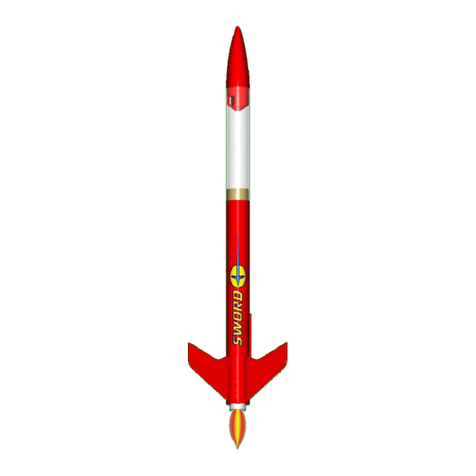
Model Rockets SWORD User manual

Model Rockets

Model Rockets SWORD User manual

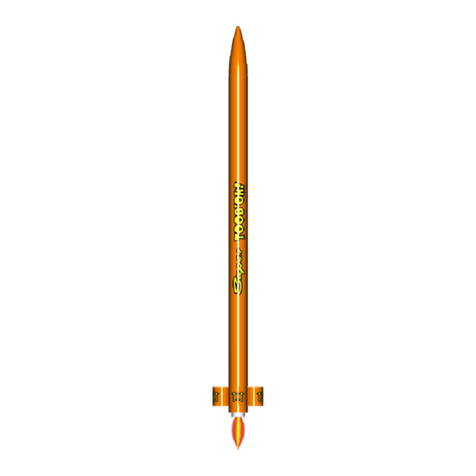
Model Rockets SuperTooboh User manual

Model Rockets

Model Rockets SuperTooboh User manual

Popular Toy manuals by other brands

REVELL German heavy gun 17 cm Kanone 18 in Heavy Howitzer... manual

REVELL

REVELL German heavy gun 17 cm Kanone 18 in Heavy Howitzer... manual

Radica Games 73008 SUB Combat instruction manual

Radica Games

Radica Games 73008 SUB Combat instruction manual

VTech Baby Drive & Discover Baby Keys Parents' guide

VTech Baby

VTech Baby Drive & Discover Baby Keys Parents' guide

RC System RC3780C instruction manual

RC System

RC System RC3780C instruction manual

Reely STURDY Assembly instructions

Reely

Reely STURDY Assembly instructions

JP F38 HORNET Assembly & operating manual

JP

JP F38 HORNET Assembly & operating manual

Tabata ReefTourer Underwater Viewing Bucket manual

Tabata

Tabata ReefTourer Underwater Viewing Bucket manual

ROBBE ZLIN 50LX RED BULL 1600MM ARF Building and operating instructions

ROBBE

ROBBE ZLIN 50LX RED BULL 1600MM ARF Building and operating instructions

Lionel New York Central Flyer owner's manual

Lionel

Lionel New York Central Flyer owner's manual

Trix Minitrix MaK G 1000 BB user manual

Trix

Trix Minitrix MaK G 1000 BB user manual

MGA Entertainment Little Tikes PLAY & PAMPER SPA SET manual

MGA Entertainment

MGA Entertainment Little Tikes PLAY & PAMPER SPA SET manual

Zaerotech Z33 V2 Construction & Setup Guide

Zaerotech

Zaerotech Z33 V2 Construction & Setup Guide

Reely Sky Tiger Moth operating instructions

Reely Sky

Reely Sky Tiger Moth operating instructions

Vintage Model Co MESSERSCHMITT BF109 manual

Vintage Model Co

Vintage Model Co MESSERSCHMITT BF109 manual

Madcow Rocketry MIM-23A Hawk quick start guide

Madcow Rocketry

Madcow Rocketry MIM-23A Hawk quick start guide

Eduard 73405 instruction sheet

Eduard

Eduard 73405 instruction sheet

Tiger Electronics Diablo RC instructions

Tiger Electronics

Tiger Electronics Diablo RC instructions

Eduard CH-47 Chinook cargo seatbelts 1/35 quick start guide

Eduard

Eduard CH-47 Chinook cargo seatbelts 1/35 quick start guide

manuals.online logo
manuals.online logoBrands
  • About & Mission
  • Contact us
  • Privacy Policy
  • Terms and Conditions

Copyright 2025 Manuals.Online. All Rights Reserved.