manuals.online logo
Brands
  1. Home
  2. •
  3. Brands
  4. •
  5. Model Shipways
  6. •
  7. Toy
  8. •
  9. Model Shipways MS2263 User manual

Model Shipways MS2263 User manual

Other Model Shipways Toy manuals

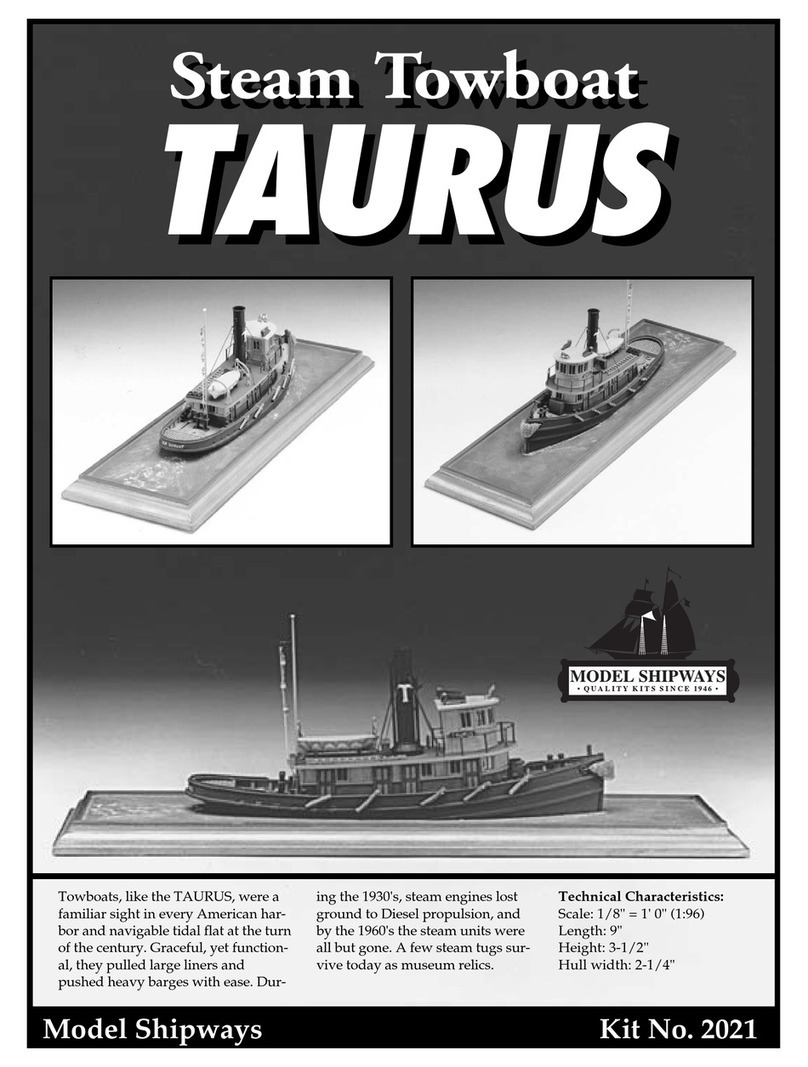
Model Shipways Taurus 2021 User manual

Model Shipways

Model Shipways Taurus 2021 User manual

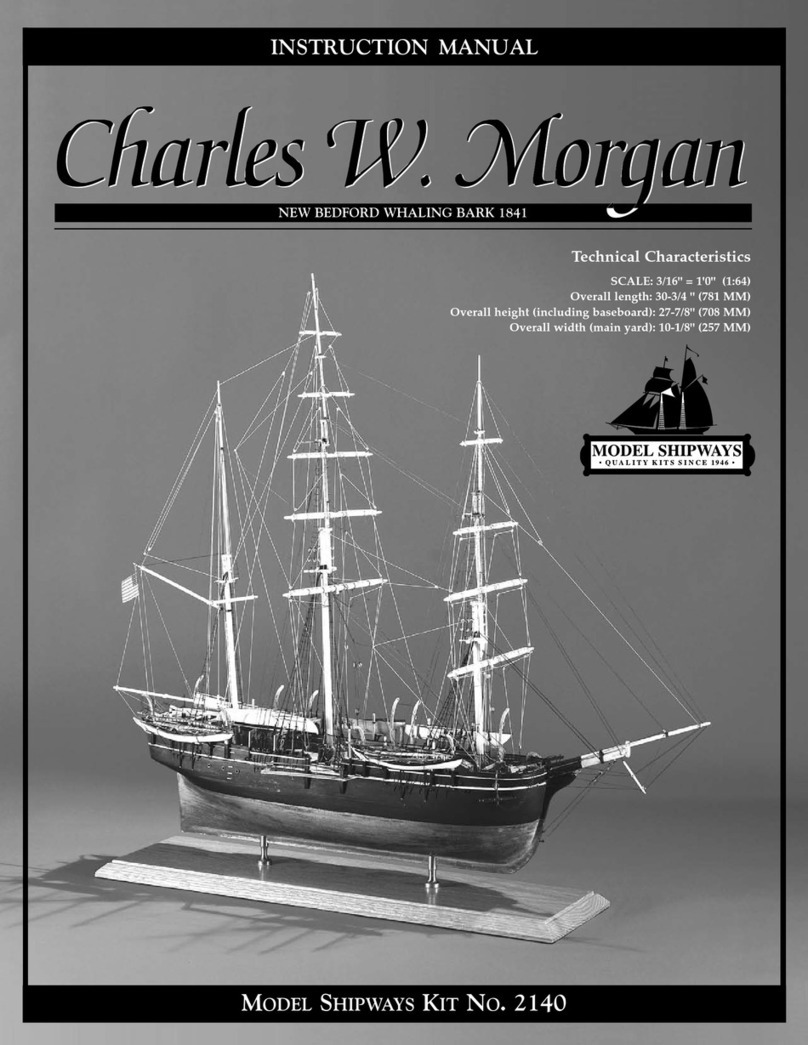
Model Shipways Charles W.Morgan User manual

Model Shipways

Model Shipways Charles W.Morgan User manual

Model Shipways Western Mountain Buckboard Wagon User manual

Model Shipways

Model Shipways Western Mountain Buckboard Wagon User manual

Model Shipways 2003 User manual

Model Shipways

Model Shipways 2003 User manual

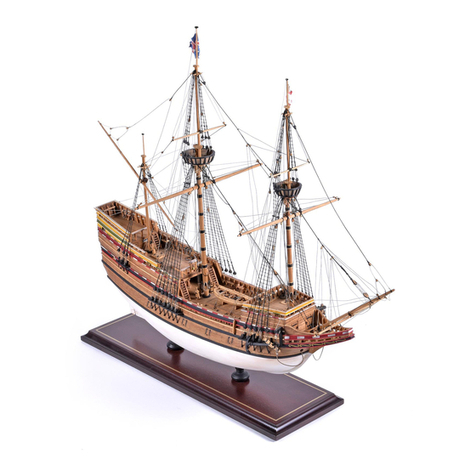
Model Shipways Mayflower 1620 User manual

Model Shipways

Model Shipways Mayflower 1620 User manual

Model Shipways BENJAMIN W. LATHAM MS2109 User manual

Model Shipways

Model Shipways BENJAMIN W. LATHAM MS2109 User manual

Model Shipways MA1040 User manual

Model Shipways

Model Shipways MA1040 User manual

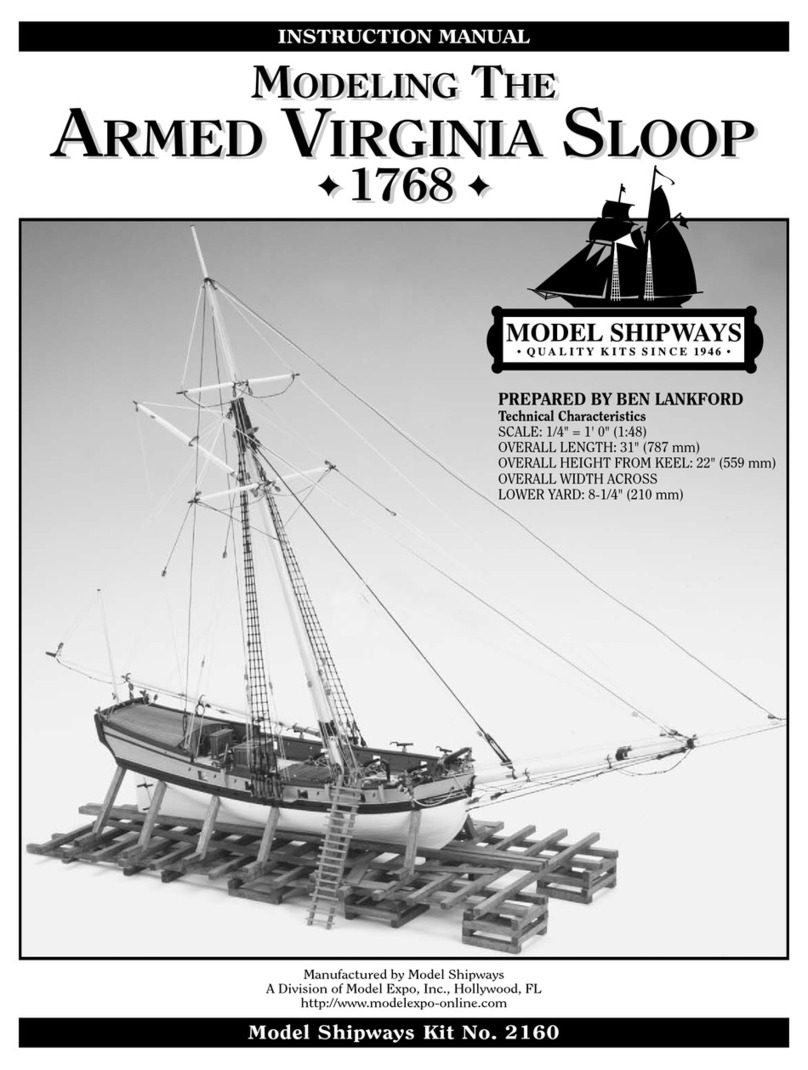
Model Shipways ARMED VIRGINIA SLOOP 1768 2160 User manual

Model Shipways

Model Shipways ARMED VIRGINIA SLOOP 1768 2160 User manual

Model Shipways US Frigate Confederacy 1778 User manual

Model Shipways

Model Shipways US Frigate Confederacy 1778 User manual

Model Shipways Rattlesnake MASSACHUSETTS PRIVATEER User manual

Model Shipways

Model Shipways Rattlesnake MASSACHUSETTS PRIVATEER User manual

Model Shipways Miss Adventure User manual

Model Shipways

Model Shipways Miss Adventure User manual

Model Shipways Bluenose User manual

Model Shipways

Model Shipways Bluenose User manual

Model Shipways HARRIET LANE 2010 User manual

Model Shipways

Model Shipways HARRIET LANE 2010 User manual

Model Shipways MS2120 User manual

Model Shipways

Model Shipways MS2120 User manual

Model Shipways Sultana User manual

Model Shipways

Model Shipways Sultana User manual

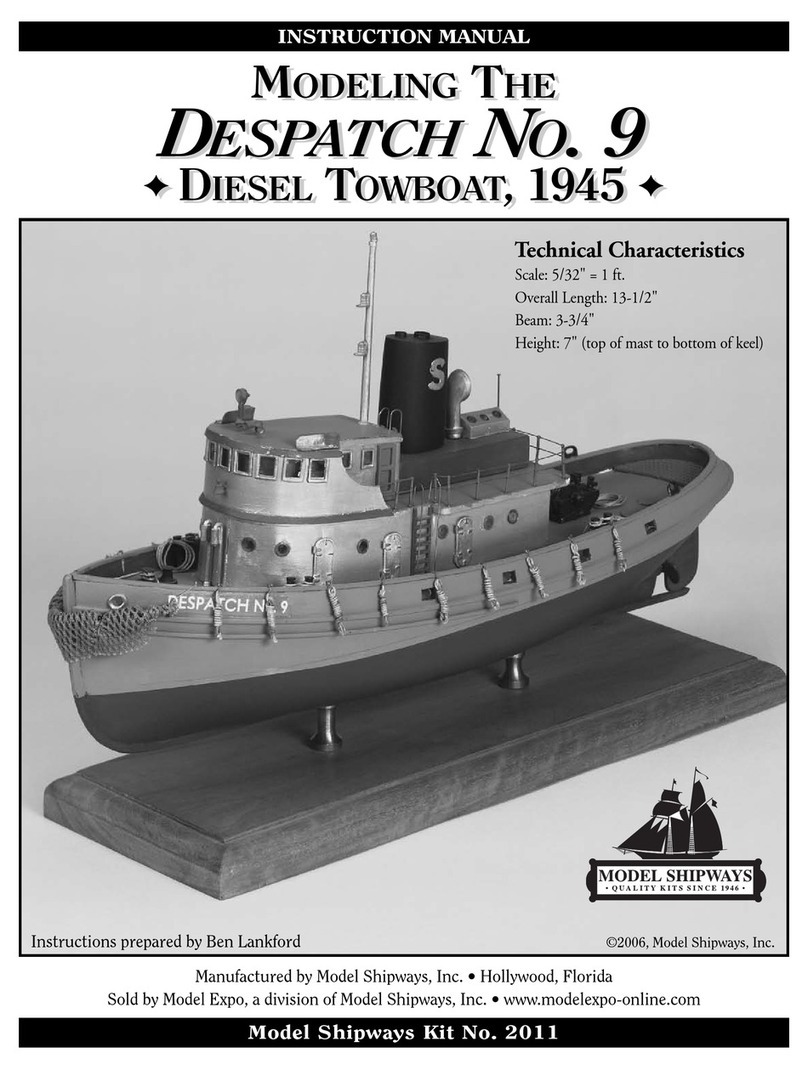
Model Shipways Despatch No. 9 User manual

Model Shipways

Model Shipways Despatch No. 9 User manual

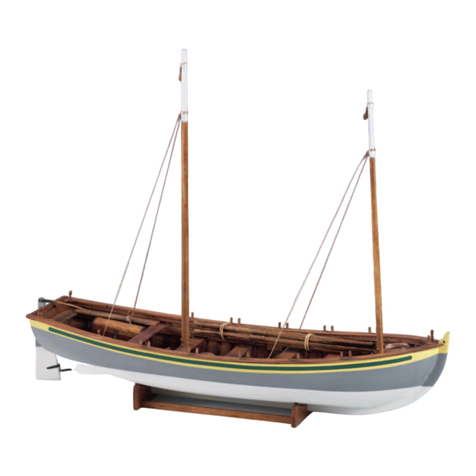
Model Shipways H.M.S. Bounty's Launch 1789 User manual

Model Shipways

Model Shipways H.M.S. Bounty's Launch 1789 User manual

Model Shipways Newsboy User manual

Model Shipways

Model Shipways Newsboy User manual

Popular Toy manuals by other brands

FUTABA GY470 instruction manual

FUTABA

FUTABA GY470 instruction manual

LEGO 41116 manual

LEGO

LEGO 41116 manual

Fisher-Price ColorMe Flowerz Bouquet Maker P9692 instruction sheet

Fisher-Price

Fisher-Price ColorMe Flowerz Bouquet Maker P9692 instruction sheet

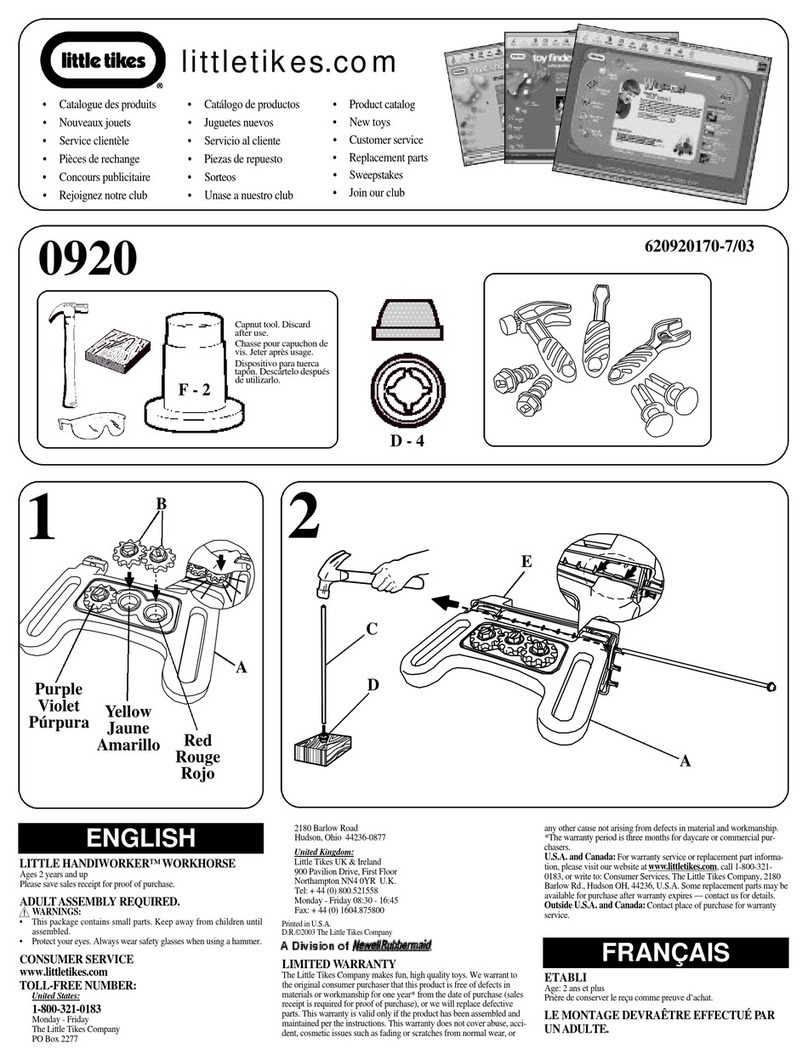
Little Tikes LITTLE HANDIWORKER 0920 Assembly instructions

Little Tikes

Little Tikes LITTLE HANDIWORKER 0920 Assembly instructions

Eduard EF-2000 Two-seater exterior Assembly instructions

Eduard

Eduard EF-2000 Two-seater exterior Assembly instructions

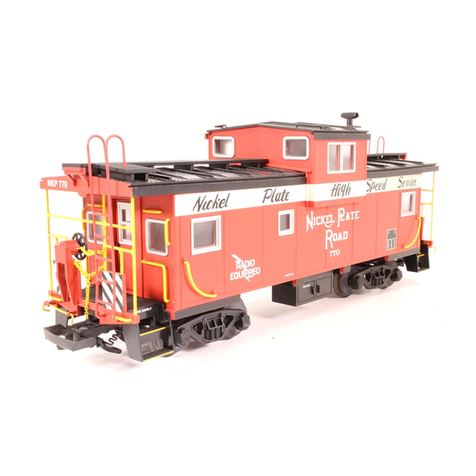
USA Trains EXTENDED VISION CABOOSE instructions

USA Trains

USA Trains EXTENDED VISION CABOOSE instructions

Modellbau Laffont Z1601 Assembly instructions

Modellbau Laffont

Modellbau Laffont Z1601 Assembly instructions

NOCH 12905 instruction manual

NOCH

NOCH 12905 instruction manual

Eduard Ki-61-Id quick start guide

Eduard

Eduard Ki-61-Id quick start guide

Viessmann Vollmer 45616 Mounting instruction

Viessmann

Viessmann Vollmer 45616 Mounting instruction

Vollmer 42004 Mounting instruction

Vollmer

Vollmer 42004 Mounting instruction

Phoenix Model CLASSIC-EP instruction manual

Phoenix Model

Phoenix Model CLASSIC-EP instruction manual

H-KING Sopwith Camel British WW1 Fighter instruction manual

H-KING

H-KING Sopwith Camel British WW1 Fighter instruction manual

MODSTER Predator 4x4 Crawler user manual

MODSTER

MODSTER Predator 4x4 Crawler user manual

DHK Hobby 8136 User instruction manual

DHK Hobby

DHK Hobby 8136 User instruction manual

THUNDER TIGER Raptor 50 V2 kit manual

THUNDER TIGER

THUNDER TIGER Raptor 50 V2 kit manual

Timberkits Skateboarder instructions

Timberkits

Timberkits Skateboarder instructions

Hangar 9 Funtana 125 Assembly manual

Hangar 9

Hangar 9 Funtana 125 Assembly manual

manuals.online logo
manuals.online logoBrands
  • About & Mission
  • Contact us
  • Privacy Policy
  • Terms and Conditions

Copyright 2025 Manuals.Online. All Rights Reserved.

KIT NO. MS2263
Technical Characteristics:
Scale 1:24, 1/2” = 1 foot
Overall Hull Length 26 3/8”
Width 13-3/4”
Height 24-5/8”
Prototype model, plans and instruction book by Bob Crane
INSTRUCTION MANUAL
GUNBOAT PHILADELPHI
A
AMERICAN FLEET, 1776
© 2013 Model Shipways, Inc.
modelexpo-online.com
Building the
Brief History of Revolutionary War Gunboats
(courtesy Lake Champlain Maritime Museum)
The American Revolution was in its infancy when the Continental Congress gave orders “to build,
with all expedition, as many gallies and armed vessels as ... shall be sufcient to make us indisputably
masters of the lakes Champlain and George.” (Journal of the Continental Congress, June 17, 1776 in
Clark, Morgan, and Crawford, Naval Documents of the American Revolution, 5:589.) American leaders
were concerned about British forces to the north. All parties understood that control of the lakes
meant control of routes of attack and retreat; the corridor that included the Richelieu River, Lakes
Champlain and George, and the Hudson River was the most direct and easiest route between the
cities of Quebec and New York.
Control of the lake meant getting weapons onto the water as quickly as possibly. As a result,
Skenesborough (now Whitehall, NY) became the “Birthplace of the American Navy” in the summer
of 1776. General Philip Schuyler chose this location for its two sawmills and an iron forge, its ease
of defense, as well as access to the vast timber resources of the Adirondacks. The eet construction
itself was under the direction of Benedict Arnold, whose previous success as a merchant ship owner
and master made him the ideal candidate.
Construction began that summer at a slow pace. Carpenters, riggers were reluctant to leave their
lucrative businesses on the coast. Finally lured by higher wages, and despite the heat, mosquitoes,
black ies, and long days, these craftsmen completed eight 54-foot gondolas, including Philadelphia,
and four 72-foot galleys in just over two months.
The gunboat was a at-bottomed rowing craft with square sails that enabled them to sail before
the wind. The hulls were tted out at Fort Ticonderoga. Across the lake at Mount Independence,
they were moored at the foot of a shoreside cliff; spars and guns were lowered from the top of the
cliff into position on board.
Philadelphia carried three carriage guns, one 12-pounder, and two 9-pounders, and eight swivel
guns. She had a single mast with a square-rigged mainsail and topsail. Her crew of 44 was captained
by 25-year-old Benjamin Rue, from Pennsylvania. With little experience in boat handling and none
in naval combat, Rue’s men typied the troops described to Major General Horatio Gates, as “a
wretched motley crew”.
This edgling eet spent the majority of their time that late summer and early fall of 1776 patrolling
the lake in anticipation of the completion of the British eet in Canada. Finally, on October 11,
1776, the British were carried southwards on a north wind. Arnold’s eet was moored in a protected
bay between Valcour Island and the New York shore in anticipation. The British did not enter the
Valcour Island passage from the north, but instead ran south to the east of Valcour Island, which
meant that to engage the Americans, the British would have to sail into the wind, putting them at
a disadvantage.
Despite this initial advantage, the British eet was much more powerful than the Americans. At
the end of the 6-hour battle, the schooner Royal Savage had been captured and burned, and the
gunboat Philadelphia sunk. Other vessels sustained damage, and sixty men were killed or wounded.
The British decided to wait until morning to nish off this rebel eet, which proved to be a poor
decision. During the night, the cunning Benedict Arnold led his eet in an escape, rowing silently
right under the noses of the British.
The next two days were spent in repair and retreat. Arnold abandoned two badly damaged
gunboats, Jersey and Providence. When the British caught up to the remainder of the American
eet, they captured the galley Washington. Finally the Americans beached ve of their ships, the
galley Congress, and the gunboats New Haven, Boston, Connecticut, and New York, and retreated
on land to Fort Ticonderoga.
During the summer of 1935, Colonel Lorenzo F. Hagglund, an experienced salvage engineer from
new York, located the Philadelphia with a sweep chain, midway between Valcour Island and the
New York shore. She was lying upright in 60 feet of water, her mast still standing, its top barely 15
feet beneath the surface. Hagglund describes his dives:
We are now approaching the blunt bow. Just above the
mud line there is a hole in her side through the outer
planking, a shattered rib and the inner planking; it
measures about 10 x 12 inches. Just forward of this
hold the starboard anchor stands in the mud under a
cathead. The stock, made of two pieces of oak pined
together, is now worn thin, but the remainder of the
anchor, made of wrought iron, is so well preserved that
in places the hammer marks can still be seen. It carries
the number 320. A little forward of the cathead is what
appears to be a white hole above the wearing strake. It
is a lead-lined hawse pipe and the wear of the anchor
rope is clearly visible.
We have arrived at the bow. In place of a bowsprit, we
nd a cannon with a peculiarly shaped object xed in
the muzzle. This object, now covered thickly with rust,
is a bar shot. The bow gun crew had not completed the
loading the their gun, and as the Philadelphia went down bow rst, this bar shot slid forward and
half out of the muzzle, where, as one end dropped, its own leverage clamped it in position. The
carriage of this gun is full forward on its slide.
Unfortunately, the recovery of Philadelphia is not a study in careful nautical archaeology. However,
Hagglund’s skill as a salvage engineer meant that the vessel was raised intact. He assumed nancial
responsibility for the vessel, and put her on a barge to tour the lake. After Hagglund’s death,
Philadelphia was donated to the Smithsonian’s National Museum of American History, where she is
on display to this day as the picture above. The Smithsonian commissioned a detailed study of the
hull and produced a very detailed set of 16 drawings. Much of the missing elements of the vessel,
e.g., masting and rigging, canopy structure, etc. were determined from knowledge of maritime
practices of the time. It is from these drawings the kit was designed.
Building the Hull
Locate the keel, part 17, the stem, part 18, and the stern post, part 19. Refer to Detail 2-1 and glue
these parts together as shown on a at surface. Glue part 18B to the stem and part 26 to the stern
post. Study Detail 2-1 and the sections shown there to be sure you understand how these parts
assemble. Carve and sand parts 18B and 26 to the shape shown. It is easier to accomplish this
after these parts are glued to the assembly.
Carve and sand the bevels on parts 18A and 25 as shown. Glue these parts to the assembly noting
where they locate. There will be a small gap between parts 18A and 18B, as well as parts 25 and
26. Study the cross sections for clarication. This method of construction provides the rabbet for
the plank ends (hood ends) without the need to carve in the rabbet.
Glue in parts 20, 21, and 22 as shown. These assure that the keel is plumb when glued to the
bottom as in the next step. Match up bottom parts 23S and 23P and apply a strip of Scotch tape
to the joint. Turn over and apply a few spots of glue to the joint. Glue on part 24 and assure that
the assembly is held at while the glue dries. Carefully align and center the keel and glue to the
bottom. It is important that the keel be centered for the bulkheads to t properly. If your keel is
not quite straight and has a little bow in it, glue it to the bottom at the ends only. When dry hold
the keel straight by some means and then glue at the center. The bulkheads will rmly anchor the
keel to the bottom.
Before removing the bulkheads from their boards use the parts identier sheet and number the
bulkheads with a soft pencil. Many of the bulkheads are very similar in shape and could be easily
confused. Refer to detail 2-4. Carve and sand the bevels into the bulkheads as shown. The bevel
line has been determined for you and laser engraved making it easy to form the bevels. In the
midships section the bevel is so small as to be negligible. It is much easier to carve these bevels
before gluing the bulkheads in place. It is a good idea to prepare a bulkhead, or pair of bulkheads,
then glue in place. While the glue is drying prepare another bulkhead pair. Assure that the bulk-
heads are square to the keel. For the bulkheads that are comprised of 2 pieces ensure that they
t properly to the edge of the bottom. You may nd that some adjustment may be required by
shaving the center joint of the bulkhead.
TIP: In many instances in model building commercial squares are too large for the purpose. A conve-
nient square for tight places is to snip a corner off a common note card or similar.
With the bulkheads in place, now is the best time to complete the cockpit oors. Refer to detail
2-5. Glue 2 parts 27 to either side of the keel in the forward cockpit. These parts serve two pur-
poses, closing up the mast step and bringing the exposed part of the keel to scale thickness. Glue
in the 3/16” square members as shown. These pieces raise the cockpit oor to scale height and
provide the landing for the oorboards. Fit and glue in the 1/16” x 1/2” oorboards. Glue parts 29
and 29A as shown. Parts 29 are glued to the aft side of bulkhead 12 which is not shown for clarity.
These parts provide the landing for the ceiling planks to be installed later which extend below the
deck levels. Add an eyebolt just aft of the mast step as shown.
Similarly construct the aft cockpit with parts 28, 3/16” square stock, 1/16” x 1/2” oorboards and
parts 5A and 6A as shown. Parts 6A are glued to the aft side of bulkhead 6 which is not shown for
clarity. The width of the bailing well is about 7/8” fore and aft.
Planking the hull: Planking a full size ships hull begins with a process called “lining off”. The
goal is to establish lines along the hull that will determine the run of the planking, the width of
the planks and the consideration of the width and length of the lumber available to plank the hull.
Study the planking development drawing on plan sheet 1. A strake is the continuous run of plank
along the hull from stem to the stern. A strake will consist of several planks. There are 2 strakes
above the wale and 4 stakes below the wale in our model hull. The lower strakes are numbered
1 thru 4. Each strake is made up of a number of individual planks butt jointed on the bulkheads.
Note the butt lines on the drawing. These are placed as they were on the full sized ship. Normal
practice is to begin by dividing the hull into sections called belts. The number of belts depends on
the size of the hull as well as the hull shape. Battens would be fastened along the length of the
hull establishing the lines and adjusted until pleasing lines are achieved and the spacing between
belts seemed reasonable as to the number of strakes required. The bulkheads (or frames) would
then each be divided into an equal number of strakes and so marked. Joining these marks along
the length of the hull would establish each strake line. It all may sound complicated but in practice
is easily accomplished once an understanding of the process is achieved. There are many varia-
tions of this process and usually the method and preferences of the master planker governed.
Fortunately for our model we do not have to go through this process. Most of the work has been
done for you in CAD. You will have noticed the laser engraved tick lines on the bulkheads. These
are the marks that dene the run of the strakes. It is advisable as you proceed with the planking
to pin a batten, say a 1/16” x 1/8” strip to the bulkheads at the marks and then mark all bulkheads
across their outboard surfaces (edges) clearly dening the run of the strake. A cordless rotary tool
such as a Dremel Minimite model 754 is extremely useful for this work. Use a small bit to drill
through the batten into the bulkhead and use common straight pins to fasten the batten to the
bulkheads so that the strake line can be drawn. You can mark all strakes at this time or mark them
as you go. Refer to the prole view on plan sheet 1. The ends of the planks that meet the stem
at the bow are called “hood ends”. Templates have been provided on the pattern sheet to locate
the position and width of these hood ends. Cut out the templates, t to the stem and stern post
and mark the locations of the strake lines on the stem and sternpost. No marks are needed for the
sheerstrake, the strake below the sheerstrake and the wale as these are constant width. Bevel the
edges of the bottom and fair into the bulkheads. Note that the bottommost strake over laps the
bottom.
With the hull lined off we are ready to begin the planking. The Philadelphia hull is planked both
inside and out. The inside planking is called the ceiling planking. This is a nautical term that goes
way back into history. You will not be able to plank this hull without wet bending planks. Planks
require both bending and twisting to properly t to the hull. This is especially true at the bow and
stern where curvatures are greatest. In addition most planks must be shaped by a process called
spiling, more on this later. Wet bending means soaking a plank for sufcient time to allow it to
soften and easily bend and twist. The plank is clamped in position on the hull and allowed to
thoroughly dry before gluing in place. Planks can be soaked in water or even better boiling water.
There are several methods used by modelers to bend and twist planks.
Soak in hot water•
Soak in boiling water•
Soak in household ammonia. It is believed that ammonia somehow affects the wood cells•
making them more yielding. A tall bottle of ordinary household ammonia on the workbench
is a handy method.
Wet the plank and wrap in a wet paper towel and microwave until hot and wet. Caution: re •
can result if overdone.
Begin with the sheerstrake. Refer to the section view, Detail 2-8 for the planking sequence. Study
the planking development drawing on plan sheet 1. The development view illustrates the plank
butt joints on the bulkheads. These are very close to the joints on the full size restored vessel and
were used on the prototype model. Soak a 1/16” x 3/16” strip and clamp to the bulkhead tops from
the bow to midships and let dry. Carefully align this strake with the tops of the bulkheads and glue
in place. Repeat for the remaining sheerstrake planks from bow to stern and port and starboard.
The next plank below the sheerstrake is 1/4” constant width. Again, wet, clamp, let dry, t and
glue. Next apply the 1/8” x 3/16” wales. Detail 2-6 illustrates the completion of these strakes.
The ceiling planking can be begun at any time in the planking process. The ceiling planking is
all 1/4” constant widths. No spiling and shaping is necessary for the ceiling planks. They can be
applied with only moderate edge bending but must also be soaked, and clamped in position and
allowed to dry. When the ceiling planks reach the bulkheads; simply notch the plank in way of the
bulkheads allowing the plank to extend below the deck levels. All of this will be hidden when the
decks are installed.
There are four strakes of planking below the wales numbered 1 through 4. These planks cannot be
applied as full width but must be shaped to t in their respective positions when bent and twisted
to conform to the hull. The process of determining the shape of a plank is called spiling and sim-
ply means transferring a curve to a straight plank and then cutting them out. Study the spiling
illustration on plan sheet 2 if you are not familiar with this process. Again review the suggested
locations of the butt joints. Note that if you try to run the planks too long you will soon nd you
do not have enough plank width to meet the lined off marks. There are three widths of planking
material for these lower strakes in your kit, 1/16” x 3/8”, 1/2”, and 3/4”. Use the narrowest material
is each case that is wide enough to let you t the upper edge and still be able to reach the marks
for the lower edge. Begin with strake 1 below the wale and work your way down. It is sometimes
useful to use strips of thick paper such as common poster board to obtain a rough plank shape.
Once a plank has been tted to one side of the hull it can be used as a pattern for the plank on the
other side of the hull. Planks at the bow and stern must be wet bent or gluing and clamping dry
planks can be very difcult. A useful item for clamping material to the hull during spiling, tting,
and gluing are the Aluminum push pins sold at ofce supply stores. Drill a slightly undersize hole
in a bulkhead at the desired location and push the pin in to secure a plank. This is illustrated in
photo 1, 2, and 3. Do not use the plastic variety as they shatter easily.
Photo 1: planking in progress
Photo 2: typical plank shapes
Photo 3: method of clamping planks
There are several things to note in these photos. In photo 1, note that the planks are installed
at the bow and stern leaving the center section as the last plank to complete the strake. This is
common practice. Also note that the short ceiling planks in the area of the cockpits have been
completed down to the cockpit oors. In photo 2 the top plank shown is a fully tted bow plank
ready for wet bending and installation. The middle plank is a fully shaped stern plank ready for
wet bending and installation. At the bottom is plank stock on which is traced the same stern plank
ready for cutting out to be tted to the other side. Photo 3 shows a tted stern plank wetted and
clamped to let dry.
With the hull planking complete trim the bottom strake ush with the bottom. As there was no evi-
dence of paint on the recovered vessel we nished the prototype model with stains only. Minwax
Golden Oak was used for the hull with Minwax Provincial, a slightly darker stain, on some parts to
provide a little contrast. Sand your hull inside and out to your satisfaction and stain.
Decks, knees, and chests: The decks may now be installed. The foredeck is made up of parts 30P
and 30S. The middeck is made up of parts 31P and 31S. The aft deck is made up of parts 32P and
32S. These pieces are deliberately a bit oversize to allow tting to your model. If you are using a
contrasting stain for the decks you may want to stain them before installation. Trim and sand these
parts for a good t and glue in place. The midship knees may now be installed. Refer to Detail
2-9. The knees were nailed in place on the restored ship. You may want to add a bit of realism
by indicating a nail pattern on the knees using a dot from a pen or similar. Glue in knees K2 rst
then install the 1/16 x 3/16 coamings. Use the pattern supplied to locate the K3 knees on port and
starboard sides. The pattern is designed to lie between the coamings and indicates the position
of the knees. The spacing is different on the port and starboard sides to accommodate the two 9
pounder guns. The aft storage chests may be installed at this time. Locate the parts 40, 41, 42P
and 42S, and 43. First shape and t parts 40 and 41 to the hull in their respective positions then
assemble and install the storage chests. These chests were probably used for small arms storage
and/or personal gear.
Photo 4: Hull planked and decked
Eyebolts, ring bolts and hawse holes: There are quite a few eyebolts for guns and rigging on the
Philadelphia. These eyebolts were installed by drilling through the ceiling planking and the outer
planking, inserting the eyebolt, and then applying a washer and peening over the end of the bolt
to secure it. These were called through hull holes. Now is a good time to locate the positions of
these bolts and prepare a hole for them. Refer to detail 2-10. Patterns have been supplied to help
you locate the positions of these holes. They are on the pattern sheet as well as shown on plan
sheet 2. The patterns for the 9 pounder guns are designed to be located on the inside of the hull.
Hold the pattern in place and use an appropriate drill bit to drill through the hull. Do not install
these eyebolts and ring bolts at this time. It is much easier to rig the guns, breech line and side
tackles, to the eyebolts while off of the vessel. Once the guns are built and rigged the eyebolts can
be inserted in their respective positions and secured. In various places on the drawings the letters
EB are used to mean eyebolt, and the letters RB indicate a ring bolt. There are 3 other eyebolts
that can be permanently installed at this time. Refer to Detail 2-10 and 5-1. The eyebolt for the
topmast halyard and the ringbolt for the mainmast backstay may be installed at this time.
There are two eyebolts at the stern of the hull for the main braces. Refer to plan sheet 5 for their
location. These are installed from the outside of the hull and may be installed at this time.
At the bow use the patterns supplied to locate the eyebolts and ring bolts and hawse holes. Note
that there is a pattern for the inside hole locations and a pattern for the outside hawse hole. Again
do not install the eyebolts and ringbolts for the 12 pounder gun at this time. Drill a small hole at
the center of the hawse holes then use successively larger drills to enlarge the holes. Finish the
hawse holes with a needle le. Use brass parts B2 to judge the size of the hole. The hawse holes
were lined with a rolled lead pipe and the protruding ends hammered over to form a ange both
inside and outside of the hull. These brass parts simulate the anges. The brass parts may now
be installed. Gel type CA glue works well here. Paint the brass a dull gray to represent the color
of lead. Note in detail 2-10 the eyebolt in the stem where the foredeck meets the stem. This is
for the forward stay. Drill a hole at this location for one of the larger eyebolts but do not install
the eyebolt at this time. This will come in the rigging stage.
Note that the rail caps are yet to be installed. These will be installed later after the gun carriages
are in place. This is so that the eyebolts and ring bolts can be inserted while there is still access to
the space between inner and outer planking. It is much easier to insert the eyebolts through the
ceiling planking and then nd the hole through the outer planking while the hole is visible. This
is true also for the lower deadeyes. The deadeyes are unusual in that they are stropped with heavy
line and the two legs of the strop are passed through holes in the hull from the inside. They were
secured by constructing a stopper knot in the end of the line. Use the patterns supplied to locate
and drill for the strops. It is best to use a small drill at this stage and a larger drill later. This will
depend on the diameter of the line used. Note that there is a pattern for the starboard side and
one for the port side. Hold these patterns to the outside of the hull and align with part K2 when
drilling.
Lower deadeyes: Refer to Detail 3-1. Make up the deadeyes as shown leaving the strop line long.
Use the largest line in your kit. Stiffen the ends of the line with CA glue so as to be able to work
them through the holes in the hull. Drill out the holes to suit the diameter of your line and thread
the strop lines through the holes. Pull tight and secure with CA glue. The appearance of a stopper
knot can be created by using a couple of simple overhand knots around the strop line with smaller
line. When all is secure, trim the lines for a good appearance.
Installing the mast partner: Refer to Detail 3-2 In order to properly position and set the mast
partner an installation jig has been provided. Assemble the jig from the parts shown BUT DO NOT
GLUE. The jig locates by butting to bulkhead 11. The mast partner has been deliberately cut long
to allow for tting. Trim the ends equally for a good t to the ceiling planking. Measure carefully
from the edges of the cutout as you go to ensure equal removal of material from each end. Glue
the mast partner in place and remove the jig. It is best to drill and nail through the hull into the
ends of the partner for increased strength as shown in Detail 3-2.
Shot garlands (racks): Use the full size top view to determine the location of the shot garlands.
Some tting and beveling may be required for a good t, no two models can be exactly the same.
To establish the proper height from the deck, Cut 2 pieces of 1/8” x 3/16” stock and 1 piece of
1/16 x 3/16 stock all about 1 1/2 inch long. Stack these and glue. Refer to Detail 3-1. The shot
garland rests on this stack while the glue dries. For more joint strength pre-drill the garland for
small nails as shown in Detail 3-1.
Building the 9 pounder guns: Refer to Detail 3-3. Locate the parts for the axles. Glue part C4 to
C3. Carve and sand the axles round as shown. Check the t of the axles to the wheels as you go.
Pre-drill the carriage sides for the eyebolts and the transom bolts. Glue two parts C2 to C1R and
C1L. Glue a 3/32” x 18” strip to the bottom inside of parts C1R and C1L as shown. Note that the
1/8” dimension is vertical. Assemble the sides, the frontspiece C6 and the axles as shown. Align the
sides with the laser engraved marks on the axles. Glue these parts together checking for alignment
and squareness. Cut two pieces of 1/8 square and glue in place as shown. The eyebolts, ringbolts,
and transom bolts may now be installed. The bolts are made from 19 gauge black wire. Insert
the bolts as shown and snip off a bit proud of the sides. Glue in place the washers, part B2. Pre-
pare part C7 and glue in place. The quoin is glued up from two parts C8 but do not glue in place.
The position of the quoin will be determined when the gun barrel is in place. Assemble the gun
barrels cast parts using epoxy or CA gel. Paint the barrels a at black. Common barbecue spray
paint works well for this. An attractive metallic sheen on the barrels can be achieved by rubbing
a common lead pencil on a piece of sandpaper creating a pile of dust. Use your nger to rub this
lead dust all over the barrels. Make up the hinges and pins for the trunnion caps from 19 gauge
wire as shown. The forward pin is made by hammering a at in the end of the wire and shaping as
shown. Place the barrel and caps in place and drill for the hinge and pin. Place the barrel in place
and determine the position of the quoin to your preference for barrel elevation.
Building the 12 pounder gun: Pre-drill the carriage sides, parts G1R and G1L for the eyebolts, ring
bolts, and transom bolts. Refer to Detail 3-4. Glue a 3/32” strip to the inside bottom edge of the
carriage sides. Glue parts G2 to the carriage sides as shown. Cut 2 pieces of 1/8” square stock to
the same length as the width of part G3. Insert an eyebolt to the inside of part G3 as shown. As-
semble and glue these parts checking for squareness. Shape part G4 as shown and glue in place.
Assemble the quoin from 2 parts G5 and a brass belay pin but do not glue to the part G4. Again,
the position of the quoin will be determined when the gun barrel is in place. Apply the ring bolts
and eyebolts and transom bolts. Note that the middle transom bolt would require drilling all the
way through part G4 as was the original. This is not necessary; just insert a short piece of wire to