Modena WP 7090 WBR Owner's manual

User
Manual Book
Dishwasher
Freestanding Dishwasher Built-in Dishwasher
WP 7090 WBR WP 8090 WBR
WP 8101 WBR

2
TABLE OF CONTENT
SAFETY & WARNING 4
Important Safety Instructions 4
Earthing Instructions 5
Disposal 6
FEATURES 8
Product Overview 8
INSTALLATION 9
Power Connection 9
Water Supply and Drain 10
Connection of Drain Hoses 11
Positioning The Appliance 13
Free Standing Installation 13
Built-in Installation 14
HOW TO USE 20
Using Your Dishwasher 20
Control Panel 25
Water Softener 30
Preparing and Loading Dishes 33
Function of The Rinse Aid and Detergent 36
Filling The Rinse Aid Reservoir 38
Filling The Detergent Dispenser 40
Programming The Dishwasher 42
MAINTENANCE 48
External Care 48
Internal Care 48

3
Caring For The Dishwasher 51
TROUBLESHOOTING 53
Troubleshooting Tips 53
Error Codes 56
Loading The Baskets According To EN50242 58
SPECIFICATION 59
This guide book explains everything you need to know about your new
product. Please contact our Customer Care should you need further
assistance through www.modena.com.

4
Important Safety Instructions
•Installation and repair can only be carried out by a qualified
technician.
•This appliance is intended to be used in household and similar
applications such as:
staff kitchen areas in shops, offices and other working
environments;
farm houses;
by clients in hotels, motels and other residential type
environments;
bed and breakfast type environments.
•This appliance can be used by children aged from 8 years and
above and persons with reduced physical, sensory or mental
capabilities or lack of experience and knowledge if they have
been given supervision or instruction concerning use of the
appliance in a safe way and understand the hazards involved.
•Children shall not play with the appliance. Cleaning and user
maintenance shall not be done by children without supervision.
•This appliance is not intended for use by persons (including
children) with reduced physical, sensory or mental capabilities,
or lack of experience and knowledge, unless they have been
given supervision or instruction concerning use of the appliance
by a person responsible for their safety.
•Packaging material could be dangerous for children!
•This appliance is for indoor household use only. To protect
against the risk of electrical shock, do not immerse the unit, cord
or plug-in water or other liquid.
•Please unplug before cleaning and performing maintenance on
the appliance.
•Use a soft cloth moistened with mild soap, and then use a dry
cloth to wipe it again.
SAFETY & WARNING

5
Earthing Instructions
•This appliance must be earthed. In the event of a malfunction or
breakdown, earthing will reduce the risk of an electric shock by
providing a path of least resistance of electric current. This
appliance is equipped with an earthing conductor plug.
•The plug must be plugged into an appropriate outlet that is
installed and earthed in accordance with all local codes and
ordinances.
•Improper connection of the equipment-earthing conductor can
result in the risk of an electric shock.
•Check with a qualified electrician or service representative if you
are in doubt whether the appliance is properly grounded.
•Do not modify the plug provided with the appliance; If it does not
fit the outlet.
•Have a proper outlet installed by a qualified electrician.
•Do not abuse, sit on, or stand on the door or dish rack of the
dishwasher.
•Do not operate your dishwasher unless all enclosure panels are
properly in place.
•Open the door very carefully if the dishwasher is operating, there
is a risk of water squirting out. Do not place any heavy objects
on or stand on the door when it is open. The appliance could tip
forward.
•When loading items to be washed:
Locate sharp items so that they are not likely to damage
the door seal.
Knives and other utensils with sharp points must be
loaded in the basket with their points facing down or
placed in a horizontal position.
•Some dishwasher detergents are strongly alkaline. They can be
extremely dangerous if swallowed. Avoid contact with the skin
and eyes and keep children away from the dishwasher when the
door is open.
•Check that the detergent powder is empty after completion of
the wash cycle.
•Do not wash plastic items unless they are marked “dishwasher
safe” or the equivalent.

6
•For unmarked plastic items, check the manufacturer’s
recommendations.
•Use only detergent and rinse agents recommended for use in an
automatic dishwasher.
•Never use soap, laundry detergent, or hand washing detergent
in your dishwasher.
•The door should not be left open, since this could increase the
risk of tripping. If the supply cord is damaged, it must be replaced
by the manufacturer or its service agent or a similarly qualified
person in order to avoid a hazard.
•During installation, the power supply must not be excessively or
dangerously bent or flattened.
•Do not tamper with controls.
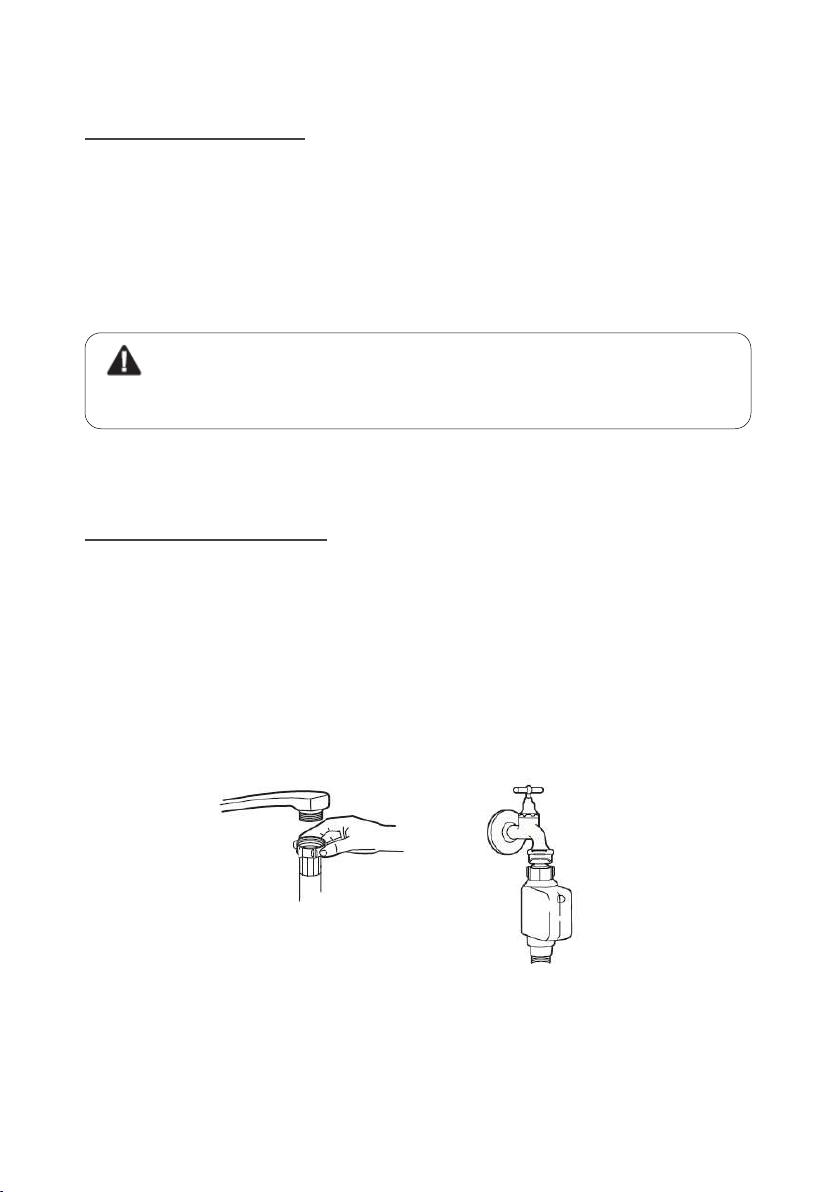
•The appliance needs to be connected to the main water valve
using new hose sets. Old sets should not be reused.
•To save energy, in standby mode, the appliance will switch off
automatically while there is no any operation in 30 minutes.
•The maximum number of place settings to be washed is 9.
•The maximum permissible inlet water pressure is 1MPa.
•The minimum permissible inlet water pressure is 0.04MPa.
Disposal
•For disposing of package and the appliance please go
to a recycling center. Cut off the power supply cable
and make the door closing device unusable.
•Cardboard packaging is manufactured from recycled paper and
should be disposed in the waste paper collection for recycling.
•By ensuring this product is disposed correctly, you will help
prevent potential negative consequences for the environment
and human health, which could otherwise be caused by
inappropriate waste handling of this product.
•For more detailed information about recycling of this product,
please contact your local city office and your household waste
disposal service.

7
•Do not dispose this product as unsorted municipal waste.
Collection of such waste separately for special treatment is
necessary.

8
Product Overview
Inner pipe
Lower spray arm
Filter assembly
Salt container
Dispenser
NOTE!
Pictures are only for reference; different models may be different.
Please prevail in kind.
FEATURES
Cutlery basket
Upper basket
Lower basket
Cup rack
Upper spray arms

9
Power Connection
Electrical Requirements
Please look at the rating label to know the rating voltage and connect
the dishwasher to the appropriate power supply. Use the required fuse
10A/13A/16A, time delay fuse or circuit breaker recommended and
provide separate circuit serving only this appliance.
WARNING!
Electrical Shock Hazard
Disconnect electrical power before installing
dishwasher. Failure to do so could result in death or
electrical shock.
INSTALLATION
ATTENTION!
The installation of the pipes and electrical equipment should be
done by professionals.
WARNING!
For personal safety:
•Do not use an extension cord or an adapter plug with this
appliance.
•Do not, under any circumstances, cut or remove the
earthing connection from the power cord.

10
Electrical Connection
Ensure the voltage and frequency of the power being corresponds to
those on the rating plate. Only insert the plug into an electrical socket
which is earthed properly. If the electrical socket to which the appliance
must be connected is not appropriate for the plug, replace the socket,
rather than using an adaptor or the like as they could cause overheating
and burns.
Water Supply and Drain
Cold Water Connection
Connect the cold-water supply hose to a threaded ¾ inch connector and
make sure that it is fastened tightly in place.
If the water pipes are new or have not been used for an extended period
of time, let the water run to make sure that the water is clear. This
precaution is needed to avoid the risk of the water inlet to be blocked
and damage the appliance.
WARNING!
Ensure that proper earthing exists before use.
Ordinary supply hose
Safety supply hose

11
About The Safety Supply Hose
The safety supply hose consists of the double walls. The hose's system
guarantees its intervention by blocking the flow of water in case of the
supply hose breaking and when the air space between the supply hose
itself and the outer corrugated hose is full of water.
How to Connect The Safety Supply Hose
•Pull the safety supply hoses completely out from storage
compartment located at rear of dishwasher.
•Tighter the screws of the safety supply hose to the faucet with
thread ¾ inch.
•Turn water fully on before starting the dishwasher.
How to Disconnect The Safety Supply Hose
•Turn off the water.
•Unscrew the safety supply hose from the faucet.
Connection of Drain Hoses
Insert the drain hose into a drain pipe with a minimum diameter of 4 cm,
or let it run into the sink, making sure to avoid bending or crimping it. The
height of drain pipe must be less than 1.000 mm. The free end of the
hose must not be immersed in water to avoid the back flow of it.
WARNING!
A hose that attaches to a sink spray can burst if it is installed on
the same water line as the dishwasher. If your sink has one, it is
recommended that the hose be disconnected and the hole
plugged.

12
How to Drain Excess Water from Hoses
If the sink is higher from the floor, the excess water in hoses cannot be
drained directly into the sink. It will be necessary to drain excess water
from hoses into a bowl or suitable container that is held outside and
lower than the sink.
1. Water outlet
Connect the water drain hose. The drain hose must be correctly
fitted to avoid water leaks. Ensure that the water drain hose is
not kinked or squashed.
2. Extension hose
If you need a drain hose extension, make sure to use a similar
drain hose. It must be no longer than 4 meters; otherwise, the
cleaning effect of the dishwasher could be reduced.
WARNING!
Please secure fix the drain hose in either position A or position B.
Counter
Back of dishwasher
B
Drain pipe
Mains cable
4 cm
100 cm

13
3. Syphon connection
The waste connection must be at a height less than 100 cm
(maximum) from the bottom of the dish. The water drain hose
should be fixed.
Positioning The Appliance
Position the appliance in the desired location. The back should rest
against the wall behind it, and the sides, along the adjacent cabinets or
walls. The dishwasher is equipped with water supply and drain hoses
that can be positioned either to the right or the left sides to facilitate
proper installation.
Levelling The Appliance
Once the appliance is positioned for
levelling, the height of the dishwasher
may be altered via adjustment of the
screwing level of the feet. In any case,
the appliance should not be inclined more
than 2°.
Free Standing Installation
For: WP 7090 WBR
Fitting Between Existing Cabinets
The height of the dishwasher, 845 mm,
has been designed in order to allow the
machine to be fitted between existing
cabinets of the same height in modern
fitted kitchens. The feet can be adjusted
so that correct height is reached.

14
The laminated top of the machine does not require any particular care
since it is heatproof, scratchproof and stainproof.
Underneath Existing Work Top
In most modern fitted kitchen, there is
only one single work top under which
cabinets and electrical appliances are
fitted. In this case remove the work top of
the dishwasher by unscrewing the
screws under the rear edge of the top (a).
Built-in Installation
For: WP 8090 WBR & WP 8101 WBR
Step 1. Selecting The Best Location for The Dishwasher
The installation position of dishwasher should be near the existing inlet
and drain hoses and power cord. Illustrations of cabinet dimensions and
installation position of the dishwasher.
1. Less than 5 mm between the top of dishwasher and cabinet and
the outer door aligned to cabinet.
WARNING!
After removing the work top, the screws must be screwed again
under the rear edge of the top (b). The height will then be reduced
to 815 mm, as scheduled by the International Regulations (ISO) and
the dishwasher will fit perfectly under the kitchen working top.

15
2. If dishwasher is installed at the
corner of the cabinet, there should
be some space when the door is
opened.
Door of
NOTE!
Depending on where your electrical outlet is, you may need to cut
a hole in the opposite cabinet side.
Electrical,drain
and watersupply
line entrances
Space between cabinet
bottom and floor
600 mm (for 60 cm model)
450 mm (for 45 cm model)

16
Step 2. Aesthetic Panel's Dimensions and Installation
Semi-integrated Model
Magical paster A and magical paster B be disjoined on, magical paster A
on the aesthetic wooden panel and felted magical paster B of the outer
door of dishwasher (see figure A). After positioning of the panel, fix the
panel onto the outer door by screws and bolts (see figure B).
Full-integrated Model
Install the hook on the aesthetic wooden panel and put the hook into the
slot of the outer door of dishwasher (see figure A). After positioning of
the panel, fix the panel onto the outer door by screws and bolts (See
figure B).
NOTE!
The aesthetic wooden panel could be processed according to the
installation drawings.
Magicalpaster
Magicalpaster
1.Take away the four short screws
2.Pin up the four long screws

17
Step 3. Tension Adjustment of The Door Spring
•Door springs are set at the
factory to the proper tension
for the outer door. If aesthetic
wooden panel are installed,
you will have to adjust the
door spring tension. Rotate
the adjusting screw to drive
the adjustor to strain or relax
the steel cable.
•Door spring tension is correct
when the door remains
horizontal in the fully opened
position, yet rises to a close
with the slight lift of a finger.
Step 4. Dishwasher Installation Steps
1.Take away the four short screws
2.Pin up the four long screws
NOTE!
Please refer to the specified installation steps in the installation
drawings.

18
1. Affix the condensation strip under the work surface of cabinet.
Please ensure the condensation strip is flush with edge of work
surface.
2. Connect the inlet hose to the cold-water supply.
3. Connect the drain hose.
4. Connect the power cord.
5. Place the dishwasher into position.
6. Level the dishwasher. The rear food can be adjusted from the
front of the dishwasher by turning the Philips screw in the middle
of the base of dishwasher use a Philips screw. To adjust the front
feet, use a flat screw driver and turn the front feet until the
dishwasher is level.
7. Install the furniture door to the outer door of the dishwasher.
8. Adjust the tension of the door springs by using an Allen key
turning in a clockwise motion to tighten the left and right door
springs. Failure to do this could cause damage to your
dishwasher.
9. The dishwasher must be secured in place. There are two ways
to do this:
–Normal work surface: Put the installation hook into the
slot of the side plane and secure it to the work surface
with the wood screws.
–Marble or granite work top: Fix the side with Screw.

19
Step 5. Levelling The Dishwasher
Dishwasher must be level for proper dish rack operation and wash
performance.
1. Place a spirit level on door and rack track inside the tub as shown
to check that the dishwasher is level.
2. Level the dishwasher by adjusting the three levelling legs
individually.
3. When level the dishwasher, please pay attention not to let the
dishwasher tip over.
Check level front to
back
Check level side
to side
NOTE!
The maximum adjustment height of the feet is 50 mm.

20
Using Your Dishwasher
Before Using Your Dishwasher
For: WP 7090 WBR
For: WP 8090 WBR & WP 8101 WBR
HOW TO USE
INSIDE → OUTSIDE
Set the water softener
Loading the salt into the softener
Loading the basket
Fill the dispenser
INSIDE → OUTSIDE
Set the water softener
Loading the salt into the softener
Loading the basket
Fill the dispenser
This manual suits for next models
2
Table of contents
Other Modena Dishwasher manuals

Modena
Modena WP 7121 S Owner's manual

Modena
Modena Adattare Series User manual

Modena
Modena WP 1200 FDWH Owner's manual

Modena
Modena WP 600 User manual

Modena
Modena Immacolato Series Owner's manual

Modena
Modena Immacolato Series Owner's manual

Modena
Modena WP 7134 WVM Owner's manual

Modena
Modena WP 2081 W Owner's manual