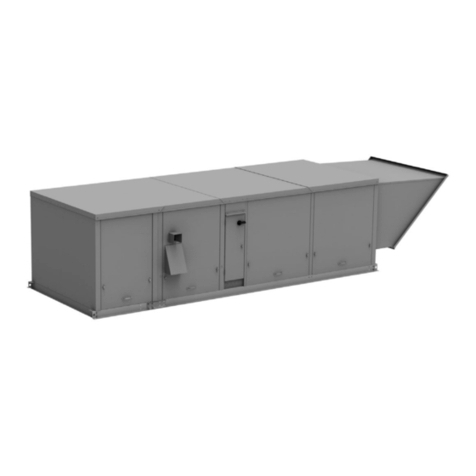
As Modine Manufacturing Company has a continuous product improvement program, it reserves the right to change design and specifications without notice.
Commercial Products Group
Modine Manufacturing Company
1500 DeKoven Avenue
Racine, WI 53403
Phone: 1.800.828.4328 (HEAT)
www.modine.com
Litho in USA
HIGH ALTITUDE KIT INSTALLATION
Figure 4.1 - High Altitude Conversion Label
NOTICE
THIS APPLIANCE EQUIPPED FOR HIGH ALTITUDE.
IN U.S. ACCORDING TO ANSI Z223.1
IN CANADA, ACCORDING TO C.G.A. CERTIFICATION
MAIN BURNER ORIFICES CHANGED TO
PLACE THIS LABEL ADJACENT TO SERIAL PLATE. 5H70857A
DRILL
SIZE.
1. Read these instructions carefully. Failure to follow
instructions can damage product or cause a hazardous
condition.
2. This conversion kit must be installed by a qualified service
person. The qualified service agency performing this work
assumes responsibility for the proper conversion of this
appliance with this kit.
3. This kit contains the following:
•Highaltitudegasorifices
•Aconversionratingplate
•Apressureswitch(somemodels)
4. On the High Altitude Conversion Label (see Figure 4.1) write
the drill size, as stamped on the orifice, with a permanent
marker. Be sure to check correct orifice size using the
selection instructions beginning on page 1.
5. Remove the access panel to the heater.
6. Disconnect the gas supply piping to the heater.
7. Remove the electrical connections from the gas valve. This
should not require the use of tools.
8. Remove the four (4) screws holding the manifold to the
burner box. This will allow for the removal of the manifold
and gas valve assembly.
9. Remove the orifices from the manifold assembly and place
them where they can be used if the heater should need to be
converted back to natural gas.
10. Insert the orifices from the kit into the manifold assembly. If
you are converting a model size below 75 there will be extra
orifices, which should be discarded. Tighten the orifices
using a wrench so that they are gas tight.
11. Place the manifold assembly back on the burner box using
the four (4) screws.
12. Replace the electrical connections to the gas valve.
13. Verify that the igniter and sensor are in the same location
and have not been damaged.
14. Connect the gas supply piping to the heater using two
wrenches so as to not place strain on the heater gas
manifold.
15. For units requiring pressure switch change (refer to Tables
2.1 through 3.2), disconnect wires and remove screws.
Install new switch and attach wires. Note: wires are
interchangeable.
16. Affix the High Altitude Conversion Label that came with the
kit on the heater, near the serial plate on the same panel as
the common replacement parts label.
Installation of Kit Check
1. See the original rating plate for the unit heater’s rated input
and verify by checking the correct main burner orifice size
and manifold pressure. This information is presented on the
conversion kit rating plate.
2. Remove the inlet and outlet pressure tap plugs and place
pressure taps on both the inlet and outlet pressure tap of the
gas valve.
3. Connect a pressure-measuring device capable of reading
inches of water column on both the inlet and outlet pressure
tap.
4. Follow lighting instructions on unit. Turn up thermostat setting
to call for heat. After the main burners light, measure the
outlet (manifold) pressure of the combination gas control.
The pressure should be 3.5" W.C. for natural gas and 10"
W.C. for propane gas. The outlet pressure can be adjusted at
the control’s regulator. Turning the adjustment clockwise will
increase the outlet pressure while turning it counterclockwise
will decrease the pressure.
5. There are no adjustments that can be made to the burner
flame. Some yellow in the flame is acceptable as long as no
carbon (black soot) is being formed.
6. Turn the heater off and replace the inlet and outlet pressure
tap plugs.
7. Place the heater back into service and leak test the inlet and
outlet pressure tap plugs as well as the connection between
the gas valve and the manifold pipe and supply piping to the
valve.
© Modine Manufacturing Company 2009


