Moffat MBE19DTNKWW Safety guide

MBE19DTNKWW
MBE19DSNKSS
Write the model and serial
numbers here:
Model #
Serial #
SAFETY INFORMATION . . . . . . . . . . 2
Grounding requirements . . . . . . . . . . . . . . . . 3
CONSUMER SUPPORT . . . . . . . . . . 23
WARRANTY . . . . . . . . . . . . . . . . . . . . . . 22
TROUBLESHOOTING TIPS . . . . . . 18
CARE AND CLEANING . . . . . . . . . . 15
Cleaning the refrigerator . . . . . . . . . . . . . . . 15
Defrosting the refrigerator . . . . . . . . . . . . . 15
Tips for storing food . . . . . . . . . . . . . . . . . . 16
USING THE FREEZER . . . . . . . . . . . 12
Putting the refrigertor into service . . . . . . 12
Using the control panel . . . . . . . . . . . . . . . . 12
Selecting a temperature . . . . . . . . . . . . . . . 13
Selecting a freezer temperature . . . . . . . . . 13
Removing fruit and vegetable crispers . . . 14
Moffat is a trademark of the General Electric Company. Manufactured under trademark license.
INSTALLATION INSTRUCTIONS
. 6
Before using the refrigerator . . . . . . . . . . . . 4
Find a suitable location . . . . . . . . . . . . . . . . . 4
Provide appropriate ventilation . . . . . . . . . . 6
Access to an appropriate power source . . 7
Levelling the refrigerator . . . . . . . . . . . . . . . 7
Reversing the door swing . . . . . . . . . . . . . . . 8
29-6357 1/20 MCC

IMPORTANT SAFETY INFORMATION.
READ ALL INSTRUCTIONS BEFORE USING THE APPLIANCE
Introduction
Congratulations on your purchase of this high quality product. These models represent the latest technological breakthrough in the
design of bottom-mount refrigerators and have been designed for exceptional performance and reliability.
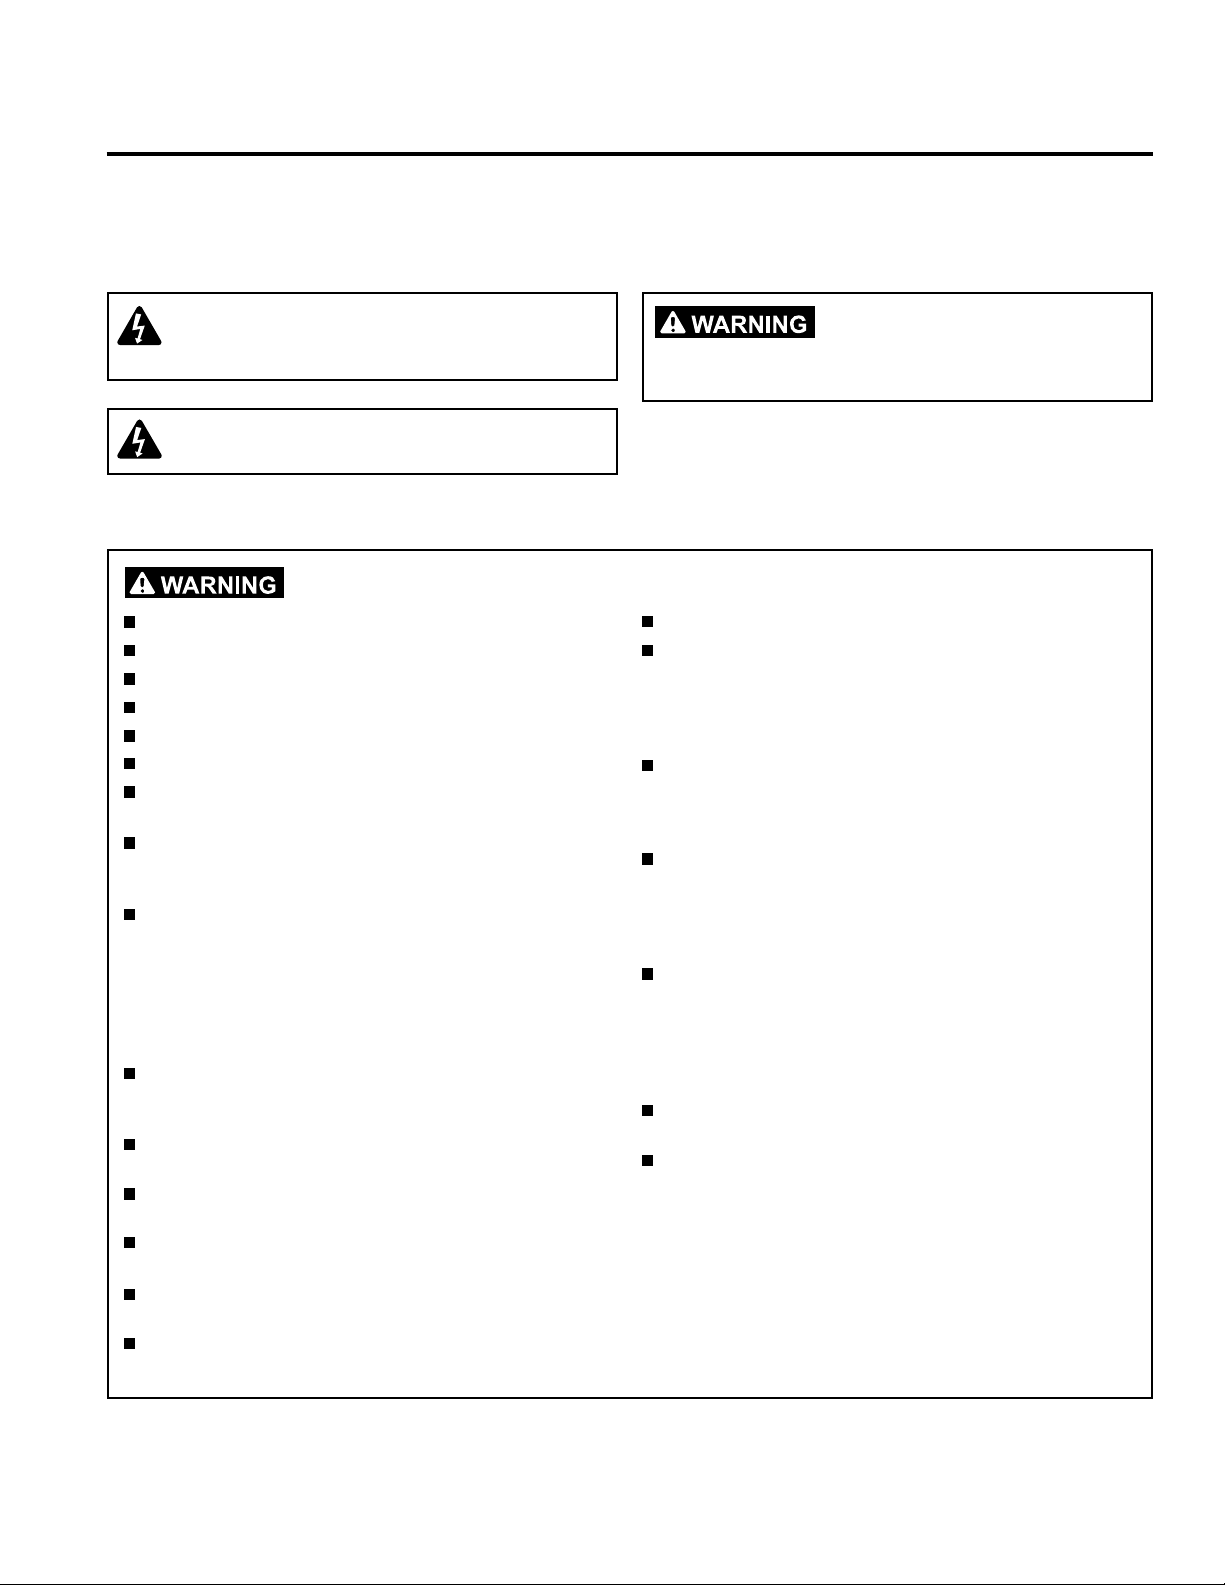
CAUTION RISK OF ELECTRIC SHOCK DO NOT
OPEN
This symbol indicates that dangerous voltage,
constituting a risk of electric shock, is present in
this refrigerator.
Read these instructions.
Keep these instructions.
Observe all warnings.
Observe all instructions.
Do not use this refrigerator near water.
Clean only with a damp cloth.
Do not block the ventilation openings. Install the product in
accordance with the manufacturer's instructions.
Install this appliance away from heat sources such as ra-
diators, heat registers, ovens or other equipment (includ-
ing amplifiers) that produce heat.
Do not attempt to modify the safety device of the polarized
or grounded plug. A polarized plug has two prongs, one
wider than the other. A grounding-type plug consists of two
prongs and a third grounding prong. The wide blade or the
third blade has been designed for the user's safety. If the
supplied plug does not fit into the outlet, have an electri-
cian replace the power outlet.
Protect the power cord to prevent it from being stepped on
or crushed, especially at power outlets, power strips and
where it is connected to the refrigerator.
Do not attempt to modify or extend the power cord of this
refrigerator.
Unplug the refrigerator during thunderstorms or when it will
not be used for an extended period of time.
Make sure that the available AC power supply matches the
voltage requirements of this refrigerator.
Do not handle the plug with wet hands. This will result in
risk of electric shock.
Unplug the power cable by holding the plug, never by pull-
ing the power cord.
Turn off the refrigerator before disconnecting it.
All repairs must be carried out by qualified personnel.
Have the appliance repaired if it has been damaged, such
as damaged power supply cord or plug, liquid entering the
refrigerator or falling objects, exposure to rain or water, ab-
normal operation, or falling.
To reduce the risk of fire and electric shock, do not expose
this refrigerator to rain, moisture, splashes or water drops,
and do not place containers filled with liquids on the appli-
ance.
Do not use an extension cord or ungrounded adapters
(two prongs). If the power cord is too short, contact a quali-
fied technician to install an outlet next to the refrigerator.
The use of an extension cord can have negative effects on
the operation of the refrigerator.
This equipment is not intended for use by persons (includ-
ing children) with reduced physical, sensory or intellectual
abilities or without experience and knowledge, unless they
are under supervision or have been informed about the
safe use of the equipment by a person responsible for
their safety.
Children should be supervised to ensure that they do not
play with the appliance.
If the power cord has been damaged, it must be replaced
by the manufacturer, its service department or other quali-
fied persons to avoid any danger.
This symbol indicates that important
operating and maintenance instructions are included in
the documentation accompanying this product.
SAFETY INFORMATION
229-6357 1/20 MCC

Keep the ventilation openings of the refrigerator and
recess structure clear of obstructions.
Do not touch the inside of the refrigerator with wet
hands. Frostbite could result.
Do not use any mechanical equipment or other meth-
ods to accelerate the defrosting process, other than
those specified by the manufacturer.
Do not damage the refrigerant circuit.
Do not damage the refrigerant tubing when handling,
moving or using the refrigerator.
Never allow children to play with the refrigerator, oper-
ate it or climb into it.
Do not use household appliances inside the
appliance's storage compartments unless they are of
the type recommended by the manufacturer.
Connect only to a drinking water supply.
Unplug the refrigerator before servicing it.
If a part or component has been damaged, it must be
replaced by the manufacturer, its service department
or other qualified persons to avoid any danger.
Observe local regulations regarding the disposal of
the refrigerator due to flammable gases and refriger-
ants. All refrigeration equipments contain refrigerants
that must be removed before disposal. Under federal
law it is the consumer's responsibility to comply with
federal and local regulations when disposing of this
product.
Failure to comply with these instructions may result in electric shock, fire or fatal
injury.
Risk of child entrapment. Before you throw away your old freezer
Grounding requirements
This refrigerator must be grounded. This appliance is equipped
with a cord having a grounding wire with a grounding plug. The
plug must be inserted into an outlet that is correctly installed
and grounded.
Incorrect use of the grounding plug can result in a risk of fire or
electric shock. Consult a qualified electrician or service person
if the grounding instructions are not completely understood, or if
doubt exists as to whether your freezer is correctly grounded.
Do not store explosive substances, such as aerosol
cans with flammable propellant gases, in this appli-
ance.
This appliance is intended for home use and other en-
vironments such as:
- staff kitchen areas in stores, offices and other work
environments;
- on farms and by customers in hotels, motels and
other residential environments;
- bed & breakfast;
- catering and similar applications other than retail.
Minimum and maximum water pressure in the tube:
138/827 kPa (20/120 PSIG).
KEEP THESE INSTRUCTIONS
SAFETY INFORMATION
IMPORTANT SAFETY INFORMATION
READ ALL INSTRUCTIONS BEFORE USING THE APPLIANCE
Take off the doors.
Leave the shelves in place so that children may not easily
climb inside.
3
29-6357 1/20 MCC

29,5"
(75 cm)
66,5"
(169 cm)
27,8"
(70,5 cm)
30,9"
(78,5 cm)
Features
Product dimensions
Note: The illustrations in this Owner's Manual are provided for reference purposes only. The actual product may be slightly different.
USING THE REFRIGERATOR
429-6357 1/20 MCC

USING THE REFRIGERATOR
5
Exterior
Refrigerator
door
Freezer door
handle
Freezer
door
Leveling
legs
Interior
Shelves
Fruit and
vegetable
crispers
Door bins
Freezer
drawers
Features
29-6357 1/20 MCC

Installation Instructions
INSTALLATION INSTRUCTIONS
6
Before using the refrigerator
Remove the outer and inner packaging materials.
Wash the inside of the refrigerator with a damp warm cloth,
soaked in a solution of baking soda (two tablespoons in a
quarter of warm water), then dry with a dry cloth. Carry out
this cleaning periodically to keep the appliance in new condi-
tion.
Level the refrigerator using the levelling legs. If the refrigera-
tor is not levelled, the doors may not close or be hermetically
sealed, which could cause refrigeration, frost or moisture
problems. Turn the levelling legs clockwise to raise or coun-
terclockwise to lower one side.
Find a suitable location
Place the refrigerator on a floor that is strong enough to sup-
port it when it is full.
Do not install the refrigerator on carpet or rugs.
This refrigerator is designed as a freestanding appliance only
and must not be recessed.
Do not install this refrigerator in a garage or any other out-
door installation.
Adjust the legs to keep the refrigerator level.
If the refrigerator is placed near a wall, leave enough space
for the hinged part of the door to open without any problem.
This refrigerator has been designed to operate at a temperature between 50°F (10°C) and 109°F (43°C). If the refrigerator oper-
ates outside this temperature range, it may not operate properly.
Install the refrigerator away from direct sunlight and other
heat sources, such as an oven, heater or radiator. Direct sun-
light can damage the acrylic coating and heat sources can in-
crease power consumption. Extremely cold temperatures can
also prevent the refrigerator from operating properly.
Avoid placing the refrigerator in damp places.
Leave a minimum clearance of 4" (10 cm) between the left and
right side walls and the surrounding walls and a minimum clear-
ance of 2" (5 cm) between the top and back of the refrigerator
and the ceiling and the surrounding walls.
Provide appropriate ventilation
2" (5 cm)
2" (5 cm)
4"
(10 cm)
4"
(10 cm)
29-6357 1/20 MCC

INSTALLATION INSTRUCTIONS
7
Access to an appropriate power source
Check the local power source. This refrigerator requires a 115
V, 60 Hz power supply.
Make sure that:
The power outlet is suitable for a 3-prong grounded
plug. The third prong of the power cord plug grounds
the refrigerator to reduce the risk of electric shock.
Do not modify the power plug.
NO other appliance should be plugged into the same
outlet as the refrigerator. This could overload the cir-
cuit and cause a fire.
DO NOT use an extension cord. If the refrigerator is
too far from a power outlet, move it or ask an electri-
cian to install a grounded outlet closer to it.
The outlet must not be able to be switched off by
means of a switch or cord.
Leveling the refrigerator
Leveling the refrigerator is important. If the refrigerator is not levelled, the doors may not close or be airtight, which could cause re-
frigeration, frost or moisture problems.
Note: The legs can be adjusted more easily if another person
pushes the top of the refrigerator to tilt it slightly.
To level the refrigerator, it is necessary to turn the leveling
legs clockwise to raise it, or counterclockwise to lower it.
3-prong p ug Out et cover
3-prong out et
Using a 3-prong p ug and out et
Lower
Leve ing
eg
Raise
Installation Instructions
29-6357 1/20 MCC
29-6357 1/20 MCC

Reversing the Door Swing
INSTALLATION INSTRUCTIONS
8
If the refrigerator is lying on its back
or side for a period of time, wait six hours after restor-
ing it to its vertical position to plug it. Otherwise, inter-
nal components could be damaged.
The following tools are required to reverse the refrigerator door
swing:
Masking tape
5/16" socket wrench
Mastic knife
Flat blade screwdriver
Phillips screwdriver
List of parts provided with the refrigerator:
1. Check that the refrigerator is unplugged and empty.
2. Remove the left cover plate and the cover of the upper right
hinge, on the top of the refrigerator.
3. Remove the three fixing screws from the top hinge of the re-
frigerator, then remove the hinge. Keep the screws for later
use.
4. Remove the door from the fresh food compartment.
Self-locking block on the left side.
Opening stop on the left side.
Central hinge on the left side.
Upper hinge on the left side.
Upper hinge cover on the left side.
Cover p ate
Hinge cover
Screws
Top hinge
29-6357 1/20 MCC

INSTALLATION INSTRUCTIONS
9
5. Remove the three fixing screws from the central hinge of the
refrigerator, then remove the central hinge. Keep the screws
for later use.
6. Remove the sleeves and covers from the refrigerator door
openings and install them on the other side of the door.
7. Take the self-locking block and stop from the accessory
pocket and install them on the lower left side of the refrigera-
tor door as shown below.
Center
hinge
Screws
S eeve
Se f- ocking
b ock
Door
stopper
Reversing the Door Swing
29-6357 1/20 MCC

INSTALLATION INSTRUCTIONS
10
8. Take the central hinge on the left side of the accessory
pocket and install it on the central left side of the refrigerator
with the screws removed previously and the stud of the
freezer door sheath. Place the included washer on the upper
part of the pin of the central hinge.
9. Insert the door opening stop on the lower left side of the re-
frigerator into the hinge pin installed in the centre part of the
left side of the refrigerator.
Reversing the Door Swing
29-6357 1/20 MCC

INSTALLATION INSTRUCTIONS
11
10. Take the upper hinge from the left side of the accessory
pocket and install it on the upper left side of the refrigerator
with the screws removed previously and the stud of the re-
frigerator door sheath.
11. Install the hinge cover on the left side of the refrigerator and
the hole cover on the right side.
Door Handle
Shape of handle may vary on your model.
1. Align the handle with fasteners.
2. Push the handle over fasteners until it touches the
door.
3. Use the allen wrench to turn set screw clockwise to
fasten the handle to the door. Fasteners
Set Screw
Allen Wrench
Reversing the Door Swing
29-6357 1/20 MCC

Features
USING THE REFRIGERATOR
Putting the refrigerator into service
Internal temperatures may vary depending on the lo-
cation of the refrigerator, the ambient temperature of
the room and the frequency with which the doors are
opened.
Do not store carbonated beverages in the freezer
compartment. They could burst and damage the re-
frigerator.
Do not exceed the storage period indicated by the
manufacturer, regardless of the type of food.
When the refrigerator is first plugged in, the temperature indica-
tor lights up for three seconds, then the refrigerator operates in
the default medium setting.
Before storing food in the refrigerator, turn on the refrigerator
and freezer compartments and wait 24 hours to make sure they
are working properly and to allow both compartments to reach
the correct temperatures.
Disabling the open door alarm
When the refrigerator compartment door is open for more than
three minutes, an alarm sounds.
Press the ALARM OFF button in the refrigerator compartment
to deactivate the alarm.
When the door is closed, the alarm is deactivated.
Using the control panel
53 421
No. DESCRIPTIONELEMENT
Allows you to disable the door alarm.
Press this pad for three seconds to put the refrigerator or freezer in standby mode.
Press this button for three seconds to turn the refrigerator or freezer back on.
ALARM OFF ON/OFF pad1
REFRIGERATOR pad2 Allows you to scroll through the refrigerator temperature settings.
Refrigerator indicators3 One to three indicator lights indicate the refrigerator temperature settings.
• One indicator light = 45°F (7°C)
• Two indicator lights = 39°F (4°C)
• Three indicator lights = 36°F (2°C)
FREEZER pad4 Allows you to scroll through the freezer temperature settings.
Freezer indicators5 One to three indicator lights indicate the freezer temperature settings.
• One indicator light = 9°F (-13°C)
• Two indicator lights = - 2°F (- 19°C)
• Three indicator lights = - 8°F (- 2°C)
12 29-6357 1/20 MCC

STANDBY mode
If the refrigerator compartment is
set to STANDBY mode, remove all food from both com-
partments to prevent food spoiling.
If the refrigerator compartment is set to STANDBY mode, both
the refrigerator and freezer compartments stop cooling. The in-
dicator light in the refrigerator compartment continues to oper-
ate.
Selecting a temperature
Press the FRIDGE pad to scroll through the refrigerator tem-
perature settings.
A warning light indicates a warm temperature. Three indicator
lights correspond to the coldest temperatures.
Determining the best temperature setting
SEASON
Three indicator lightsWinter (lower than 55°F
(13°C))
One to three indicator lightsSpring or Fall (56 to 94°F (13
to 34°C))
One indicator lightSummer (more than 95°F
(35°C))
RECOMMENDED SETTING
Selecting a freezer temperature
Press the FREEZER button to go through the freezer tempera-
ture settings.
A warning light indicates the warmest temperature. Three indi-
cator lights correspond to the coldest temperature.
Determining the best temperature setting.
Adjusting the refrigerator shelves
The shelves inside the refrigerator and freezer compartment
are adjustable.
1. Open the refrigerator or freezer door completely.
2. Lift a shelf and remove it.
3. To replace a shelf, slide it back into the compartment, then
lower it to its position.
USING THE REFRIGERATOR
13
SEASON
One indicator lightWinter (lower than 55°F
(13°C))
One to three indicator lightsFall or end of the year (56 to
94°F (13 to 34°C))
Three indicator lightsSummer (more than 95°F
(35°C))
RECOMMENDED SETTING
Features
29-6357 1/20 MCC
29-6357 1/20 MCC

Adjusting the door bins
The fresh food and freezer compartments have bins in the door.
It is possible to adjust the bins to fit the stored products.
Do not place too many heavy prod-
ucts in the door bins. This could break the bins.
1. Remove all products from the bins.
2. Hold the door balloon with both hands, then press on the bal-
loon by pushing it up and remove it.
3. Select the desired level to position the balconnet, then press
the balconnet down to reinstall it.
Removing the fruit and vegetable crispers
The vegetable crisper drawer is designed to store fruits and
vegetables. Storing fruits and vegetables inside the drawer
helps to prevent moisture loss and odours from affecting other
foods.
1. Fully open the fresh food compartment door.
2. Remove the vegetable crisper, then lift it up to remove.
3. To replace the crisper, slide the back of the drawer into the
opening, then lower the front and push it into the opening.
USING THE REFRIGERATOR
14
Features
29-6357 1/20 MCC

CARE AND CLEANING
Care and Cleaning
To avoid damaging the finish:
Do not use gasoline, benzene, thinner or other similar
solvents.
Do not use abrasive cleaners.
Do not use sharp objects, as they will scratch the sur-
face.
It is recommended to do the following each time the refrigerator
is cleaned, so that it operates odourless and efficienttly:
1. Unplug the refrigerator from the outlet.
2. Remove all food.
3 To remove the door bins, shelves, crisper or freezer bins, re-
fer to :
• Adjusting door bins on page 14
• Adjusting fresh food compartment shelves on page 13
• Removing fruit and vegetable crispers on page 14
Make sure that the door bins are
completely dry before plugging the refrigerator into an
AC outlet.
8. Dry all surfaces and removable parts before replacing them.
9. Plug the refrigerator into the power outlet.
4. Clean doors, handles and cabinet surfaces with a mild deter-
gent and rinse with warm water using a sponge or damp
cloth.
5. Wash the inside with a damp warm cloth, soaked in a solu-
tion made with a quarter of warm water and two tablespoons
of baking soda, then rinse with warm water with a sponge or
damp cloth.
6. Clean the bins, shelves and drawers with detergent and a
soft cloth, then rinse with hot water.
7. Make sure to keep the door seals clean, so that the door
closes tightly. This allows the refrigerator to operate effi-
ciently.
Moving the refrigerator
1. Turn off the refrigerator and unplug it from the wall outlet.
2. Remove all food.
3. Attach all removable parts inside the refrigerator using adhe-
sive tape.
4. Secure door closed with adhesive tape.
5. Ensure that the refrigerator is in its upright position (with a
maximum inclination of 45°) during transportation.
If the refrigerator will not be used for a long period of time (several months)
1. Turn off the refrigerator and unplug it from the wall outlet.
2. Remove all food.
3. Clean the refrigerator.
4. Leave the door slightly ajar to avoid possible condensation,
mould or odor formation.
Be very careful with children. Do not
let children play with the refrigerator.
Defrosting the refrigerator
This refrigerator is equipped with an automatic defrost system
that does not require defrosting. Frost that forms due to sea-
sonal changes can be removed manually by unplugging the re-
frigerator or wiping the freezer compartment with a dry cloth.
15
29-6357 1/20 MCC

Install the refrigerator in the coolest part of the room, away
from heat-producing appliances or heating pipes and away
from direct sunlight.
Allow hot food to cool down to room temperature before plac-
ing it in the refrigerator. Overloading the refrigerator forces
the compressor to run longer.
Wrap foods properly and wipe containers dry before placing
them in the refrigerator. This prevents frost build-up inside
the refrigerator.
Organize and label food to reduce door openings and ex-
tended searches.
Do not use aluminum foil, wax paper or paper towels to coat
shelves. Coatings interfere with the circulation of cold air,
making the refrigerator less efficient.
CARE AND CLEANING
16
Tips to save energy
Always store cooked meats on a shelf above raw meats to
avoid bacteria transfer. Store raw meat on a plate that is
large enough to collect juices and cover the plate with plastic
film or aluminum foil. Leave space around food. This allows
cold air to circulate around the refrigerator, so that all parts of
the refrigerator remain fresh.
To avoid odour transfer and drying food, wrap or cover each
food separately. Fruits and vegetables do not need to be
packaged.
Allow hot food to cool down before placing it in the fresh food
or freezer compartment. If hot food is placed into the refrig-
erator, this could affect other foods and generate higher tem-
peratures.
To prevent cold air from escaping, try to limit door openings.
When arriving home with purchases, sort foods that will be
stored in the fresh food or freezer compartments before
opening the door. Do not open the door except to place or re-
move food.
Do not store foods that degrade easily at low temperatures,
such as bananas and melons.
When storing food in the refrigerator, use containers with lids
as much as possible. This prevents moisture from evaporat-
ing and helps foods retain their taste and nutrients.
Frozen food must be kept packed with polyethylene film, foil
or any other type of storage product in the freezer compart-
ment.
Do not obstruct the ventilation vents with food in the compart-
ments. A smooth flow of fresh air helps the refrigerator and
freezer to maintain stable temperatures.
Do not open doors frequently. When the door is open, hot air
enters the compartments and can raise the temperature.
To easily adjust the temperature, do not store food near the
temperature control pads.
Never store too much food in the door shelves as this may
prevent the door from closing properly.
Do not store bottles in the freezer. They could break when
they freeze.
Do not freeze food that has already been thawed. This would
cause loss of taste and nutritional values.
Store fruits and vegetables in the crisper to avoid excessive
evaporation of water and freshness.
Tips for storing food
Leave a small amount of "air space" when freezing liquids to
allow them to expand.
To optimize the freezer space, freeze liquids (or solids with
liquid, such as stews) in square spaces. Pour the liquid into a
freezer bag placed in a square container and freeze it. When
the liquid is frozen, remove the bag from the container and
close the bag.
Care and Cleaning
29-6357 1/20 MCC

CARE AND CLEANING
How to buy frozen products
When purchasing frozen products, check the storage instruc-
tions on the packaging. Check the "Best Before" date. Do not
use these foods after this date.
Check the temperature of the frozen food cabinet in the store
where the frozen food is purchased.
Check that the packaging of frozen food is in perfect condi-
tions.
Always buy frozen products last, to prevent them from thaw-
ing during storage.
Keep frozen food together during shopping and on the way
home to keep them cold.
Do not buy frozen food if it cannot be frozen immediately.
When transporting frozen food, use special bags that can be
purchased in most supermarkets and equipment stores.
They allow frozen food to be kept frozen for longer.
Freeze food in small quantities. They freeze faster and take
less time to thaw.
If freezing large quantities of fresh food, select a low tem-
perature range. This will lower the temperature of the freezer
so that food freezes more quickly. When the food is frozen,
set the temperature back to normal mode.
17
Care and Cleaning
29-6357 1/20 MCC

Doors may have been left open too long or too frequently.
Make sure that there are no items preventing the doors from closing properly.
Adjust the temperature of the refrigerator or freezer compartments. See Temperature Set-
ting on page 14 or Freezer Temperature Setting on page 15.
The refrigerator may not have enough clearances from the walls or ceiling. See Provide ap-
propriate ventilation on page 8.
TROUBLESHOOTING TIPS
Error indication
Note: The LED indicators mentioned here are the snowflakes
on the control panel.
If an error is displayed, call the store where the refrigerator was
purchased for technical assistance.
Error in the temperature
circuit.
Error
code State Description of the problem
E1 LED 1 and 2 flashing Error in the refrigerator
temperature sensor.
E2 LED 1 and 5 flashing Error in the freezer tem-
perature sensor.
E5 LED 1 and 3 flashing Defrost sensor error.
E6 LED 2 and 4 flashing Communication error.
E7 LED 1 and 4 flashing
User should not attempt to repair
this unit himself. This would void the warranty.
Adjust the temperature of the refrigerator or freezer compartments. See Temperature Set-
ting on page 14 or Freezer Temperature Setting on page 15.
PROBLEM SOLUTION
The refrigerator does not work. Check that the refrigerator is firmly connected to a working power outlet.
Check that the voltage of the power source is correct. The voltage of the refrigerator is indi-
cated on the label on the back of the appliance.
Check household fuse or circuit breaker box and replace the fuse or reset the circuit
breaker.
Fresh food compartment emits
a bad smell.
Make sure that foods having a strong odor (such as onions) are wrapped and stored in air-
tight packages.
Some containers and packaging materials (such as paper, foil or plastic) can be a source of
odors. If this could be the case, try to use containers or packaging materials of a different
brand.
Check for and remove any spoiled food.
Clean the inside of the refrigerator. See Cleaning the refrigerator on page 16.
The refrigerator doors do not
close completely.
Check that no food packaging interferes with the door closure.
Make sure that door gaskets are clean. See Cleaning the refrigerator on page 16.
If the door gasket is not tight enough, try heating and then cooling it. It is possible to use an
electric hair dryer to heat the gasket.
Check that the refrigerator is level. See Refrigerator Leveling on page 9.
The temperature is too high.
The temperature is too low.
Troubleshooting Tips... Before calling for service
18
29-6357 1/20 MCC
29-6357 1/20 MCC
29-6357 1/20 MCC

PROBLEM SOLUTION
A layer of ice forms in one of
the compartments.
A layer of frost can form on the interior walls of the compartment if the freezer is opened fre-
quently or kept open for too long.
Check that air intakes are not blocked by food.
Check that the doors are properly closed.
The refrigerator door is difficult
to open or close.
When the refrigerator door is open, warm air enters. When the door is closed, hot air enters
the condenser, creating a vacuum effect. This is why the door is difficult to open for about
10 to 15 seconds after closing.
If the door is difficult to open under other conditions, try applying a coat of paraffin or
vaseline to the edges of the door gasket. Paraffin is used for canning and can be used
safely in the vicinity of food.
If it is difficult to close the door, try to loosen the door hinge tension slightly.
TROUBLESHOOTING TIPS
19
The compressor runs for a long
time or turns on and off fre-
quently.
The compressor runs longer if:
The room temperature is high;
A significant amount of food has just been added. Wait until the food is frozen and check
again;
The door is opened and closed frequently;
The door gasket is dirty. Clean the gasket. See Cleaning the refrigerator on page 16.
The refrigerator has been unplugged for a period of time. Wait until the refrigerator cools
down (about four hours) before adding food.
The temperature is set too low.
The water tray overflows. There may be too much foods in the refrigerator, or the water content of the food is too high,
resulting in significant defrosting.
Check that doors are properly closed to avoid thawing inside the refrigerator or freezer.
The refrigerator makes un-
usual noises or vibrations.
The following sounds are normal:
Compressor operating noises.
Noise caused by the air movement of the small fan motor in the freezer compartment or
other compartments.
Cracking during automatic defrosting.
Clicking noise before the compressor starts.
Unusual noises or vibrations may be heard:
If objects are placed on top of the refrigerator. Remove them.
The refrigerator is not level. See Refrigerator Leveling on page 9.
If the refrigerator touches the walls. Keep it away from the walls.
Check that the shelves or drawers are properly installed.
The exterior of the refrigerator
is hot.
Heat dissipation of the capacitor can be responsible for a sensation of heat from the outside.
This is normal and occurs if:
The room temperature is high;
Too much food inside the refrigerator.
Doors are too frequently opened and closed.
Condensation forms on the ex-
terior surface the refrigerator.
Condensation on the exterior surface and the door gasket is normal when the room humid-
ity is high.
When the door is open, the heat and humidity from the outside air meets the cold air from
inside the refrigerator. This is normal.
Troubleshooting Tips... Before calling for service
29-6357 1/20 MCC

Please place in envelope and mail to:
Veuillez mettre dans une enveloppe et envoyez à:
OWNERSHIP REGISTRATION
P.O. BOX 1780
MISSISSAUGA, ONTARIO
L4Y 4G1
(FOR CANADIAN CONSUMERS ONLY -
POUR RÉSIDENTS CANADIENS SEULEMENT)
20 29-6357 1/20 MCC
This manual suits for next models
1
Table of contents
Languages:
Other Moffat Refrigerator manuals

Moffat
Moffat MUL 514 User manual

Moffat
Moffat MAR04 User manual

Moffat
Moffat MWE22FYPKFS User manual

Moffat
Moffat MYE22HYPKFS Quick start guide

Moffat
Moffat MTE18 Operating instructions

Moffat
Moffat MBE11DSLSS Operating instructions

Moffat
Moffat MDE19DTNKWW Repair manual

Moffat
Moffat PFSS6SKXSS Operating instructions

Moffat
Moffat MAR04 Operating instructions

Moffat
Moffat 20 Operating instructions