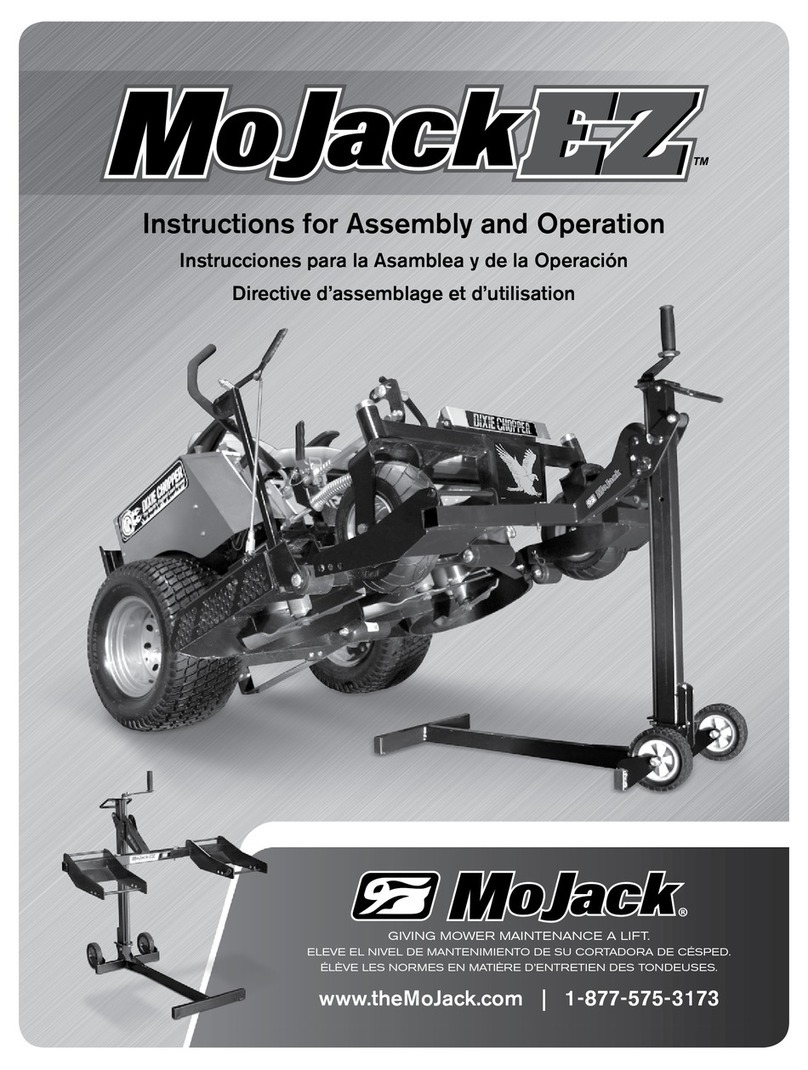
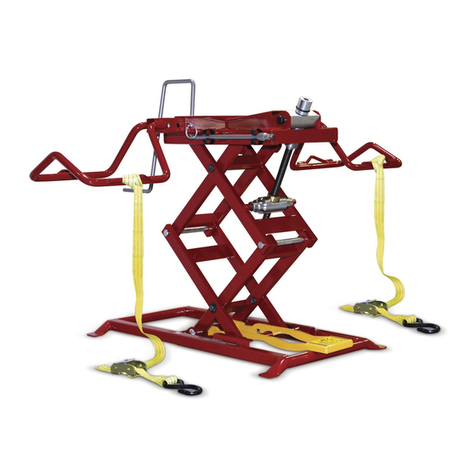
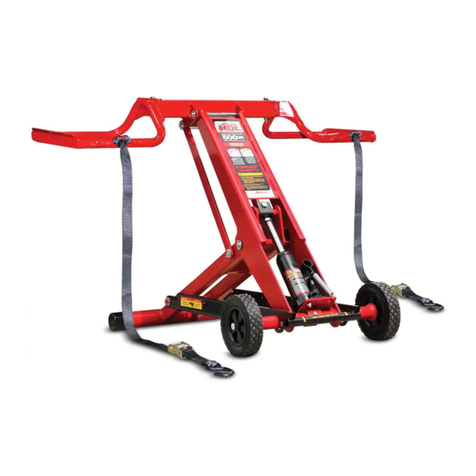
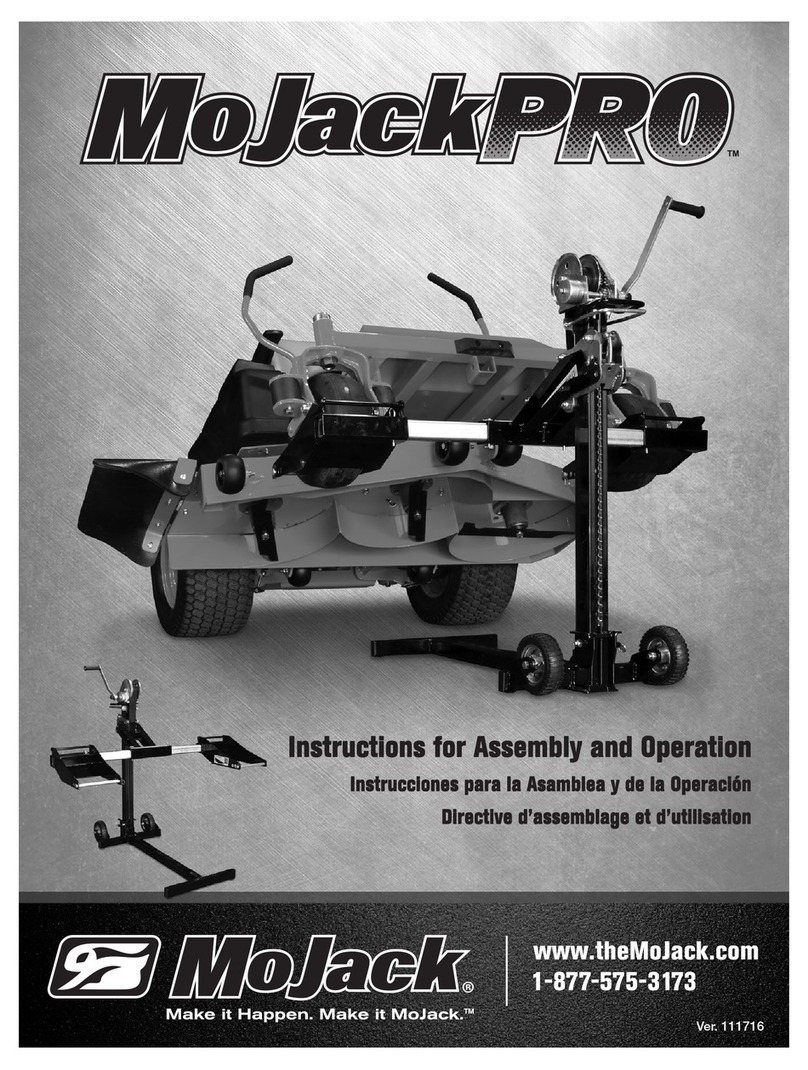
MoJack WorkBench Installation instructions

www.theMoJack.com
1-877-575-3173
Instructions for Assembly and Operation
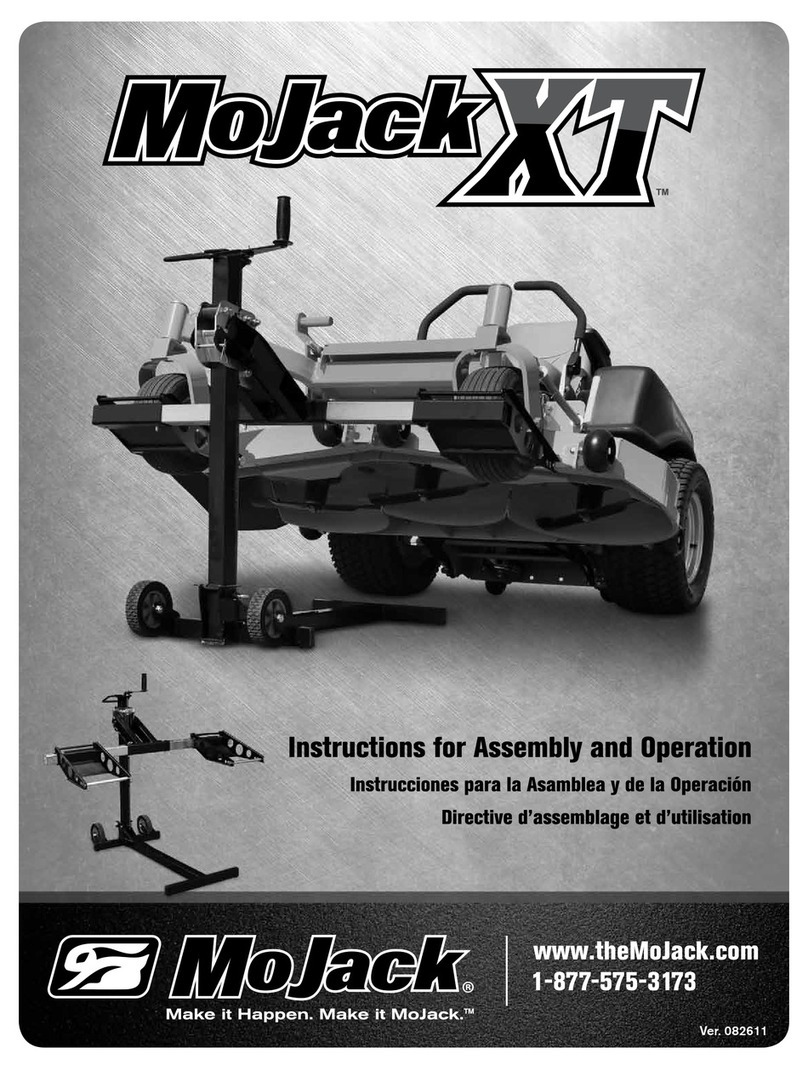
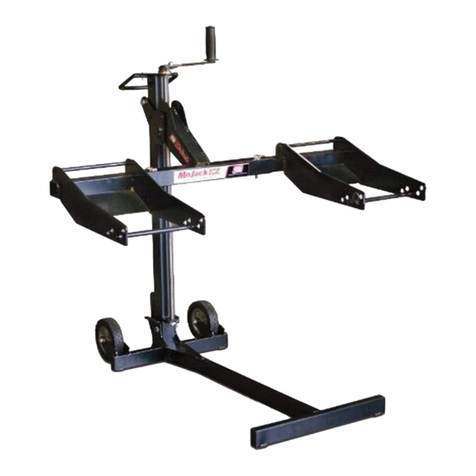
For use with the MoJack PRO, MoJack XT and MoJack EZ
Instrucciones de montaje y funcionamiento
Para el uso con el MoJack PRO y MoJack XT y MoJack EZ
Directives d’assemblage et d’utilisation
À utiliser avec les MoJack PRO et MoJack XT et MoJack EZ
Make it Happen. Make it MoJack.™
Ver. 092811

MoJack WorkBench
2
Introduction
Patent pending. MoJack is a registered trademark of MoJack Corporation. MoJack WorkBench is a trademark of MoJack Corporation.
This manual contains assembly, parts, operating,
maintenance, adjustment and safety instructions
for your MoJack WorkBench accessory.
BEFORE USING YOUR MOJACK WORKBENCH,
CAREFULLY READ THIS MANUAL IN ITS
ENTIRETY.
By following these operating, maintenance and safety
instructions, you will prolong the life of your MoJack
lift and accessories and promote safe operation.
If additional information is needed, or should you
require a trained service mechanic, contact your
authorized MoJack equipment dealer or distributor.
All MoJack parts are thoroughly tested and inspected
before leaving the factory to ensure that they comply
with all relevant safety standards.
NOTE: Please save this manual for future reference.

MoJack WorkBench
3
Warnings and Safety Instructions
IMPORTANT: The MoJack WorkBench is intended for use with walk-behind lawn mowers and small projects only.
Do not exceed 200 lbs.
Read and understand all safety and operating instructions for the MoJack PRO or MoJack EZ Lift.
Read and understand all safety and operating instructions before using the MoJack WorkBench.
Never allow anyone unfamiliar with the safety or operating instructions to use the MoJack WorkBench.
Follow all safety and servicing instructions provided by the manufacturer of product being lifted before
using the MoJack WorkBench.
Do not modify the MoJack WorkBench in any way. Any modifications will void any and all warranties and
could compromise your personal safety.
When using the MoJack WorkBench, keep ALL bystanders at a safe distance away from the WorkBench.
The MoJack must be used on a solid level surface.
Always stop engine and remove key before beginning any work on the mower or any other item that is
being lifted on the WorkBench.
Never operate the mower’s engine while using the MoJack WorkBench.
Do not exceed the lifting capacity of 200 lbs.
If the MoJack Tower is leaning while lifting or lowering the MoJack WorkBench, this indicates an overload
condition. Remove the load immediately.
Do not remove safety warnings or decals from the MoJack WorkBench.
Do not climb on the MoJack WorkBench while it is lifted, being lifted or being lowered.
No one should be on the MoJack WorkBench while it is lifted, being lifted or being lowered.
When using the WorkBench insert(s), do not load objects in front of the warning sticker.
Failure to follow these warnings may result in property damage and serious bodily injury or death.

MoJack WorkBench
4
LIMITED WARRANTY
For two years for residential use and one year for commercial use MoJack warrants the product against failure due to defect
in material or workmanship when product is used properly. MoJack will replace any defective part at no cost. This warranty
does not cover any product that has been altered or adjusted, or any product that has been misused or abused. THIS IS THE
CUSTOMER’S SOLE AND EXCLUSIVE REMEDY. MOJACK DISCLAIMS ALL IMPLIED WARRANTIES, INCLUDING THE
WARRANTY OF MERCHANTABILITY AND FITNESS FOR A PARTICULAR PURPOSE. MOJACK SHALL NOT BE LIABLE
FOR ANY INCIDENTIAL OR CONSEQUENTIAL DAMAGES. SOME STATES OR PROVINCES DO NOT ALLOW THE
EXCLUSION OR LIMITATION OF THE IMPLIED WARRANTIES OR THE REMEDIES FOR BREACH OF THE IMPLIED
WARRANTIES, SO THESE EXCLUSIONS MAY NOT APPLY TO YOU. THIS LIMITED WARRANTY GIVES YOU SPECIFIC
LEGAL RIGHTS, AND YOU MAY ALSO HAVE OTHER RIGHTS WHICH VARY FROM STATE TO STATE OR PROVINCE TO
PROVINCE.
What does this warranty cover?
This warranty covers against a failure due to a defect in material or workmanship within two years of purchase for residential
use and within one year of purchase for commercial use.
What does this warranty NOT cover?
This warranty does not cover any MoJack which has been altered or adjusted in any way from its original model.
It will not cover any MoJack which has been damaged due to misuse, abuse, accident or negligence. This warranty does not
cover incidental or consequential damages.
What is the period of coverage?
Two-year warranty for residential use, one-year for commercial use from date of purchase for the original owner.
What will MoJack do to correct problems?
We will replace any defective part (within the coverage period) at no charge.
How can I get service?
In order to be eligible for service under this warranty you MUST register your MoJack within thirty (30) days of
purchasing. You must keep your receipt as proof of date of sale. You can register your new MoJack on our website at
www.themojack.com or by calling our toll-free number 1-877-575-3173.
How do I contact MoJack about a warranty issue?
You can contact us from our website at www.themojack.com or by calling our toll-free number 1-877-575-3173.
Do I have other rights under State Law?
This warranty gives you specific legal rights, and you may also have other rights which vary from state to state.
What is the return policy?
Within thirty (30) days of the date that you receive your MoJack. Please contact MoJack for return policies and
How do I make a return?
Contact us within the return period. We will issue you a Return Merchandise Authorization (RMA) to place on the outside of the
box. All merchandise must be shipped back in its original packaging. We will make arrangements for the MoJack to be picked
up by a national carrier.
In what form will I receive my refund?
This is at our discretion. If receiving a refund, please allow four weeks for the credit to process to your account. Return service
fees will be deducted from the amount of the refund.
Are shipping charges refundable?
No.
Does MoJack have a return service fee policy?
Yes. Returns and refunds impose an extra workload on our parts. Rather than pass this cost on to the customer through higher
product prices, we are consistent with others within our industry by requiring nominal service fees in the event of returns. The
service fee is 20%.
How do I contact MoJack?
Warranty and Returns
MoJack WorkBench
5
Parts List
1
Item
No.
Qty.
Description
Left Sled
Right Sled
WorkBench Insert
Sled Insert
1
1
2
2
2
3
5
Item
No.
Qty.
Description
Clevis Pin
Hair Pin
Cap Screw – M12-1.75 x 65
Nylock Nut – M12-1.75
2
2
2
2
6
Hardware List
6Hair Pin
5Clevis Pin
4
3
1
4
2
7Cap Screw – M12-1.75 x 65
7
8
8Nylock Nut – M12-1.75

MoJack WorkBench
6
Right Sled 2
Left Sled 1
WorkBench Inserts
3
Assembly Instructions for use with MoJack EZ
STEP 1
Remove MoJack WorkBench from package.
Inventory items to be certain all parts and hardware
are present. If any parts or hardware are missing,
please contact MoJack at 1-877-575-3173 or
STEP 3 (Optional)
Place the WorkBench Inserts onto the
Left and Right Sleds and as shown.
3
1 2
Push Pin
Left Sled 1
Right Sled 2
Push Pin
STEP 2
Slide the Left and Right Sleds and into
the Lift Arm and secure with Push Pins that are
used to secure the wheel pads of the MoJack
as shown.
1 2
Lift Arm

MoJack WorkBench
7
Operating Instructions for use with MoJack EZ
STEP 1
Move push mower onto sleds
s7ITHTHECARRIERARMFULLYLOWEREDLIFTTHEFRONT
end of the push mower onto the sleds and
then move the push mower so that the front
wheels of the push mower are touching the
front of the sleds.
s3ECURETHEPUSHMOWERTOTHESLEDSBY
attaching the Clevis Pin and Hair Pin
as shown.
5 6
Front wheels
touching front
of sled
Clevis Pin 5
Hair Pin
6
STEP 2 (Optional)
With the WorkBench inserts secured between
the sleds. Place desired object to be lifted
onto the inserts.
WorkBench Insert
WorkBench Insert

MoJack WorkBench
8
Operating Instructions for use with MoJack EZ
STEP 3
Raising the Mower
s2AISETHEMOWERBYROTATINGTHE#RANK(ANDLECLOCKWISE
Do not attempt to lift more than 200 lbs.
The MoJack must be used on a solid level surface.
The mower engine must be turned off.
If using the WorkBench Inserts, do not install past
safety sticker.
STEP 5
Lowering the Mower
s0ULLANDHOLDTHE#ARRIER,OCKING
Pin out and turn the Crank Handle
counterclockwise until Wheel Pads
are firmly on the ground. The Carrier
Locking Pin must be pulled out until
it clears the bottom Safety Hole.
Safety Holes
Safety Hole
Carrier
Locking
Pin
Pull Out
to Unlock
and Lower
Tower Locking Pin
STEP 4
Raising Lift Arm to Locking Position
s2AISETHE,IFT!RMUNTILTHE#ARRIER,OCKING0INDROPSINTOTHE
Safety Hole.
s4HE#ARRIER,OCKING0INAUTOMATICALLYDROPSINTOTHE3AFETY(OLESAS
the Carrier passes the Safety Holes on the Tower when raising.
s.OTE7HENLOWERINGTHE,IFT!RMTHE#ARRIER,OCKING0INMUSTBE
held out by the operator until it clears the bottom Safety Hole.
Safety Hole
Carrier
Locking
Pin
Pull Out
to
Unlock
and
Lower

MoJack WorkBench
9
Right Sled 2
Left Sled 1
WorkBench Inserts 3
Assembly Instructions for use with MoJack PRO
STEP 1
Remove MoJack WorkBench from package.
Inventory items to be certain all parts and hardware
are present. If any parts or hardware are missing,
please contact MoJack at 1-877-575-3173 or
STEP 4 (Optional)
Place the WorkBench Inserts onto the
Left and Right Sleds and as shown.
3
1 2
Push Pin
Left Sled 1Right Sled 2
Push Pin
STEP 3
Slide the Left and Right Sleds and into
the Lift Arm and secure with Push Pins that are
used to secure the wheel pads of the MoJack
as shown.
1 2
STEP 2
Slide Sled Inserts onto
Sleds and , and secure
using Cap Screws and
Nylock Nuts and tighten
as shown.
4
1 2
7
8
Right Sled 2
Left Sled 1
Sled Insert
4
Cap Screw
7
Nylock Nut
8Nylock Nut 8
Lift Arm

MoJack WorkBench
10
Operating Instructions for use with MoJack PRO
STEP 1
Move push mower onto sleds
s7ITHTHECARRIERARMFULLYLOWEREDLIFTTHEFRONT
end of the push mower onto the sleds and
then move the push mower so that the front
wheels of the push mower are touching the
front of the sleds.
s3ECURETHEPUSHMOWERTOTHESLEDSBY
attaching the Clevis Pin and Hair Pin
as shown.
5 6
STEP 2 (Optional)
With the WorkBench inserts secured between
the sleds. Place desired object to be lifted
onto the inserts.
Front wheels
touching front
of sled
Clevis Pin 5
Hair Pin
6
WorkBench Insert
WorkBench Insert

MoJack WorkBench
11
STEP 5
Lowering the Mower
s4URNTHE7INCH(ANDLETURNCLOCKWISEANDSQUEEZETHE
Grip Handle and Ratchet Release Handle together. Keeping the
Grip and Ratchet Release Handles squeezed together, turn the
Winch Handle counterclockwise until the Wheel Pads are firmly
on the ground.
Grip Handle
Ratchet
Release
Handle
4URN
Operating Instructions for use with MoJack PRO
STEP 3
Raising the Mower
s2AISETHEMOWERBYROTATINGTHE7INCH(ANDLECLOCKWISE
Do not attempt to lift more than 200 lbs.
The MoJack must be used on a solid level surface.
The mower engine must be turned off.
If using the WorkBench Inserts, do not install past safety sticker.
STEP 4
Locking Carrier into the Safety Ratchet
s!STHE#ARRIERRAISESTHECLICKINGSOUNDINDICATESTHATTHE
Safety Ratchet is functioning properly. Once the mower is
ATTHEDESIREDWORKINGHEIGHTROTATETHE7INCH(ANDLE
turn counterclockwise to release the tension off of the
Lifting Strap and allowing the Carrier to rest firmly on the
Safety Ratchet.
Safety Ratchet Lifting Strap
4URN
Winch Handle
Winch Handle
Winch Handle
Winch Handle

MoJack WorkBench
12
Introducción
Patente en trámite. MoJack es una marca registrada de MoJack Corporation. MoJack WorkBench es una marca comercial de MoJack Corporation.
Este manual contiene instrucciones sobre montaje,
partes, funcionamiento, mantenimiento, ajuste y
seguridad del accesorio MoJack WorkBench.
ANTES DE UTILIZAR EL MOJACK WORKBENCH,
LEA CON ATENCIÓN TODO EL MANUAL.
Si sigue estas instrucciones de funcionamiento,
mantenimiento y seguridad, prolongará la vida del
elevador MoJack y sus accesorios, y favorecerá su
funcionamiento seguro.
Si necesita información adicional o un mecánico
de servicio especializado, póngase en contacto con
su vendedor o distribuidor autorizado de equipos
MoJack.
Todas las partes MoJack han sido rigurosamente
probadas e inspeccionadas en fábrica para garantizar
el cumplimiento de las normas de seguridad
pertinentes.
NOTA: guarde este manual para referencia futura.

MoJack WorkBench
13
Advertencias e instrucciones de seguridad
IMPORTANTE: El MoJack WorkBench está destinado sólo para uso con cortadoras de césped de empuje y
proyectos pequeños. No exceda el peso límite de 200 libras (90.8 kg).
Lea y comprenda todas las instrucciones de seguridad y funcionamiento del elevador MoJack PRO
o MoJack EZ.
Asegúrese de leer y comprender todas las instrucciones de seguridad y funcionamiento antes de utilizar
el equipo MoJack Workbench.
No permita que una persona no familiarizada con las instrucciones de seguridad o funcionamiento utilice
el equipo MoJack WorkBench.
Siga todas las instrucciones de seguridad y mantenimiento proporcionadas por el fabricante del
producto que se levantará antes de utilizar el MoJack WorkBench.
No modifique de ninguna forma el MoJack WorkBench. Cualquier modificación anulará todas y cada una
de las garantías existentes y podría poner en riesgo su seguridad personal.
Al utilizar el MoJack WorkBench, mantenga a TODAS las personas presentes a una distancia segura
del equipo.
El MoJack debe utilizarse sobre una superficie sólida y nivelada.
Detenga el motor y saque la llave siempre antes de empezar a trabajar en una podadora o en cualquier
otro equipo que se suba al WorkBench.
Nunca haga funcionar el motor de la podadora mientras utiliza el MoJack WorkBench.
No exceda la capacidad de elevación límite de 200 libras (90.8 kg).
Si la torre del MoJack se inclina al elevar el Mojack WorkBench, eso indica que existe una sobrecarga.
Retire la carga de inmediato.
No quite las advertencias de seguridad ni las calcomanías del equipo MoJack WorkBench.
No suba al MoJack WorkBench mientras el mismo se encuentre levantado, elevándose o bajándose.
No debe haber nadie en el MoJack WorkBench mientras el mismo se encuentre levantado, elevándose
o bajándose.
Cuando se utilicen los insertos del WorkBench, no cargue ningún objeto frente al autoadhesivo de
advertencia.
Si no cumple con estas advertencias pueden producirse daños a la propiedad, lesiones corporales
graves o incluso la muerte.

MoJack WorkBench
14
GARANTÍA LIMITADA
MoJack garantiza este producto durante dos años para uso residencial y un año para uso comercial, en caso de producirse defectos de material o de mano de
obra, siempre que el producto se haya utilizado en forma adecuada. MoJack reemplazará las partes defectuosas sin costo. Esta garantía no cubre productos
que hayan sido alterados o ajustados, ni productos que hayan sido utilizados en forma abusiva o incorrecta. EL RECURSO MENCIONADO CONSTITUYE
EL RECURSO ÚNICO Y EXCLUSIVO DEL CLIENTE. MOJACK NO CONCEDE NINGÚN OTRO TIPO DE GARANTÍA IMPLÍCITA, NI SIQUIERA LA
GARANTÍA DE COMERCIABILIDAD E IDONEIDAD PARA UN FIN PARTICULAR. MOJACK NO SE HARÁ RESPONSABLE POR DAÑOS IMPREVISTOS
O DERIVADOS. ALGUNOS ESTADOS O PROVINCIAS NO PERMITEN LA EXCLUSIÓN O LIMITACIÓN DE LAS GARANTÍAS IMPLÍCITAS O DE LOS
RECURSOS POR INCUMPLIMIENTO DE GARANTÍAS IMPLÍCITAS; POR LO TANTO, ES POSIBLE QUE ESTAS EXCLUSIONES NO SE APLIQUEN
A USTED. ESTA GARANTÍA LIMITADA LE OTORGA DERECHOS LEGALES ESPECÍFICOS Y TAMBIÉN PUEDE TENER OTROS DERECHOS QUE
VARÍAN SEGÚN EL ESTADO O LA PROVINCIA.
¿Qué cubre esta garantía?
Esta garantía proporciona cobertura contra fallos originados por defectos de material o de mano de obra, durante un plazo de dos años a
partir de la compra del equipo para uso residencial y durante un año para uso comercial.
¿Qué NO cubre esta garantía?
Esta garantía no cubre ninguna máquina MoJack que haya sido alterada o ajustada de alguna forma en relación con el modelo original. No
cubrirá ningún producto MoJack que resulte dañado debido a uso incorrecto o excesivo, accidente o negligencia. Esta garantía no cubre
daños imprevistos o derivados.
¿Cuál es el período de cobertura?
Dos años para uso residencial y un año para uso comercial, a partir de la fecha de compra por el propietario original.
¿Qué hará MoJack para resolver los problemas?
Reemplazaremos las partes defectuosas sin cargo (dentro del período de cobertura).
¿Cómo puedo obtener servicio?
Para obtener servicio en el marco de esta garantía, DEBE registrar su producto MoJack dentro de un plazo de treinta (30) días a partir de la
compra. Debe conservar su recibo para demostrar la fecha de la compra. Puede registrar su producto MoJack nuevo en nuestro sitio Web en
www.themojack.com o llamando a nuestro número gratuito 1-877-575-3173.
¿Cómo me pongo en contacto con MoJack por un problema de garantía?
Puede ponerse en contacto con nosotros a través de nuestro sitio Web www.themojack.com o llamando a nuestro número gratuito
1-877-575-3173.
¿Tengo otros derechos en virtud de las leyes estatales?
Esta garantía le proporciona derechos legales específicos y también puede tener otros derechos que varían según el estado.
¿Cuál es la política de devolución?
Treinta (30) días a partir de la fecha en que recibió el producto MoJack. Para obtener información sobre políticas y procedimientos
de devolución, póngase en contacto con MoJack llamando a nuestro número gratuito 1-877-575-3173 o por correo electrónico al
¿Cómo efectuar una devolución?
Póngase en contacto con nosotros dentro del período de devolución. Le emitiremos una Autorización para la Devolución de Mercadería
(RMA), que deberá colocar en la parte exterior de la caja. Todas las mercaderías se deben devolver en su empaque original. Tomaremos
medidas para que el producto MoJack sea recogido por un transportista nacional.
¿Cómo recibo el reembolso?
La devolución se efectuará según nuestro criterio. Si debe recibir un reembolso, deje pasar cuatro semanas para permitir la acreditación en
su cuenta. Se deducirán cargos de servicio de devolución del monto del reembolso.
¿Son reembolsables los cargos por envío?
No.
¿Tiene MoJack una política de cargo de servicio de devolución?
Sí. Las devoluciones y los reembolsos suponen trabajo adicional para nosotros. En vez de trasladar ese costo a los clientes a través de
precios más altos, seguimos los criterios generales de nuestra industria y exigimos el pago de cargos de servicio nominales en el caso de
una devolución. El cargo de servicio es de 20%.
¿Cómo me pongo en contacto con MoJack?
Puede llamarnos a nuestro número gratuito 1-877-575-3173 o escribirnos a nuestra dirección electrónica [email protected].
Garantía y devoluciones

MoJack WorkBench
15
Lista de partes
1
Nº
Elem.
Cant.
Descripción
Guía izquierda
Guía derecha
Inserto del WorkBench
Inserto de la guía
1
1
2
2
2
3
5
Nº
Elem.
Cant.
Descripción
Pasador de horquilla
Horquilla
Tornillo de cabeza M12 - 1.75 X 65
Tuerca Nylock – M12-1.75
2
2
2
2
6
Lista de materiales
6Horquilla
5Pasador de horquilla
4
3
1
4
2
7Tornillo de cabeza M12 - 1.75 X 65
7
8
8Tuerca Nylock – M12-1.75

MoJack WorkBench
16
Guía derecha 2
Guía izquierda 1
Insertos del WorkBench
3
Instrucciones de montaje para usar con MoJack EZ
PASO 1
Extraiga el MoJack WorkBench del empaque.
Haga un inventario de las partes para estar seguro de
que posee todas las piezas y materiales. Si faltan
partes o materiales, póngase en contacto con MoJack
llamando al 1-877-575-3173 o por correo electrónico
PASO 3 (opcional)
Coloque los insertos del WorkBench en
las guías izquierda y derecha y , como
se muestra.
3
1 2
Pasador de empuje
Guía izquierda 1
Guía derecha 2
PASO 2
Deslice las guías izquierda y derecha y
en el brazo elevador y fíjelas con pasadores de
empuje que se utilizan para asegurar los topes
de rueda del MoJack, como se muestra.
1 2
Brazo elevador
Pasador de
empuje

MoJack WorkBench
17
Instrucciones de funcionamiento para usar con MoJack EZ
PASO 1
Lleve la podadora de empuje hasta las guías
s#ONELBRAZODELTRANSPORTADORTOTALMENTEBAJADO
levante el extremo frontal de la podadora de
empuje hasta colocarla sobre las guías y luego
desplace la podadora de modo que sus ruedas
delanteras toquen la parte frontal de las guías.
s!SEGURELAPODADORADEEMPUJEALASGUÓASlJANDO
el pasador de horquilla y la horquilla , como
se muestra en la figura.
5 6
Ruedas delan-
teras tocando
la parte frontal
de la guía
Pasador de horquilla 5
Horquilla
6
PASO 2 (opcional)
Con los insertos del WorkBench fijados entre
las guías, coloque el objeto que desea levantar
sobre los insertos.
Inserto del WorkBench

MoJack WorkBench
18
Instrucciones de funcionamiento para usar con MoJack EZ
PASO 3
Elevación de la podadora
s%LEVELAPODADORAGIRANDOLAMANIVELAENSENTIDOHORARIO
No intente levantar más de 200 lbs (90.8 kg).
El MoJack debe utilizarse sobre una superficie sólida
y nivelada.
El motor de la podadora debe estar apagado.
Si usa los insertos del WorkBench, no cubra
el autoadhesivo de seguridad.
PASO 5
Descenso de la podadora
s4IREDELPASADORDEBLOQUEODEL
transportador hacia afuera y
manténgalo así, girando la manivela
en sentido antihorario hasta que
los topes de rueda estén ubicados
firmemente en el suelo. Se debe
tirar del pasador de bloqueo del
transportador hasta que se libere
el orificio de seguridad inferior. Orificio de
seguridad
Orificio de seguridad
Pasador de
bloqueo del
transportador
Tirar hacia afuera
para desbloquear
y bajar
Pasador de bloqueo de la torre
PASO 4
Colocación del brazo elevador en la posición de bloqueo
s,EVANTEELBRAZOELEVADORHASTAQUEELPASADORDEBLOQUEODEL
transportador quede colocado en el orificio de seguridad.
s%LPASADORDEBLOQUEODELTRANSPORTADORSEINTRODUCEAUTOMÉTICAMENTE
en los orificios de seguridad cuando el transportador pasa por los
orificios ubicados en la torre al elevarse.
s.OTAALBAJARELBRAZOELEVADORELOPERADORDEBETIRARDELPASADORDE
bloqueo del transportador hasta liberar el orificio de seguridad inferior.
Orificio de
seguridad
Pasador de
bloqueo del
transportador
Tirar hacia
afuera para
desbloquear
y bajar

MoJack WorkBench
19
Guía derecha 2
Guía izquierda 1
Insertos del WorkBench 3
Instrucciones de montaje para usar con MoJack PRO
PASO 1
Extraiga el MoJack WorkBench del empaque.
Haga un inventario de las partes para estar seguro de
que posee todas las piezas y materiales. Si faltan
partes o materiales, póngase en contacto con MoJack
llamando al 1-877-575-3173 o por correo electrónico
PASO 4 (opcional)
Coloque los insertos del WorkBench en las guías
izquierda y derecha y , como se muestra.
3
1 2
Pasador de empuje
Guía izquierda 1Guía derecha 2
Pasador de empuje
PASO 3
Deslice las guías izquierda y derecha y
en el brazo elevador y fíjelas con pasadores de
empuje que se utilizan para asegurar los topes
de rueda del MoJack, como se muestra.
1 2
PASO 2
Deslice los insertos de las
guías por las guías y
, fíjelos por medio de los
tornillos de cabeza y
tuercas Nylock , y ajúste-
los, como se muestra.
4 1
2
7
8
Guía derecha 2
Guía izquierda 1
Inserto de la guía
4
Tornillo de cabeza
7
Tuerca Nylock
8Tuerca Nylock 8
Brazo elevador

MoJack WorkBench
20
Instrucciones de funcionamiento para usar con MoJack PRO
PASO 1
Lleve la podadora de empuje hasta las guías
s#ONELBRAZODELTRANSPORTADORTOTALMENTEBAJADO
levante el extremo frontal de la podadora de
empuje hasta colocarla sobre las guías y luego
desplace la podadora de modo que sus ruedas
delanteras toquen la parte frontal de las guías.
s!SEGURELAPODADORADEEMPUJEALASGUÓASlJANDO
el pasador de horquilla y la horquilla , como
se muestra en la figura.
5 6
PASO 2 (opcional)
Con los insertos del WorkBench fijados entre
las guías, coloque el objeto que desea levantar
sobre los insertos.
Ruedas delanteras
tocando la parte
frontal de la guía
Pasador de horquilla 5
Horquilla
6
Inserto del WorkBench
Table of contents
Languages:
Other MoJack Lifting System manuals

MoJack
MoJack EZ Setup guide

MoJack
MoJack MoJackPRO Installation instructions

MoJack
MoJack PRO Installation instructions

MoJack
MoJack EZ Lift Installation instructions

MoJack
MoJack EZ Installation instructions

MoJack
MoJack XT Installation instructions

MoJack
MoJack HDL 45501 Installation instructions

MoJack
MoJack ZR 350 User manual

MoJack
MoJack EZ Setup guide
Popular Lifting System manuals by other brands

High Lifter
High Lifter Arctic Cat 500-04 instruction manual

Tesla
Tesla Feature 3 quick start guide

Wessex lifts
Wessex lifts LIBERTY OPEN Operator's maintenance manual

Stratus
Stratus SAE-C14X Installation, operation & maintenance instructions

BorMann
BorMann PRO BTC6200 manual

Ascension
Ascension 5442P Maintenance & Repair Manual