We have the right to change/modify our products at any time. Current facts please nd on
www.moltoluce.com.
Keep well this mounting instructions for any future maintanance!
IT
Solo personale specializzato autorizzato può installare e mettere in servizio l‘apparecchio,
secondo l‘applicazione delle presenti istruzioni di installazione, quelle di sicurezza e tutte
le norme e le normative applicabili per il suddetto campo di applicazione. Il produttore non
si assume alcuna responsabilità per danni causati da installazione o messa in funzione non
congruenti alle istruzioni di installazione e di montaggio.
Prima che il dispositivo operativo dell‘apparecchio sia collegato alla rete, il circuito LED deve
essere sempre chiuso.
L‘ambito di applicazione previsto e il metodo di montaggio dell‘apparecchio d‘illuminazione
devono essere rispettati conformemente alle speciche indicate. Dopo l‘installazione, è
necessario controllare il ssaggio in sicurezza degli apparecchi di illuminazione.
Prima di sostituire la lampadina e prima di qualsiasi altra operazione sull‘apparecchio (ad es.
pulizia), la tensione di rete dell‘apparecchio deve essere disattivata per motivi di sicurezza.
Lasciare raffreddare completamente la lampada per evitare scottature causate dal riscalda-
mento dell‘apparecchio.
Le istruzioni di installazione del produttore devono essere rispettate durante l‘installazione,
la sostituzione e l‘uso delle lampade.
Utilizzare guanti tessili onde evitare impronte digitali permanenti. Utilizzare un panno morbido
e leggermente umido (ad es. panno in microbra), preferibilmente senza additivi detergenti.
Qualora si utilizzino additivi detergenti, è necessario accertarsi della loro compatibilità.
Testare l‘additivo di pulizia selezionato in una piccola area non visibile. Pulire la lampada / le
lampade con una pressione moderata.
Pulire sempre i riettori/lenti dall‘alto verso il basso. Non è consentita la pulizia nella bagno
ultrasonica.
Per la pulizia del riettore/lente, si consiglia di utilizzare un guanto tessile pulito bianco o un
panno in microbra. Pulire i riettori con una pressione moderata.
I LED non richiedono manutenzione, i componenti elettronici sensibili possono essere dan-
neggiati o distrutti a causa di un uso improprio! Evitare di toccare l‘area di uscita della luce
LED mentre si lavora sull‘apparecchio.
In caso di successive modiche o miglioramenti all‘apparecchio, Molto Luce GmbH non si
assume alcuna responsabilità sul suddetto prodotto. Ciò comporta la perdita della garanzia
nei confronti del produttore.
Molto Luce GmbH non si assume alcuna responsabilità per eventuali errori di stampa.
Ci riserviamo il diritto di apportare modiche ai nostri prodotti in qualsiasi momento.
Informazioni aggiornate si trovano su www.moltoluce.com.
Conservare attentamente queste istruzioni di montaggio per eventuali interventi di manuten-
zione futuri.
DE
Nur autorisiertes Fachpersonal darf die Montage und Inbetriebnahme der Leuchte/n unter
Berücksichtigung dieser Montageanleitung, Sicherheitshinweise und aller für den jeweiligen
Anwendungsbereich geltenden Normen und Vorschriften durchführen. Der Hersteller über-
nimmt keine Haftung für Schäden die durch unsachgemäße Montage oder Inbetriebnahme
entstehen.
Bevor das Betriebsgerät der Leuchte/n an das Netz angeschlossen wird, muss der LED-
Stromkreis immer geschlossen sein.
Der vorgesehene Anwendungsbereich und die Montageart der Leuchte muss entsprechend
den Vorgaben eingehalten werden. Nach erfolgter Montage ist die sichere Befestigung der
Leuchte/n zu überprüfen.
Vor jedem Leuchtmittelwechsel und vor allen sonstigen Arbeiten an der Leuchte (z.B. Reini-
gung) ist die Netzspannung der Leuchte aus Sicherheitsgründen abzuschalten. Die Leuchte
und das Leuchtmittel vollständig abkühlen lassen um Verbrennungen durch ein heißes
Leuchtmittel zu vermeiden!
Die Montagehinweise des Leuchtmittelherstellers sind beim Einsetzen, Wechseln und Be-
treiben der Leuchtmittel einzuhalten.
LEDs sind wartungsfreie, empndliche elektronische Bauteile die durch unsachgemäße
Behandlung beschädigt oder zerstört werden können! Während der Arbeiten an der Leuchte
unbedingt eine direkte Berührung der LED-Lichtaustrittsäche vermeiden.
Verwenden Sie Textilhandschuhe, um bleibende Fingerabdrücke zu vermeiden. Verwenden Sie
ein weiches, leicht feuchtes Tuch (z.B. Mikrofasertuch) möglichst ohne Reinigungszusatz. Bei
Verwendung von Reinigungszusätzen, muss die Verträglichkeit sichergestellt werden. Testen
Sie den ausgewählten Reinigungszusatz an einer kleinen Stelle, die später nicht zu sehen
sein wird. Die Leuchte/n mit mäßigen Druck abwischen.
Reektoren/Linsen immer von oben nach unten abwischen. Die Reinigung im Ultraschallbad
ist nicht zulässig.
Für die Reinigung des Reektors/der Linse empfehlen wir einen weißen, sauberen Textilhand-
schuh oder ein Mikrofasertuch zu verwenden. Die Reektoren mit mäßigen Druck abwischen.
Bei nachträglichen Änderungen oder Umbauten an der Leuchte übernimmt die Molto Luce
GmbH keine Haftung auf das Produkt und führt zum Verlust des Gewährleistungsanspruchs
gegenüber dem Hersteller.
Die Molto Luce GmbH übernimmt keinerlei Haftung für eventuelle Irrtümer oder Druckfehler.
Wir behalten uns vor, jederzeit Änderungen an unseren Produkten vorzunehmen. Aktuelle
Daten stellen wir jederzeit unter www.moltoluce.com zur Verfügung.
Diese Montageanleitung für allfällige Wartungsarbeiten gut aufbewahren!
EN
Mounting and commissioning of the luminaire/s may only be performed by authorized person-
nel, in accordance with this mounting instructions, safety instructions and any standards and
regulations applicable to the respective area of application. The manufacturer does not take
any responsibility for damages caused by faulty mounting and commissioning.
Close the LED circuit before connecting the control gear of the luminaire/s with the power
supply.
The intended scope of application and the method of mounting the luminaire must be
complied with in accordance with the specications. Check the secure fastening of the
luminaire/s after its mounting.
Switch off the supply voltage before replacing any illuminants as well as before performing
any other works on the lamp (e.g. cleaning).
Wait until lamp and illuminant have completely cooled off to avoid burns caused by hot
illuminant.
Please observe mounting instruction of the illuminant manufacturer when inserting, replacing
and operating illuminants.
LEDs are maintainance-free electronic components that can be damaged or destroyed
through inappropriate handling! During operations of the luminaire/s avoid touching the LED
light emitting surface.
Use textile gloves to avoid permanent ngerprints. Use a soft, slightly damp cloth (e.g. micro-
bre cloth), preferably without cleaning additives. If cleaning additives are used, compatibility
must be ensured. Test the selected cleaning additive in a small area that will not be visible
later. Wipe the lamp(s) with moderate pressure.
Always wipe the reectors/lenses from top to bottom. Cleaning in the ultrasonic bath is not
permitted.
For cleaning the reector/lens, we recommend using a white, clean textile glove or a micro-
bre cloth. Wipe the reectors with moderate pressure.
For any subsequent changes or modications of the luminaire, Molto Luce GmbH is not liable
for the product and lead to an extinction of the manufacturer‘s warranty.
Molto Luce is not liable for any errors and misprints.
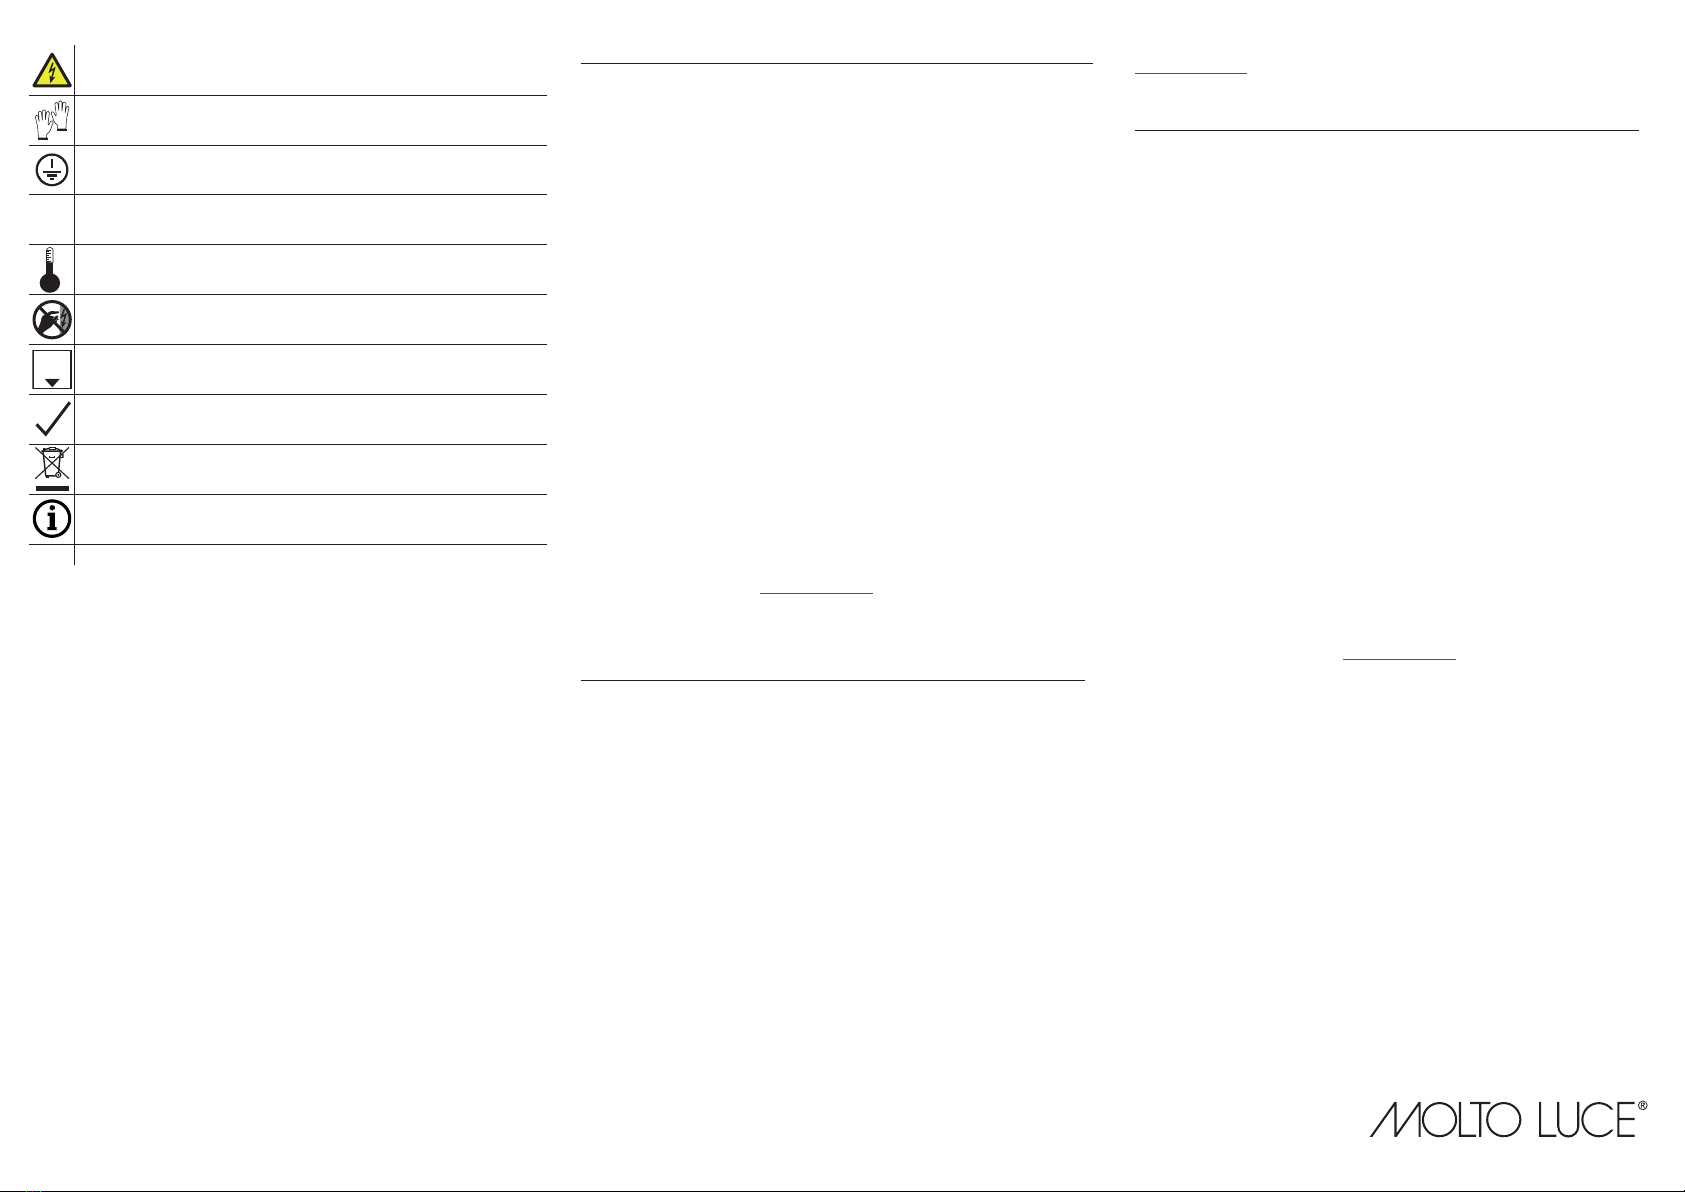
Vorsicht, Gefahr eines elektrischen Stromschlags! Netzspannung trennen.
Caution, risk of electric shock! Switch off the power supply.
Attenzione, rischio di scossa elettrica! Disconnettere la tensione di rete.
Handschuhe tragen!
Use gloves!
Indossare i guanti!
Schutzklasse 1: Leuchte/n mit Schutzleiteranschluss
Protection class 1: lights with protective conductor connection
Categoria di protezione 1: lampade con attacco conduttore di protezione
IP 20
Schutzart
protection class
classe di protezione
25°C
Produkt speziziert für 25°C Umgebungstemperatur.
Product is specied for 25°C ambient temperature.
Prodotto indicato per temperatura ambiente di 25° C.
LED nicht berühren!
Do not touch the LED!
Non toccare il LED!
Stehleuchte
Floor lamp
Piantana
richtig
right
esatto
Nicht in den Hausmüll werfen!
Do not dispose with domestic refuse!
Non gettare nei riuti domestici!
Hinweis
note
note
HEADQUARTERS Wels
Ofce & Showroom
4600 Wels, Austria
Europastraße 45
T: +43 7242 698-0,
M: ofce@moltoluce.com
697-SYSTEM 01.1 F REV 08
| 14 | 12 | 2020
3 / 3