manuals.online logo
Brands
  1. Home
  2. •
  3. Brands
  4. •
  5. monster tower
  6. •
  7. Boating Equipment
  8. •
  9. monster tower MT7 Tower User manual

monster tower MT7 Tower User manual

2023 Monster Tower All Rights Reserved 2640 Byington Solway Rd, Knoxville, TN 37931 877.778.6937 monstertower.com
c
MT7 Tower
INSTALLATION MANUAL
DES-190
REV 1.2
Do you have questions? Call us @ 877.778.6937 Monday – Friday, 8am-5pm EST
2023 Monster Tower All Rights Reserved 2640 Byington Solway Rd, Knoxville, TN 37931 877.778.6937 monstertower.com
c
DES-190
REV 1.2
Parts List:
(6) Heim Joint
(6) Heim Joint Jam Nut
(1) Navigation Light
(1) Nylon Swivel
(1) Ski Tow Base
(4) Tower Base
(4) Tower Base Swivel
(4) Tower Base Backing Plate
(4) Monster Paw (Rubber Pad)
(1) Top Section (Header)
(2) Header C-Clamp
(2) Front Tower Leg
(2) Side Support
(2) Rear Support Leg
(2) Rear Leg Bracket
(2) Lower Leg Quick Release Knob
(2) Upper Leg Quick Release Knob
Gather Additional Tools and Materials
4x
Reversible Drill
11/32" and 9/16" Drill Bits
Socket Wrenches (13mm, 22mm, 24mm)
Blue Painter’s Tape
Tape Measure
Permanent Marker
Level
Allen Wrenches (6mm, 10mm, 12mm, 14mm)
45 Degree Chamfer Bit
Marine Grease for Bolts
*Loctite 242 Blue
Razor Blade or Knife
Safety Glasses
Actual Size
R
2
CAUTION: If you are unfamiliar with your boat’s construction, please seek
professional advice before installing the tower. For added assistance when installing the
tower, please call us at 877-778-6937.
As you plan to install the, Monster Tower MT7, keep in mind that drilling into the deck of
the boat is needed in order to safely secure the tower to the boat.
!
*Loctite 242 Blue can be applied to any bolt during assembly to ensure a locking fit.
R
M8
Included Hardware Identification
12 x
M8 x 50
6x
M8 x 45
2x
M8 x 50
2x
M16 x 50
2x
M14 x 50
4x
M12 x 75
4x
M12
4x
M14
4x
M16
4x
Spacer
2x
Plastic Washer
6x
Metal Spacer
Do you have questions? Call us @ 877.778.6937 Monday – Friday, 8am-5pm EST
2023 Monster Tower All Rights Reserved 2640 Byington Solway Rd, Knoxville, TN 37931 877.778.6937 monstertower.com
c
DES-190
REV 1.2
Step 1: Assemble Legs to Top Section
3
1. 2.
Screw hex jam nut onto heim joint as far as
possible, then back off the nut two complete turns.
Attach heim joints to the bottom
of the legs and hand tighten.
Assemble rear support leg.
Repeat step on other side.
Step 2: Install Heim Joints to Legs
Hardware Needed:
Attach legs to header with C-Clamps
Front
Leg
Rear
Support
Leg
C-Clamps
6 M8x50 Bolts
Quick Release Knob
Plastic Washer
Heim Joint
Heim Joint Nut
3 Metal Spacers
Leg Bracket
3 M8x45 Bolts
Do you have questions? Call us @ 877.778.6937 Monday – Friday, 8am-5pm EST
2023 Monster Tower All Rights Reserved 2640 Byington Solway Rd, Knoxville, TN 37931 877.778.6937 monstertower.com
c
DES-190
REV 1.2
Step 3: Assemble the Bases
4
Assemble hardware according to the diagram.
When orienting the base, the smooth side of
the base should face out and the taller end of
the base should face forward.
Repeat step for all 4 bases.
Hardware Needed:
Hardware Needed:
Use an M16x50 bolt on the front leg and an
M16 quick release knob on the back leg to
attach the heim joints to the bases.
2.
Base
Swivel
M12x75
M12 Nut
2 M16x50 Bolts
2 M16 Quick Release Knobs
Front >
1.
Step 4: Determine Mounting Locations
Once you determine the general position, use masking tape to protect the gel coat where you will be
drilling. Holding the bases in place, use a permanent marker to trace the position of the base onto the tape.
Unlike other towers, the mounting locations for your
MT7 do not have to be level - all that matters is that the
header is level (see Step #5). Depending on your boat's
construction, your base mounting locations may need to
differ to get the header level.
TOP MOUNT SIDE MOUNT
PRO TIP: Depending on your boat's shape
you could have one top-mounted and one
side-mounted leg.
1.
Do you have questions? Call us @ 877.778.6937 Monday – Friday, 8am-5pm EST
2023 Monster Tower All Rights Reserved 2640 Byington Solway Rd, Knoxville, TN 37931 877.778.6937 monstertower.com
c
DES-190
REV 1.2
5
Step 5: Level Header
Mount the front tower legs to your boat.
Level the tower's header from front to
back, ensuring the header is not higher
in the front as this could cause problems
installing a bimini top.
1.
1.
2.
Determine the angle of the rear support leg
so that the header is level by adjusting the
position of the rear bases.
3.
PRO TIP: If you are installing the tower
while the boat is on a trailer or other non-
level surface, we recomend installing the
header at a slight downward angle (~3°)
2.
3.
IMPORTANT: If the rear bases have to be mounted lower than the front and you are
unable to level the header using the above steps, optional risers are available upon
request. Contact our support team at info@monstertower.com or 877.778.6937
Step 6: Reinforce the Mounting Locations
Once your base placement is determined you will want to reinforce this area. We recommend 3/8 MARINE
GRADE PLYWOOD to be glued in using 3M 5200 adhesive.
Plywood will be installed vertically as shown below for side mounted bases or horizontally beneath the
gunwale for top mounted bases.
PRO TIP: You can cut the 3/8 Marine
plywood to the size that you will need to
create an effective mounting reinforcement.
Do you have questions? Call us @ 877.778.6937 Monday – Friday, 8am-5pm EST
2023 Monster Tower All Rights Reserved 2640 Byington Solway Rd, Knoxville, TN 37931 877.778.6937 monstertower.com
c
DES-190
REV 1.2
6
Using the Monster Paw as a guide, mark the position of the two mounting
holes. Start drilling IN REVERSE to not crack the gel coat, then switch to
forward drilling and completely drill through boat.
Chamfer holes. Repeat for each base.
Hardware Needed:
Step 7: Drill Holes and Assemble Bases to Boat
11/32" Drill Bit
(Rear/Smaller Hole)
9/16" Drill Bit
(Center/Larger Hole)
FrontRear
Outside / Bottom (Side Mount)
Inside / Top (Side Mount)
You will need to DISASSEMBLE each base as you mount to the boat. Mount base
to boat, placing base, rubber pads, backing plate, and bolts together as shown.
Base
Swivel
Spacer
Nut M14 x 2.0
Nut M8 x 1.25
M12 Nut
Boat Deck
Deck Support
Tower Base Backing Plate
Monster Paw
M8x75
M14x50
M12 X 75
Optional Riser
(Available Upon Request)
1.
2.
Do you have questions? Call us @ 877.778.6937 Monday – Friday, 8am-5pm EST
2023 Monster Tower All Rights Reserved 2640 Byington Solway Rd, Knoxville, TN 37931 877.778.6937 monstertower.com
c
DES-190
REV 1.2
7
Step 8: Mount Tower
Use the M16x50 bolt to attach the
front leg heim joints to the bases.
Use quick release knobs to attach the
rear leg heim joints to the bases.
Repeat Step 5 for other bases using
the premarked lines as a guide. 2.
3.
1.
Measure corner to diagonal corner, and visually try to place the ski
tow at the center of the boat. Make sure the measurements of one side
match the other, this will ensure the tower is squared up.
1.
Step 9: Square and Lock Tower
Do you have questions? Call us @ 877.778.6937 Monday – Friday, 8am-5pm EST
2023 Monster Tower All Rights Reserved 2640 Byington Solway Rd, Knoxville, TN 37931 877.778.6937 monstertower.com
c
DES-190
REV 1.2
8
Step 9: Square and Lock Tower (Continued)
To adjust the leg loosen the screws that
hold the header and leg sections together.
Once the adjustments have been made
tighten the screws back down, clamping
the header back to the legs.
2. 3.
Step 10: Install Navigation Light
DO NOT SNAP LIGHT CAP TOGETHER YET
PRO TIP: The tower can be wired
on either the port or starboard sides
depending on your boat's configuration.
Do you have questions? Call us @ 877.778.6937 Monday – Friday, 8am-5pm EST
2023 Monster Tower All Rights Reserved 2640 Byington Solway Rd, Knoxville, TN 37931 877.778.6937 monstertower.com
c
DES-190
REV 1.2
9
Step 10: Install Navigation Light (Continued)
The tower legs have pre-drilled holes at the
bottom to allow wire to run for the navigation
light and other accessories.
Snap together the navigation light cap together
to complete the assembly of the navigation light
assembly.
1.
2.
Congratulations
You have just successfully installed your new Monster MT7!
Tag us on social media to be featured on our feed! Welcome to the team!
Send us a picture of your install out on the water to our gallery on MonsterTower.com.

Other monster tower Boating Equipment manuals

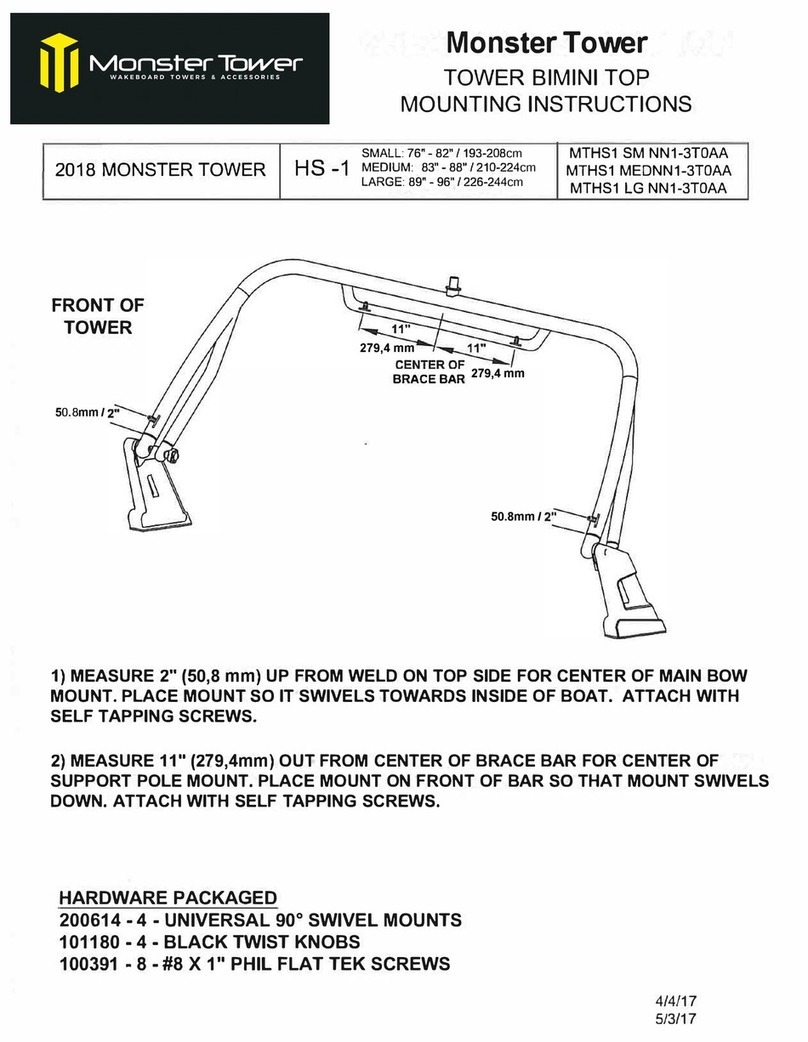
monster tower HS-1 User manual

monster tower

monster tower HS-1 User manual

monster tower MT2 Quick start guide

monster tower

monster tower MT2 Quick start guide

monster tower HS1 Quick start guide

monster tower

monster tower HS1 Quick start guide

monster tower MT1 Quick start guide

monster tower

monster tower MT1 Quick start guide

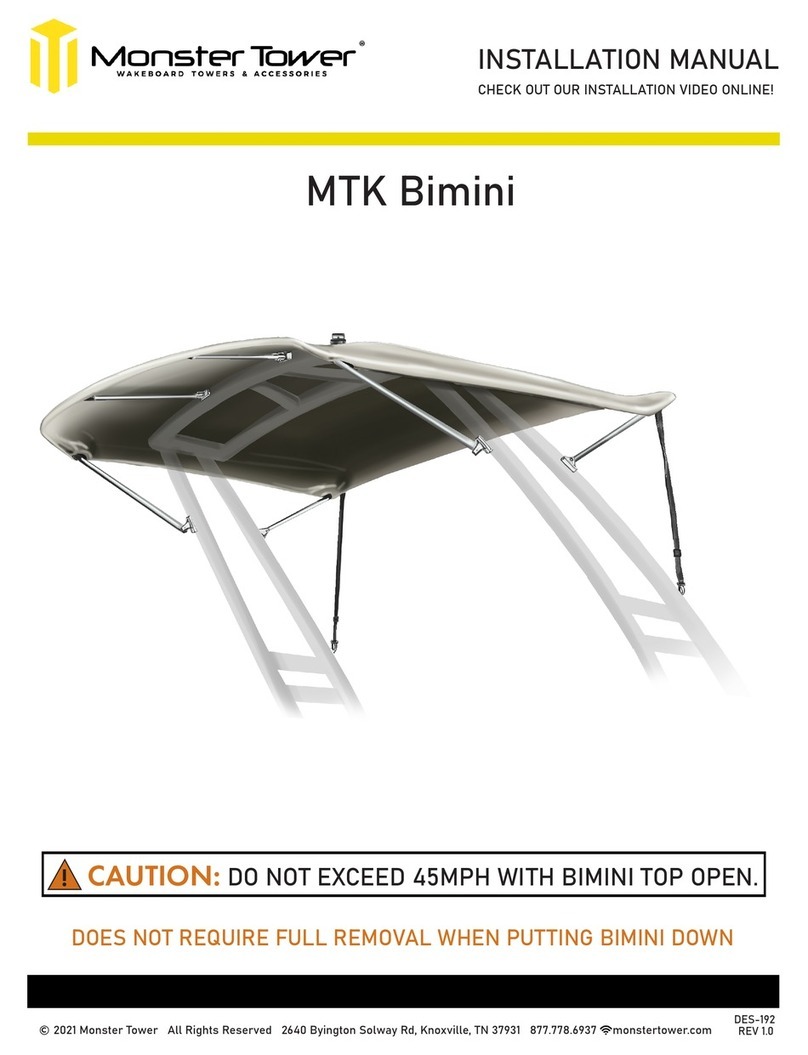
monster tower MTK Bimini User manual

monster tower

monster tower MTK Bimini User manual

Popular Boating Equipment manuals by other brands

ProFurl MK0 installation manual

ProFurl

ProFurl MK0 installation manual

South Pacific Industrial VA Series Owner's installation & operations manual

South Pacific Industrial

South Pacific Industrial VA Series Owner's installation & operations manual

Uflex ULTRAFLEX T71FC Installation and maintenance manual

Uflex

Uflex ULTRAFLEX T71FC Installation and maintenance manual

Uniteck UNIFIX 20.1 WB manual

Uniteck

Uniteck UNIFIX 20.1 WB manual

SureShade ATF Installation guides

SureShade

SureShade ATF Installation guides

SWI-TEC Hydro Charger user manual

SWI-TEC

SWI-TEC Hydro Charger user manual

Sunstream FL10014 Use and installation  manual

Sunstream

Sunstream FL10014 Use and installation manual

Taylor Made BIMINI Assembly instructions

Taylor Made

Taylor Made BIMINI Assembly instructions

Power-Pole micro anchor Installation and owner's guide

Power-Pole

Power-Pole micro anchor Installation and owner's guide

INOXPA VERTICAL AGITATOR CRC Ex Installation, service and maintenance instructions

INOXPA

INOXPA VERTICAL AGITATOR CRC Ex Installation, service and maintenance instructions

Selden Rodkicker 05 quick start guide

Selden

Selden Rodkicker 05 quick start guide

Yamaha 2009 WaveRunner FX SHO Owner's/operator's manual

Yamaha

Yamaha 2009 WaveRunner FX SHO Owner's/operator's manual

Plastimo S Series Assembly instructions

Plastimo

Plastimo S Series Assembly instructions

Quick ARIES user manual

Quick

Quick ARIES user manual

Rave Sports Mambo owner's manual

Rave Sports

Rave Sports Mambo owner's manual

MINN KOTA RAPTOR installation instructions

MINN KOTA

MINN KOTA RAPTOR installation instructions

Wakespeed Offshore WS100/12 product manual

Wakespeed Offshore

Wakespeed Offshore WS100/12 product manual

Simpso-lawrence Horizon 600 Owners installation, operation & servicing manual

Simpso-lawrence

Simpso-lawrence Horizon 600 Owners installation, operation & servicing manual

manuals.online logo
manuals.online logoBrands
  • About & Mission
  • Contact us
  • Privacy Policy
  • Terms and Conditions

Copyright 2025 Manuals.Online. All Rights Reserved.