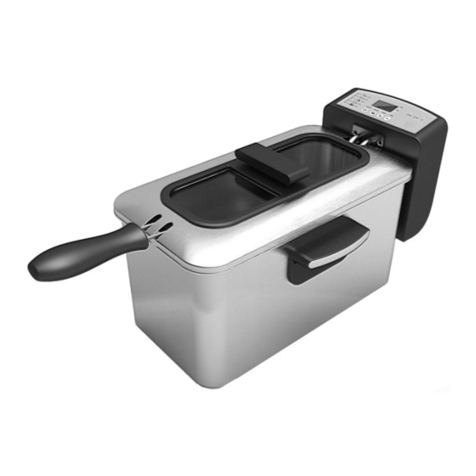
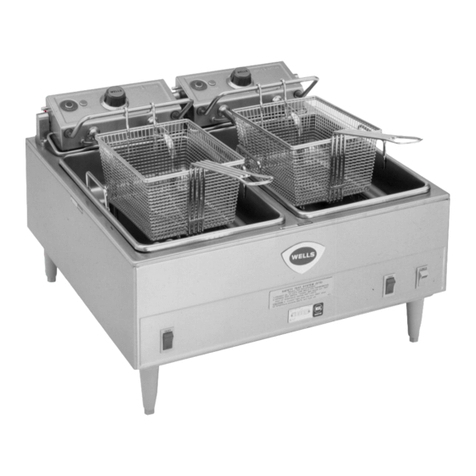
Montgomery Ward Chef Tested 791281 User manual

Instruction Manual
ITEM: 791281
wards.com 1•888•557•3848
Montgomery Ward Customer Service
8:00 am to Midnight, Monday through Friday
Recipes
and tips
inside!
wards.com 1•888•557•3848
Double-Tank Deep Fryer

Thank you for purchasing your Chef Tested Double Tank Deep
Fryer by Montgomery Ward. Put through the paces by the
experts, we guarantee that it will perform to the highest
standard, time after time, with all the convenience, easy cleanup
and durability you rely on from Wards.
3
Important Safeguards ................... 3
Electrical Safety ...............................4
Specications.................................... 4
Parts & Features............................... 5
How to Use.....................................6–7
Cleaning & Care................................ 8
Helpful Hints ...................................... 9
Recipes.......................................... 10–11
Return Information ........................12
Warranty..............................................13
Thank you
for your
purchase!
Table of Contents
21•888•557•3848
wards.com
Important Safeguards
READ CAREFULLY BEFORE USING AND SAVE THESE INSTRUCTIONS!
• FOR HOUSEHOLD USE ONLY. DO NOT USE THIS APPLIANCE FOR OTHER
THAN ITS INTENDED USE.
• REMOVE all packaging materials and labels before rst use.
• Wash all removable parts before rst use. See Cleaning & Care.
• Short cords are provided to reduce the hazards resulting from entanglement or
tripping. Always attach the cord to the appliance rst, then to the electrical
outlet. DO NOT drape the cord over a counter or tabletop where it can be
pulled on or tripped over.
• DO NOT use an extension cord with this appliance.
• CLOSE SUPERVISION IS NECESSARY WHEN USING THIS APPLIANCE NEAR
CHILDREN.
• A re may occur if this appliance is used near ammable materials, including
curtains, towels, walls, etc. DO NOT place any paper, plastic or other nonfood
items in the appliance. DO NOT place the appliance or its cords on or near a
heated surface or in a heated oven.
• This appliance should always be used on a stable, dry, heat-resistant surface.
• DO NOT use near water. DO NOT operate with wet hands.
• DO NOT operate this appliance with an external timer or remote control.
• DO NOT use an accessory or attachment not recommended by the manufac-
turer, as this may cause injury or damage the appliance.
• Keep hands, hair and clothing away from all openings and heated areas.
• Always use oven mitts when handling hot food or appliances. DO NOT attempt
to move an appliance when it is hot or has hot contents.
• DO NOT use outdoors.
• DO NOT operate without oil in tanks.
• Turn off and unplug this appliance when not in use.
• THERE ARE NO SERVICEABLE PARTS INSIDE THIS APPLIANCE.
• DO NOT USE AN APPLIANCE WITH A DAMAGED CORD OR PLUG, OR AFTER
THE APPLIANCE MALFUNCTIONS OR HAS BEEN DAMAGED IN ANY MANNER.
• Appliances/tools contain valuable materials that can be recycled. Dispose of
old appliances/tools using appropriate collection systems in accordance with
federal and local regulations.

Parts & Features
Specications
Electrical Safety
41•888•557•3848
wards.com
45
This appliance is equipped with 2
detachable magnetic, 3-prong grounding
plugs. These are safety features to reduce
the risk of electrical shock. Each magnetic
plug should be attached to the appliance
before connecting to an electrical outlet.
This plug is designed to attach to the
appliance only 1 way. Check the plug for
the printing “this side up” before attach-
ing to the appliance. Separate outlets
and circuits should be used for each
plug to avoid tripping circuit breakers.
Outlets must be properly installed and
grounded. If you have any questions about
the grounding or electrical instructions,
contact a qualied electrician. DO NOT
attempt to modify the plug in any way.
Montgomery Ward cannot accept any li-
ability for damage or injury resulting from
failure to observe these safety procedures.
POWER RATING 60Hz, 120V
1500W (each side)
CAPACITY 6.34 qts. each tank
CORD LENGTH 35.5" +/- 6"
DIMENSIONS 17.7"W x 9.9"H x 13.8"D
MODEL SLF-102
1. Housing
2. Temperature Control (2)
3. Control Panel/Heating Element Assembly (2)
4. Ready Light (2)
5. Power Light (2)
6 Timer Control (2)
7. Lid (2)
8. Handle (2)
9. Oil Tank (2, under lids, not shown)
10. Magnetic Power Cord (2, not shown)
11. Basket (2, see page 6)
8
7
6
5
4
3
1
2

1•888•557•3848
wards.com 7
6
How to Use How to Use (cont.)
WARNINGS:
• Be sure handles are properly assembled to baskets and locked into place.
• Always ll oil betweeen MIN and MAX ll marks in oil tanks.
• Remove as much moisture from food as possible. Remove any excess water
from food by blotting with a paper towel. Excess water or ice particles can
cause hot oil to splatter or foam.
• DO NOT add water or ice to oil.
• Always fry with lids in place. DO NOT block vents.
• DO NOT use refrigerated oil.
• Beware of hot steam emitting from vents and open lids carefully.
• DO NOT operate deep fryers for more than 60 minutes in a 2-hour period.
1. Place housing on a stable, at surface. Insert tanks into housing.
2. Align grooves of heating element assemblies with grooves on housing. Push
down on each heating element assembly to connect.
3. Assemble the handles to the baskets:
a. Squeeze tines of handle together. Align tines with round holes on
bracket inside basket.
b. Release tines to allow them to spread. Pull handle back to lock.
7. Place the basket(s) down into the oil and cover with lid(s).
8. Set the temperature control(s) to desired setting and set the TIMER to 20
minutes. Preheat oil until the READY light goes out (10 to 15 minutes).
9. When oil is ready, remove the lid(s). Gently lower food to be fried into the hot
oil and replace lid(s).
10. Reset the TIMER(s) to desired cooking time between 1–30 minutes (rotate past
10 minutes and then to desired frying time).
11. When time has expired, the TIMER(s) will automatically shut off. Carefully
remove lid(s), raise basket(s) and hook over tank(s) to drain.
NOTE: DO NOT allow condensation to drain into oil when removing lid(s).
.
12. Carefully empty food from basket(s) and place in a bowl, colander, or tray
lined with paper towel.
13. Replace basket(s) in oil, add lid(s) and set the TIMER(s). Wait for oil to come
back up to temperature (READY light will go out). When oil is ready, reset the
TIMER(s) to desired cooking time and continue frying.
14. When nished frying, cover oil with lid(s), turn OFF and unplug the cord(s)
from the electrical outlet(s).
15. Oil may take several hours to cool. DO NOT attempt to move or clean the
housing, tanks or heating elements until oil is completely cooled.
ab
4. Fill the tank(s) with oil between the MIN/MAX markings.
5. Make sure the fryers are set to OFF and attach the magnetic end of cord(s) to
fryer socket(s) on the back of the heating element assemby(ies). The
magnetic end attaches only 1 way — look for “this side up” on the plug.
6. If both sides of the fryer will be used at once, plug the cords into separate
electrical outlets on separate electrical circuits. Be careful not to disturb the
magnetic connection(s) when plugging cord(s) into electrical outlet(s).

1•888•557•3848
wards.com
89
• Fry with a good quality vegetable or peanut oil.
• DO NOT fry foods in butter, margarine, olive oil or animal fat.
• DO NOT mix two types of oil.
• DO NOT add fresh oil to used oil.
• Change oil regularly to maintain optimum frying and avor quality.
• Oil used for only French fries can be used 10 to 12 times before
changing if oil is ltered after each use. Oil used for food that is high
in protein (such as meat or sh) should be changed more frequently.
• Always change the oil when it has a strong smell or taste, or when it
turns dark.
• To lter oil, allow oil to cool completely. Strain the used oil with
cheesecloth or paper towels.
• Always follow food package cooking directions.
• DO NOT use plastic utensils in hot oil.
• For best results, fry a single layer of food for each batch.
• Season food AFTER frying.
• Length of cooking time and temperature may vary based on batch
size and weight.
• ALWAYS use a thermometer to ensure meat or poultry is cooked.
Helpful HintsCleaning & Care
Tips R
1. Turn off and unplug the appliance.
2. Always allow the oil to cool completely before cleaning.
3. Remove the baskets and heating element assemblies from the tanks.
4. Strain and pour cool oil into its original (resealable) empty bottles. If you plan
to reuse the oil, store it in the refrigerator or a cool, dark, dry place for
up to 6 months.
5. Use a soft cloth, sponge or rubber spatula to remove any stuck-on food
or residue. Wipe all excess oil or lm from tanks.
6. DO NOT use abrasive brushes or pads, or harsh cleaning solutions. Hand wash
the baskets, tanks and lids in warm, soapy water. The tanks and baskets are
also dishwasher safe.
7. DO NOT immerse heating element assemblies into water. To avoid damaging,
use care and gently wipe the heating elements and control panels with a soft
cloth dampened with hot, soapy water. Wipe with a dry cloth.
8. Wipe the exterior housing with a damp cloth.
9. DO NOT immerse any cord, plug or electrical appliance into water.
10. Ensure all parts are dried thoroughly before reassembling and using this
appliance.
Table of contents
Other Montgomery Ward Fryer manuals

Montgomery Ward
Montgomery Ward Chef TESTED 796463 User manual

Montgomery Ward
Montgomery Ward Chef TESTED EDF-411T User manual

Montgomery Ward
Montgomery Ward Chef Tested 767976 User manual

Montgomery Ward
Montgomery Ward EDF-402DR User manual

Montgomery Ward
Montgomery Ward Chef Tested AF-605 User manual

Montgomery Ward
Montgomery Ward EAF-1506D User manual