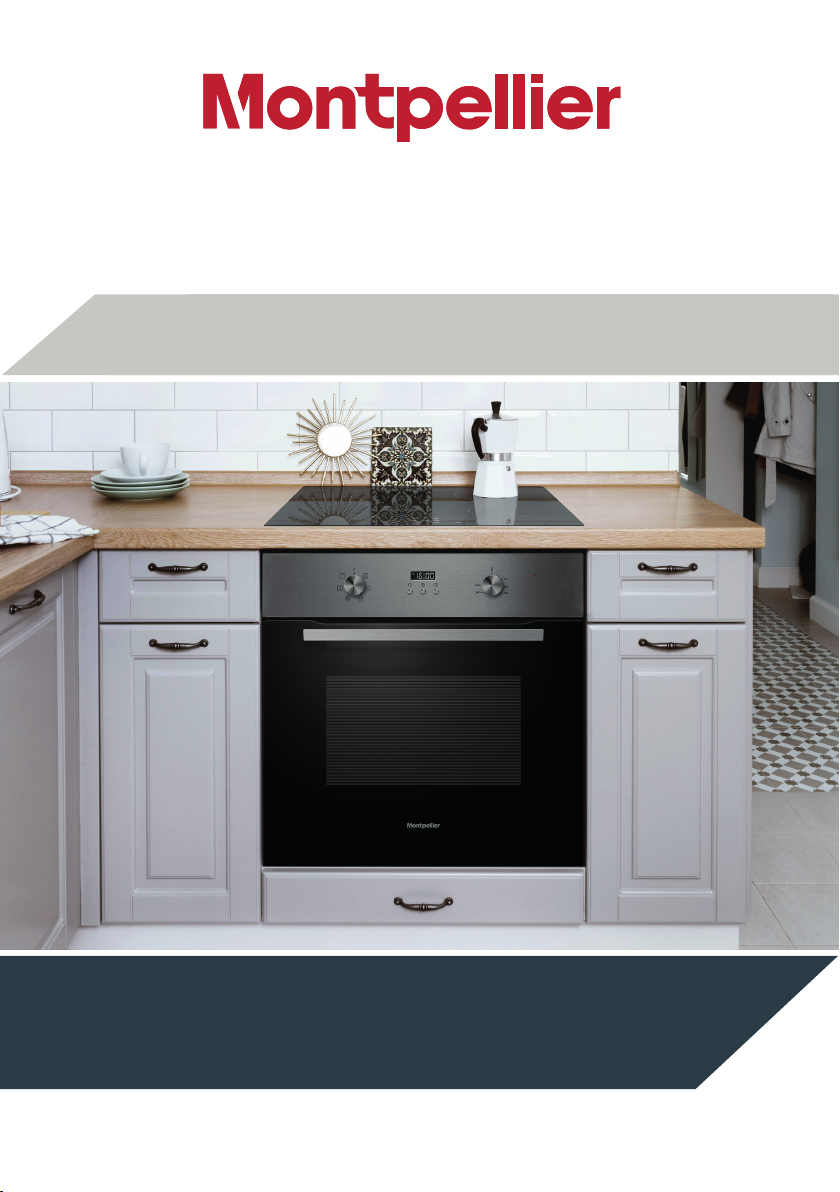
montpellier MSBFO65SST User manual
Other montpellier Oven manuals

montpellier
montpellier SFOM69MX User manual

montpellier
montpellier SBFO59X User manual

montpellier
montpellier MON-SFO59MX User manual

montpellier
montpellier SFOS78MBX User manual

montpellier
montpellier MON-SFO66MX User manual

montpellier
montpellier SFO73B User manual

montpellier
montpellier SBFO65X User manual

montpellier
montpellier MON-SFO59LED User manual

montpellier
montpellier SFO74B User manual

montpellier
montpellier MDO70 User manual

montpellier
montpellier MSE46W User manual

montpellier
montpellier MON-FOCHP644Z User manual

montpellier
montpellier SFO75MWG User manual

montpellier
montpellier MSBFO65SS User manual

montpellier
montpellier SFPO77MBX User manual

montpellier
montpellier SFO65MX/W User manual

montpellier
montpellier RMC60DFC Assembly Instructions

montpellier
montpellier SBFO56X User manual

montpellier
montpellier MSE50W User manual

montpellier
montpellier MON-SFO71MB User manual