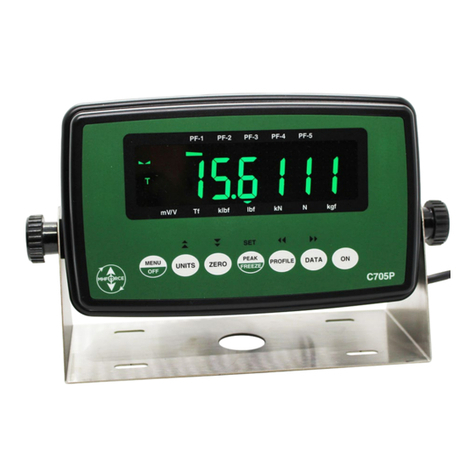
G501F Indicator
Instruction Manual PM-4105
3/2022 Page 2
Contents
Display & Keypad Details.......................................................................................................................3
Installation & Overview ..........................................................................................................................5
Installation.........................................................................................................................................5
Getting Started...................................................................................................................................6
Instrument Configuration........................................................................................................................7
Configuration Menus..........................................................................................................................7
Entering the Setup (“F”) Configuration Menu.....................................................................................7
Setup (“F”) Menu Descriptions...........................................................................................................8
Entering the User (“A”) or COM (“C”) Menu.....................................................................................10
User (“A”) and COM (“C”) Menu Descriptions..................................................................................11
Instrument Calibration..........................................................................................................................12
Calibration Overview........................................................................................................................12
Live Calibration Overview.................................................................................................................12
Live Positive Span Calibration Instructions (F17)............................................................................12
Live Negative Span Calibration Instructions (F15) ..........................................................................13
Live Zero Calibration Instructions (F16)...........................................................................................14
Key-in mV/V Calibration Instructions (F27)......................................................................................14
Advanced Operation............................................................................................................................16
Peak Hold Mode...............................................................................................................................16
Serial Port Information.........................................................................................................................16
Serial Port Modes.............................................................................................................................16
Output Strings...................................................................................................................................17
Specifications.......................................................................................................................................18
Error Messages....................................................................................................................................19
Troubleshooting ...................................................................................................................................19


