Please take a few minutes to familiarize yourself with the features of your new pedal. With
common sense handling, it will last for years. We hope you enjoy using it as much as we
enjoyed building it. Feel free to call on us if you have any questions, comments or suggestions.
WARRANTY (ALL PEDALS)
All Morley® pedals are warranted for two years from date of purchase. To obtain warranty service,
contact the store where purchased, call Morley 24 hours a day at 847-639-4646 (ext 14) or email
CONNECTIONS (ALL PEDALS):
9V: Use only Morley's 9 VDC 300 milliamp regulated adapter. Center Polarity is negative.
IN: Input jack. Plug instrument into this jack using 1/4" guitar cable.
OUT: Connect amplifier to this jack using a 1/4" guitar cable.
Morley Pedals (except Model PLA) are NOT recommended for use in effects loops.
NOTE: You'll find cords fit very tightly into the input/output jacks. The tight fit helps prevent the
cord from being accidentally unplugged. Make sure cords are completely plugged in for best results.
ELECTRO-OPTICAL CIRCUITRY (ALL PEDALS):
The light from the LED (Light Emitting Diode) that shines on the LDR (Light Dependent Resistor)
is controlled by a shutter placed between the two devices. Our unique Electro-Optical design ensures
smooth pedal control without unwanted noise typical with potentiometer (pot) controlled pedals.
AC ADAPTER (ALL PEDALS)
All Morley pedals use Morley's 9VDC 300 milliamp regulated adapter. Center pin polarity
is negative. Using a non-regulated adapter could cause a low frequency hum in your amplifier.
Using an adapter with the wrong polarity may damage the pedal.
BATTERY (ALL PEDALS)
All Morley pedals are designed to use one 9V battery when not using an adapter. We suggest you
use a good quality alkaline battery. To prolong battery life, unplug your cord completely from the
input jack when not using the pedal. When the pedal is not used for extended periods, remove the
battery from the pedal or replace it every six months to prevent leakage problems.
BATTERY REPLACEMENT (ALL PEDALS)
When battery becomes weak, the effect will become weak and signal may become slightly distorted.
Remove the battery door located on the bottom of the pedal (a short cord is attached to the door to help
prevent loss). Once the door is off, the old battery can be removed and a new battery plugged in. Make
sure the polarity (+/-) is correct before inserting the new battery. When you replace the battery door,
you will notice it fits tight against the battery. This prevents battery from rattling inside the pedal.
THANK YOU FOR CHOOSING A MORLEY® PEDAL.
YOU NOW OWN THE BEST PEDAL MADE!
BAD HORSIE WAH FEATURES (MODEL VAI-1)
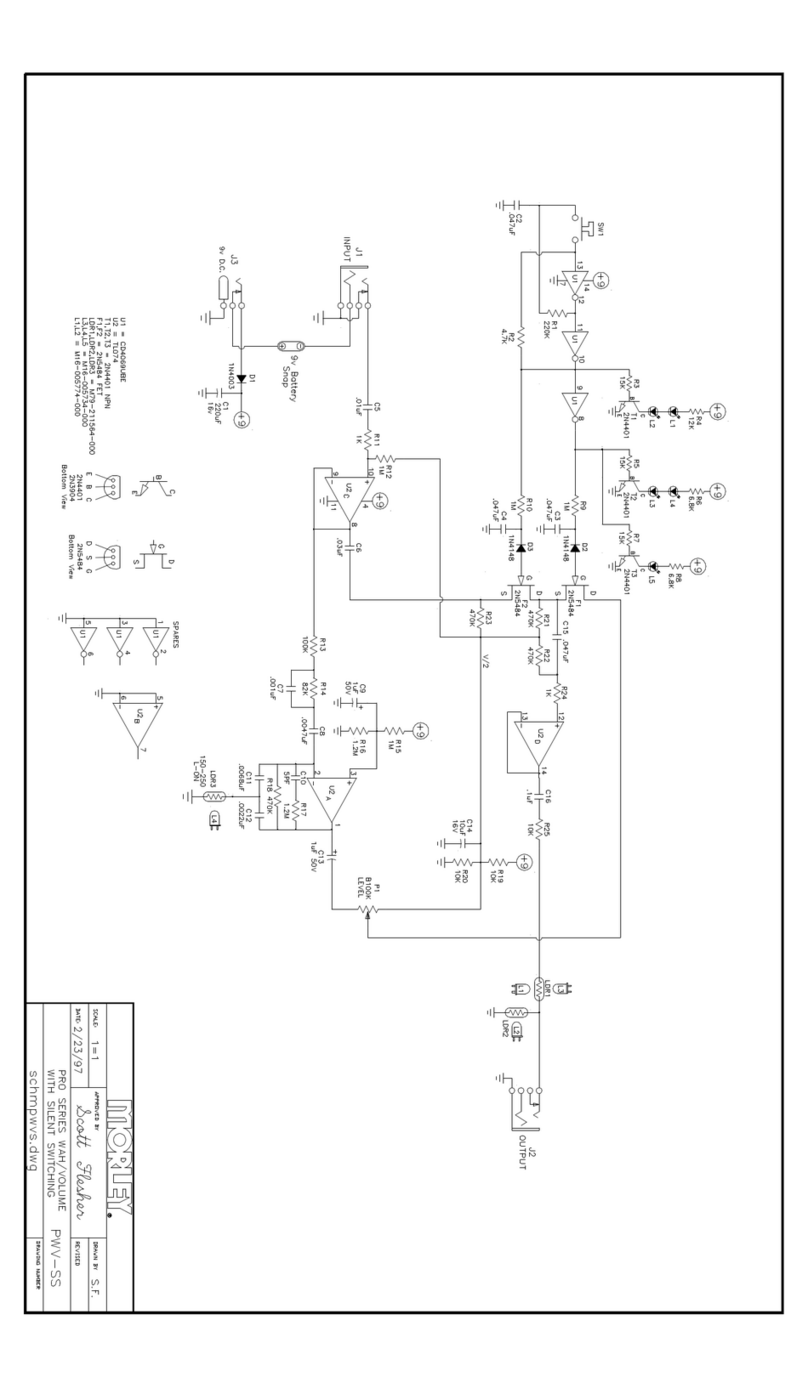
· Electro-Optical Switching: Your pedal features Electro-Optical switching circuitry that allows the Bad
Horsie pedal to go into Wah mode without actuating a switch.
·Silent Switching: To further enhance the noiseless operation of our Electro-Optical design, we've added
FET silent switching. Standard foot switches will pop and click when switching from Wah to Bypass.
Your Bad Horsie offers a smooth and quiet transition, making this pedal ideal for studio recording as well
as live performances.
·Buffer Circuit: Morley's "Clear Tone" buffer circuit prevents "loading" of the guitar signal. Ensures a
strong, clean & consistent output level in Wah or bypass mode.
ADJUSTABLE OFF DELAY: The Bad Horsie Wah has a unique switchless feature. Steve's personal
preference was to have a slight delay time on the bypass (when you take your foot off it takes about one
second for the pedal to automatically switch to bypass). After numerous requests for this to be adjustable,
we incorporated an adjustment located in the pedal. The pedals are still set to Steve's specifications at the
factory. If you would like to adjust the off time, follow these steps:
1) Remove four bottom cover screws and bottom cover.
2) Locate trim-pot labeled "WAH OFF DELAY" (it is about 3 inches up and about 1-1/2" left from the
center heel end of pedal.
3) Use a miniature screwdriver (like the ones used for eyeglasses) to turn the center adjustment of the trim-
pot to customize it for your setting.
4) Turning the trim-pot clockwise shortens the off delay time. Counter-clockwise lengthens the off delay
time. The off delay time can be adjusted from instantaneous up to 3.5 seconds.
5) If you have questions about this procedure, feel free to call 847-639-4646 (ext 14).
VAI-1 SPECIFICATIONS
POWER: 9 Volt Battery or Morley's 9VDC 300 milliamp regulated adapter (center pin in negative)
CURRENT DRAW: 12 mA @ 9 VDC
WEIGHT: 3.3 lb./ 1.51 kg
INDICATOR: Wah effect on or Bypassed
BAD HORSIE 2 CONTOUR WAH FEATURES (MODEL VAI-2)
The VAI-2 is a Bad Horsie Wah with the additional choice of CONTOUR mode. Click the footswitch to the
left of the foot pedal to engage CONTOUR mode (the left side LED turns ON). The contour mode allows
you to alter the Wah tone and level.
·CONTOUR control: Adjusts the tone (shelving) of the Wah when in CONTOUR mode.
·LEVEL control: Adjusts the Wah output level in CONTOUR mode.
·Electro-Optical Switching: Your pedal features Electro-Optical switching circuitry that allows the Bad
Horsie 2 pedal to go into Wah mode without actuating a switch.
·Silent Switching: To further enhance the noiseless operation of our Electro-Optical design, we've added
FET silent switching. Standard foot switches will pop and click when switching from Wah to Bypass.
·Buffer Circuit: Morley's "Clear Tone" buffer circuit prevents "loading" of the guitar signal. Ensures a
strong, clean & consistent output level in Wah or bypass mode.
· ADJUSTABLE OFF DELAY: Refer to instructions for adjusting VAI-1 Off Delay time above.
VAI-2 SPECIFICATIONS
POWER: 9 Volt Battery or Morley's 9VDC 300 milliamp regulated adapter (center pin in negative)
CURRENT DRAW: 16 mA @ 9 VDC
CONTROLS: Contour, Level
WEIGHT: 3.3 lb./ 1.51 kg
INDICATOR: Wah effect on or Bypassed. Contour mode on/off.
