manuals.online logo
Brands
  1. Home
  2. •
  3. Brands
  4. •
  5. Morphy Richards
  6. •
  7. Clock Radio
  8. •
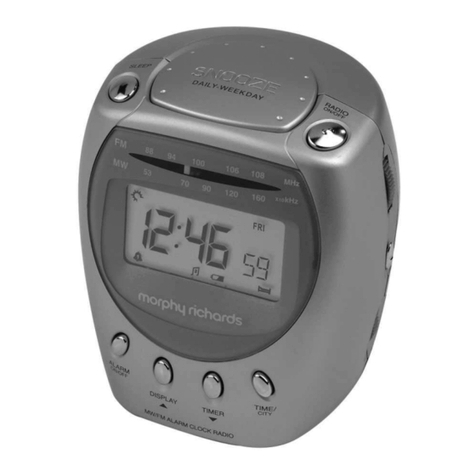
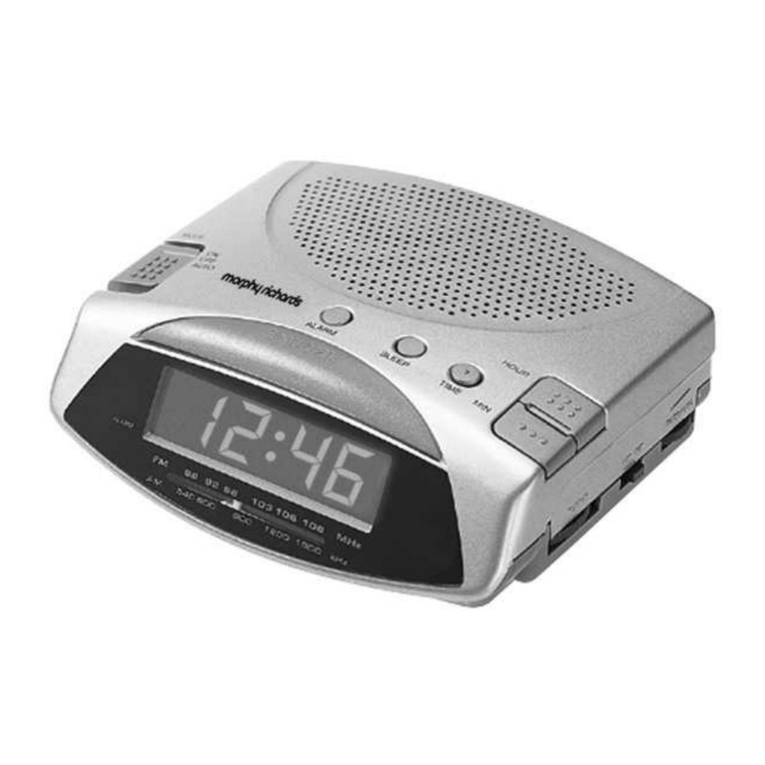
  9. Morphy Richards IBCR1910 User manual

Morphy Richards IBCR1910 User manual

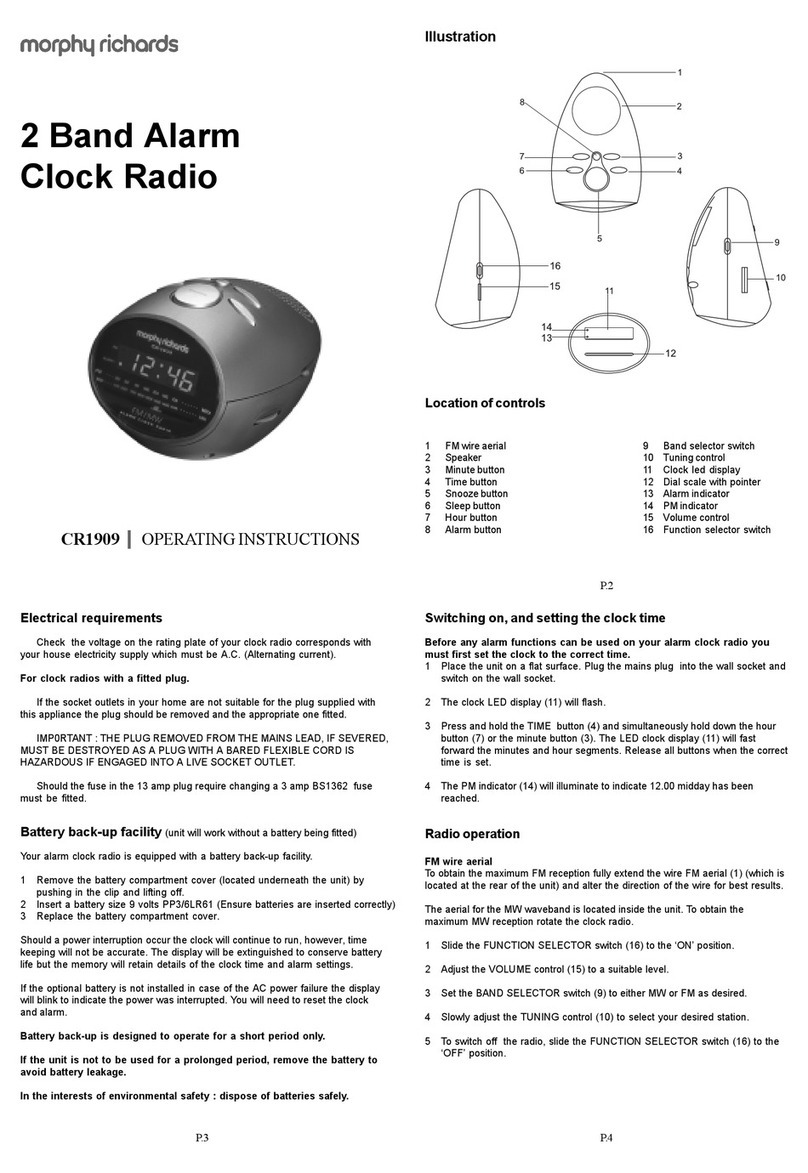
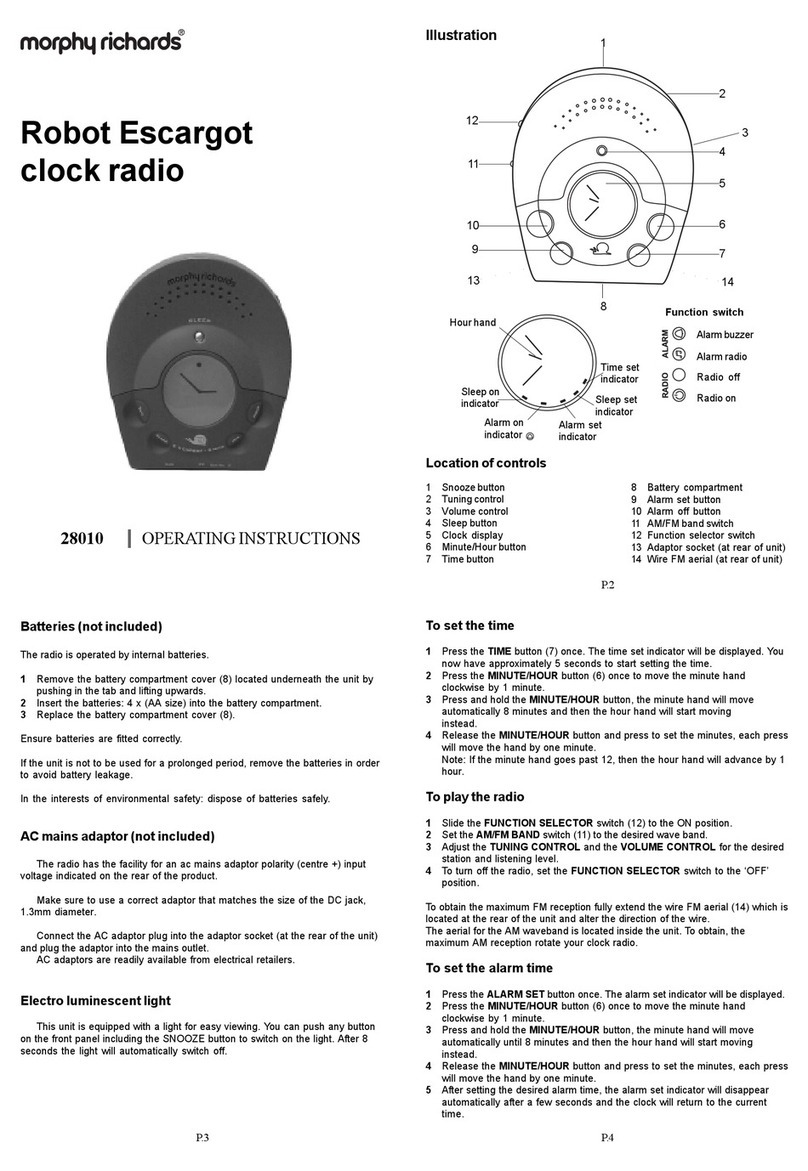
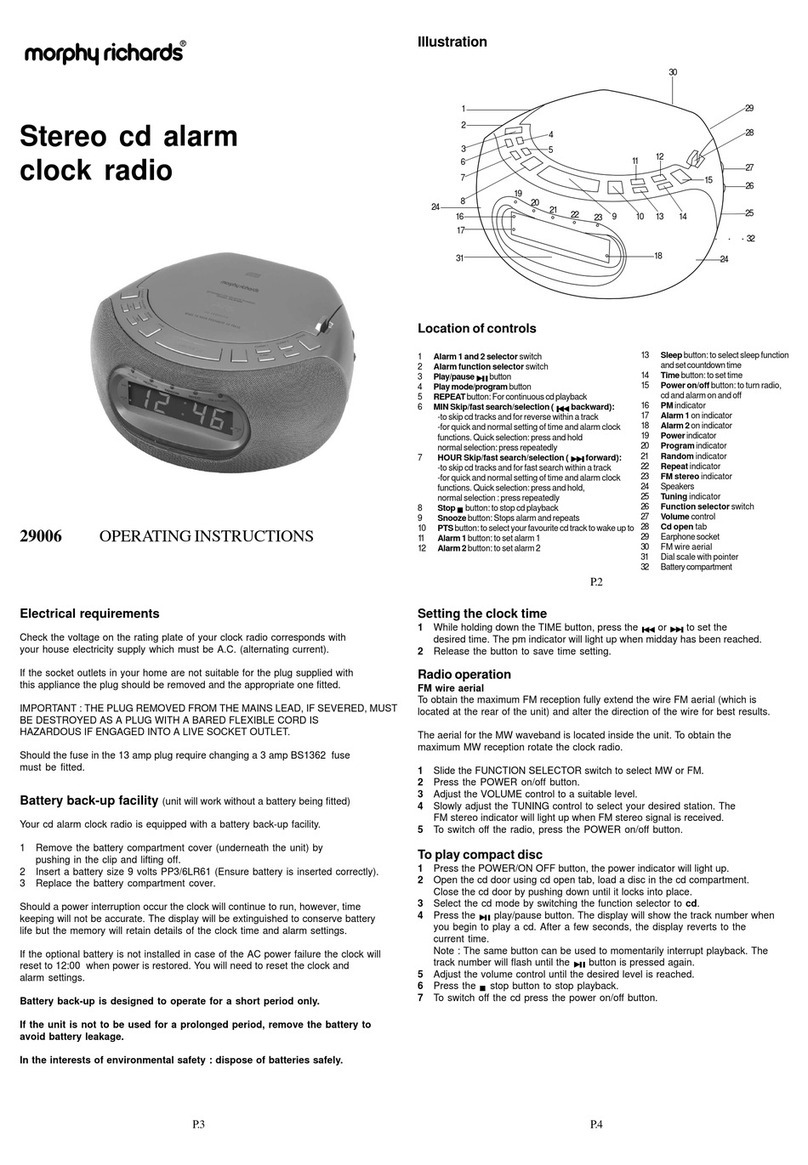
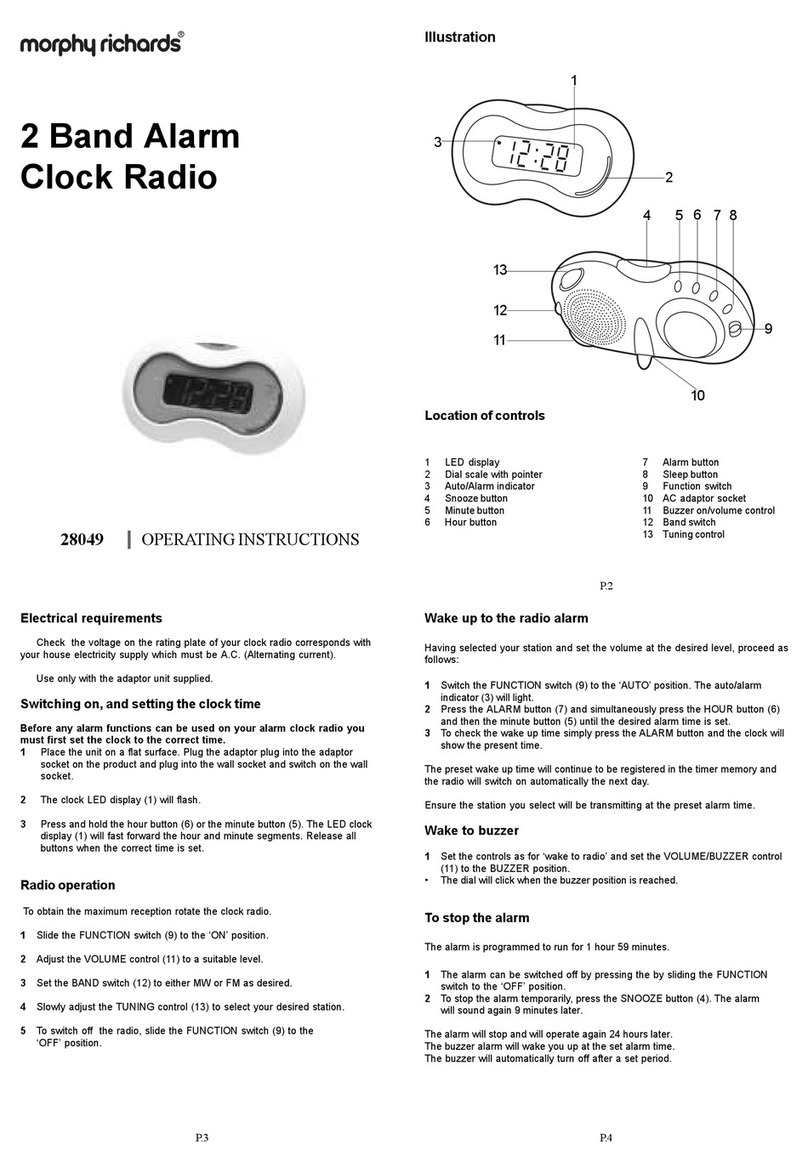
Illustration
Location of controls
2 Band Dual Alarm
Clock Radio
CR1910 OPERATINGINSTRUCTIONS
Electrical requirements
Check thevoltageontheratingplateofyourclockradiocorrespondswithyourhouse
electricitysupplywhichmustbe A.C. (Alternating current).
For clock radios with a fitted plug.
Ifthesocketoutletsinyourhomearenotsuitablefortheplugsuppliedwiththisappliance
theplugshouldberemovedandtheappropriateonefitted.
IMP0RTANT: THE PLUGREMOVED FROM THEMAINS LEAD, IFSEVERED, MUST
BEDESTROYED AS A PLUGWITH A BARED FLEXIBLECORDIS HAZARDOUS IF
ENGAGEDINTOALIVE SOCKET OUTLET.
Shouldthefuseinthe13ampplug require changing a 3 amp BS1362 fuse must befitted.
Battery back-up facility
Youralarmclockradioisequippedwithabatteryback-upfacility.
1 Removethebatterycompartmentcover(locatedunderneaththeunit)by pressing
downandsliding off the battery cover .
2 Insertabatterysize9voltsPP3/6LR61 (Ensure batteries are inserted correctly)
3 Replacethe batterycompartmentcover.
Shouldapowerinterruptionoccurtheclockwillcontinuetorun,however,timekeepingwillnotbe
accurate.Thedisplaywillbeextinguishedtoconservebatterylifebutthememorywillretaindetails
oftheclocktimeandalarm settings.
Iftheoptionalbatteryisnot installed in case of the AC powerfailure thedisplay willblink toindicate
thepowerwasinterrupted. Youwillneedto reset the clock and alarm.
Battery back-up is designed to operate for a short period only.
If the unit is not to be used for a prolonged period, remove the battery to avoid battery leakage.
In the interests of environmental safety : dispose of batteries safely.
P.2
P.3 P.4
12 Bandselectorswitch
13 Tuningcontrol
14 LEDdimmerswitch
15 Volumecontrol
16 Speaker
17 FMwire aerial
18 PMindicator
19 AL1indicator
20 Dialscale
21 AL2indicator
22 LEDclockdisplay
1 Mainslead
2 Timebutton
3 Alarmselectorswitch
4 Alarmmodeswitch
5 Radioon button
6 Offbutton
7 Sleepbutton
8 Snoozebutton
9 Alarmbutton
10 Slowclocksettingbutton
11 Fastclocksettingbutton
Switching on, and setting the clock time
Before any alarm functions can be used on your alarm clock radio you must first set the
clock to the correct time.
1 Placetheunitona flat surface. Plug the mainsplug(1)intothewall socket and switch
onthe wallsocket.
2 TheclockLEDdisplay(22)will flash on/off.
3 PressandholdtheTIME button(2)andsimultaneouslyholddowntheFAST
SETTINGbutton(11).TheLEDclockdisplay(22)willfast forward the minutes and
hoursegments.Releaseallbuttonswhenthe correct time is set.
4 Pressandhold theTIMEbutton (2) and simultaneously hold down the SLOW
SETTING button(10)willadjusttheclocktime slowly.
5 ThePMindicator(18)willilluminatetoindicate12.00middayhasbeen
reached.
Power on and off
The unit must be switched on before the radio can operate.
1 Switchtheunitonby pressing the RADIO ONbutton (5).
2 PresstheOFFbutton (6) to switch off theradio.
Setting the clock alarm time
Thealarmfunctioncanbeset to operate on the following functions: wake up to two different alarm times
whichyoucan choose to useindependentlyorsimultaneously.AL1 or AL2 orAL1+2.
Setalarm1
1 Slidethealarmselector switch (3) to theAL1position.
2 PressandholdtheALARM button (9) and simultaneously hold down the FAST
SETTINGbutton(11). The clock display (22) willfast forward the minutesand hour
segments.Releaseallbuttonswhenthecorrectalarmtime is reached.
3 Pressandhold theALARM button (9) and simultaneously hold down the SLOW
SETTINGbutton(10)alarmtimewilladjustslowly.
Setalarm2
1 Slidethealarmselector switch (3) to theAL2position.
2 PressandholdtheALARM button (9) and simultaneously hold down the FAST
SETTINGbutton(11). The clock display (22) willfast forward the minutesand hour
segments.Releaseallbuttonswhenthecorrectalarmtime is reached.
3 Pressandhold theALARM button (9) and simultaneously hold down the SLOW
SETTINGbutton(10)alarmtimewilladjustslowly.
IfsettoAL1+AL2 the alarm will operate at thepreset alarmtimes.
Maintenance
Donot expose your clock radiotoextremesoftemperature.Theproduct should be kept in
awarmenvironment free from dust and damp. Forexternalcleaninguseonlyasoft,
clean,dampcloth.Useof detergents may damage the finish.
Technical specification
ACPower supply : 230v 50Hz
Batteryback-up : 9V DCtype6LR61/PP3(notincluded)
Radio : FM 88Mhz - 108Mhz
: MW540Khz - 1600Khz
Warning labels
WARNING:toreducetheriskofelectricshock,donotexposethisappliance
torainormoisture.
ATTENTION: To reduce the risk of electric shock, do not
remove the cover. There are no user serviceable parts inside
the unit. Refer any servicing to qualified personnel.
The lightning flash with arrowhead symbol within the triangle is a warning
sign alerting the user of ‘dangerous voltage’ inside the unit.
Theexclamationpoint within the triangle isawarningsign alerting the user of
importantinstructionsaccompanying the product.
Topreventfireorshockhazarddonotexposethisapparatustodrippingor
splashing.
Guarantee
MorphyRichardsproductsaremanufactured to internationally accepted quality
standards.Inadditiontoyourstatutory rights, Morphy Richards guarantee your product tobe freefrom
manufacturingandcomponentdefects for a period of TWO YEARS from date of purchase.
Ifyour product proves tobedefectivewithin28daysofpurchase, your Morphy Richardsdealerfrom
whomtheproductwaspurchasedwillbepleasedtoreplaceitfreeofcharge.
Shouldyour product develop a defectwithintheguaranteeperiodbutafterthe
replacementperiod,pleasereturntheproducttothefollowingaddress,togetherwith
theproof of purchase, briefdetailsofthesymptomsandyourown name and address.
MorphyRichardsLimited
TalbotRoad
Mexborough
SouthYorkshire
S648AJ
Yourpost officewillprovide a certificate of posting.The productwill berepairedandreturnedto
youpromptly.
Ifyouneedanyfurtheradvice, please call our Helpline
(UKlocalrate) on: 08450 777700 (Mon-Fri)
STMX Issue1
02.00
Importedby:Morphy Richards Ltd, Talbot Road, Mexborough, S64 8AJ
P.5 P.6
P.7
Setting the alarm to wake to buzzer
1 SlidetheAlarmModeswitch(4)to select your wake up mode:
-ToBUZZER position for alarm buzzersound.
2 Oncethealarmswitchhasbeenactivatedthe ALARM indicator AL1 (19), AL2 (21) will illuminate.
Setting the alarm to wake to radio
1 Settherequiredalarmtime by pressing and holding theALARM button(9)and
simultaneouslytheFASTSETTINGbutton(11)to fastforward or the SLOWSETTING
button(10)toadjustalarmtime slowly.
2 Selecttherequiredwaveband by sliding theBANDswitch(12)to either FM or MW.
3 PresstheRADIO ON button (5)toturn on the radio.TurntheTUNING control (13) and
theDIALSCALE(20)willpointtothe station you wish to use for the alarm.
4 AdjusttheVOLUMEcontrol(15) to the desired level.
5 Slidethealarm selector (3) to theAL1 position,AL2 or AL1+ AL2 position.
6 Slidethealarmmodeswitch(4)totheAUTO position.OncetheAlarmswitchhasbeen
activatedtheALARMindicator AL1 (19), AL2 (21)or(19)and(21)if both alarms are
requiredwill illuminate.
7 Tostop listening to theradiopressthe OFF button (6).
Ensuretheradiostationwillbe transmitting at the preset alarm time.
Cancelling the alarm
Thealarmisprogrammedtorun for 59 minutes.
1 PresstheSNOOZEbutton (8) to stopthealarmtemporarily,thealarmwill ring again in
7minutes.
2 TocancelthealarmpresstheOFFbutton (6). (The alarm will automatically activate
24hourslater).
3 Ifthealarm is no longerrequiredslidethe alarm mode switch(4)tothe OFF position.
(Thealarm indicator(s) will switchoff).
Snooze function
YoucanpresstheSNOOZEbutton(8)afterthealarmhassoundedwhichallows7minutesofsnoozetime.
After7minutesthealarmwillsoundagain.
1 Whenthealarmorbuzzersoundspressthe SNOOZE button (8).
(Thesnoozedefaultissetfor7minutesandthenresumes).
Thesnoozefunctionwillceaseto operate after 59 minutes.
Sleep function
Thesleepfunctionsetstheunittoplaythe radio whilst you go to sleep and willswitch off
afterasettime.
1 Slidethe band selector switch (12)toFM or MW.
2 Tousethesleepfacilitypress the SLEEP button (7), (Thesleep defaultis setfor59
minutesafterwhichtimetheunitwillautomaticallyswitchoff).
3 Thesleep time can bevariedbetween59minutesto 1 minute.
4 Tosetyourownsleeptime,presstheSLEEPbutton(7)togetherwith the FAST
SETTING(11) button to fast forward the minute and hour segments. Press and hold the
SLEEPbutton(7) and simultaneously hold down the SLOW SETTING button (10)will
adjustthe minute and hoursegmentsslowly.
5 Releasethebuttonswhentherequiredsleeptimeisreached.
6 IfyouwanttoturnoffthemusicbeforetheendoftheprogrammepresstheOFF
button(6)ortheSNOOZE button (8).
Whenthesleeptimehasexpiredtheradiowillswitchoff.
Listening to the radio
1 PresstheRADIO ON button (5)
2 Slidetheband selector switch (12) toeithertheFM or MW position.
3 Turnthetuningcontrol(13)and tune to the desired station.
4 Adjustthevolumecontrol(15)tothedesiredlevel.
5 PresstheOFFbutton (6) to turn offtheradio.
ToobtainthemaximumreceptionfullyextendthewireFMaerial(17)(whichis
locatedattherearof the unit)and alter the directionofthewireforbest results.
TheaerialfortheMWwavebandislocatedinsidetheunit.Toobtain,the
maximumMW reception rotate your clockradio.
Dimmerswitch
Yourclockradioisequippedwithadimmerswitch (14) which allows you to
alterthebrightness of the LED ClockDisplay(22).
1 SlidetheDIMMERswitch(14)tothehighposition to achieve maximum
brightness.
2 SlidetheDIMMERswitch(14)tothelow position to achieve minimum
brightness.
This manual suits for next models

1

Other Morphy Richards Clock Radio manuals

Morphy Richards 28025 User manual

Morphy Richards

Morphy Richards 28025 User manual

Morphy Richards 28026 User manual

Morphy Richards

Morphy Richards 28026 User manual

Morphy Richards 29000 User manual

Morphy Richards

Morphy Richards 29000 User manual

Morphy Richards 29005 User manual

Morphy Richards

Morphy Richards 29005 User manual

Morphy Richards IB28017 User manual

Morphy Richards

Morphy Richards IB28017 User manual

Morphy Richards 28027 User manual

Morphy Richards

Morphy Richards 28027 User manual

Morphy Richards IBCR1909 User manual

Morphy Richards

Morphy Richards IBCR1909 User manual

Morphy Richards 28049 User manual

Morphy Richards

Morphy Richards 28049 User manual

Morphy Richards 28009 User manual

Morphy Richards

Morphy Richards 28009 User manual

Morphy Richards 28009 User manual

Morphy Richards

Morphy Richards 28009 User manual

Morphy Richards 28043 User manual

Morphy Richards

Morphy Richards 28043 User manual

Morphy Richards IB28050 User manual

Morphy Richards

Morphy Richards IB28050 User manual

Morphy Richards 29000 User manual

Morphy Richards

Morphy Richards 29000 User manual

Morphy Richards IB28011 User manual

Morphy Richards

Morphy Richards IB28011 User manual

Morphy Richards 29003 User manual

Morphy Richards

Morphy Richards 29003 User manual

Morphy Richards 29006 User manual

Morphy Richards

Morphy Richards 29006 User manual

Morphy Richards 28044 User manual

Morphy Richards

Morphy Richards 28044 User manual

Morphy Richards 28034 User manual

Morphy Richards

Morphy Richards 28034 User manual

Morphy Richards IB29015 User manual

Morphy Richards

Morphy Richards IB29015 User manual

Morphy Richards 28037 User manual

Morphy Richards

Morphy Richards 28037 User manual

Morphy Richards IBCR1908 User manual

Morphy Richards

Morphy Richards IBCR1908 User manual

Morphy Richards IB28010 User manual

Morphy Richards

Morphy Richards IB28010 User manual

Morphy Richards CR1905 User manual

Morphy Richards

Morphy Richards CR1905 User manual

Morphy Richards CR1905 User manual

Morphy Richards

Morphy Richards CR1905 User manual

Popular Clock Radio manuals by other brands

Panasonic RC-7290E Service manual

Panasonic

Panasonic RC-7290E Service manual

Sony ICF-CD820L operating instructions

Sony

Sony ICF-CD820L operating instructions

Philips AJ3125 user manual

Philips

Philips AJ3125 user manual

Konig HAV-CR32 manual

Konig

Konig HAV-CR32 manual

RCA RC66i Quick setup guide

RCA

RCA RC66i Quick setup guide

Sangean RCR-22 instruction manual

Sangean

Sangean RCR-22 instruction manual

AudioSonic RD-1541 instruction manual

AudioSonic

AudioSonic RD-1541 instruction manual

Philips AJ3600 user manual

Philips

Philips AJ3600 user manual

Philips AJ3226 Specifications

Philips

Philips AJ3226 Specifications

JBL Horizon Service manual

JBL

JBL Horizon Service manual

Philips AJ6000/05 user manual

Philips

Philips AJ6000/05 user manual

La Crosse Technology WT-5360 Quick setup instructions

La Crosse Technology

La Crosse Technology WT-5360 Quick setup instructions

AEG SRC 4325 CD instruction manual

AEG

AEG SRC 4325 CD instruction manual

Sangean RCR-1 operating instructions

Sangean

Sangean RCR-1 operating instructions

JVC RA-F320B operating instructions

JVC

JVC RA-F320B operating instructions

Philips AJ3431/99 manual

Philips

Philips AJ3431/99 manual

Denver DAB-36 instruction manual

Denver

Denver DAB-36 instruction manual

JGC JGC-UR-210 user manual

JGC

JGC JGC-UR-210 user manual

manuals.online logo
manuals.online logoBrands
  • About & Mission
  • Contact us
  • Privacy Policy
  • Terms and Conditions

Copyright 2025 Manuals.Online. All Rights Reserved.