manuals.online logo
Brands
  1. Home
  2. •
  3. Brands
  4. •
  5. Morphy Richards
  6. •
  7. Kitchen Appliance
  8. •
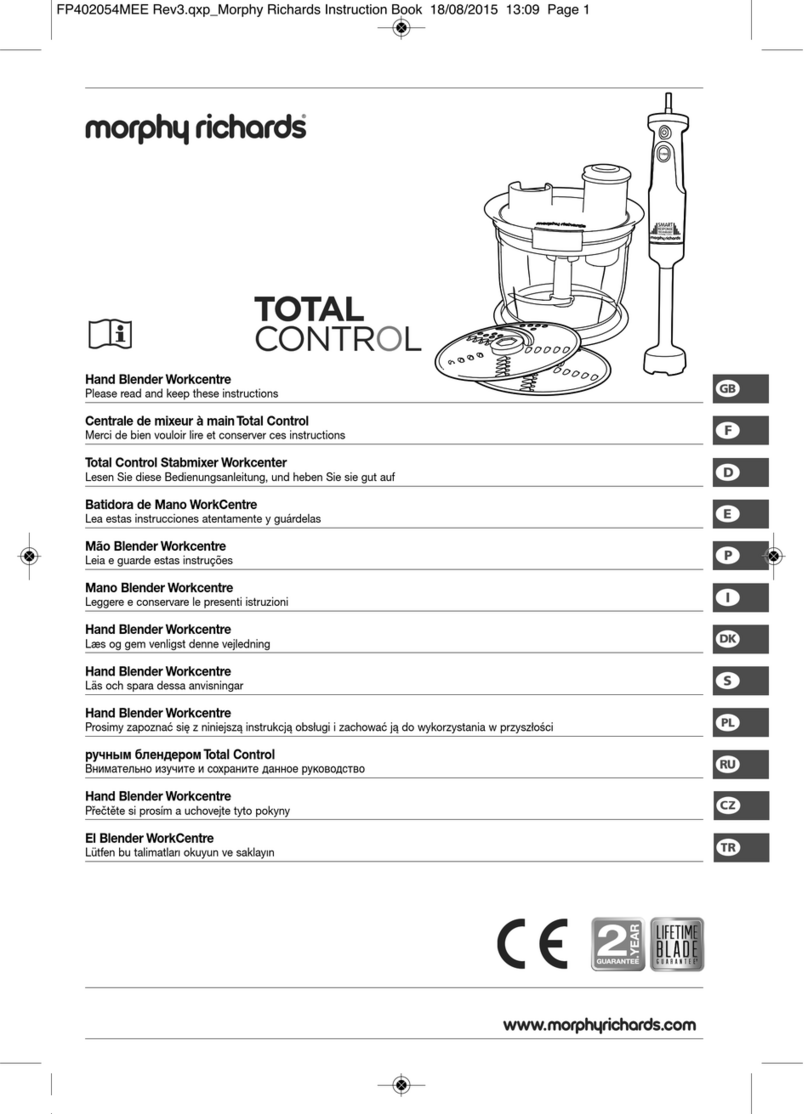
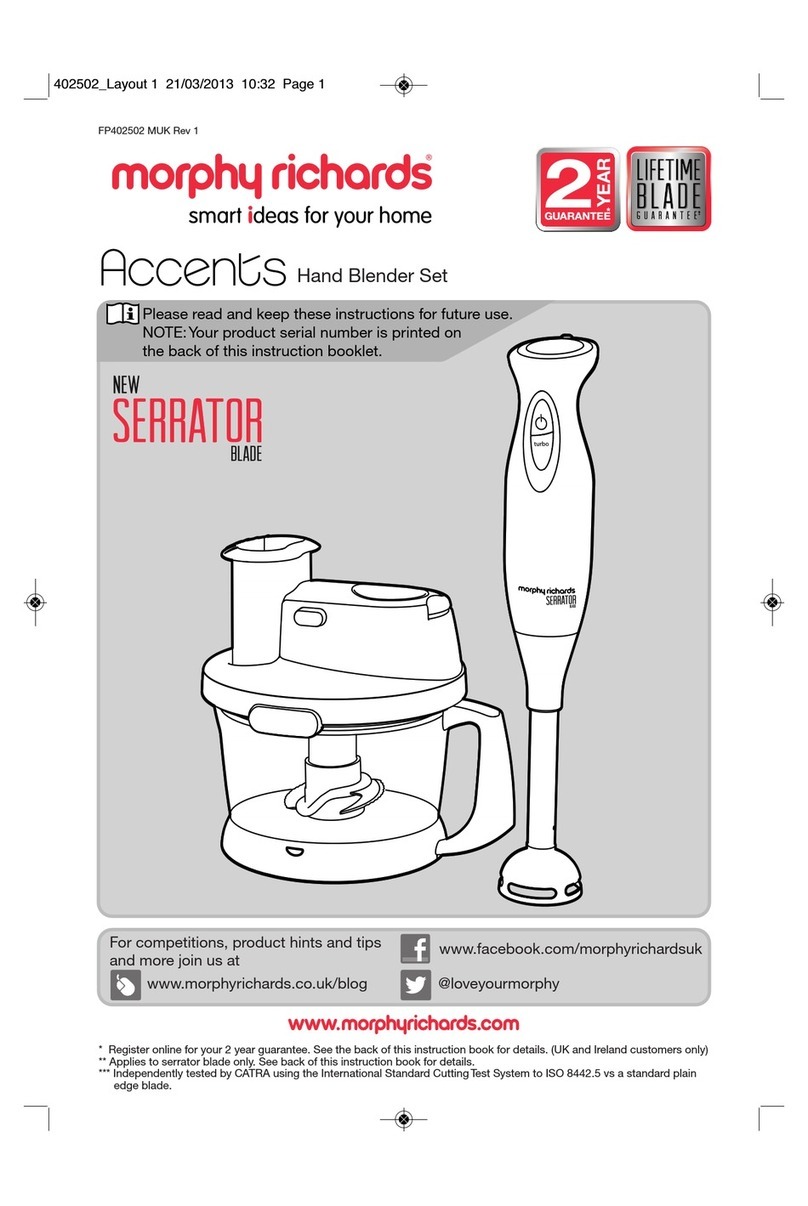
  9. Morphy Richards IB48510 User manual

Morphy Richards IB48510 User manual

TTwwooyyeeaarrgguuaarraanntteeee
The After Sales Division, Morphy Richards Ltd, Mexborough, South Yorkshire, England, S64 8AJ
Helpline (office hours): UK (local rate) 08450 777700, Republic of Ireland 1800 409119
PPrroonnttoo
Hand blender
THIS GUARANTEE IS VALID IN THE UK AND
IRELAND ONLY.
It is in your interest to retain the
retailers receipt as proof of purchase. Please quote the
following information if the product develops a fault.
These numbers can be found on the base of the product.
Model No. Serial No.
All Morphy Richards Products are individually tested
before leaving the factory. In the unlikely event of any
appliance proving to be faulty within 28 days of purchase it
should be returned to the place of purchase for it to be
replaced.
If the fault develops after 28 days and within 24
months of original purchase, you should contact the
helpline number quoting Model number and Serial number
on the product, or write to the address below. You will
be asked to return the product (in secure, adequate
packaging) to the address below along with a copy of proof
of purchase. Subject to the exclusions set out below (see
‘Exclusions’) the faulty appliance will then be repaired or
replaced and dispatched usually within 7 working days of
receipt.
If for any reason this item is replaced during the 2 year
guarantee period, the guarantee on the new item will be
calculated from original purchase date. Therefore it is vital
to retain your original till receipt or invoice to indicate the
date of initial purchase.
To qualify for the 2 year guarantee the appliance must
have been used according to the manufacturers
instructions. For example kettles should have been
regularly descaled or an iron cord should have been
stored as recommended by the instructions.
EXCLUSIONS
Morphy Richards shall not be liable to replace or
repair the goods under the terms of the Guarantee where:
1 The fault has been caused or is attributable to
accidental use, mis-use, negligent use or used contrary
to the manufacturers recommendations or where the
fault has been caused by power surges or damage
caused in transit.
2 The appliance has been used on a voltage supply other
than that stamped on the products.
3 Repairs have been attempted by persons other than
our service staff (or authorised dealer).
4 Where the appliance has been used for hire purposes
or non-domestic use.
5 Morphy Richards are not liable to carry out any type of
servicing work, under the guarantee.
6 Plastic filters for all Morphy Richards kettles and coffee
makers are not covered by the guarantee.
This guarantee does not confer any rights other than
those expressly set out above and does not cover any
claims for consequential loss or damage. This guarantee is
offered as an additional benefit and does not affect your
statutory rights as a consumer.
2
UUnnppaacckkiinnggyyoouurrPPrroonnttoo
hhaannddbblleennddeerrffoorrtthhee
ffiirrssttttiimmee
Carefully unpack your new Pronto hand
blender and its attachments and tools, checking
against the illustrations on page 5 to familiarise
yourself with the product. Remove any stickers
(except for the serial label) and wash the parts
which are safe to immerse in water. (Blending
foot, whisking foot, mini chopper, measured
beaker, discs and blade, wall bracket and blade
remover). Warning: Use extreme caution - blades
are sharp
NEVER IMMERSE THE PRONTO
BODY ⁄ IN WATER OR ANY OTHER
LIQUID. This may be wiped over with a clean,
damp cloth - BUT ONLY WHEN
UNPLUGGED FROM THE ELECTRICAL
OUTLET.
EElleeccttrriiccaallrreeqquuiirreemmeennttss
Place all electrical appliances out of the reach
of children. Never allow the mains lead to
overhang the work surface.
Check that the voltage on the rating plate of
your appliance corresponds with your house
electricity supply which must be A.C. (Alternating
Current).
FFoorraapppplliiaanncceessssuupppplliieeddwwiitthhffiitttteeddpplluugg
If the socket outlets in your home are not
suitable for the plug supplied with this appliance,
the plug should be removed and the appropriate
one fitted. ON NO ACCOUNT MUST
EITHER THE BROWN OR BLUE WIRES
BE CONNECTED TO THE EARTH
TERMINAL.
IMPORTANT: THE PLUG REMOVED FROM
THE MAINS LEAD, IF SEVERED, MUST BE
DESTROYED AS A PLUG WITH BARED
FLEXIBLE CORD IS HAZARDOUS IF
ENGAGED INTO A LIVE SOCKET OUTLET.
If you use a 13 amp BS1363 plug, a 3 amp
BS1362 fuse must be fitted.
Thank you for choosing the Morphy Richards Pronto hand
blender - a machine designed to help you prepare everything from
soups to chocolate mousse quickly and with minimal effort.
Please make sure your read the instructions before using the
Pronto for the first time - to be sure that you get the most use out
of its helpful features.
3
IIMMPPOORRTTAANNTT
SSAAFFEEGGUUAARRDDSS
When using electrical appliances,
basic safety precautions should always
be followed, including the following:
1Read all the instructions.
2 IMPORTANT: TAKE CARE
WHEN HANDLING THE METAL
BLADES AS THEY ARE VERY
SHARP. TO REMOVE THE
BLADES FROM THE BLENDING
FOOT, USE THE BLADES
REMOVER PROVIDED, NEVER
USE YOUR FINGERS.
3To protect against risk of electrical
shock do not put appliance in
water or any other liquid.
4Close supervision is necessary
when any appliance is used near
children. Never allow a child to
use this product.
5Unplug from the socket when not
in use, before putting on or taking
off attachments, and before
cleaning.
6Never touch moving blades. Keep
hands, hair, clothing as well as
utensils away from the hand
blender blades.
7Do not operate any appliance with
a damaged lead or plug, or after an
appliance has malfunctioned, or has
been dropped or damaged in any
way. Contact Morphy Richards for
advice on examination, repair or
electrical or mechanical
adjustment.
8The use of attachments or tools
not recommended or sold by
Morphy Richards may cause fire,
electric shock or injury.
9Do not use outdoors.
10 DO NOT let the mains lead
overhang the edge of a table or
work-top, or touch hot surfaces.
11 Never immerse the hand blender
body in water or any other liquid.
The blender foot should be
removed before cleaning.
12 DO NOT PLACE THE
APPLIANCE ON OR NEAR A
HOT GAS OR ELECTRIC HOB,
OR IN A HEATED OVEN.
13 Do not use the Pronto hand
blender continuously for more
than 3 minutes. Allow it to cool
down before further use.
14 Do not use during cooking
processes.
15 Do not use with boiling liquids.
16 Should the mains lead of the
appliance need replacing, do not
attempt this repair yourself as
special tools are required. Contact
Morphy Richards Helpline for
advice on service or repair.
SAVE THESE
INSTRUCTIONS
4
A
B
D
E
F
G
H
I
J
K
L
C
5
GGuuiiddeettooyyoouurrPPrroonnttoo
⁄Main housing
¤2 speed on/off switch
‹Safety switch
›Removable blending foot
fiRemovable whisking foot *
flMini chopper lid *
‡Mini chopper bowl *
·Mini chopper blades *
‚Sauces disc *
„Mayonnaise disc *
‰Removable blades
ÂBlades remover
ÊMeasured beaker
ÁWall bracket
ËWall bracket
* certain models only
WWaallllbbrraacckkeett
VVaarriieessaaccccoorrddiinnggttoommooddeell
The Pronto hand blender is provided with a
convenient wall bracket Á or Ë so that it is
readily to hand when needed. Use the wall plugs
and screws provided to fix the wall bracket.
OOppeerraattiinnggiinnssttrruuccttiioonnss
BBlleennddiinnggaattttaacchhmmeenntt
• Clean the blending foot before using it for the
first time.
• Insert into the main housing and turn until it
locks into position B.
• The hand blender may now be plugged in and
is now ready to use.
• Place the blending attachment into the food to
be blended and press the on/off switch and
the safety button at the same time C. This is
a safety function and will not work unless the
safety button is pressed. After use, unplug the
blender and turn the blending attachment to
remove it D.
• The wall bracket can be used to store the
Pronto whilst not use E.
The Pronto can be used with the measured
beaker Êor saucepan.
CAUTION: NEVER USE YOUR APPLIANCE
IN A BOWL OR SAUCEPAN WHILE COOKING.
The Pronto is a powerful 200 watt hand
blender which is designed for intermittent use.
Do not use non-stop for more than 3 minutes.
Allow to cool down for approximately 1 minute
before further use.
MMiinniicchhooppppeerrcceerrttaaiinnmmooddeellssoonnllyy
The mini chopper can be used for meat, hard
cheese, nuts, herbs, boiled eggs, dry bread, etc.
• Clean the mini chopper before using for the
first time. CAUTION: THE BLADES ARE
EXTREMELY SHARP.
• Fit the blade into the chopper bowl F.
• Add food and fit the lid onto the mini
chopper G
• Place the main housing to the top of the lid
and turn until it locks into position H.
• Plug in the blender and press the on/off and
safety buttons simultaneously C.
NOTE: your hand blender is not suitable for
coffee grounds.
⁄
¤‹
fi
fl
‚„
‰
Â
Á
Ê
›
·
‡
Ë
6
When chopping meat, ensure that all bones
have been removed.
On the following page are a few guidelines,
these may vary according to the quantity and the
consistency of the food.
Food Capacity Preparation Approx.
time
Veal 200gm Dice, approx. 20-30 secs
2 cm
Pork 200gm Dice, approx. 20-30 secs
2 cm
Hard cheese 100gm Dice, approx. 30-40 secs
1 cm
Almonds 150gm None 10-20 secs
Hard boiled 2 eggs Cut into 3-5 secs
eggs halves
Onion 100gm Cut into 3-6 secs
quarters
Parsley bunch Remove 3-5 secs
stalks
Carrots 150gm Slice 5-10 secs
Dry bread 1 slice Cut into 10-20 secs
quarters
WWhhiisskkiinnggaattttaacchhmmeenntt
cceerrttaaiinnmmooddeellssoonnllyy
This attachment is for beating and mixing large
quantities.
• Clean all the attachments before using for the
first time.
• The beaters are removable for ease of
cleaning.
• Fit 1 or 2 beaters. pushing them gently until
they click into position I.
• Fit the whisking attachment onto the main
housing by screwing it in as far as it will go J.
• Plug in and the hand blender is ready to use.
• Make sure that the beaters can rotate freely in
the receptacle you choose.
• Unplug after use and before cleaning.
SSaauucceeaannddmmaayyoonnnnaaiissee
ddiissccsscceerrttaaiinnmmooddeellssoonnllyy
These discs are specially for preparing sauces,
creams, egg whites and mayonnaise in the
measured beaker.
• The flat disk ‚is for creams and sauces.
• The waved disc „is for mayonnaise and egg
whites.
• Use the blade remover to remove the metal
blade Kand replace with the appropriate disc
by pushing it into position until it clicks L.
• Plug in and the blender is now ready to use.
• When you have finished, unplug the blender,
remove the foot and then pull out the disc,
this will make cleaning easier.
CClleeaanniinnggaanndd
mmaaiinntteennaannccee
Make sure that the hand blender is unplugged
before cleaning.
Clean the removable blending foot, the mini
chopper, and the whisking foot in warm soapy
water.
You can remove the blade for easier cleaning
by taking the blade remover provided, position it
in line with the end of the product as indicated,
turn the blade remover anti clockwise so that the
blades are inserted into the remover. Pull the
remover to take out the blade K.
Dry thoroughly and replace the blades,
pushing until they click into position.
Clean the main housing with a damp cloth and
dry thoroughly.
The measured beaker can be cleaned in hot
soapy water.
HHiinnttssffoorruussiinnggyyoouurr
hhaannddbblleennddeerr
When processing foods with strong colour
(eg. carrots) the plastic parts of the appliance may
become discoloured. Use cooking oil to clean any
discoloured parts.
SSaammpplleerreecciippeess
You can prepare a wide variety of food with
the Pronto hand blender such as soups, fruit
coulis, purees, egg whites, sauces and milkshakes.
These are a few recipes for guidance.
NOTE: The following recipes can easily be
prepared with this hand blender but are intended
only as a guide and can be adjusted to suit for
quantity and your own taste.
7
BBlleennddeerrrreecciippeess
MMaayyoonnnnaaiissee
1 egg yolk
1 tablespoon of wine vinegar
Salt and black pepper
150ml olive oil
Remove the blades from the blending
foot and replace them by the mayonnaise
disc. Add egg yolk, vinegar, salt and
pepper into the measured beaker. Place
the Pronto fully into the beaker so that
the foot touches the bottom of the
beaker. Switch on and slowly move up
and down whilst adding olive oil in a very
slow continuous stream until the oil
emulsifies. This whole process should take
2
1/2
- 3 minutes. Adjust seasoning to taste.
Serves 3-4.
WARNING: RAW EGGS ARE NOT
RECOMMENDED FOR PREGNANT
WOMEN, YOUNG CHILDREN AND
THE ELDERLY.
BBaannaannaammiillkksshhaakkeess
1 ripened banana
1 portion of good vanilla ice cream
1 teaspoon of sugar
200ml of cold milk
Skin the banana, dice and put into
the beaker. Add the ice cream, sugar and
milk.
Mix until all the ingredients are
blended and frothy.
This recipe can be adjusted to your
taste by varying the fruit and flavour of
ice cream used.
Serves 1-2.
CCrreeppeess
100g plain flour
25g caster sugar
2 eggs
275ml milk
25g sunflower oil
5 tablespoons Cointreau
Mix the sugar and flour in a bowl.
Break the eggs into a second bowl, add
the milk and use the hand blender to mix
them together. Gradually add the sugar
and flour from the first bowl to make a
smooth batter. The consistency should be
similar to single cream.
Brush a 19 cm (7
1/4
inch) omelette
pan lightly with sunflower oil. Place over a
moderate heat until hot enough for frying:
a drop of batter should cook almost
immediately. Pour in just enough batter to
cover the base, tilting the pan to spread
evenly. Cook until the underside of the
crepe is golden. Toss or turn and cook
the other side. Repeat using the remaining
batter to make about 12 crepes. When all
your crepes are ready, fold each into
quarters and place in an ovenproof dish.
Heat Cointreau in a small saucepan over a
moderate heat until it begins to steam.
Ignite the Cointreau and pour over the
crepes. Serve immediately.
Serves 6.
LLeeeekkaannddppoottaattoossoouupp
1 kg of leeks
1 kg of potatoes
Salt and pepper
2 chicken stock cubes
Wash the potatoes and leeks under
the tap. Peel and dice the potatoes.
Remove the majority of the green leaves
from the leeks and slice the white part.
Pour 1.5 litres of water into a large pan,
add the chicken stock cubes and bring to
the boil. Add the diced potatoes, sliced
leeks and salt.
Cook for 20 minutes, remove from
heat, allow to cool for 1 hour then blend
with your Pronto to form a smooth,
tasty soup.
Serves 4.
MMaaccaarroonniicchheeeessee
150g macaroni
50g butter
50g flour
1/2
litre milk
100g cheese (grated)
Salt and pepper
Cook the macaroni in boiling water
for approx 15 minutes. Melt the butter in
a pan. Blend the flour and milk together.
Add to the butter in the pan.
Bring the sauce to the boil, stirring
continuously. Boil for 2 minutes then add
the cheese and season to taste. Drain the
macaroni and add to the cheese sauce.
BBlleennddeerraanndd
cchhooppppeerrrreecciippeess
TToommaattoossoouupp
1 carrot (peeled)
1 onion (peeled)
1 rasher bacon (rind removed)
25g butter
2 level tablespoons flour
700g tomatoes (quartered)
1/2
litre boiling water with 1 stock cube
crumbled into it
Salt and pepper
Individually chop the carrot, onion and
bacon in the mini chopper. Gently fry the
carrot, onion and bacon until soft (not
brown). Add flour, stock, tomatoes, salt
and pepper.
Simmer for 30 minutes. Leave the
soup to cool.
Puree the soup with the blender, or
process the soup in the mini chopper until
it is of the desired consistency.
Re-heat the soup.
LLaassaaggnnee
25g butter
1 large onion (peeled)
500g braising steak
1 tin plum tomatoes
2 tablespoons tomato puree
2 teaspoons herbs
Lasagne sheets
Sauce:
50g margarine
50g flour
1/2
litre milk
Salt and pepper to taste
60g cheese (grated)
Individually chop the onion, steak and
tomatoes in the mini chopper. Melt the
butter and gently fry the onions and steak.
Add the tomatoes, tomato puree and
herbs. Gently cook and reduce the
mixture for approx 30-45 minutes.
Make the sauce by melting the
margarine in a sauce pan, then blend the
flour and milk together and add to the
margarine. Bring to the boil, stirring
continuously and season to taste.
Layer lasagne sheets with alternate
layers of meat sauce and white sauce,
ending with white sauce. Sprinkle the
grated cheese on top.
Bake at 190°C for approx 45 minutes.
MMiinniicchhooppppeerr
rreecciippeess
MMeeaattbbaallllssiinnsswweeeettaannddssoouurr
ssaauuccee
250g pork steak (fat trimmed off)
1 small onion (peeled)
2 medium slices of bread (crusts removed),
quartered
1 tin sweet and sour sauce (any other type of
cook-in sauce may be used)
Individually chop all the meat ball
ingredients then mix them together. Shape
into 8-10 meat balls. Place in an oven
proof dish. Pour the sauce over the meat
balls. Cook at 190°C for approx 45
minutes.
MMeeaattllooaaff
500g raw beef steak (fat trimmed off)
100g sausage meat
1 onion (peeled)
1 level teaspoon dry mixed herbs
Salt and pepper
1 slice bread (quartered and crusts removed)
1 egg (beaten)
Individually chop the beef, onion and
bread. Combine all of the ingredients
together. Place in a greased loaf tin

(approx. 22cm x 11cm). Cover with foil
and bake at 180°C for 1 to 1
1/4
hours
until the meat is tender and shrinks away
from the sides of the loaf tin.
BBrroowwnnSSuuggaarrCCrruummbbllee
100g plain flour
50g margarine
50g light brown soft cane sugar
Place the margarine and flour in the
mini chopper. Mix together until they
resemble breadcrumbs. Pulse in the sugar.
Make double the amount of crumbs
(above) in two mixings. Place over a tin of
fruit pie filling in an oven proof dish.
Cook at 200°C for 30 minutes.
PPaassttrryy
50g plain flour
50g self-raising flour
1/2teaspoon salt (optional)
25g lard
25g margarine
4 teaspoons cold water
Mix flour, salt and fats in the mini chopper
until they resemble breadcrumbs. Pulse in
the water.
SSccoonneess
Group 1
100g self-raising flour
50g caster sugar
50g margarine
Group 2
100g self-raising flour
50g sultanas
1 egg (medium size)
70 ml (approx) milk
Place group 1 ingredients in the mini
chopper. Process until they resemble
breadcrumbs. Mix group 1 and group 2
ingredients together. Roll the mixture out
and cut into rounds. Bake at Gas 8/230°C
for 8 to 10 minutes.
WWhhiisskkrreecciippeess
SSppoonnggeeccaakkee
2 eggs (medium size)
50g caster sugar
50g self-raising flour
Whisk the eggs and sugar together
until light in colour and foamy. Fold in the
flour. Bake in a well greased cake tin at
gas mark 4/180°C for 15-20 minutes.
SSppoonnggeeffllaann
Ingredients as for sponge cake
Follow steps 1 and 2 of above
method. Bake in a well greased sponge
flan tin at gas mark 5/190°C for 20-25
minutes.
IIffyyoouurraapppplliiaanncceeddooeessnnoottwwoorrkk
Check the plug in its socket and the switch in the ‘on’ position?
Is the plug itself or the socket faulty - check this by plugging in another appliance.
Check the following table for a possible cause.
Problem Possible cause Solution
Appliance gets hot The hand blender has been Leave the appliance to cool down
used for too long continuously
Appliance not working The safety switch has not Press both switches
been pressed
The blades have been removed Click the blades back into
of are not properly into place position
The removable foot has not Unscrew the foot and replace
been locked into position as described previously in this
booklet
Morphy Richards Limited, Mexborough,
South Yorkshire, England S64 8AJ 444/8304/80 Rev 1
Morphy Richards products are intended for household use only.
Morphy Richards has a policy of continuous improvement in product quality and design.
The Company, therefore, reserves the right to change the specification of its models at any time.

This manual suits for next models

1

Other Morphy Richards Kitchen Appliance manuals

Morphy Richards IB48770 User manual

Morphy Richards

Morphy Richards IB48770 User manual

Morphy Richards Total Control User manual

Morphy Richards

Morphy Richards Total Control User manual

Morphy Richards FLAVOUR SAVOUR Assembly instructions

Morphy Richards

Morphy Richards FLAVOUR SAVOUR Assembly instructions

Morphy Richards Accents User manual

Morphy Richards

Morphy Richards Accents User manual

Morphy Richards Cordless grater User manual

Morphy Richards

Morphy Richards Cordless grater User manual

Morphy Richards MRMP3GN User manual

Morphy Richards

Morphy Richards MRMP3GN User manual

Morphy Richards Supreme Precision 10 in 1 Multicooker User manual

Morphy Richards

Morphy Richards Supreme Precision 10 in 1 Multicooker User manual

Morphy Richards Intellichef User manual

Morphy Richards

Morphy Richards Intellichef User manual

Morphy Richards 48899 User manual

Morphy Richards

Morphy Richards 48899 User manual

Morphy Richards Mico Multi-Pot User manual

Morphy Richards

Morphy Richards Mico Multi-Pot User manual

Morphy Richards Soup Maker Serrator Blade User manual

Morphy Richards

Morphy Richards Soup Maker Serrator Blade User manual

Morphy Richards Total control 402054 User manual

Morphy Richards

Morphy Richards Total control 402054 User manual

Morphy Richards MRSGMP25B User manual

Morphy Richards

Morphy Richards MRSGMP25B User manual

Morphy Richards 48401 User manual

Morphy Richards

Morphy Richards 48401 User manual

Morphy Richards 48898 User manual

Morphy Richards

Morphy Richards 48898 User manual

Morphy Richards 43970 User manual

Morphy Richards

Morphy Richards 43970 User manual

Morphy Richards Intellisteam Compact 48775 User manual

Morphy Richards

Morphy Richards Intellisteam Compact 48775 User manual

Morphy Richards Accents User manual

Morphy Richards

Morphy Richards Accents User manual

Morphy Richards JUICE User manual

Morphy Richards

Morphy Richards JUICE User manual

Morphy Richards Maximo User manual

Morphy Richards

Morphy Richards Maximo User manual

Morphy Richards TOTAL CONTROLS User manual

Morphy Richards

Morphy Richards TOTAL CONTROLS User manual

Morphy Richards TOTAL CONTROL 402052 User manual

Morphy Richards

Morphy Richards TOTAL CONTROL 402052 User manual

Morphy Richards Intellichef User manual

Morphy Richards

Morphy Richards Intellichef User manual

Morphy Richards IB44470 User manual

Morphy Richards

Morphy Richards IB44470 User manual

Popular Kitchen Appliance manuals by other brands

Koolatron Czech Cooker TCCZ02SN Instruction manual and recipe booklet

Koolatron

Koolatron Czech Cooker TCCZ02SN Instruction manual and recipe booklet

EMPERO EMP.SPO.01 user guide

EMPERO

EMPERO EMP.SPO.01 user guide

Vitek VT-3655 BN Manual instruction

Vitek

Vitek VT-3655 BN Manual instruction

Tricity Bendix CSIE 500 Operating and installation instructions

Tricity Bendix

Tricity Bendix CSIE 500 Operating and installation instructions

Sierra Volare Installation, operation and maintenance manual

Sierra

Sierra Volare Installation, operation and maintenance manual

Victorio Johnny Apple Peeler VKP1010 instruction manual

Victorio

Victorio Johnny Apple Peeler VKP1010 instruction manual

REBER V-Slim 9350 N User’s Reference: Use and Maintenance

REBER

REBER V-Slim 9350 N User’s Reference: Use and Maintenance

Martellato Mini Meltinchoc Handbook of use and maintenance

Martellato

Martellato Mini Meltinchoc Handbook of use and maintenance

Gene Cafe CBR-101 owner's manual

Gene Cafe

Gene Cafe CBR-101 owner's manual

Davis & Waddell DES0652 manual

Davis & Waddell

Davis & Waddell DES0652 manual

Nostalgia Electrics OFP-501 instructions

Nostalgia Electrics

Nostalgia Electrics OFP-501 instructions

U-Line Wine Captain Quick reference guide

U-Line

U-Line Wine Captain Quick reference guide

Singer SPM400 instruction manual

Singer

Singer SPM400 instruction manual

Trebs Comfortmilk 99326 operating manual

Trebs

Trebs Comfortmilk 99326 operating manual

Optimum RK-0050 operating instructions

Optimum

Optimum RK-0050 operating instructions

Bear SJJ-R03B5-WHITE user manual

Bear

Bear SJJ-R03B5-WHITE user manual

emerio AF-125830.4 instruction manual

emerio

emerio AF-125830.4 instruction manual

ECG S 1070 Panini instruction manual

ECG

ECG S 1070 Panini instruction manual

manuals.online logo
manuals.online logoBrands
  • About & Mission
  • Contact us
  • Privacy Policy
  • Terms and Conditions

Copyright 2025 Manuals.Online. All Rights Reserved.