11
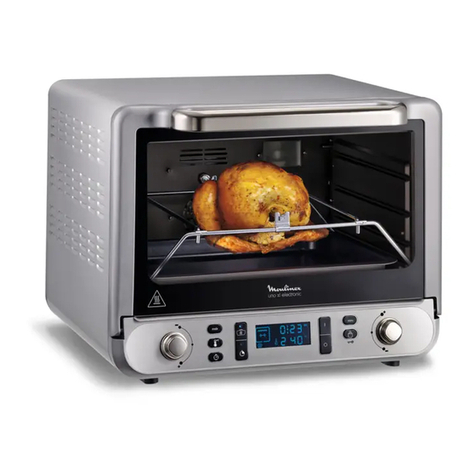
- Place the brackets (Q3) on the tray (P) in
the slots provided.
- Place the spit on the brackets. Ensure that
the tip of the spit follows the arrow on the
tray (drip pan)
- Place the tray (drip pan) (P) with the joint
into the oven at level 1, tipping the brackets
towards the left.
- Engage the spit in the drive (D) by moving
the brackets towards the right.
- Checkthatthe spit turns. Ifitdoes not, make
sure you have engaged it in the drive
properly.
- Leave the door ajar to allow the air to
circulate properly. This is important for this
type of cooking
When the cooking time has elapsed the oven
will automatically stop.
- Open the door, disengage the spit with an
oven glove and take out the dripping tray.
- Remove your roast using oven gloves.
2/ Oven Cooking
- Select the cooking temperature using the
thermostat dial (F). Do not exceed 270º or
you will be in the “grill” function.
- Setthetimer(H)tothecooking time you want
plus an additional few minutes preheating
time.
The indicator light (G) will come on. The light
will go off again when the oven reaches the
temperature you have chosen.
- Place the dish in the oven on the grill shelf
(O) positioned at the appropriate level (see
cooking table)
- Shut the door.
Whenthe cooking timehas elapsed, the oven
will automatically stop
- Open the door and remove your dish.
- Neveruse the tray (drippan) when usingthe
“oven” function. It would stop the heat
circulating properly in the oven.
To help you select the correct cooking time,
referto the cooking tableswhichcan be found
at the end of this instruction leaflet. For cer-
tain dishes, they suggest a recommended
cooking time, temperature and shelf level.
3/ Grilling
The grill can be used for cooking and grilling
meat and fish and browning gratins.
- Turn the thermostat dial to the GRILL posi-
tion.
- Setthecookingtimeyouwantusingthetimer
dial (H) plus an additional preheating time
of approximately 4 minutes.
The indicator light (G) will come on.
- Place your food on the shelf at level 2 or 3.
Thegrill shelf canbe positioned facingup or
down, depending on the size of the dish you
want to grill.
- When grilling, place the food at least 2 cm
from the upper heating element.
- Place the tray (drip pan) beneath the grill at
level 1 to catch splashes of grease or fat.
- Leave the door ajar to allow the air to
circulate properly. This is important when
using this cooking mode.
- Keepaneyeonthefood/dishyouare grilling,
and turn half-way through.
When the cooking time has elapsed the oven
will stop automatically.
- Open the door and remove your grilled dish.
When cooking fatty meat, grease may splash
on the upper heating element (grill) and can
catch fire during the cooking process. It will
go out by itself and will not damage the oven
in any way.
Practical Hints
Steam and sometimes smoke is released
during the cooking process. This will escape
at the front of the oven.
You can reduce the quantity of smoke by
keeping the oven walls clean. You will also
reduce it by:
- Adding a little water to the base of your dish
or the tray before starting to cook.
- Using (or slightly lowering) the
recommended cooking temperatures
- Preferably using earthenware dishes.
Cleaning
- Always disconnect your oven and leave it to
cool before cleaning it.
- Wipe down the oven body using a damp
soapyspongewhileitisstillwarmItwillclean
more easily. Wipe it dry thoroughly.
. The inside walls are lined with self-cleaning
enamel. To ensure a long, efficient life, as
soon as grease or smoke marks appear, we
recommend cleaning most of the grease
marks with a sponge dipped in soapy water.
Then turn the oven on for 30 minutes with the
thermostat at 270ºC.
. To clean the roof thoroughly (inside the
top of oven), swivel the locking device (V) 90º
from its original position.
- Pull down the upper heating element and
cleanthoroughlywitha sponge dipped in hot
soapy water.
5c
5d
5e
5f
5g
6
7
8
