manuals.online logo
Brands
  1. Home
  2. •
  3. Brands
  4. •
  5. MP PUMPS
  6. •
  7. Water Pump
  8. •
  9. MP PUMPS 2CT Training manual

MP PUMPS 2CT Training manual

1
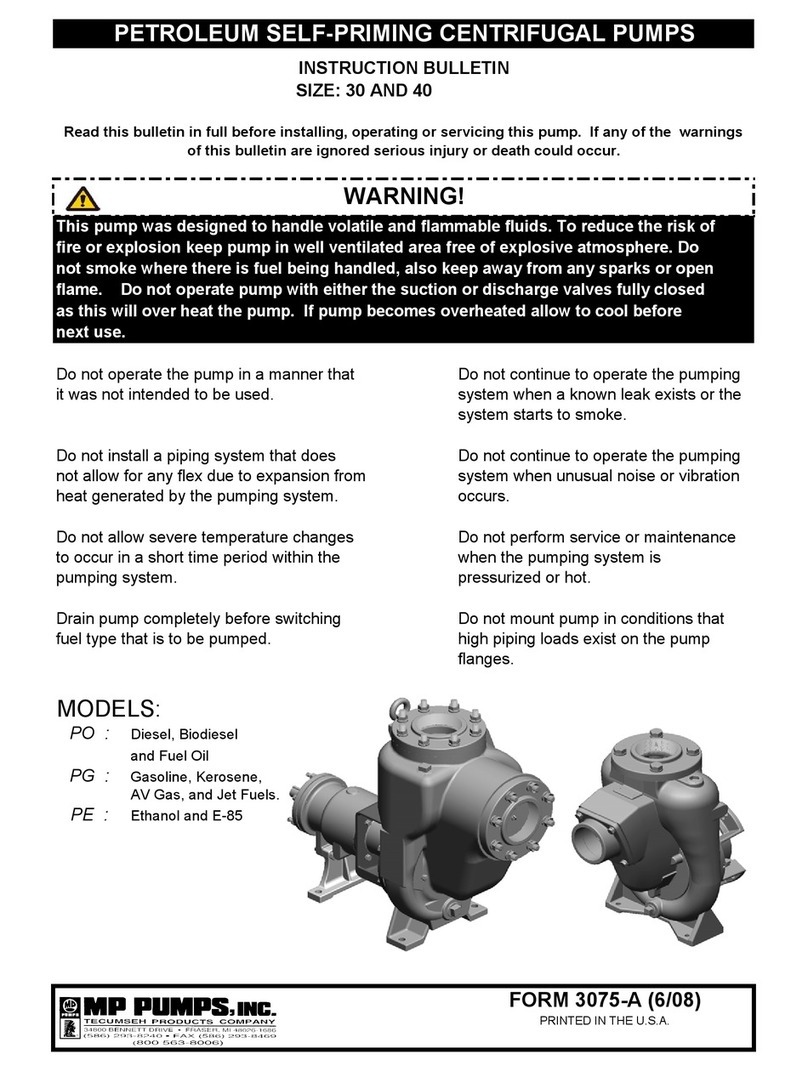
INSTRUCTION BULLETIN
2CT and 2CT-3 Pumpak for 145TC, 184TC and 215TC drive
OVERVIEW:
These instructions pertain to the assembly and
installation of a 2CT pump end. Your 2CT
pump may have included a driver such as close-
coupled electric motor, engine, bearing pedestal
or hydraulic motor pedestal that will hereafter be
referred to as the driver.
♦CAUTION.
2CT pumpaks are shipped
with no running clearance between the
impeller and housing. 2CT pumpak impeller
clearance can only be established after the
pumpak has been secured to the driver. See
Pumpak Assembly.
PUMPAK ASSEMBLY:
(pump end suitable
for mounting to various drivers).
1. Loosen the drive sleeve clamp.
2. Lightly coat the driver shaft with an anti-
seize compound.
3. Slide the pump onto the driver by hand.
This should not require extreme force.
4. Install and tighten fasteners (4) into the
pump adaptor securing the drive.
5. Tighten the drive sleeve clamp fastener to
20 to 26 foot pounds.
6. To establish impeller running clearance:
Loosen the two opposing nuts that fasten
the suction chamber to the pump. Loosen
the locknut of one of the three jackscrews.
Back-off the cleanout chamber by rotating
the jackscrew clockwise ½ turn then re-
tighten the locknut. Repeat this step for the
other two jackscrews. Re-tighten the
suction chamber fasteners.
7.
Rotate the shaft to ensure that the pump
rotates freely before putting the pump into
service.
INSTALLATION:
Optimum performance can be attained by
placing the pump as close to the liquid source as
possible. Secure the pump by mounting it to a
foundation or base plate.
Hose or pipe can be used on the suction and
discharge. The suction line must not be reduced
in size. If hose is used, reinforced non-
collapsible type is recommended. The discharge
line must be rated to the maximum pressure
developed by the pump.
Avoid kinks in the hose and unnecessary
restrictions that may affect pump performance.
All pipe connections must be sealed with
adequate thread sealant. A small air leak in the
suction line will affect priming performance. If
a throttling valve is used to adjust the flow rate,
it should be mounted to the discharge piping
only - never in the suction. A large low
restriction de-watering type strainer must be
used whenever solids larger than 1.25” spheres
are present in the liquid source.
OPERATION:
Fill the pump with liquid prior to starting
through a fitting on the discharge piping. The
pump housing should be completely full. If the
pump has a discharge valve it must be fully open
to expel air during priming at initial start-up.
Long horizontal suction lines require extra time
to prime, 2 additional minutes for every 10 feet
of horizontal run.
Start the pump driver. The pump will prime the
suction hose and establish flow in about 5
minutes, more or less, depending upon the lift
distance and length of horizontal run. After
prime, the pump will perform to its full flow
capability.
After the initial prime, the pump will retain
liquid in the housing and may not need to be
refilled after shutdown and restart even if the
suction pipe has air in it.
2
DISASSEMBLY / SERVICE:
To remove the clean-out chamber for the
purpose of removing debris refer to instructions
identified with an asterisk .
Use the exploded parts view with these
instructions and note recommended replacement
parts for the rebuild process.
1. Disconnect power.
2. Remove drain plug and drain the pump.
3. Disconnect and remove the pumpak
from the driver.
4. Remove the clean-out chamber fastening
nuts. Use the jackscrews to back off the
clean-out until the o-ring is visible, at this
point the clean-out chamber should slide out
by hand.
5. Inspect the wearplate for abrasive wear
and replace if necessary using new screws.
6. Remove 4 nuts from the adaptor and
disassemble the rotating assembly form the
housing.
7. Removing the shaft clamp will allow the
impeller/shaft assembly to be removed from
the seal housing.
8. Remove the seal components and discard.
9. Inspect the impeller and sleeve for wear. If
the edges of the impeller machined surfaces
are not well defined replace the impeller
.
REASSEMBLY:
1. Replace o-ring on suction clean-out
chamber.
2. Lightly coat the outside of the chamber and
o-ring with a water-soluble lubricant.
REASSEMBLY Continued:
3. Slide the clean-out into the pump housing.
Tighten two fasteners.
4. Tighten clean-out jackscrews until they
bottom out, then tighten the locknuts.
5. Install new seal seat into the adaptor with
the polished side of the seat facing up by
lubricating the adaptor and seat o-ring with a
water-soluble lubricant. Install by hand
using your thumbs to squarely locate the
seats against the shoulder of the adaptors.
Wipe the seal faces dry with a rag.
6. Lubricate the impeller sleeve and the seal
rotary bellows inner diameters with a water-
soluble lubricant.
7. Install the seal rotary onto the sleeve with
spring toward the impeller.
8. Lay the pump housing down on a bench.
9. Place the impeller inside the pump housing.
10. Install the housing gasket over the housing
studs and position it on the housing gasket
face.
11. Slide the seal adaptor over the impeller and
studs.
12. Tighten 4 nuts with lockwashers to 28 ft-lbs.
with a crosswise pattern.
13. Slide the drive sleeve clamp assembly on the
sleeve.
The pump can now be installed to the driver as a
pumpak.
♦Caution. Impeller running clearance
must be set. Refer to section titled Pumpak
Assembly.
FORM 3803-A
PRINTED REV. 05/03

This manual suits for next models

1

Other MP PUMPS Water Pump manuals

MP PUMPS FLOMAX 8 User manual

MP PUMPS

MP PUMPS FLOMAX 8 User manual

MP PUMPS FLOMAX 40 Series Training manual

MP PUMPS

MP PUMPS FLOMAX 40 Series Training manual

MP PUMPS PO 30 Training manual

MP PUMPS

MP PUMPS PO 30 Training manual

MP PUMPS CHEMFLO 7 User manual

MP PUMPS

MP PUMPS CHEMFLO 7 User manual

Popular Water Pump manuals by other brands

Protege Pumps P6000 user manual

Protege Pumps

Protege Pumps P6000 user manual

Armstrong Design Envelope 4322 Installation and operating instructions

Armstrong

Armstrong Design Envelope 4322 Installation and operating instructions

DAB evoplus SMALL Instruction for installation and maintenance

DAB

DAB evoplus SMALL Instruction for installation and maintenance

Trotec TWP 4005 E operating manual

Trotec

Trotec TWP 4005 E operating manual

Framo SD100-5 Instruction for Maintenance and Repair

Framo

Framo SD100-5 Instruction for Maintenance and Repair

Wilo Comfort-Vario COR-1***-GE Series Installation and operating instructions

Wilo

Wilo Comfort-Vario COR-1***-GE Series Installation and operating instructions

Agilent Technologies Turbo-V 903 user manual

Agilent Technologies

Agilent Technologies Turbo-V 903 user manual

Grundfos JP Booster PT Installation and operating instructions

Grundfos

Grundfos JP Booster PT Installation and operating instructions

Pentair HYPRO 9300 Series Installation, operation, repair and parts manual

Pentair

Pentair HYPRO 9300 Series Installation, operation, repair and parts manual

Grundfos ALPHA Pro Installation and operating instructions

Grundfos

Grundfos ALPHA Pro Installation and operating instructions

MSD Mallory Fuel 110 Series installation instructions

MSD

MSD Mallory Fuel 110 Series installation instructions

salmson MULTI-VE Installation and starting instructions

salmson

salmson MULTI-VE Installation and starting instructions

Parmco GD-2 Installation and operating instructions

Parmco

Parmco GD-2 Installation and operating instructions

T.I.P. WPF 1500 S operating instructions

T.I.P.

T.I.P. WPF 1500 S operating instructions

Pentair MYERS MCI033 owner's manual

Pentair

Pentair MYERS MCI033 owner's manual

Homa BR Original instruction manual

Homa

Homa BR Original instruction manual

T.I.P. WP 500 Plus operating instructions

T.I.P.

T.I.P. WP 500 Plus operating instructions

DP Pumps Hydro-Unit Premium Installation & operating manual

DP Pumps

DP Pumps Hydro-Unit Premium Installation & operating manual

manuals.online logo
manuals.online logoBrands
  • About & Mission
  • Contact us
  • Privacy Policy
  • Terms and Conditions

Copyright 2025 Manuals.Online. All Rights Reserved.