When installing and using this electrical equipment, basic safety precautions
should always be followed, including the following:
IMPORTATN SAFETY INSTRUCTIONS
1. READ AND FOLLOW ALL INSTRUCTIONS
2. Do not permit children under
the age of 16 to use this steambath.
3. Steam is hot and can cause injury
or death if improperly used. Steam rooms contain
steam and elevated temperatures. Please read
and observe all warnings in this manual before
installing or using a steam room.
4. To reduce the risk of injury:
A. The wet surfaces of steam enclosures may be
slippery. Use care when entering or leaving.
B. The steam head is hot. Do not touch the
steamhead and avoid the steam near the
steamhead.
C. Prolonged use of the steam system can raise
excessively the internal human body tempera-
ture and impair the body’s ability to regulate
its internal temperature (hyperthermia). Limit
your use of steam to 10-15 minutes until you
are certain of your body’s reaction.
D. Excessive temperatures have a high
potential for causing fetal damage dur-
ing the early months of pregnancy.
Pregnancy or possibly pregnant women
should consult a physician regarding cor-
rect exposure.
E. Obese persons and persons with a history
of heart disease, low or high blood
pressure, circulatory system problems,
or diabetes should consult a physician
before using a steambath.
F. Persons using medication should consult a
physician before using a steambath since
some medication may induce drowsiness
while other medications may affect heart
rate, blood pressure and circulation.
SAVE THESE INSTRUCTIONS
HYPERTHERMIA
occurs when the internal tem-
perature of the body reaches a level several
degrees above the normal body temperature of
98.6° F. The symptoms of hyperthermia include
an increase in the internal temperature of the
body, dizziness, lethargy, drowsiness, and faint-
ing. The effects of hyperthermia include:
a) Failure to perceive heat;
b) Failure to recognize the need to exit the steambath;
c) Unawareness of impending risk;
d) Fetal damage in pregnant women;
e) Physical inability to exit the steambath; and
f) Unconsciousness.
The use of alcohol, drugs,
or medication can greatly
increase the risk of
hyperthermia.
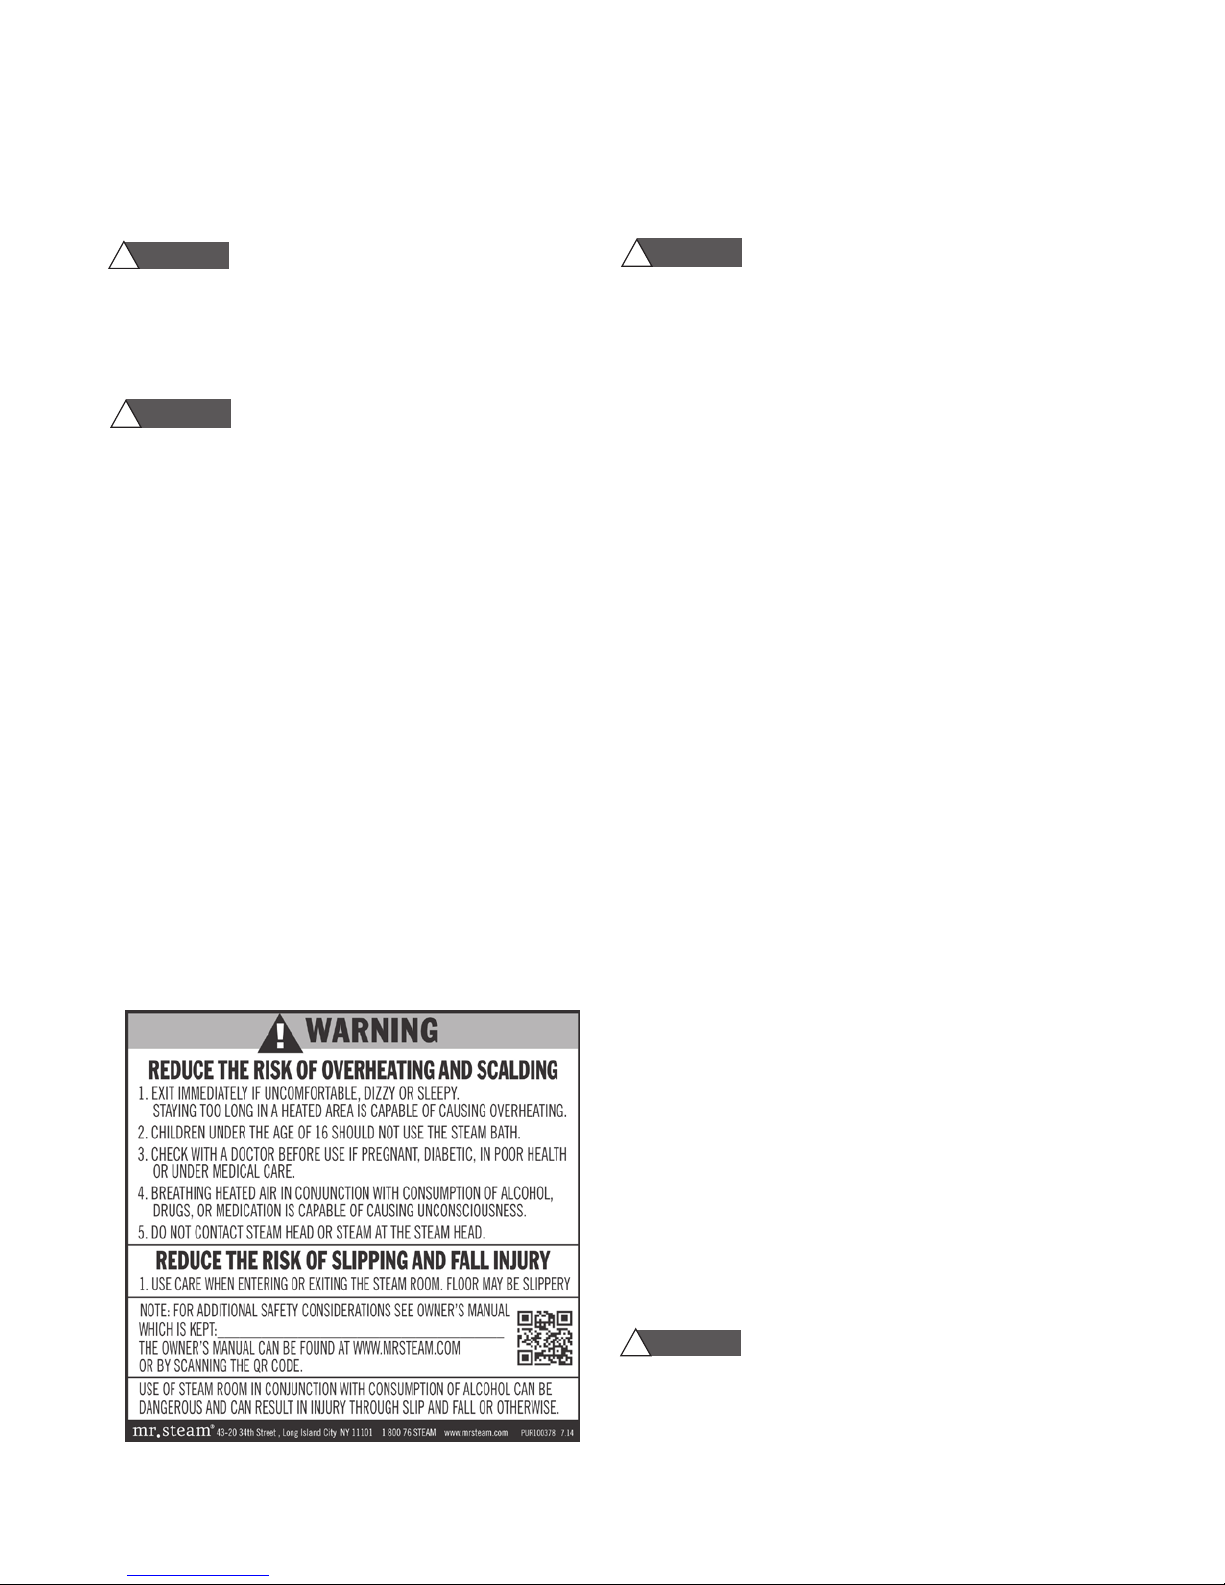
READ ME FIRST!
As you follow these instruc-
tions, you will notice warning and caution
symbols. This blocked information is impor-
tant for the safe and efficient installation and
operation of this generator. These are types
of potential hazards that may occur during
installation and operation:
Indicates a potentially
hazardous situation, which, if not avoided,
could result in death or serious injury.
Indicates a potentially
hazardous situation, which, if not avoided
may result in minor or moderate injury or
product damage.
IMPORTANT NOTE: This highlights
information that is especially relevant to a
problem-free installation.
All information in these instructions is based
on the latest product information available at
the time of publication. Sussman-Automatic
Corporation reserves the right to make
changes at any time without notice.
WARNING
!
WARNING
!
WARNING
!
WARNING
!
WARNING
!
CAUTION
!
WARNING
!
2