THE DROP SLIDE
When only the best will do...
DROPSLIDE INSTALLATION
1. Place slide in position on top of shelving unit no more than 110mm back from the front edge of mounting surface. This is a basic measurement guide
and will depend on your particular application.
2. Unlock slide by key lock on front face of fridge tray and press the Blue Lock Release Button and slide open approx 150mm.
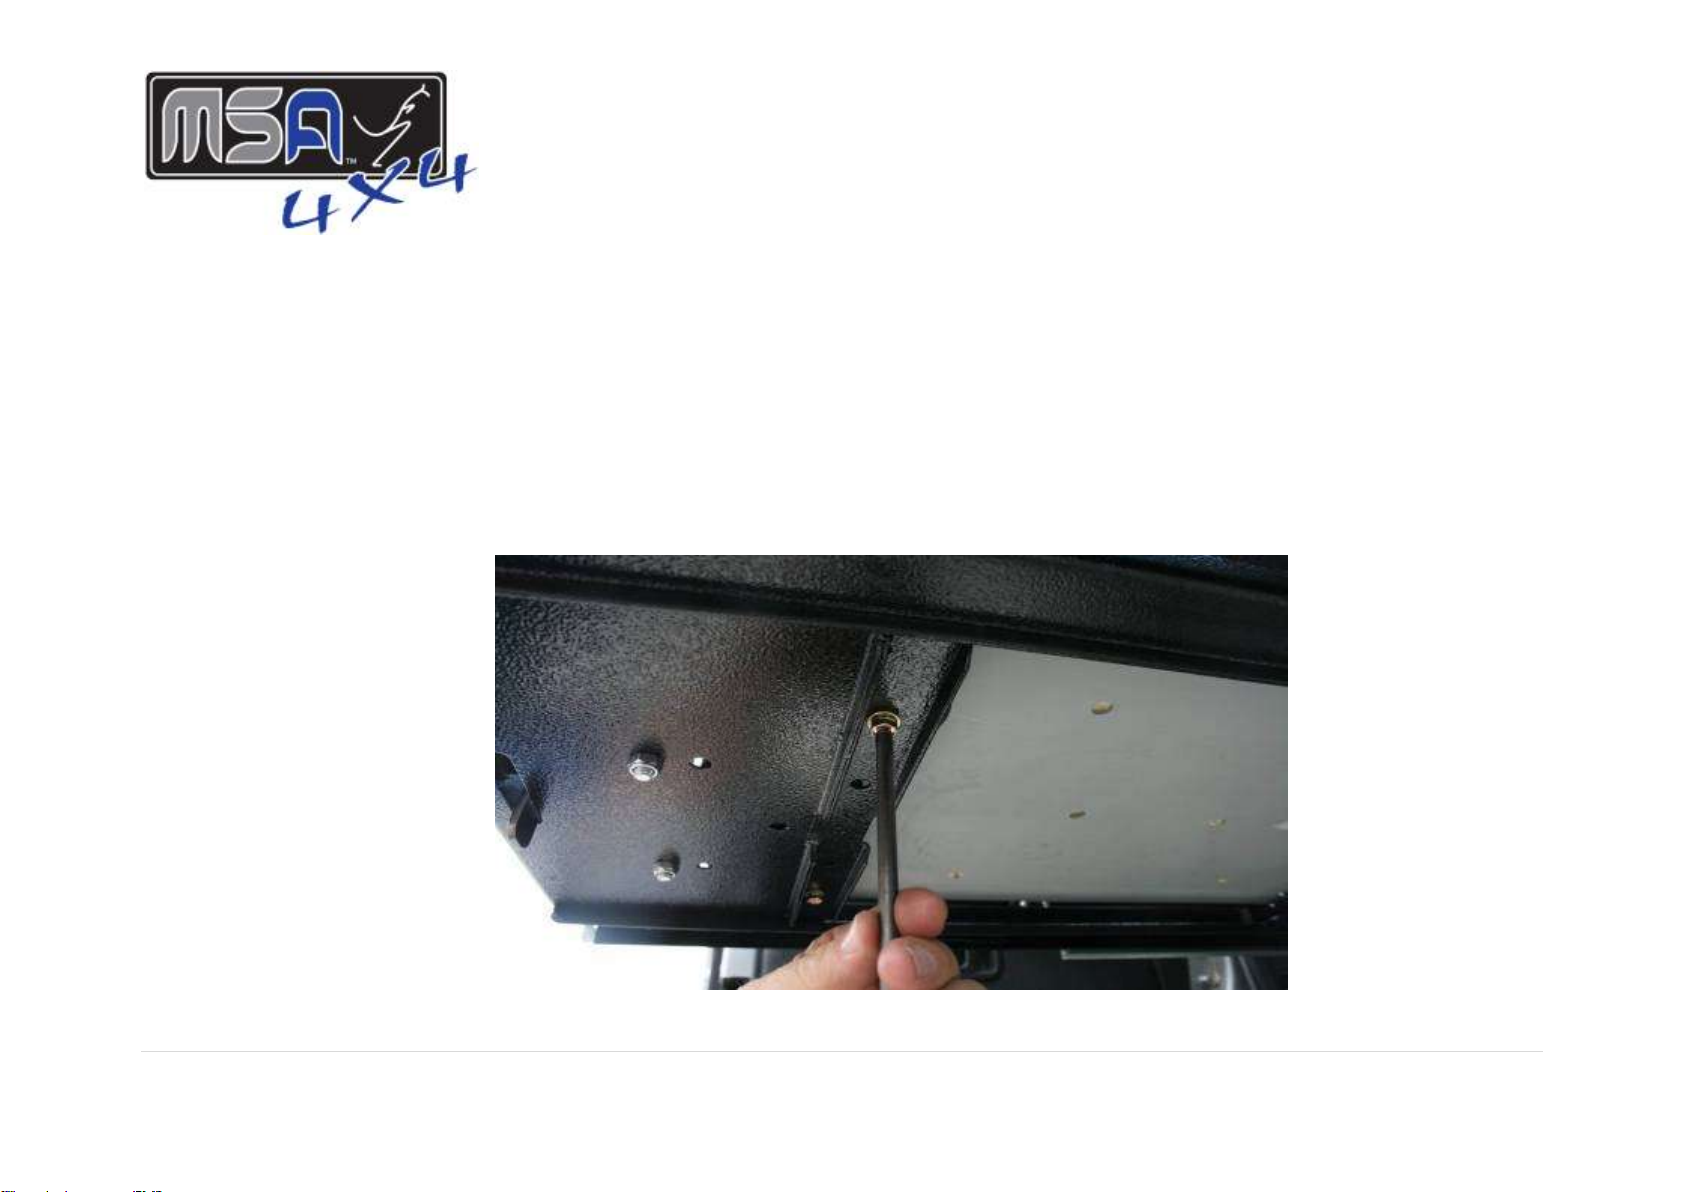
3. Install 4 of the self tapping mounting screws (supplied) into the predrilled holes in the rear edge of the base frame. Recommended screws - 10 gauge x
20mm long Button Head. (supplied)
4. As an alternative to self tapping screws, nuts and bolts can be used (not included in kit).
5. Extend Slide slightly and install all other screws/bolts/fasteners starting from the rear and moving forward (holes predrilled). If slide operation is not
smooth, loosen screws slightly. This is because the screws will pull the base frame down and cause the slide runners to angle inwards. This is
particularly the case if your draw system is covered in a carpet material.
6. When all screws are in place, slide installation is complete.
7. Do Not operate or put weight on slide until all screws are fixed.
8. Lower platform slowly by pushing down firmly on rear section of fridge tray while at the same time lifting the lever arms and ensure the handle and lever
system clears any doors. This will take reasonable pressure as there is no weight on the platform.