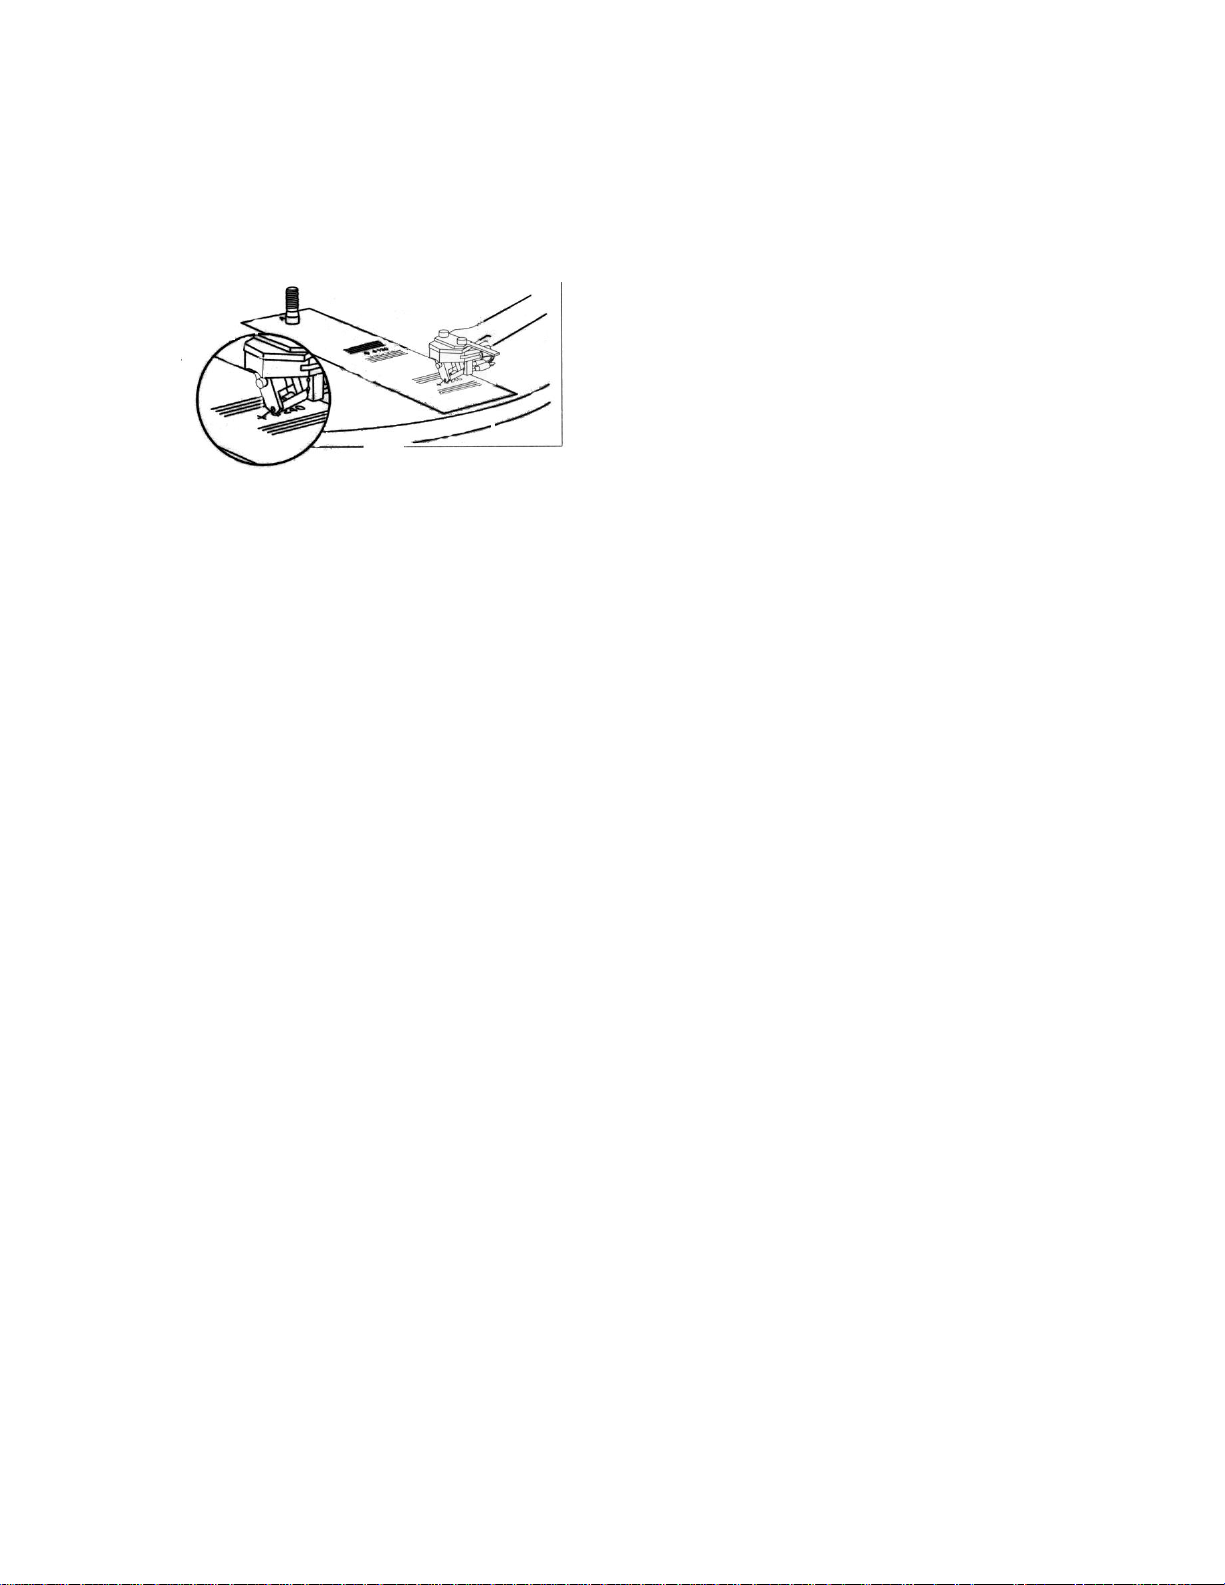
Move the tonearm (9) (adjusted for the correct tracking force of your cartridge) to the
pattern. When the stylus tip of the cartridge is at points 130mm and 250mm, the front of
the cartridge should be parallel to the lines on the pattern. If necessary, slide the
cartridge back and forth until the stylus tip is positioned correctly. Tighten the cartridge
mounting screws.
VTA Adjustment: The VTA for the installed Goldring cartridge has been properly set at
the factory. To adjust the VTA for other cartridges, lay a record on the platter (5).
Slacken the horizontal adjustment screws (two Allen screws located near the plinth on
the back of the tonearm pillar) with the Allen Key provided.
IMPORTANT.
Do not loosen the vertical screws that hold the anti skate arm to the base.
Move the tonearm (9) up or down until it is parallel to the record surface when viewed
from the side. Tighten the horizontal adjustment screws.
VTA like Tracking Force can also be set by ear. Feel free to experiment with VTA
positions slightly above or below parallel and choose the position you prefer.
If you have any further questions regarding the adjustment of your turntable, please
contact your music hall dealer.
Azimuth Adjustment: Azimuth is the angle of the stylus to the record groove. Viewed
from head-on, you want the stylus to be perpendicular to the record groove so as to not
favor one channel over the other. Keep in mind that azimuth is properly set at the
factory and rarely needs to be adjusted. You can check the azimuth by performing a
visual inspection. Place the tonearm (9) in the middle of a non-spinning record and look
to see that the stylus is perpendicular to the record groove. If it is off to one side or the
other, you will need to adjust the azimuth. To adjust azimuth, simply loosen the
setscrew located on the top of the tonearm (9) under the anti-skating rod (15). To
adjust the setscrew, you will need to first remove the anti-skating rod (15). Start with
the tonearm (9) in the tonearm rest (8). Remove the anti-skating weight (16) from the
anti-skating rod (15). Hold the anti-skating rod (15) between your thumb and forefinger
and unscrew it using a clockwise rotation. Lift the tonearm (9) up about 2 –3 inches out
of the tonearm rest (8). Look carefully on top of the tonearm (9) near the area
previously occupied by the anti-skating rod (15). You will see a small setscrew. Slightly
loosen this screw. This will loosen the tonearm (9) and allow you to twist it from side to
side. Position the tonearm (9) so that the stylus is perpendicular to the record groove.
Tighten the setscrew. Replace the anti-skating rod (15) and anti-skating weight (16).
Listen. You are listening for a balanced soundstage with the greatest area and depth.