5
Owner’s Manual
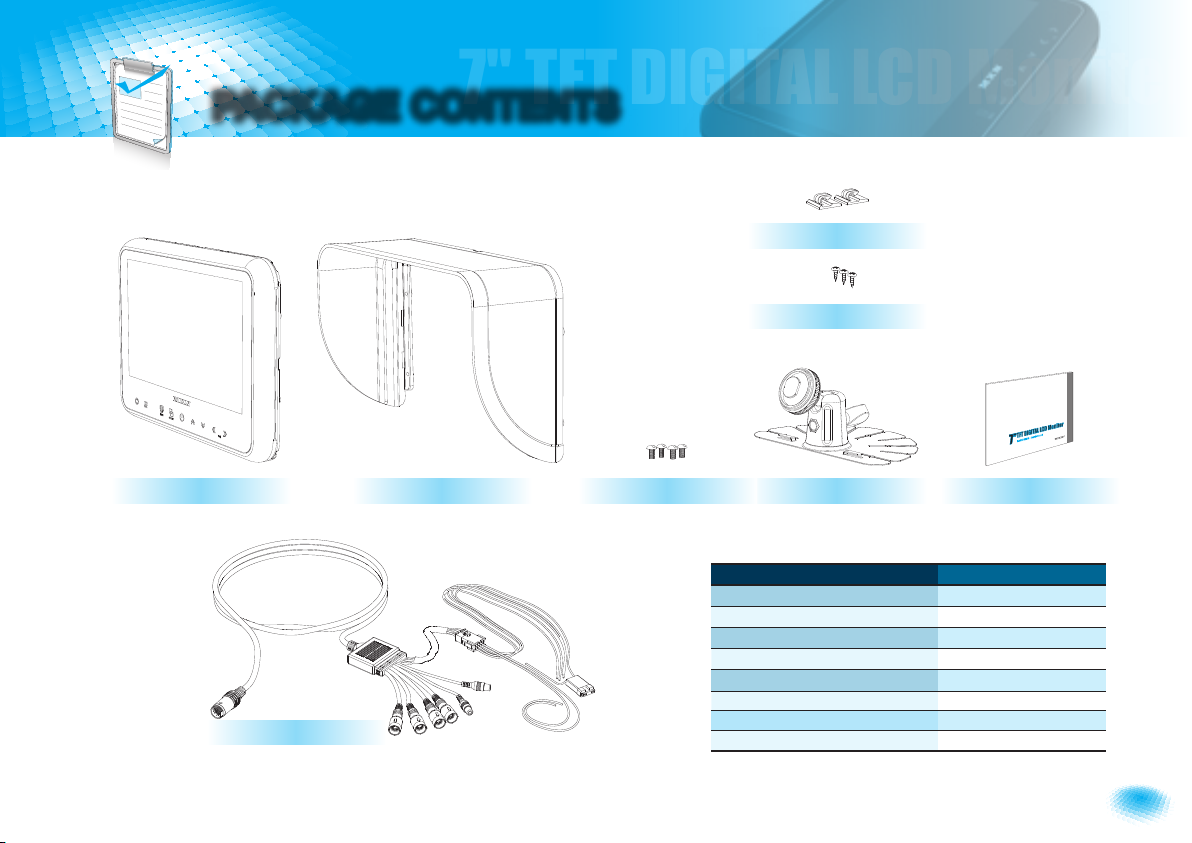
7" TFT DIGITAL LCD Moniter
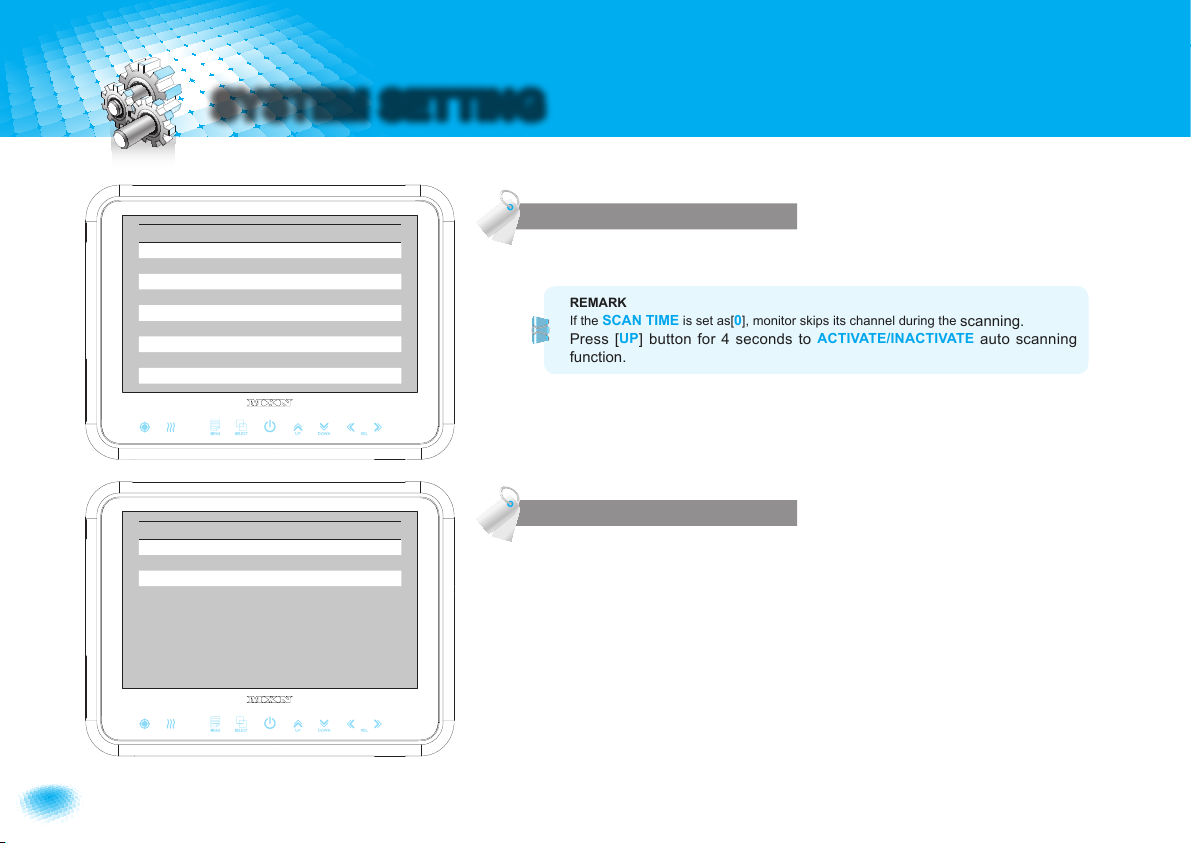
SYSTEM SETTING
FUNCTION
FUNCTION
LANGUAGE ENGLISH
SYSTEM PAL/NTSC
DIMMER AUTO/OFF
NIGHT BRIGHT 50
AUTO POWER AUTO/ON/OFF
MONITOR HEAT ON/OFF
RESET >
SYSTEM INFO VER 1.00
Remark: During MONITOR HEATER ON mode,
Heating activates automatically when the temperature of inside monitor is below 0
degree Celcius.
When the temperature of inside monitor is over 0 degree Celcius, heating stops
automatically.
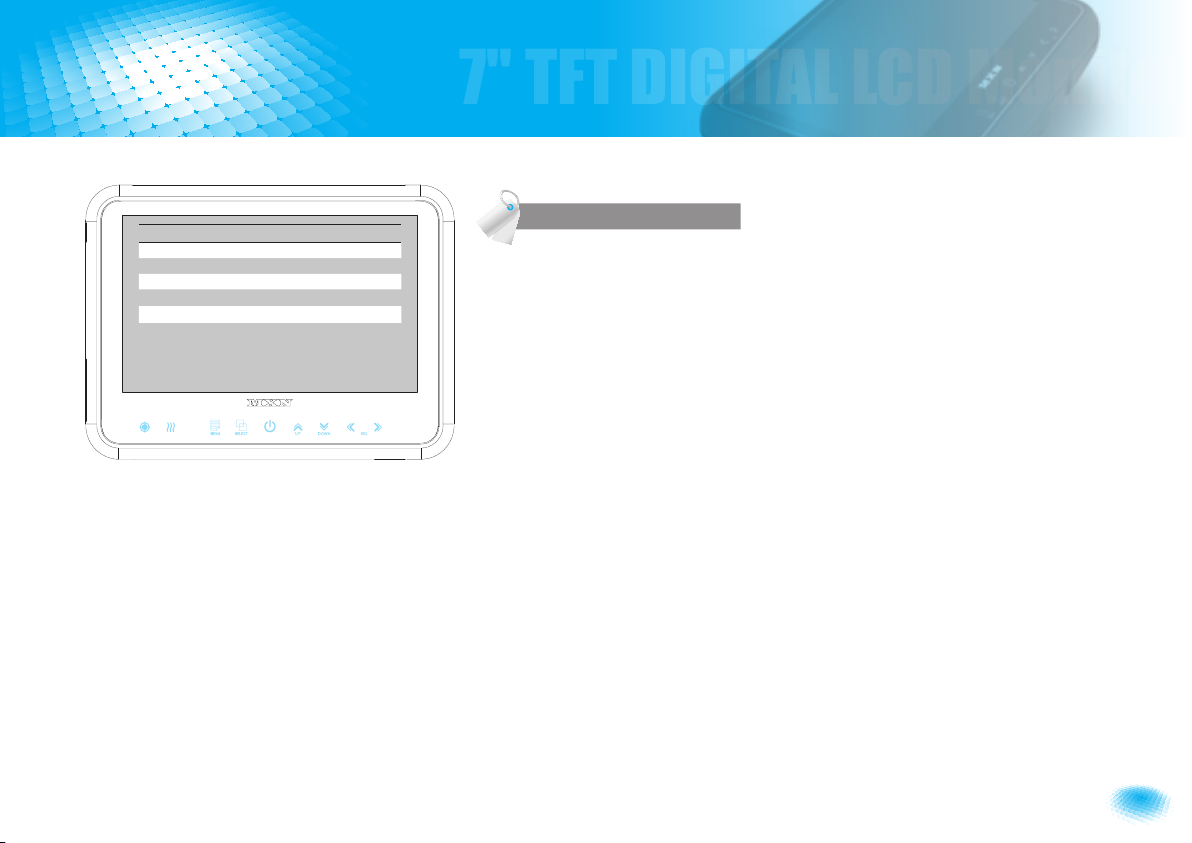
LANGUAGE
Provide 6 Multi-lingual OSD [ENGLISH, SWEDISH, DANISH, NORWEGIAN, DUTCH,
FINNISH].
Select the preferred LANGUAGE.
SYSTEM
Select NTSC/PAL
DIMMER (Automatic Brightness Control)
Select AUTO or OFF to have Automatic or Manual brightness of the monitor.
REMARK: By activating DIMMER AUTO function, the monitor adjusts the brightness
according to the environment.
NIGHT BRIGHT (Brightness during night conditions)
Select the DIMMER to
『AUTO』
and adjust the value of the backlight into the required setting.
During night conditions the backlight will automatically perform brightness according this
setting.
AUTO POWER
Select monitor activation function as below.
[ AUTO] Monitor keeps the last setting in memory.
[
ON] Monitor starts up『Power-ON』mode automatically.
[
OFF] Monitor starts up『Stand-By』mode automatically.
MONITOR HEATER
Select MONITOR HEATER『ON』to have automatic heating function in order to
enable fast picture start during extreme cold weather condition.
RESET
Press >>button to go the factory default setting.
SYSTEM INFO.
Refers to system information of the monitor.