www.mycs.com
654 1
32
1
S-037019
MICHAEL ROOSEN
S-037019 //
SKU (ID no.) Description Quantity
101.100.20 SU01 Seitenwand aussen, 41x47x2 cm, Weiss 2
101.106.20 SU01 Seitenwand innen, 41x47x2 cm, Weiss 2
101.124.04 SU01 Schubladenbox Drucktürknopf, 73x39x11 cm, natur 5
801.101.01 Handling Charge 1
101.150.10 SU01 Rückwand 73x17cm, Weiss 4er Pack 1
101.123.10 SU01 Schubladenfront, 73x17x2 cm, Weiss 4er Pack 1
101.150.00 SU01 Rückwand 73x17cm, Weiss 2
101.140.20 SU01 Boden Top, 73x47 cm, Weiss 3
101.142.27 SU01 Boden Mitte, 73x47 cm, Eichenfurnier 3
101.142.20 SU01 Boden Mitte, 73x47 cm, Weiss 3
101.123.00 SU01 Schubladenfront, 73x17x2 cm, weiss 1
Accessoires/Zubehör - shelf
901.100.17 Wandwinkel (Set), weiss 2
901.100.05 Schraube Varianta 3x10 56
901.100.04 TAB Bodenträger 36
901.100.18 Sechskantschlüssel (abgewinkelt) 1
901.310.10 MYCS Zubehörbox 1
801.100.11 Manual SU01 GRYD 1
MICHAEL SCHMIDT
1
S-037019
MICHAEL ROOSEN
S-037019 //
SKU (ID no.) Description Quantity
101.100.20 SU01 Seitenwand aussen, 41x47x2 cm, Weiss 2
101.106.20 SU01 Seitenwand innen, 41x47x2 cm, Weiss 2
101.124.04 SU01 Schubladenbox Drucktürknopf, 73x39x11 cm, natur 5
801.101.01 Handling Charge 1
101.150.10 SU01 Rückwand 73x17cm, Weiss 4er Pack 1
101.123.10 SU01 Schubladenfront, 73x17x2 cm, Weiss 4er Pack 1
101.150.00 SU01 Rückwand 73x17cm, Weiss 2
101.140.20 SU01 Boden Top, 73x47 cm, Weiss 3
101.142.27 SU01 Boden Mitte, 73x47 cm, Eichenfurnier 3
101.142.20 SU01 Boden Mitte, 73x47 cm, Weiss 3
101.123.00 SU01 Schubladenfront, 73x17x2 cm, weiss 1
Accessoires/Zubehör - shelf
901.100.17 Wandwinkel (Set), weiss 2
901.100.05 Schraube Varianta 3x10 56
901.100.04 TAB Bodenträger 36
901.100.18 Sechskantschlüssel (abgewinkelt) 1
901.310.10 MYCS Zubehörbox 1
801.100.11 Manual SU01 GRYD 1
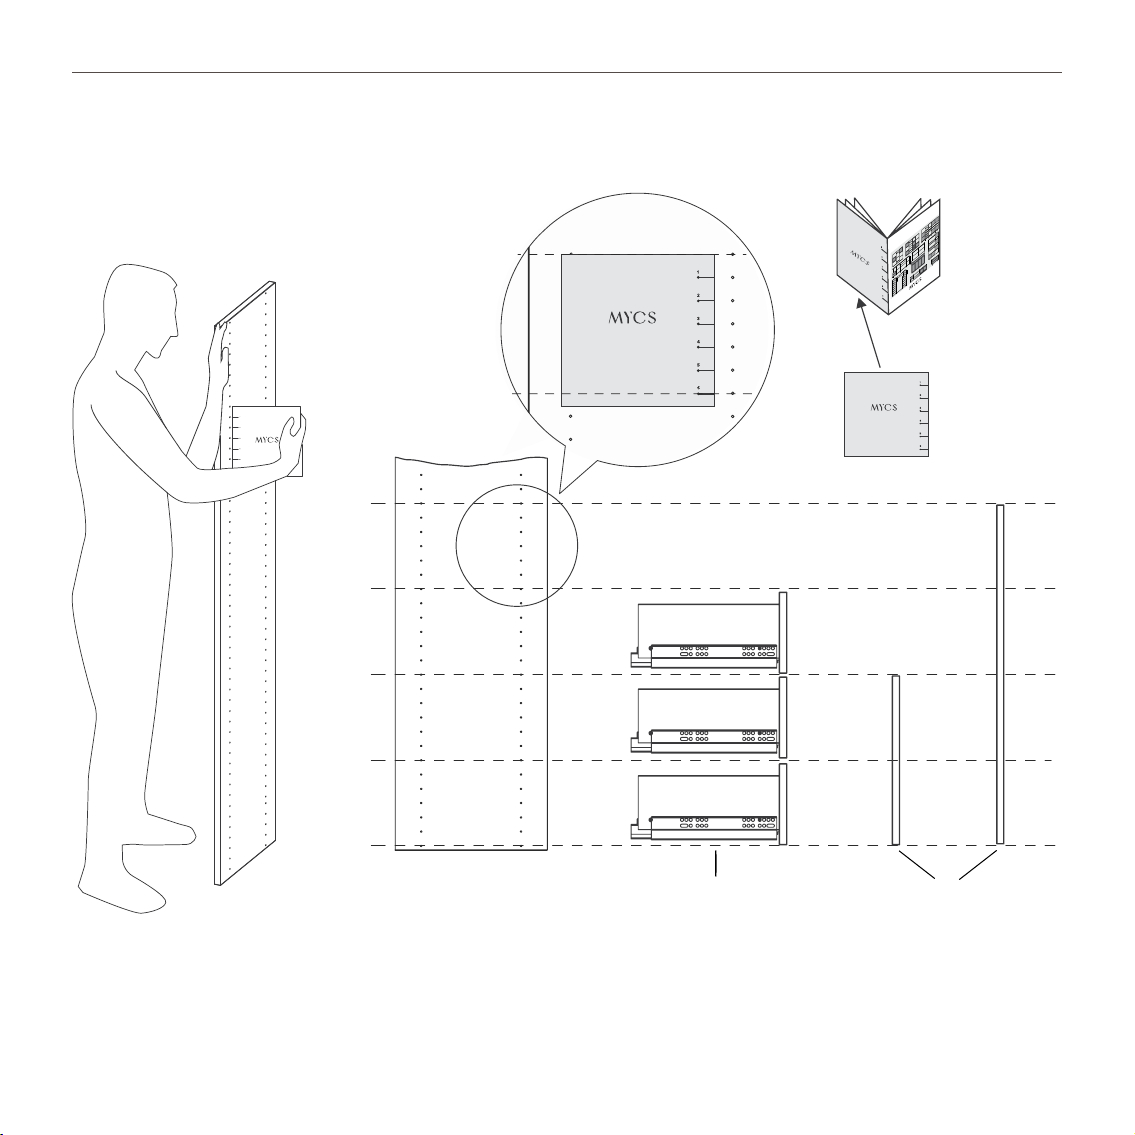
6Introduction
883.101.00
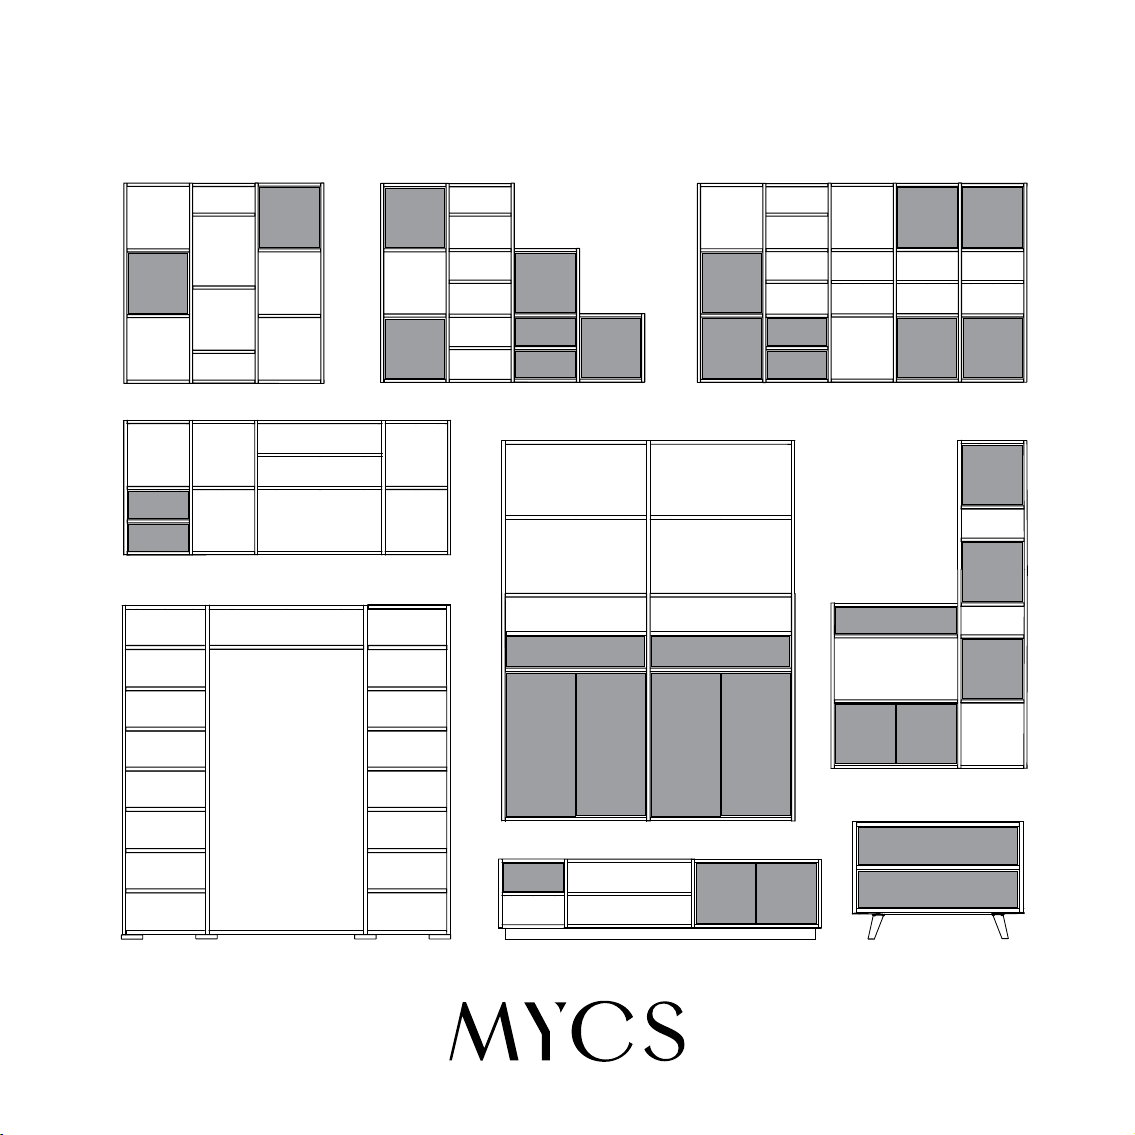
GRYD Manual
Helpful tools during assembly:
Protect your product from scratches by
placing a cover over your floor.
TIPS
Use the reference sheet with the picture of your furniture and the parts list.
The provided list shows numbers that you can
use to separate different parts from each other
The two last characters of each article SKU
number stands for its colour version.
Lift carefully and ask others for help if needed.