manuals.online logo
Brands
  1. Home
  2. •
  3. Brands
  4. •
  5. Myron L
  6. •
  7. Measuring Instrument
  8. •
  9. Myron L ULTRAPENX2 PTBT5 User manual

Myron L ULTRAPENX2 PTBT5 User manual

Quick Start Guide: ULTRAPENX2™ PTBT5 with the PTBTX2™ App
Oxygen (DO) and Temperature Pen for Use with your Mobile Device Dissolved Oxygen (DO) and Temperature Pen for Use with your Mobile Device
PTBT5QSI-X2 Revision 01-20 Page 4 of 4 PTBT5QSI-X2 Revision 01-20 Page 1 of 4
EXPORTING DATA RECORDS
1. Tap the MEMORY RECALL button in the Feature Navigation Bar.
2. Tap the EDIT button in the upper right corner of the Record List. The Record List Edit screen will appear.
3. Tap individual records to select them for export, or tap the BLUE, SELECT ALL button to select the entire list.
4. As you select records the CLEAR and DELETE buttons update to show the number of records selected.
5. Tap the SEND button in the upper left corner of the record list. Your Device’s default email program will open.
6. An attachment will be present containing the selected records.
• The format of the attachment will be .csv (default).
• To change the format, open the PREFERENCES > APPLICATION PREFERENCE screen.
7. Complete the email in the standard manner for your email application.
MAINTENANCE
I. BATTERY REPLACEMENT
When PTBT5 charge level falls below 25% immediately replace the battery with a new N type battery.
1. In a CLEAN, DRY place, unscrew the battery cap in a counter-clockwise direction.
2. Slide the cap and battery housing out of the PTBT5.
3. Remove the depleted battery from its housing.
4. Insert a new battery into the battery housing oriented with the negative end
touching the spring.
5. Align the groove along the battery housing with the guide bump inside the
PTBT5 case and slide the battery housing back in.
6. Screw the PTBT5 battery cap back on in a clockwise direction. DO NOT
OVER TIGHTEN.
II. ROUTINE MAINTENANCE
• After each use ALWAYS rinse the DO sensor with clean water (preferably DI, RO, or distilled water), then carefully
blot the sensor membrane with a soft, clean, lint-free cloth to remove any water drops.
• ALWAYS replace the hydration cap on the DO sensor after each use.
• To replace the membrane cap and/or refill electrolyte solution follow the SENSOR SETUP instructions.
• Do not drop, throw or otherwise strike the PTBT5. This voids the warranty.
• Do not store the PTBT5 in a location where the ambient temperatures exceed its specified operating / storage
temperature limits.
III. LONG TERM STORAGE
If you plan on storing the PTBT5 without using it for more than 1 month:
1. Remove the membrane cap by turning it counter-clockwise and rinse the membrane cap thoroughly with DI, RO, or
distilled water, gently pat it dry with a soft lint-free cloth, set it aside to dry. BE CAREFUL not to damage the
membrane.
2. Discard all the electrolyte solution from the sensor’s electrolyte well.
3. Fill a syringe with DI, RO, or distilled water.
4. Holding the open sensor sideways or upside down over a sink, insert the syringe tip into the sensor body.
5. Thoroughly flush the electrolyte well with DI, RO or distilled water.
6. Refill the syringe with DI, RO or distilled water and repeat flushing the electrolyte well 3-4 times.
7. Shake all the water from the sensor, pat dry with a soft lint-free cloth, and allow the sensor to completely dry out.
8. Remove the sponge from the protective / hydration cap.
9. Rinse the hydration cap with clean water then thoroughly dry it inside and out with a soft lint-free cloth.
10. Reassemble the membrane cap and hydration cap to the PTBT5.
11. Remove the battery from the PTBT5.
12. Store the PTBT5 in a cool dry location.
• The foam from the hydration cap should be stored separately so it can be reused later.
MYRON L® COMPANY
2450 Impala Drive uCarlsbad, CA 920197226 uPhone: +1-760-438-2021
E-Mail: Customer Service – info@myronl.com u Technical Support – techquestions@myronl.com
Website: www.myronl.com
This document contains basic instructions for making DO measurements with your PTBT5.
Other Instructions:
• PTBT5 Basic CAL Instruction sheet: Includes instructions on performing a basic Air Calibration of the
PTBT5 and review Calibration records (included with your instrument).
• PTBT5 Operation Manual: Includes detailed instructions on making measurements, changing parameters,
precision calibration and maintaining the PTBT5. Download from the Myron L® Company website
(www.myronl.com, Downloads tab).
• PTBTX2 App Operation Manual: Includes detailed instructions on operating all of the PTBTX2 App’s many
features and functions. Download from the Myron L® Company website (www.myronl.com, Downloads tab).
PTBT5 - LAYOUT
1. PEN BUTTON – Press to turn Ultrapen ON and place it in Standby mode.
2. BATTERY CAP – Unscrew to change battery.
3. LED INDICATOR LIGHT – Flashes rapidly when the PTBT5 is measuring
or once every 5 seconds when the PTBT5 is in Standby mode.
4. DO SENSOR BODY – Contains electrodes and reagent for
Dissolved Oxygen and Temperature measurements.
5. DO SENSOR CAP – Holds the DO Sensor Membrane
in place.
6. DO MEMBRANE – Permeable membrane through
which Dissolved Oxygen passes.
7. PROTECTIVE / HYDRATION CAP – Protects sensor from damage. The sensor should be kept moist at all times.
• Always replace the hydration cap containing a sponge moistened with DI, RO or distilled water.
• See the PTBT5 Operation Manual for instructions for storing > 1 month
• When removing or replacing the cap, gently wiggle it back and forth while pulling / pushing. DO NOT twist!
8. CAP STOP – DO NOT push the protective cap beyond the cap stop as sensor damage may occur.
PREPARING THE DO SENSOR
1. Attach the tip onto the syringe and fill the syringe with DO electrolyte solution.
2. Unscrew the membrane cap from the sensor body by turning in a counter-clockwise direction.
3. Rinse the inside of the membrane cap with electrolyte solution.
4. Pour some electrolyte inside the membrane cap and set aside.
5. Hold the PTBT5 vertically with the DO sensor at the top and the sensor opening facing up.
6. Insert the syringe tip into one of the four openings of the sensor body as far as it can go.
7. Slowly fill the electrolyte well with electrolyte.
8. Hold the electrolyte filled sensor body in one hand and bring the electrolyte filled membrane cap closer with your
other hand.
9. Tilt the membrane cap and place it onto the sensor body.
10. Carefully start turning the membrane cap clockwise until it tightens firmly to the sensor body.
• Some electrolyte may escape.
11. Rinse any residual electrolyte from the outside of the sensor body with clean water (DI, RO or distilled).
12. Fill the hydration cap with enough clean water to soak the sponge inside (preferably DI, RO, or distilled water).
13. Place the hydration cap onto the DO sensor all the way to the cap stop.
14. Before using the PTBT5, let the new sensor stabilize for 2-4 hours with the hydration cap in place.
Quick Start Guide: ULTRAPENX2™ PTBT5 with the PTBTX2™ App
Dissolved Oxygen (DO) and Temperature Pen for Use with your Mobile Device Dissolved Oxygen (DO) and Temperature Pen for Use with your Mobile Device
PTBT5QSI-X2 Revision 01-20 Page 2 of 4 PTBT5QSI-X2 Revision 01-20 Page 3 of 4
• MS Button
Tap to record the last measurement.
• MS REPLACE Button
Tap to replace data in an existing record with data from the last
measurement.
USING THE PTBT5
ULTRAPEN APP – FEATURE NAVIGATION BAR
This bar appears at the bottom of all screens. The buttons in this bar are used to navigate between the App’s main
functional areas.
MEASUREMENT – Returns the App to the Measurement screen.
MEMORY RECALL – Displays a list of saved measurements.
CALIBRATION – Places the App in Calibration mode.
CONNECT – Opens the App's Bluetooth Connect / Disconnect screen.
• Once a PTBT5 is connected to the App the button label says Disconnect.
PREFERENCES – Opens the App's Preferences & Settings modes, including an internet link to the full Operation
Manual (HELP).
STEP 1 – DOWNLOAD THE “ULTRAPEN PTBTX2” APP
On and look for
1. Press and release the PEN BUTTON to turn the PTBT5 ON.
2. On your Device’s Home Screen, tap the BLUE PTBTX2 icon to open the PTBTX2 App.
3. Tap the CONNECT button at the bottom of the App display.
• The App will switch to the CONNECT Screen.
4. Swipe down on the screen. The
PTBT5 will appear on the list.
5. Tap the PTBT5’s name when it appears.
Default: MLC-PTBTX[Hexadecimal ID]
6. The PTBT5 will move to the top of the
list and a check mark will appear.
NOTES:
• Some Mobile Devices switch their wireless transmitters to a low power mode when their battery level gets too
low.
• This could affect how easily your PTBT5 and your device connects and communicates.
• ALWAYS keep your Mobile Device charge level as high as possible.
STEP 2– ADJUST THE ALTITUDE AND SALINITY SETTINGS
Prior to making measurements, the PTBT5 must be adjusted for local altitude and for the Salinity of the test sample.
• NOTE: For instructions on cleaning the DO sensor, performing a sensor check, troubleshooting, or storing the
PTBT5, download the full PTBT5 Operation Manual from www.myronl.com.
1. Press and release the PEN BUTTON to turn the PTBT5 ON and place it in Standby mode.
2. Tap the Preferences button in the Feature Navigation Bar.
3. Tap the Altitude
line
4. When the
Altitude Adjust
screen appears,
tap the Altitude
field.
5. Slide the two
selection
wheels up or
down to set the
altitude to the
nearest 100 ft.
6. Tap Apply.
7. Tap Ultrapen
Settings in the
upper left to
return to the
main settings
screen.
8. Tap the Salinity
line.
9. When the Salinity
Adjust screen
appears, tap the
Salinity field.
10. Slide the
selection wheel
up or down to
set the Salinity
to the nearest
1 ppt.
11. Tap APPLY.
12. Tap the MEASUREMENT button in the Feature Navigation Bar to open the Measurement screen.
STEP 3 – CALIBRATE THE PTBT5
IMPORTANT: Perform an AIR Calibration on the PTBT5 before making measurements. Refer to the
PTBT5 basic calibration instruction sheet included with your instrument.
STEP 4– MAKE A HOLD MODE MEASUREMENT
1. Press and release the PEN BUTTON to turn the PTBT5 ON and place it in Standby mode.
2. Dip the PTBT5 sensor in the sample solution.
3. Tap the MEASUREMENT button in the Feature Navigation Bar.
4. Tap the GREEN MEASURE button.
5. Swirl the pen in the sample while the
PTBT5 is measuring. The PTBT5’s
LED will flash rapidly.
6. When the PTBT5 completes the
measurement the App will display the
values.
SYSTEM REQUIREMENTS
iOS device running iOS 10.0 or later.
If you are using an iPad,
search for iPhone Apps.
Android device running OS 7.0 or later.

Other manuals for ULTRAPENX2 PTBT5

1

Other Myron L Measuring Instrument manuals

Myron L MLJ-PS6SI User manual

Myron L

Myron L MLJ-PS6SI User manual

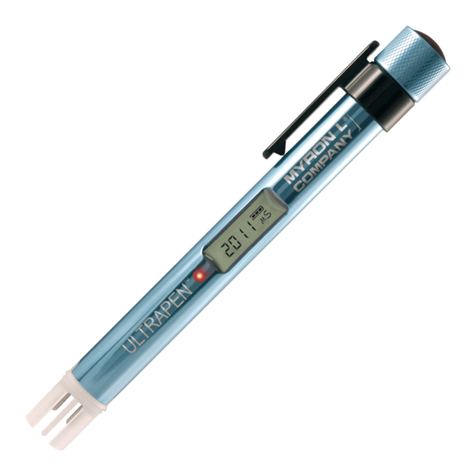
Myron L ULTRAPEN PT1 User manual

Myron L

Myron L ULTRAPEN PT1 User manual

Myron L D -1 User manual

Myron L

Myron L D -1 User manual

Myron L ULTRAPEN PT5 User manual

Myron L

Myron L ULTRAPEN PT5 User manual

Myron L TechPro II User manual

Myron L

Myron L TechPro II User manual

Myron L ULTRAMETER III 9PTKB User manual

Myron L

Myron L ULTRAMETER III 9PTKB User manual

Myron L ULTRAPEN PT3 User manual

Myron L

Myron L ULTRAPEN PT3 User manual

Myron L EP User manual

Myron L

Myron L EP User manual

Myron L M-6556 User manual

Myron L

Myron L M-6556 User manual

Myron L M-6555 User manual

Myron L

Myron L M-6555 User manual

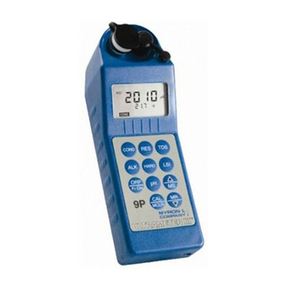
Myron L Ultrameter III 9P User manual

Myron L

Myron L Ultrameter III 9P User manual

Myron L ULTRAPEN PTBT1 User manual

Myron L

Myron L ULTRAPEN PTBT1 User manual

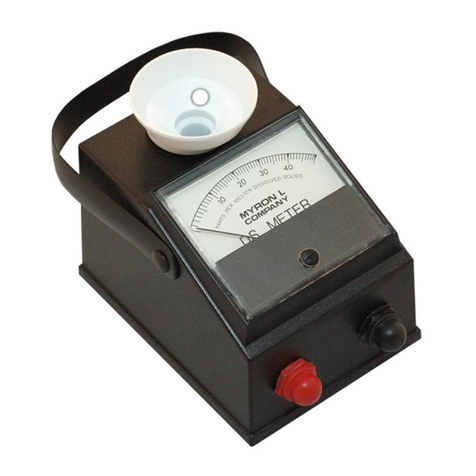
Myron L DS series User manual

Myron L

Myron L DS series User manual

Myron L 512T2 User manual

Myron L

Myron L 512T2 User manual

Myron L Ultrapen PT1 User manual

Myron L

Myron L Ultrapen PT1 User manual

Myron L RO Meter RO-1 User manual

Myron L

Myron L RO Meter RO-1 User manual

Myron L ULTRAPEN PT4 User manual

Myron L

Myron L ULTRAPEN PT4 User manual

Myron L PoolPro PS6FCE User manual

Myron L

Myron L PoolPro PS6FCE User manual

Myron L Ultrapen PT6 User manual

Myron L

Myron L Ultrapen PT6 User manual

Myron L bluDock Ultrameter III User manual

Myron L

Myron L bluDock Ultrameter III User manual

Myron L PoolPro PS9 User manual

Myron L

Myron L PoolPro PS9 User manual

Myron L ULTRAPEN PT2 User manual

Myron L

Myron L ULTRAPEN PT2 User manual

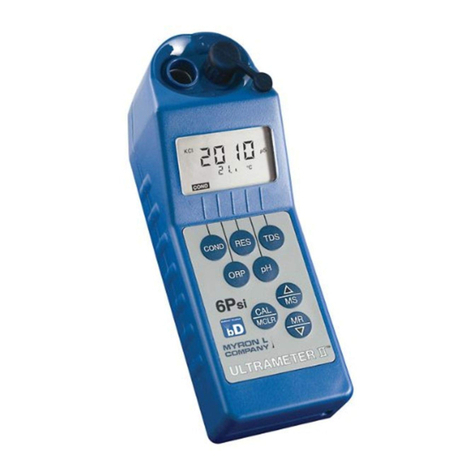
Myron L Ultrameter 6P User manual

Myron L

Myron L Ultrameter 6P User manual

Myron L ULTRAPENX2 PTBT4 User manual

Myron L

Myron L ULTRAPENX2 PTBT4 User manual

Popular Measuring Instrument manuals by other brands

Rion KC-52 Concise Manual

Rion

Rion KC-52 Concise Manual

Delmhorst Instrument Co J Series owner's manual

Delmhorst Instrument Co

Delmhorst Instrument Co J Series owner's manual

Bender W0-S20 manual

Bender

Bender W0-S20 manual

Keison KANE3500 manual

Keison

Keison KANE3500 manual

Sperry instruments DSA600TRMSR operating instructions

Sperry instruments

Sperry instruments DSA600TRMSR operating instructions

Inficon Sensistor ILS500 operating instructions

Inficon

Inficon Sensistor ILS500 operating instructions

Solight DT27 user manual

Solight

Solight DT27 user manual

nedis AHDS204CWT4 user manual

nedis

nedis AHDS204CWT4 user manual

Hanna Instruments HI 720 instruction manual

Hanna Instruments

Hanna Instruments HI 720 instruction manual

ADInstruments AD2A04 user guide

ADInstruments

ADInstruments AD2A04 user guide

Eaton Power Xpert Meter 4000 quick start guide

Eaton

Eaton Power Xpert Meter 4000 quick start guide

Teledyne Lecroy SierraNet M328 quick start

Teledyne Lecroy

Teledyne Lecroy SierraNet M328 quick start

BIRD 4042 Operation manual

BIRD

BIRD 4042 Operation manual

Campbell SR20-D2 product manual

Campbell

Campbell SR20-D2 product manual

Sper scientific 850070 manual

Sper scientific

Sper scientific 850070 manual

Rimik CP200 instruction manual

Rimik

Rimik CP200 instruction manual

Toshiba LF410 manual

Toshiba

Toshiba LF410 manual

LAQUA LAQUA-PC200 Series instruction manual

LAQUA

LAQUA LAQUA-PC200 Series instruction manual

manuals.online logo
manuals.online logoBrands
  • About & Mission
  • Contact us
  • Privacy Policy
  • Terms and Conditions

Copyright 2025 Manuals.Online. All Rights Reserved.