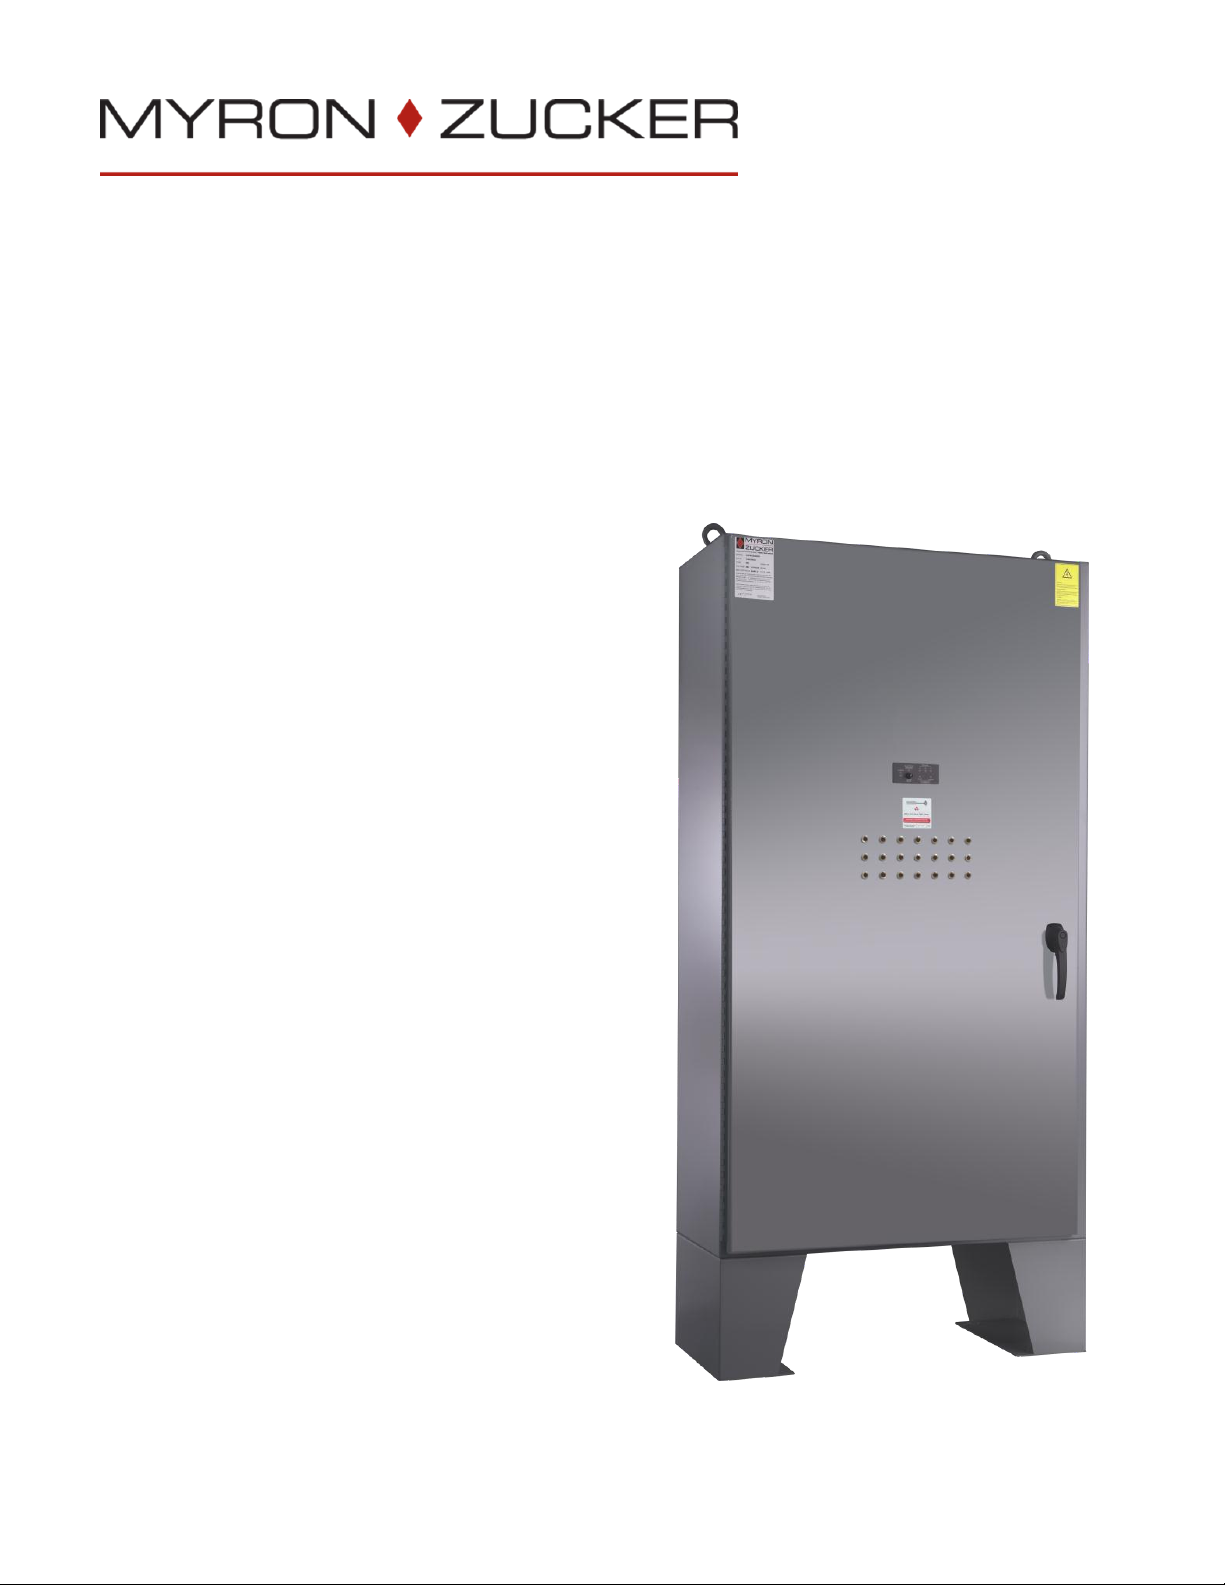
MYRON ZUCKER CAPACIBANK User manual

CAPACIBANK
®
INSTALLATION AND OPERATIONS MANUAL

CAPACIBANK®
Installation and Operations Manual
NOTE Please read this entire installation and operations manual before energizing the
CAPACIBANK®.
Safety Considerations:
Installing and servicing capacitor equipment can be hazardous. Only trained personnel
should install and service power factor correction capacitors.
Observe precautions in the literature, on tags, and on labels attached to the unit.
Follow all safety codes such as Lock-out/Tag-out procedures, Arc Flash safety, etc.
Wear required Personal Protective Equipment (PPE) such as safety glasses, work
gloves, cotton clothing, etc. as required by local code and safety procedures.
Warnings and Cautions:
Power factor correction capacitors alone are not for use in power systems where
harmonic currents are present. Harmonic currents can overload a capacitor with
excess current and/or heat. Any warranty claims will not be covered if capacitors are
exposed to harmonic currents. Contact Myron Zucker, Inc. for products that can be
used in the presence of harmonics.
Failure to read these instructions and failure to install the equipment per instructions
may cause equipment damage and may void the warranty.
Care should be taken in keeping the inside of enclosures clear of any debris,
metalworking by-products or electrician’s tools.
It is recommended that incoming power be disconnected at the source before making
any electrical or mechanical connections, changes or hands-on inspections.
To de-energize capacitor cells, wait one minute after disconnecting the unit from the
primary circuit to allow capacitor discharge resistors to reduce capacitor voltage to less
than 50 volts (National Electrical Code, Article 460-6 requirement).

CAPACIBANK®
Installation and Operations Manual
TABLE OF CONTENTS
1. PRE-INSTALLATION ....................................................................................... 1
1.1 Storage ............................................................................................... 1
1.2 Location ............................................................................................. 1
2. POWER SOURCE ............................................................................................ 2
2.1 Voltage ............................................................................................... 2
2.2 Conductor (Wire) Size ....................................................................... 2
2.3 Disconnect Devices and Ratings ....................................................... 2
2.4 Connections to Power Source ........................................................... 2
2.5 Equipment Ground ............................................................................. 2
3. PREVENTATIVE MAINTENANCE PROCEDURES ........................................ 4
4. OPERATION OF 3-PHASE MULTICELTEL (CIM Model)............................... 5
TABLES AND FIGURES
TABLE 1. Recommended Wire Sizes, Switches And Fuses............................ 3
FIGURE 1. Connection to Power Source Diagram .......................................... 2

CAPACIBANK®
Installation and Operations Manual
1
1. PRE-INSTALLATION Inspect the unit for any damage as soon as it is received. All risk of loss or damage
in transit shall pass to the purchaser at the shipping point, regardless of freight
payment.
Check that all packages and/or crates have been delivered and that the
equipment has not been damaged in transit.
Forward any claims to the carrier immediately (most carriers impose a 24-hour
time limit for the reporting of loss or damage).
Damaged or missing items are the responsibility of the carrier and must be
reported.
Check that the information shown on the equipment nameplates corresponds
with the order specifications.
The packaging material should be replaced for protection until installation has
begun.
1.1 Storage
If the unit cannot be placed into service reasonably soon after its receipt, it should
be stored in a clean, dry and ventilated building free from temperature extremes.
Acceptable storage temperatures are from 0°C (32°F) to 40°C (104°F).
Store the equipment in a dry, ventilated location, sheltered from rain, water
spray, splashes and chemicals.
Stored equipment should be protected by a tarp or other cover providing
effective protection against dust, dirt, paint, etc.
1.2 Location
Installation ambient temperatures are very important to achieve design life of
equipment.
Suggested location maximum ambient temperature is 40°C (104°F).
Maximum capacitor operating ambient temperature shall be 46°C (115°F).
For outdoor enclosures, care must be taken to keep unit from direct sunlight
and other weather conditions.
Spacing from walls shall be six (6) inches and twelve (12) inches from
overheads. All other equipment, housings, cabinets or other obstructions shall
be considered as walls or overheads.

CAPACIBANK®
Installation and Operations Manual
2
2. POWER SOURCE 2.1 Voltage
Check the unit’s nameplate to make certain that the voltage rating is suitable for
operation at the supply (line) voltage. These units are capable of operation at a
maximum of 110% of nameplate rated voltage (RMS, 50 or 60 Hz).
2.2 Conductor (Wire) Size
See TABLE 1 on next page for recommended wire size.
2.3 Disconnect Devices and Ratings
Equipment shall be capable of being disconnected from power source with switch,
fuse switch or circuit breaker. See TABLE 1 for recommended current ratings.
2.4 Connections to Power Source
Equipment shall be connected to power source as shown in FIGURE 1.
FIGURE 1
CONNECTION TO POWER SOURCE DIAGRAM
Power leads shall be straight and without kinks or loops. Lead length should be
such that no strain is applied to the power lead connector. Power leads shall be
firmly clamped in connectors by tightening connector bolts. Wire lead strands
should not move in connector when the lead is moved from side to side by hand.
Improper (loose) connections will cause terminal overheating and possible early
failure of the capacitor cells.
2.5 Equipment Ground
All units are provided with ground connector lug(s) within the enclosure to facilitate
grounding per National Electrical Code, Articles 460-10 & 250.

CAPACIBANK®
Installation and Operations Manual
3
TABLE 1
RECOMMENDED WIRE SIZES, SWITCHES AND FUSES FOR 3-PHASE, 60Hz CAPACITORS
(These wire sizes are based on 135% of rated current in accordance with the National Electrical Code, Article 460.)
240 VOLTS
480 VOLTS
600 VOLTS
KVAR
Current*
(Amps)
Wire Size
90°C-Type
THHN
XHHW* or
Equiv. †
Fuse
(Amps)
C.B. or
Switch
(Amps)
Current*
(Amps)
Wire Size
90°C-Type
THHN
XHHW* or
Equiv. †
Fuse
(Amps)
C.B. or
Switch
(Amps)
Current*
(Amps)
Wire Size
90°C-Type
THHN
XHHW* or
Equiv. †
Fuse
(Amps)
C.B. or
Switch
(Amps)
1
2.4
14
5
30
1.2
14
3
30
1.0
14
3
30
1.5
3.6
14
6
30
1.8
14
3
30
1.4
14
3
30
2
4.8
14
10
30
2.4
14
5
30
1.9
14
3
30
2.5
6
14
10
30
3
14
6
30
2.4
14
5
30
3
7.2
14
15
30
3.6
14
6
30
2.9
14
5
30
4
9.6
12
20
30
4.8
14
10
30
3.8
14
6
30
5
12
12
20
30
6
14
10
30
4.8
14
10
30
6
14.4
10
25
30
7.2
14
15
30
5.8
14
10
30
7.5
18
10
30
30
9
14
15
30
7.2
14
15
30
10
24
8
40
60
12
12
20
30
9.6
12
20
30
12.5
30
8
50
60
15
10
25
30
12
12
20
30
15
36
6
60
60
18
10
30
30
14.4
10
25
30
17.5
42
6
70
100
21
8
35
60
16.8
10
30
30
20
48
4
80
100
24
8
40
60
19.2
8
35
60
22.5
54
4
90
100
27
8
50
60
21.6
8
35
60
25
60
2
100
100
30
8
50
60
24
8
40
60
27.5
66
2
125
200
33
6
60
60
26.4
8
45
60
30
72
2
125
200
36
6
60
60
28.8
8
50
60
32.5
78
1/0
150
200
39
6
65
100
31.2
8
50
60
35
84
1/0
150
200
42
6
70
100
33.6
6
60
60
37.5
90
1/0
150
200
45
6
75
100
36
6
60
60
40
96
2/0
175
200
48
4
80
100
38.4
6
65
100
42.5
102
2/0
175
200
51
4
90
100
40.8
6
70
100
45
108
3/0
200
200
54
4
90
100
43.2
6
75
100
50
120
3/0
200
200
60
2
100
100
48
4
80
100
52.5
126
3/0
200
200
63
2
110
200
50.4
4
80
100
55
132
4/0
250
400
66
2
125
200
52.8
4
90
100
60
144
4/0
250
400
72
2
125
200
57.6
2
100
100
65
156
4/0
250
400
78
1/0
150
200
62.4
2
110
200
70
168
300M
300
400
84
1/0
150
200
67.2
2
125
200
75
180
300M
300
400
90
1/0
150
200
72
2
125
200
80
192
350M
350
400
96
2/0
175
200
76.8
1/0
150
200
90
216
500M
400
400
108
3/0
200
200
86.4
1/0
150
200
100
240
500M
400
400
120
3/0
200
200
96
2/0
175
200
125
300
(2)4/0
500
600
150
4/0
250
400
120
3/0
200
200
150
360
(2)300M
600
600
180
300M
300
400
144
4/0
250
400
200
480
(2)500M
800
800
240
500M
400
400
192
350M
350
400
225
540
(3)300M
900
1200
270
(2)4/0
500
600
216
500M
400
400
250
600
(3)350M
1000
1200
300
(2)4/0
500
600
240
500M
400
400
300
720
(3)500M
1200
1200
360
(2)300M
600
600
288
(2)4/0
500
600
350
420
(2)350M
700
800
336
(2)300M
600
600
400
480
(2)500M
800
800
384
(2)350M
700
800
450
540
(3)300M
900
1200
432
(2)400M
750
800
500
600
(3)350M
1000
1200
480
(2)500M
800
800
550
660
(3)500M
1100
1200
528
(3)300M
900
1200
600
720
(3)500M
1200
1200
576
(3)350M
1000
1200
* Rated current based on operation at rated voltage, frequency, and KVAR.
†Consult National Electrical Code for other wire types. Above size based on 35°C Ambient Operation. (Refer to NEC table 310-16)
Note:
Fuses furnished within Capacitor Assembly may be rated at higher value than shown in this table. The table is correct for field
installations and reflects the manufacture's suggested rating for overcurrent protection and disconnect means in compliance with the
National Electrical Code.

CAPACIBANK®
Installation and Operations Manual
4
5. PREVENTATIVE MAINTENANCE PROCEDURES
WIRE CONNECTIONS
Every six (6) months all power wire connections should be inspected for tightness.
CAPACITOR CELLS
Every six (6) months capacitor cells should be visually checked for distorted tops.
INDICATION LIGHTS
Fuse lights may be checked visually every day for blown fuses.
CLEANLINESS
Every six (6) months the fan filters should be inspected and cleaned or replaced
and the unit should be clean of all contaminants. Note: DO NOT USE HIGH
PRESSURE LIQUID TO CLEAN UNITS.
How to Check Fuses:
Trouble: Fuse light is illuminated.
This indicates that a fuse is blown. Typically, power surges or a bad capacitor
causes a fuse to blow.
Disconnect power from the capacitor unit and wait one minute after the
power has been disconnected to allow the capacitors to discharge.
Check affected capacitor following steps below: How to Test a Capacitor Cell.
Replace affected fuse.
How to Test a Capacitor Cell:
With a Capacitance Meter
Capacitor cells are rated in microfarad and voltage. The easiest way to test a cell
is to measure the microfarads with a capacitance meter.
Disconnect power from the capacitor unit and wait one minute after the
power has been disconnected to allow the capacitors to discharge.
Measure microfarads using a capacitance meter. The microfarads should be
equal to the microfarad rating or up to 5% over the rating.
If microfarads are below the minimum, the cell is going bad.
Replace bad capacitor cells.
Visual Inspection of Cell
If a capacitor meter is not readily available, the status of a cell can sometimes be
determined visually.
If the cell can is "bulged out" or "pouched up" on the top, it is definitely bad.
Disconnect power from the capacitor unit and wait one minute after the
power has been disconnected to allow the capacitors to discharge.
Replace bad capacitor cells.

CAPACIBANK®
Installation and Operations Manual
5
6. OPERATION OF 3-PHASE MULTICELTEL (CIM Model)
The 3-Phase MultiCelTel (MCT) is a patented Myron Zucker, Inc. product which
provides additional monitoring of the capacitor cells within the Capacibank®and is
factory installed and calibrated on the “I”series products.
Operation:
When power is supplied to the Capacibank®, the MCT will go through the following
power-up procedure.
If the power supply is working correctly, the POWER indicator will
illuminate and the EQUIPMENT WARNING indicator will turn on briefly.
EQUIPMENT WARNING indicator will turn off and the PHASE and
CURRENT indicators will illuminate for half-a-second to self-test the
display.
Note: If the EQUIPMENT WARNING indicator flashes once per second,
the MCT is defective and should be replaced. This occurs if the MCT
detects a malfunction during its self-diagnostics, or if the micro-controller
fails to operate.
The MCT has been programmed with a 2-minute power delay to allow the
Capacibank®to energize. During this time the relay is disabled and all inputs are
ignored. After the 2-minute power delay, the normal mode of operation is initiated,
the phases are monitored and the relay is enabled.
Note: This 2-minute power delay will occur anytime the power to the system is
cycled or when the reset switch is activated after a fault occurs.
MCT Monitoring Features:
Phases Out of Range
If an out-of-range condition is detected and remains for more than 32 seconds
(alarm delay period), the indicator for the PHASE out-of-range is illuminated.
If the current is less than 8 amps of the other two phases, the UNDER
current indicator is illuminated.
If the current is greater than 8 amps of the other two phases, the
OVER current indicator will illuminate.
If more than one phase is out of range, only the indicators for the phases out-of-
range will be illuminated. The OVER and UNDER current indicators will NOT
Illuminate.

CAPACIBANK®
Installation and Operations Manual
6
Phase Imbalance
If an imbalance condition is detected and remains for more than 32 seconds (alarm
delay period), and indicator is illuminated.
If one phase is greater than 16 amps of the other two phases, the
indicator for that PHASE is illuminated along with the OVER current
indicator.
If one phase is less than 16 amps of the other two phases, the
indicator for that PHASE is illuminated along with the UNDER current
indicator.
If the difference between the highest and lowest phase is at least 16
amps, but the remaining phase is within 16 amps of the highest and
lowest, then it is not possible to determine which phase is over- or
under-current. In this circumstance, both the OVER and UNDER
current indicators will illuminate but none of the phase indicators will
illuminate.
MCT Monitoring Conditions:
One of the PHASE indicators is illuminated and either the UNDER or
OVER current indicator is illuminated.
CAUSE: The indicated phase was either out-of-balance or out-of-
range. The under-current or over-current indicator identifies the
relationship between the faulty phase and the other two phases.
Any combination of PHASE indicators is illuminated, but no under-
current or over-current indicator is illuminated.
CAUSE: The indicated phase or phases were out-of-range. It was
not possible to determine whether the current was over or under
the acceptable range.
UNDER current and OVER current illuminated, but no phase
indicators illuminated.
CAUSE: A phase imbalance condition occurred where the
difference between the highest and lowest phases were greater
than 16 amps, but the remaining phase was close enough to the
other two phases to be considered in balance. It was not possible
to determine which phase was at fault.
EQUIPMENT WARNING indicator is flashing.
CAUSE: The MCT has found a problem with its operation and has
shut itself down. In this condition the MCT is not monitoring the
system and should be checked for trouble.
When an alarm condition exists, the system relay will be and will remain disabled
until either power is cycled or the reset switch is pressed. Pressing the reset switch
any other time does not affect the unit.
If either an out-of-range or out-of-balance condition occurs but returns to a normal
condition before the alarm delay period expires (32 seconds), the fault condition
will be cleared and the alarm delay will be reset.

©2009 Myron Zucker, Inc., All Rights Reserved
Table of contents
Other MYRON ZUCKER Industrial Equipment manuals