NaimUniti – Kurzanleitung Deutsch
• Um das UKW-Radio des NaimUniti zu verwenden, wählen Sie den Eingang UKW aus und starten
Sie den Sendersuchlauf mit den Fernbedienungstasten oder . Der Suchlauf stoppt, sobald ein
Sender gefunden ist (der Sender kann dann als Preset gespeichert werden). Um den Suchlauf
fortzusetzen, drücken Sie wieder bzw. . Senderinformationen und Radiotext werden (falls
vorhanden) automatisch angezeigt.
• Bevor die DAB-Funktion des NaimUniti genutzt werden kann, muss ein Sendersuchlauf
durchgeführt werden. Wählen Sie dazu den Eingang DAB aus und drücken Sie die
Fernbedienungstaste ok/list, um den Suchlauf zu starten. Wenn der Suchlauf abgeschlossen ist,
gibt der NaimUniti den zuerst gefundenen DAB-Sender wieder. Weitere Sender können mithilfe
der Fernbedienungstasten oder angewählt werden.
• Wenn der NaimUniti in ein Netzwerk mit Internetanschluss eingebunden ist, lädt er automatisch
eine Liste aller verfügbaren Webradiosender herunter. Wenn danach der Eingang Webradio
ausgewählt wird, zeigt der Player ein Menü an, in dem die verfügbaren Webradiosender nach
Ort und Genre sortiert sind. Mithilfe der Fernbedienungstasten 5, 6, 3und ok/list können Sie
sich in der Senderliste bewegen und Sender auswählen.
• Der NaimUniti kann UKW-, DAB- und Webradiosender als Presets abspeichern. Um den jeweils
eingestellten Sender als Preset zu speichern, drücken Sie die Fernbedienungstaste store
(Speichern). Daraufhin erscheinen Menüs zum Speichern, Umbenennen und Löschen von
Presets.
• Um eine Liste der in allen drei Tuner-Modi verfügbaren Presets anzuzeigen, drücken Sie die
Fernbedienungstaste preset. Mithilfe der Fernbedienungstasten 5, 6und ok/list können Sie sich
in der Liste bewegen und Presets auswählen.
• Wenn der Eingang UPnP™ ausgewählt ist, zeigt der NaimUniti eine Liste aller im Netzwerk
verfügbaren UPnP™-Server an. Mithilfe der Fernbedienungstasten 5, 6, 3und ok/list können
Sie sich in der Liste bewegen und Inhalte auswählen. Drücken Sie die Fernbedienungstaste
(Play/Pause), um die ausgewählte Audiodatei abzuspielen.
• Wenn ein iPod an der dafür vorgesehenen rückwärtigen Buchse angeschlossen und der Eingang
iPod ausgewählt ist, zeigt das Display des NaimUniti ein Menü mit allen Funktionen des iPod an.
Mithilfe der Fernbedienungstasten 5, 6, 3und ok/list können Sie sich in der Liste bewegen und
Inhalte auswählen. Drücken Sie die Fernbedienungstaste (Play/Pause), um die ausgewählte
Audiodatei abzuspielen.
• Wenn ein USB-Stick in die dafür vorgesehene Buchse an der Gerätefront gesteckt und der
Eingang USB ausgewählt ist, zeigt das Display des NaimUniti die Ordnerstruktur des USB-Sticks an.
Mithilfe der Fernbedienungstasten 5, 6, 3und ok/list können Sie sich in der Ordnerstruktur
bewegen und Inhalte auswählen. Drücken Sie die Fernbedienungstaste (Play/Pause), um
eine Audiodatei bzw. alle Dateien in einem Ordner abzuspielen.
• Wenn der Eingang CD, UKW, DAB, Webradio, UPnP™, iPod oder USB ausgewählt ist, lassen sich
mithilfe der Infotaste ( ) an der Fernbedienung zusätzliche Informationen zum Eingang oder zum
aktuellen Programmmaterial anzeigen.
Hinweise zu UPnP™-Servern:
UPnP™-Server nutzen eine Software, die es dem NaimUniti (oder sonstigen UPnP™-kompatiblen
Playern) ermöglicht, Audiodateien wiederzugeben, die auf anderen Geräten im Netzwerk
gespeichertsind.AlsUPnP™-ServerkommeninderRegelHeimcomputerzumEinsatz,dochauch
einige NAS-Systeme (Network-Attached Storage) nutzen UPnP™-Software.
DerWindowsMedia™Player(Version11oderhöher)verfügtübereineUPnP™-Server-Funktion.
Weitere Windows- und Mac-kompatible UPnP™-Software ist von Drittanbietern erhältlich.
Weitere Informationen zu Installation und Bedienung finden Sie in der ausführlichen
Bedienungsanleitung unter www.naimaudio.com.
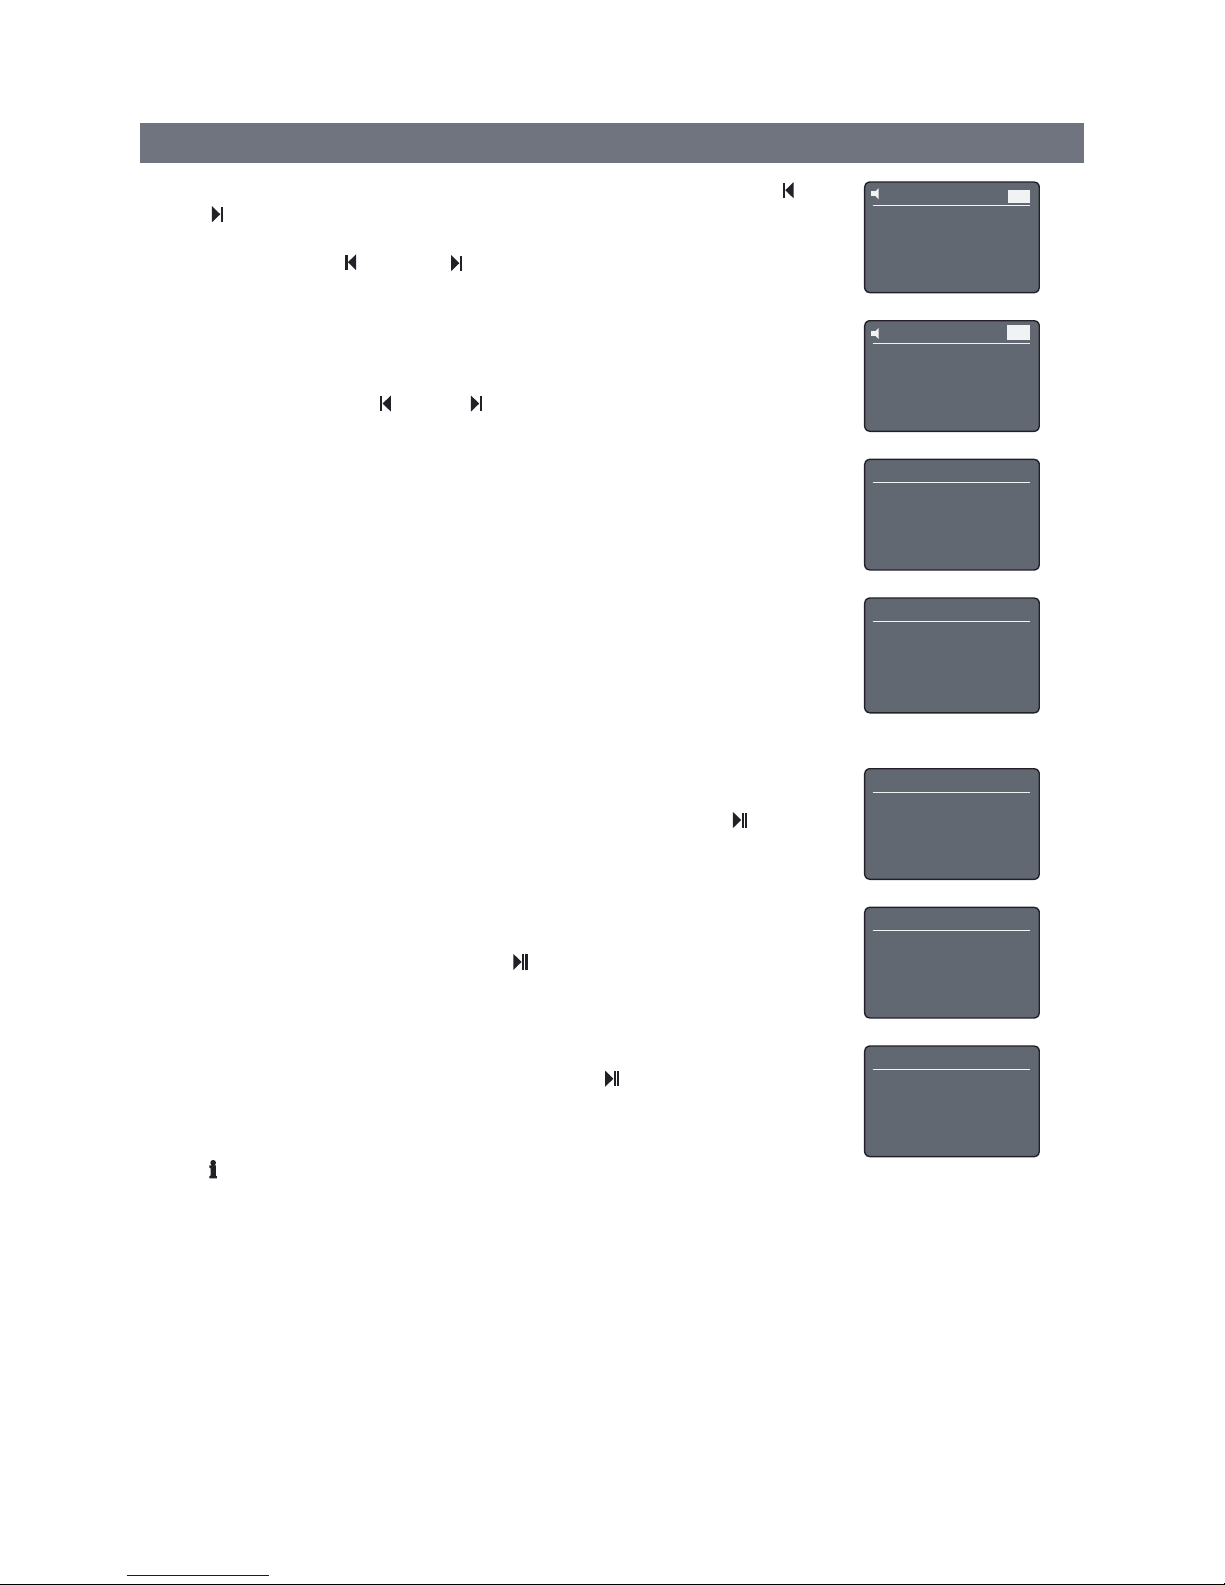
UPnP 3/3
Laptop
NAS
4PC
USB 4/18
Brilliant Corners.wav
Grace and Danger.wav
Nelly The Elephant.wav
4Solid Air.wav
Webradio 3/6
Ort
Genre
4Podcasts nach Ort
Podcasts nach Genre
Presets 1/3
4‘94.20 MHz’ speichern
Preset umbenennen
Preset löschen
Tom’s iPod 1/7
4Playlisten
Interpreten
Alben
Titel
42
Keine Sender
Drücken Sie “list”
DAB
42
94.20 MHz
UKW