nanalysis NMReady 60e User manual

1 of 17
NMReady™ 60e
Quick Start Guide
Nanalysis Corporation
Copyright 2016 ▪Nanalysis Corporation

2 of 17
Copyright 2014 ▪Nanalysis Corporation
•Safely un-crating the instrument
•Parts Checklist
•Requirements for choosing a site to locate instrument
•Operating recommendations
•Network requirements
•Powering up the instrument
•Site adjustments
•Solvent reference tubes and solvent management
•Broken tube removal
•Shipping the instrument
•The Sample Warmer
What’s in this guide

3 of 17
Copyright 2014 ▪Nanalysis Corporation
•Have 2 strong people (never 1) lift the black
plastic case straight up & out of the wooden crate
•Do not wheel the case over rough surfaces
(e.g. sidewalks, uneven tile)
•Remove foam inserts and accessories from the
plastic case first
•Have 1 strong person lift the instrument out of
the case, placing very carefully on chosen bench
•Do not slide instrument along bench surface
Un-crating the Instrument

4 of 17
Copyright 2014 ▪Nanalysis Corporation
Parts Checklist
NMReady 60 with power supply & power cord
Solvent reference Kit
Broken tube removal tool
Sample warmer and power cord
For calibrating the spectrometer to the solvent being used.
Tubes should be kept warm in the sample warmer (see below).
For removing broken NMR tubes
For keeping samples and solvent references at the ideal temperature.
Performance can be degraded if un-heated samples and/or references
are used in the spectrometer.

5 of 17
Copyright 2014 ▪Nanalysis Corporation
•Located in a temperature stable environment of 18-26 oC.
Equipment will not operate properly if the temperature is outside
of this range.
•Temperature variation limits. Either:
1. Temperature variations no greater than +/- 1 oC from nominal,
regardless of rate of change (Controlled temperature environment)
2. Temperature variations no greater than +/- 3 oC from nominal,
having a rate of change not exceeding 0.5 oC per hour. (Uncontrolled
or loosely-controlled temperature environment)
•Should not be situated near doors that are in constant use
(open/close) or air conditioning vents. Cold or warm air blowing on
the instrument will affect its performance.
•Should not be within 2.5 meters of electric motors or large masses
of moving metal.
•If situated on a desk or bench it should not be over the drawer
stack, as moving steel will affect magnetic gradients.
Site Requirements

6 of 17
Copyright 2014 ▪Nanalysis Corporation
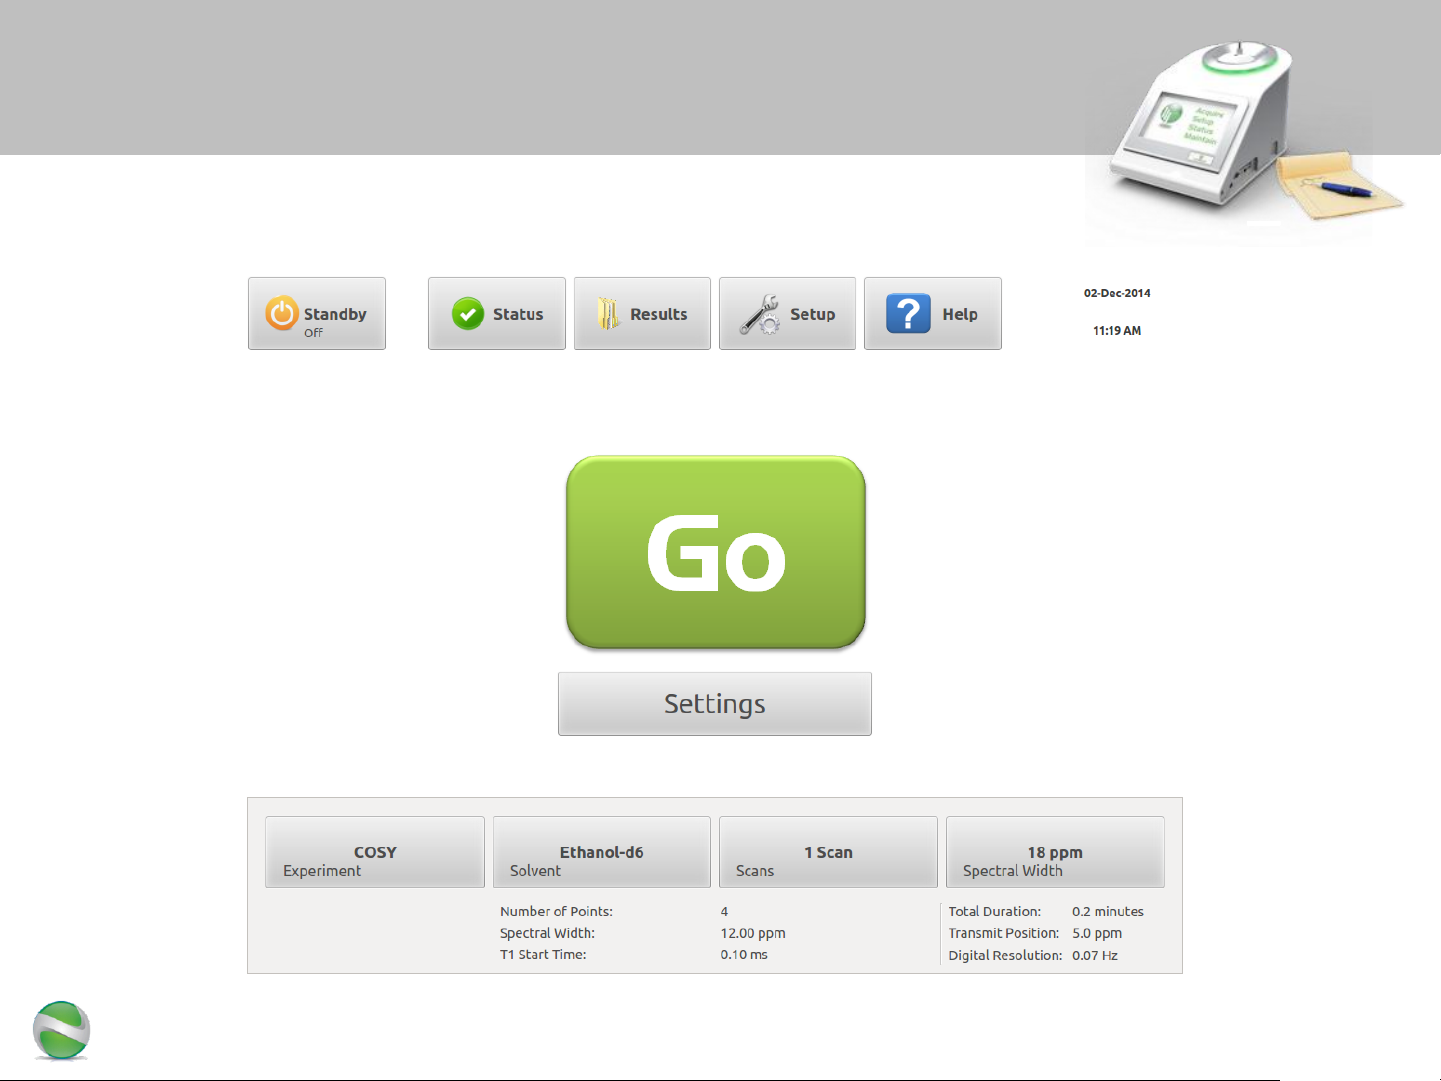
•Leave the spectrometer powered on
–For best performance it is recommended to leave the spectrometer powered
on at all times.
–Leaving the unit on keeps the NMR magnet at an optimal temperature which
is very important for its operation.
–If the unit is turned off overnight the magnet will cool down and possibly take
hours the next day to heat up and shim to the target resolution / line-width.
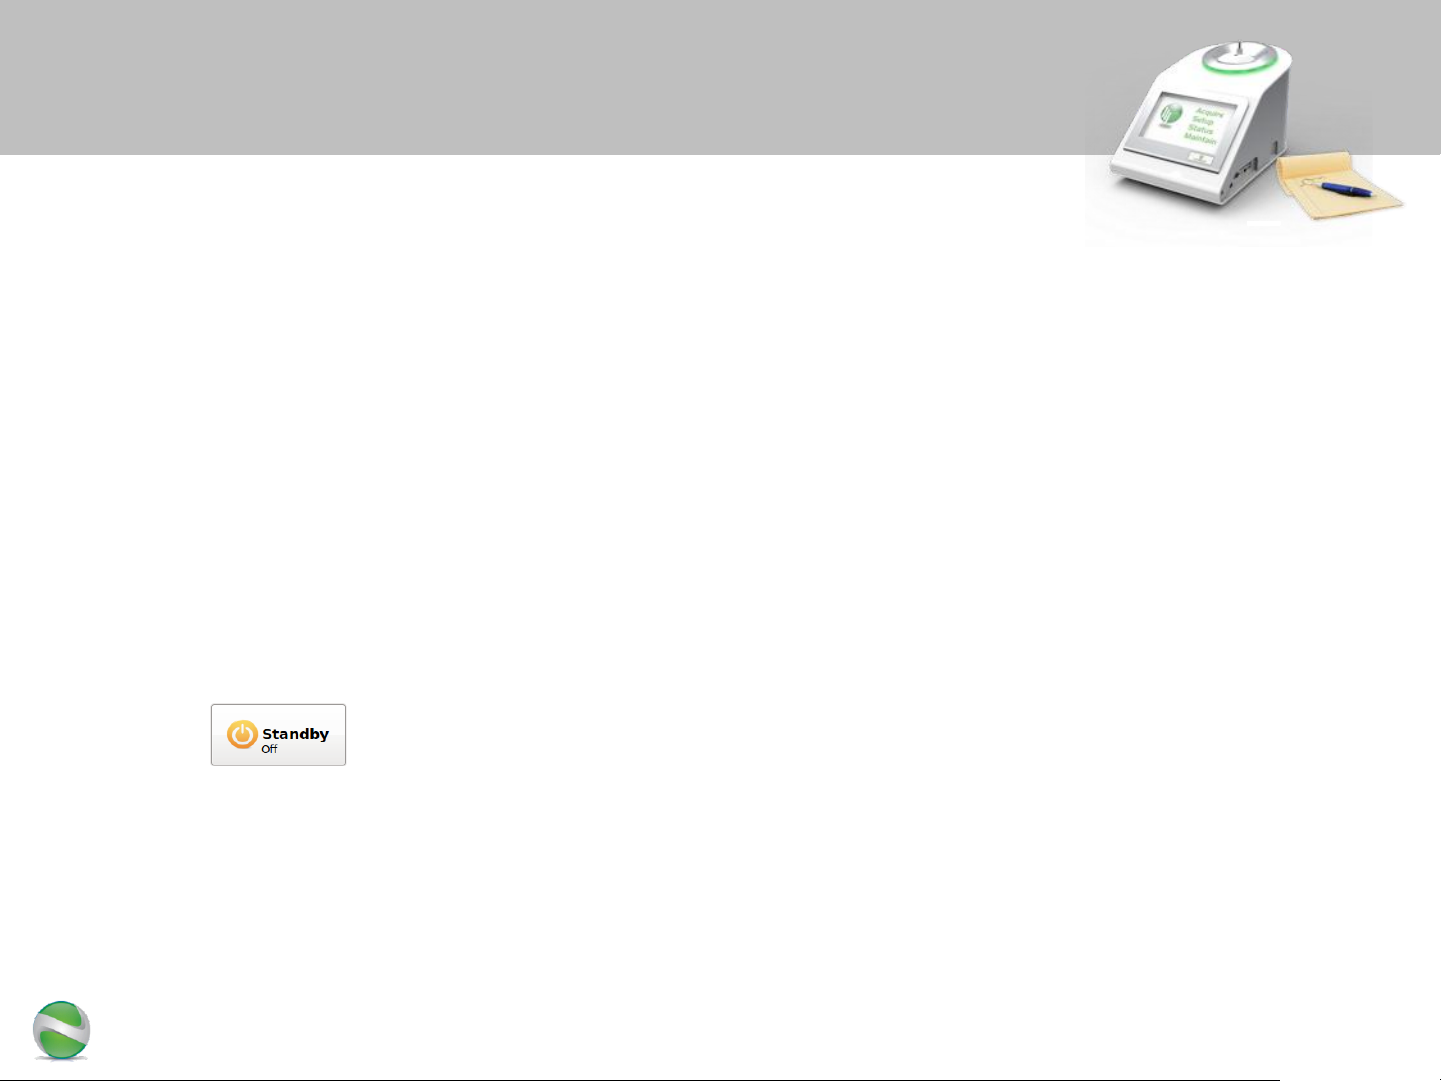
•Run standby shimming when not in use
–NMReady has a Standby Shimming mode that is used to maintain optimal line
shape through times when the instrument is not active.
–The Standby Shimming button is in the upper left corner of the main screen.
–Suggested times for using Standby Shimming are: overnight, over weekends,
during holidays and through work periods when the NMReady will not be
required for an extended period of time. For example, turn on standby
shimming when leaving for the day.
Operating Recommendations

7 of 17
Copyright 2014 ▪Nanalysis Corporation
•Even though the NMReady 60 can be operated as a
stand-alone instrument, there are optional features
that can utilize a LAN and/or Internet connection.
•Internet-based features include:
–sharing the instrument’s screen with a customer service
agent for troubleshooting or training
–proactive performance monitoring with Nanalysis
customer service
•LAN-based features include:
–uploading spectra to a shared folder
–printing to a network printer
•Note: Please see the last page of this document for a
diagram of network ports utilized by the instrument
Network Requirements

8 of 17
Copyright 2014 ▪Nanalysis Corporation
1. If the spectrometer is colder/warmer than room
temperature by more than 3 degrees, let spectrometer
acclimate for 1 hour before applying power.
2. Plug in power supply to turn on electronics. Optionally
plug in keyboard and mouse.
3. Press the silver power button to turn on the touch panel
display
–System will automatically boot into the GUI and start the
installation wizard
Powering up the NMReady
Silver button
for turning on
the touch
panel display
4. It is a good idea to turn on
the sample warmer (see last pages
of this document) at the same time
as the NMReady

9 of 17
Copyright 2014 ▪Nanalysis Corporation
Installation Wizard
•The first time an instrument is powered up it
will automatically run the installation wizard
•Please follow the instructions as the wizard
steps through the install procedure
•A typical install will take 3-5 hours
•When the install is complete the main screen
will be displayed

10 of 17
Copyright 2014 ▪Nanalysis Corporation
Main Screen
•“Go” will be greyed-out until a solvent is selected

11 of 17
Copyright 2014 ▪Nanalysis Corporation
•When moving the instrument
–Even inches from its current location, it is
recommended you perform a full shim
–To a new bench, perform a full shim
–To a new room or building, perform a Site
Installation (press Setup button and go to Service > Scripts)
•When powering off/on the instrument
–Wait for all automated tests to complete
Site Adjustments

12 of 17
Copyright 2014 ▪Nanalysis Corporation
Solvent Reference Tubes
What are they used for?
Blue
Yellow
Pink
There are 3 color-coded reference tubes shipped with your instrument.
The references are used to shim the instrument to a specific solvent.
d6-benzene, d6-dimethylsulfoxide, DMSO, d8-toluene, d8-tetrahydrofuran
D2O, d-Chloroform, d2-dichloromethane
d4-acetic acid, d6-acetone, d3-acetonitrile, d4-methanol, d-trifluoroacetic acid
Supported Solvents

13 of 17
Copyright 2014 ▪Nanalysis Corporation
Solvent Management
To add or remove solvents from the instrument's solvent list go to ‘Setup’…
‘System’… ‘Solvents’

14 of 17
Copyright 2014 ▪Nanalysis Corporation
Warning: Broken NMR tubes can be sharp and can hold remnants of dangerous
materials. Please exercise caution when removing broken NMR tubes by using
appropriate tools and/or personal protection equipment.
Removal of Broken NMR Tubes
Drain Hole
Bottom View
If a sufficient length of tube is not exposed, shutdown the
instrument & unplug the power cord. Next, use the broken
tube removal tool to push tube up & out of the channel.
To do this, very carefully tilt the spectrometer onto its flat
back and remove the drain filter cap on the bottom of the
unit. It is safest to have 2 people perform this procedure
so that the unit does not drop. Next, push the removal tool
up through the drainage hole to expose enough of the
broken tube to grab.
When the tube is fully removed, place the spectrometer
back on the tabletop and rinse the tube channel with a
small amount of an appropriate solvent (e.g. Isopropyl
alcohol). Wait for the solvent to dry before plugging the
power cord in.
Never place the spectrometer completely upside down
If a tube is broken and cannot be removed by grasping the
broken end, first unscrew the white NMR tube guide. If this
exposes enough tube, grasp it with plastic (non-magnetic)
tweezers and pull up carefully in a linear motion.

15 of 17
Copyright 2014 ▪Nanalysis Corporation
•Remove all foam inserts from the black plastic shipping case
•Have 1 strong person carefully lower the instrument into the
case. The back of the instrument must be placed closest to
the case’s wheels.
•Add foam layers and accessories in appropriate slots
•Close case using all clips
•Have 2 strong people (never 1) carefully lower the
case into the wooden crate
•Place hard foam layer and then lid on crate.
Secure with screws, not nails.
•Ship the crate as fragile and “dangerous goods” (DG)
–Product is not dangerous but the DG designation will ensure better
treatment in terms of temperature stability and shock/vibration
Shipping the Instrument

16 of 17
Copyright 2014 ▪Nanalysis Corporation
•The sample warmer is used to keep NMR samples and solvent
reference tubes at the same temperature as the instrument’s
NMR magnet
•While the spectrometer is warming up, turn on the warmer
(switch is on the back) and place
the solvent reference tubes in it
•Any sample you are testing should
also be placed in the warmer at least
5 minutes before usage
•Performance can be degraded if
un-heated samples and/or references are used.
The Sample Warmer

17 of 17
Copyright 2014 ▪Nanalysis Corporation
FYI: Network Connections
NMRServer™
FTP (port 21)
For transfer of log files
VNC (port 5500)
For screen-sharing help
Internet
SSH (port 22)
For OS access, disabled by default
VNC (port 5900)
For remote control, disabled by default
Local Area Network
SMB (ports 445, 139)
For file sharing uploads, optional feature
Printing (setup dependent)
Optional feature
Further information for your IT Dept
- The Mac ID of the instrument is available from your sales rep
- The instrument obtains its IP address using DHCP
Table of contents
Popular Laboratory Equipment manuals by other brands

Labconco
Labconco 5530000 quick start guide

Memmert
Memmert UF PLUS Series operating instructions

ZINEXTS
ZINEXTS MagPurix 12A instruction manual

socorex
socorex CALIBRA 852 Series operating instructions

Thermo Scientific
Thermo Scientific Heraeus Megafuge 8 instruction manual

LI-COR
LI-COR LI-6400 installation instructions