Chapter 1 - Getting Started
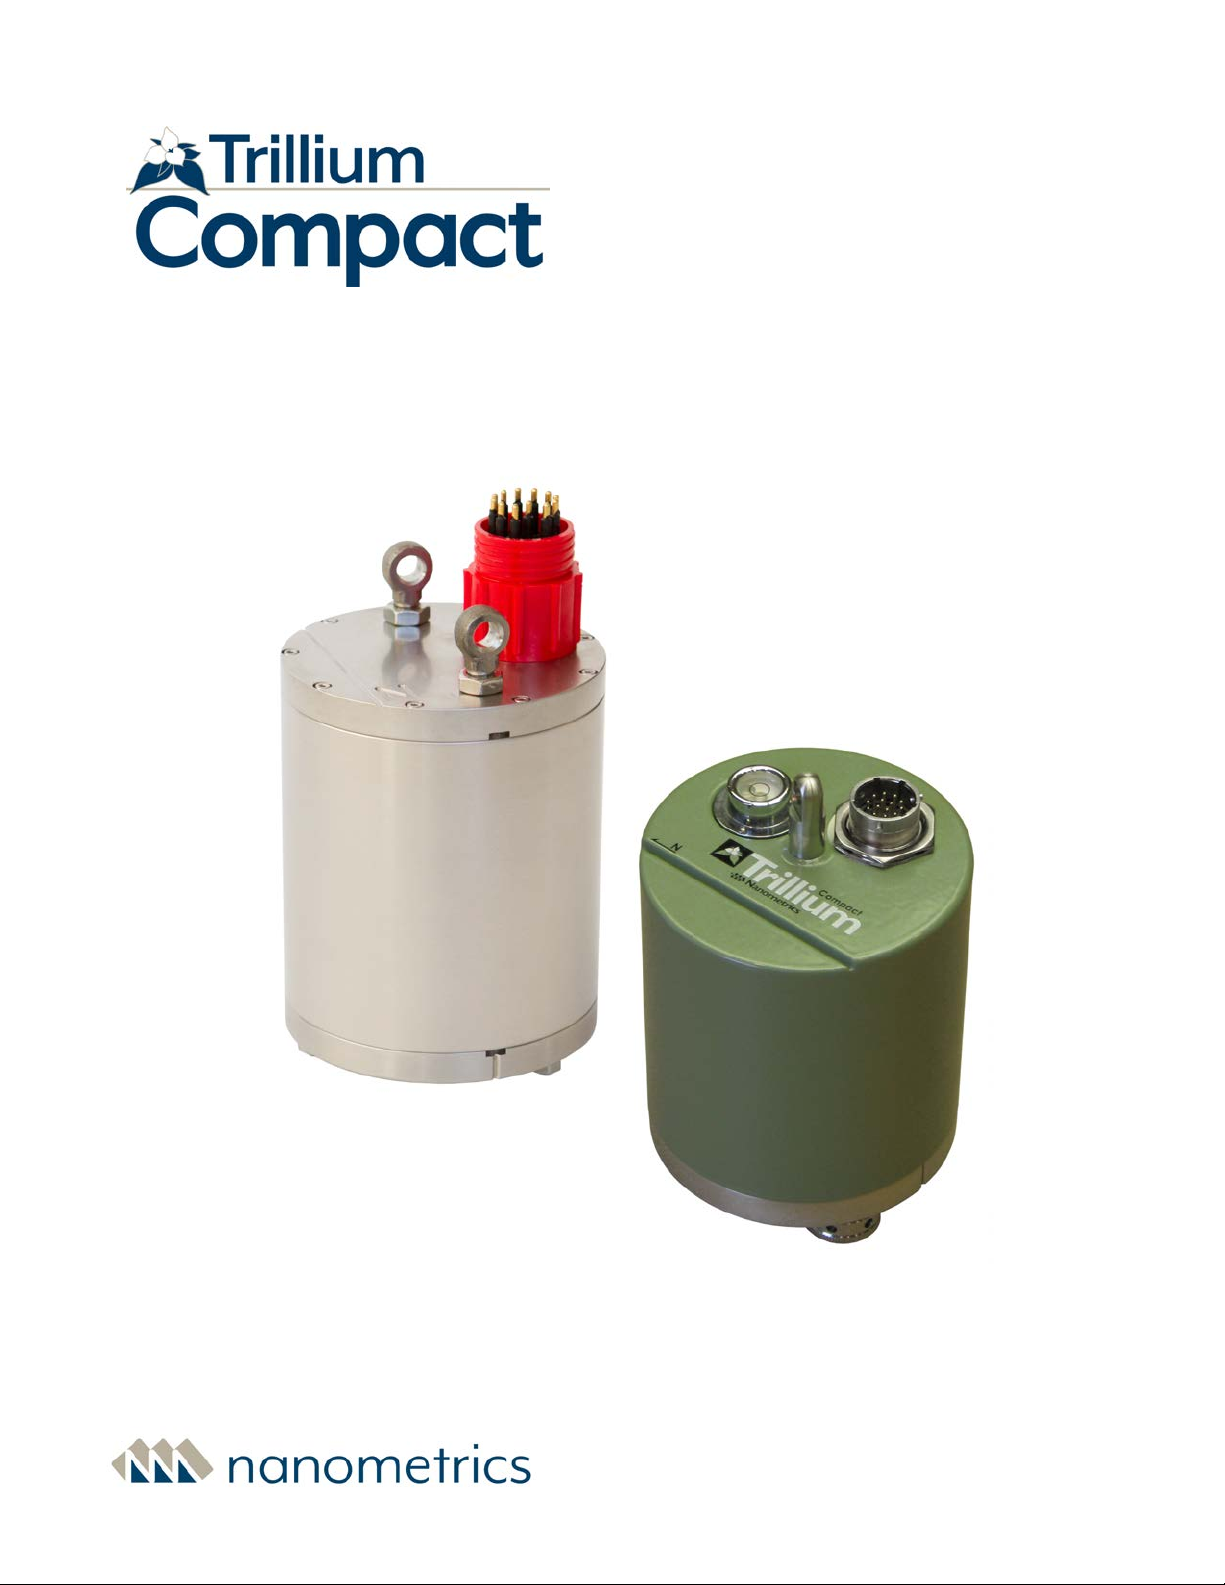
1.1 About the Trillium Compact
Trillium Compact is extremely simple to deploy with no mass lock and no mass centering
required. The exceptionally small size significantly reduces the time and effort required for site
preparation and installation. Continuous quality data are available within minutes of
deployment with no requirement for further intervention.
All Trillium Compact seismometers are observatory-class three-component, very broadband,
low-noise seismometers with extended low frequency range useful out to beyond 1000 s, low
noise, and a high clip level that is ideal for teleseismic, regional, and local studies.
lLow-noise broadband seismometer performance
lBroadband performance, 20 or 120 second to 100 Hz, with improved noise floor at
high frequency
lExceptionally high clip level of 26 mm/s permits on scale recording of larger events
closer to the source
lUltra low power consumption of just 180 mW for low operating costs and higher
station reliability
lEase of deployment through no mass lock, no mass centering and wide tilt range
lIntegrated web server for efficient instrument management
lExtended operating temperature range for Polar Environment models TC20-PH2-XC
and TC120-PH2-XC
Trillium Compact seismometers are available with 20 s or 120 s low corner period. The 20 s
variants have a wide operational tilt range of ±10° and are suitable for down-hole installations
where the seismometer cannot be leveled, or for rapid deployments where a quick settling
time is needed. The 120 s variants have lower long-period noise and a narrower tilt range of
±2.5° and are suitable for installations where the seismometer can be manually leveled or
placed on a level surface (in a vault or at the bottom of a suitably prepared borehole).
Featuring low sensitivity to both tilt and temperature, Trillium Compact seismometers do not
require mass centering under normal operation. With the wide tilt range, leveling is simple and
if additional leveling is required, the seismometer can be leveled in seconds by seating it in its
Chapter 1 - Getting Started
16889R10 • 2020-11-12 Page 9