Rev. 5/29/02
PROBLEMAS Y SOLUCIONES
REVISE TODAS LAS INFORMACIONES DE ADVERTENCIA, ANTES DE PROCEDER CON EL FUNCIONAMIENTO.
CONSERVE ESTE MANUAL PARA TENER UNA REFERENCIA EVENTUAL.
10
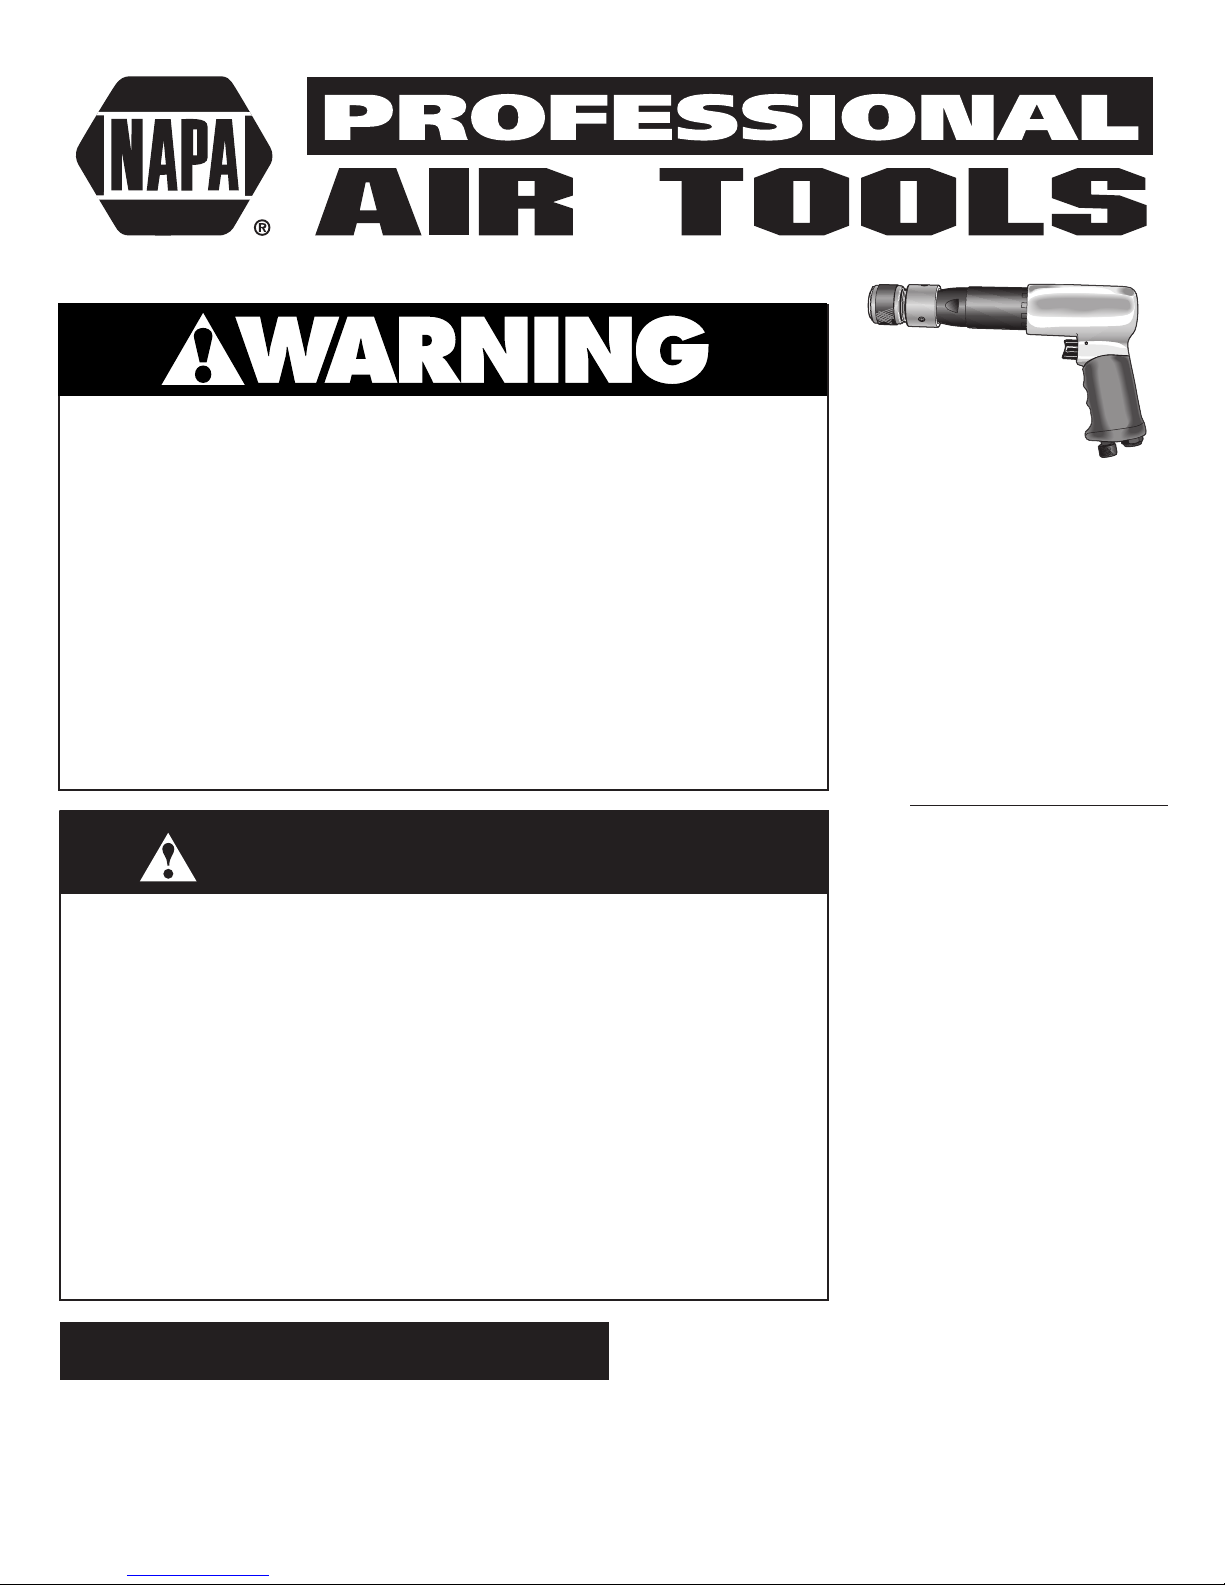
LLAVES DE IMPACTO
LA HERRAMIENTA FUNCIONA
LENTAMENTE O NO FUNCIONA EN
ABSOLUTO Y / O EL AIRE EMANA
SOLAMENTE UN POCO DEL SISTEMA
DE ESCAPE — La causa probable: La
corriente de aire está bloqueada por
una acumulación de suciedad; las
partes del motor están atascadas con
suciedad; el regulador de la coriente
ha vibrado hacia una posición cerrada.
DEBE: Verifique el colador de la
entrada del aire para detectar un
bloqueo posible. Eche una cantidad
generosa de aceite para herramientas
con aire dentro de la entrada del aire.
Haga funcionar la herramienta con
golpes cortos en ambas direcciones,
adelante y atrás. Repita si es necesario.
Si los resultados de la herramienta no
mejoran, debe solicitar mantenimiento
a un centro autorizado de servicio.
HERRAMIENTA NO FUNCIONA Y AIRE
DEL ESCAPE EMANA LIBREMENTE:
La causa probable: Una o más de las
valetas del motor está atascada, a
causa de una acumulación de suciedad
o barniz; el motor puede estar oxidado.
DEBE: Eche una cantidad generosa
de aceite para herramientas con aire
dentro de la entrada del aire. Haga
funcionar la herramienta con golpes
cortos en ambas direcciones, adelante
y atrás. Golpee ligeramente la caja
del motor con un mazo de plástico.
Desconecte el abastecimiento del aire.
Intente liberar el motor girando
manualmente el mango de propulsión,
si es posible. Si la herramienta está
atascada siempre, debe solicitar man-
tenimiento a un centro autorizado de
servicio.
LOS CASQUILLOS NO SE MANTIENEN
SOBRE LA HERRAMIENTA: La causa
probable: El anillo para bloquear o el
anillo blando alternativo del casquillo
están gastados.
DEBE: Lleve gafas de protección.
Desconecte el abastecimiento del aire.
Quite el viejo anillo para bloquear,
utilizando tenazas al exterior para
mantener el anillo para bloquear.
Manteniendo la pieza cuadrada con
una llave abierta apropiada, utilice un
destornillador pequeño utilizándolo
como una palanca sobre el viejo anillo
para quitarlo fuera de la ranura. Quite
siempre el anillo fuera de su cuerpo -
puede ser propulsado hacia afuera con
una velocidad alta. Cambie el anillo
“O” alternativo y el anillo para
bloquear con las partes apropiadas
(Vea la lista). Coloque el anillo para
bloquear sobre la mesa, apoye el
yunque de la herramienta dentro del
anillo con un movimiento oscilante.
Coloquelo a mano con un golpe en la
ranura.
USO PREMATURO DEL YUNQUE:
La causa probable: El uso de los
casquillos de cromo o los casquillos
están gastados.
DEBE: Deje utilizar casquillos de
cromo. Los casquillos de cromo tienen
una superficie dura y un corazón
blando. El agujero del casquillo se
hace redondo, pero está siempre más
duro. Además del peligro al romperse,
los yunques de llave se gastarán antes
de tiempo cuando los utilice con
casquillos de cromo.
LA HERRAMIENTA PIERDE LENTAMENTE
SU POTENCIA PERO FUNCIONA
SIEMPRE A TODA VELOCIDAD
LIBREMENTE. La causa probable: Partes
gastadas del embrague,
causadas por una lubrificación
inadecuada; pisando la leva del
embrague cuando esté gastada o
pegada a causa de una lubrificación
inadecuada.
DEBE: PARA LLAVES LUBRIFICADAS
CON ACEITE - Verifique para detectar
la presencia de aceite para embrague
(donde se especifica el uso de aceite
para el embrague) y quite el tapón
para aceite; inclinelo para drenar
todo el aceite de la caja del embra
gue ; rellenela con aceite SAE 30 o el
tipo de aceite recomendado por el
fabricante en la cantidad especificada.
Verifique también para detectar una
cantidad excesiva de aceite. Las cajas
del embrague necesitan solamente un
relleno de 50%. Una sobrecarga puede
causar un arrastre sobre las partes del
embrague de velocidad alta. Una llave
tipica de 13 mm (1/2”) lubricada con
aceite necesita solamente 14 ml de
aceite para embrague. PARA LLAVES
LUBRIFICADAS CON GRASA - Verifique
para detectar una cantidad excesiva
de grasa, girando el mango de
propulsión manualmente. El mango
debe girar libremente. El exceso está
normalmente propulsado hacia
afuera automáticamente.
LA HERRAMIRENTA NO SE APAGA: La
causa probable: Un anillo “O” de la
válvula de aceleración está gastado,
fuera de su posición o el eje de la
válvula de aceleración está doblado o
atascado con partículas de suciedad.
DEBE: Quite el ensamblado e instale
un nuevo anillo “O”. Lubrique con
aceite para herramientas con aire y
haga funcionar el gatillo rápidamente.
Si no puede funcionar la herramienta
adecuadamente, debe solicitar
mantenimiento para la herramienta a
un centro autorizado de servicio.
TRINQUETES CON AIRE
EL MOTOR FUNCIONA, EL EJE NO GIRA
O GIRA DE UN MODO IRREGULAR —
La causa probable: Diente gastado
sobre el trinquete o el engranaje;
resorte con presión del engranaje está
frágil o quebrado; resortes de arrastre
frágiles no pueden mantener el eje
cuando el engranaje se mueva hacia
un otro diente.
DEBE: Obtiene un reemplazo de las
partes, que serán instaladas por un
centro autorizado de servicio.
LA HERRAMIENTA NO FUNCIONA,
LA CABEZA DEL TRINQUETE PUEDE
SER MOVIDA MANUALMENTE CON
DIFICULDAD — La causa probable:
Acumulación de suciedad dentro de las
partes del motor.
DEBE: Eche una cantidad generosa
de aceite para herramientas con aire
dentro de la entrada del aire. Haga
funcionar la válvula de aceleración en
golpes cortos. Con el casquillo pisado
sobre la tuerca, apriete y afloje
manualmente la tuerca por otra
parte. Si la herramienta está siempre
atascada, debe solicitar mantenimiento
a un centro autorizado de servicio.
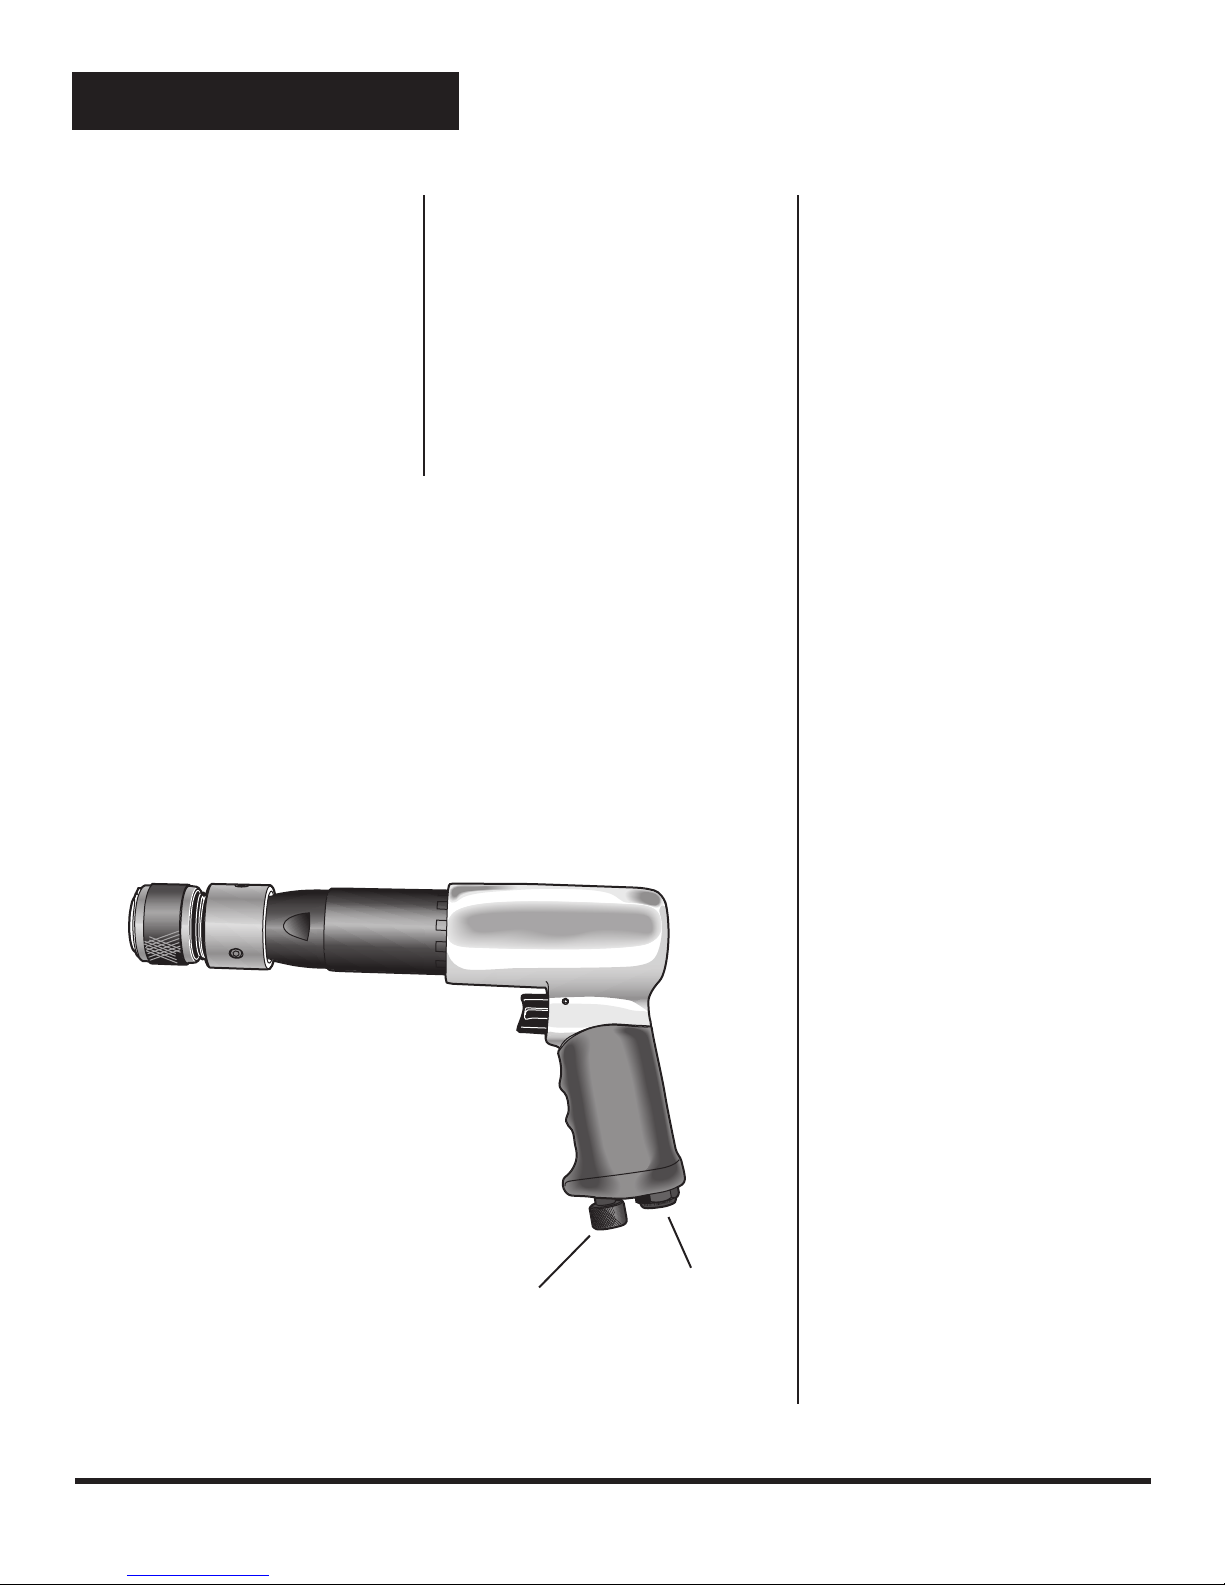
TALADROS CON AIRE
LA HERRAMIENTA NO FUNCIONA,
FUNCIONA LENTAMENTE, EL AIRE
EMANA LIGERAMENTE DEL SISTEMA
DE ESCAPE Y EL EJE GIRA LIBREMENTE
— La causa probable: La corriente de
aire está bloqueada por una acumulación
de suciedad; las partes del motor están
atascadas con suciedad.