MA1008e /1008eM Installation Instructions
LNAPCO Security Systems
Page 9
system, that one code may be voided without affecting other
codes, and that user would then be prevented from entry.
Service Code
The Service Code, if programmed, provides reduced ac-
cess to the control panel for those with limited authority. Op-
eration is similar to that of a regular Arm/Disarm Code, except
that the Service Code is disabled at times. When active, it
may be used to arm or disarm as many times as necessary.
See User 5 Service Code in the Glossary.
The Service Code is controlled by User 1 . Whenever User
1 arms using his code, the Service Code is deactivated. To
activate, merely arm using the Service Code. The Service
Code can always be used to arm.
Changing or Voiding a Code
To change any User's Code, refer to Programming User
Codes and simply change the 4-digit combination. Thus, to
change User 3's code, for example:
1. Hold down Key [8] until the function beep sounds.
2. Enter the User Program Code.
3. Press [B], [3], then 4 new digits = User 3's new code.
4. Press [B] twice to exit User Program Mode.
Similarly, User 3's code may be voided by not entering a 4-
digit combination. Thus, to void User 3's code:
1. Hold down Key [8] until the function beep sounds.
2. Enter the User Program Code.
3. Press [B], then [3] = User 3's code erased.
4. Press [B] twice to exit User Program Mode.
KEYPAD OPERATION
Arming & Disarming the System
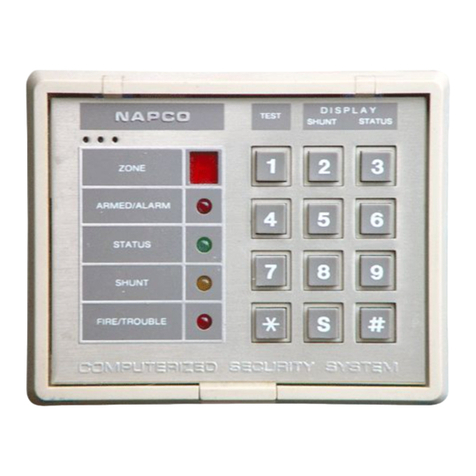
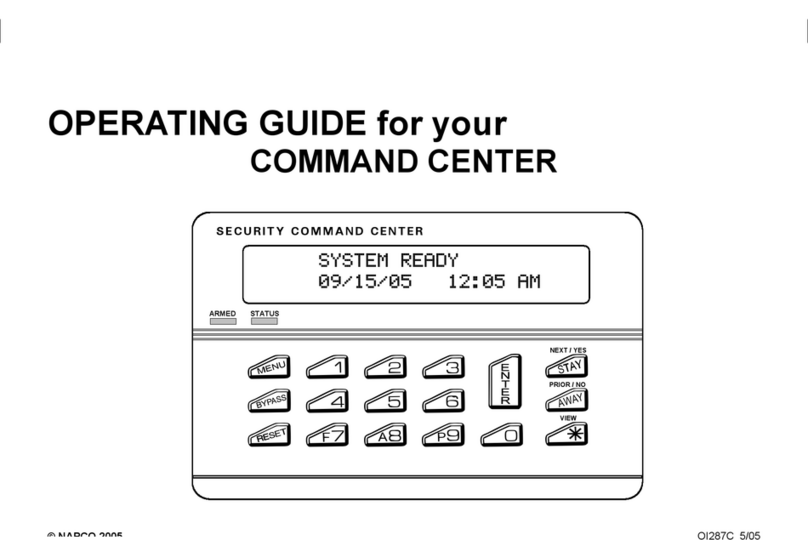
When a User Code is entered into the keypad, the red
ARMED / ALARM LED will either turn on, indicating that the
panel is armed; or turn off, indicating that the panel is dis-
armed. A "P" on the display with a steady sounder indicates
an attempt to arm with (a) a system trouble (hold down [9] to
reset keypad and arm), or (b) a Priority Zone in trouble (re-
enter code, then secure or bypass zone). If a wrong code is
entered, the system will fail to respond. Wait at least 2 sec-
onds before attempting to re-enter a code.
Alarm Reset
Disarm the panel to silence a sounding device.
Ambush Zone
The Ambush Zone is tripped by entering the Ambush Code
just prior to disarming. Thus, should a user be forced to dis-
arm by an assailant, the user can silently signal an emergency
while appearing to be merely disarming the system. The Arm/
Disarm Code must be entered less than 10 seconds after the
Ambush Code for an ambush report to be transmitted.
Keypad Panic
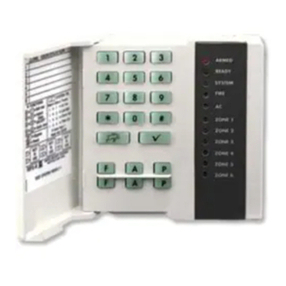
If using an F/P/A-Panic keypad, three keypad panics are
available: Fire, Police and Auxiliary (cut keypad jumper to en-
able panics). If enabled, each is tripped by simultaneously
pressing the following pairs of panic buttons:
•Fire Panic: press Keys [9/F] and [#]
•Police Panic: press Keys [*/P] and [#]
•Auxiliary Panic: press Keys [B/A] and [#]
Police Panic may be programmed to send a silent alarm to
a central station, activate an audible alarm, or both. Note that
the key pairs must be pressed at the same time to activate
panic. See Panic Zone In the Glossary; also see Section 2:
Keypad Jumper Options.
Bell / Battery Test (Hold-Down Function 1)
The terminal voltage of the battery is constantly monitored
by the control panel. Hold-Down Function 1 provides a man-
ual dynamic test by briefly sounding the bell directly from the
battery.
A weak or defective battery is indicated by the display of a
System Trouble "2". The system trouble display will be
cleared and a restore reported when (a) the battery terminal
voltage has returned to its specified restored level and (b) the
condition has been detected by either the subsequent 24-hour
dynamic test, a manual bell / battery test (Hold Down Function
1) or a manual reset (Hold-Down [9]).
To test the battery with a pre-existing low battery displayed,
hold down Key [9] to temporarily reset the keypad, then hold
down Key [1] to check bell operation from the battery. If the
low-battery display returns the next time the system is dis-
armed, the battery is still weak and may require replacement.
(Allow at least 4 hours for the battery to recharge). Also see
System Trouble 2: Low Battery.
Communicator-Confidence Test (Hold-Down Function 6)
This feature checks the telephone line for the presence of a
dial tone in those systems that are programmed to communi-
cate with a central station. Note: Do not arm and disarm the
panel just before making this test.
Hold down Key [6] until the sounder starts to pulse. If the
line is okay, the pulsing will stop, otherwise a steady tone will
sound (check phone lines). To silence the sounder, hold
down Reset Key [9].
Note: Hold-Down Function 6 has a secondary feature
(Manual Download) that can only be accessed within 5 sec-
onds after arming and disarming the control panel. See
DOWNLOADING FROM A COMPUTER for use of this fea-
ture.
Fault Find (Hold-Down Function 7)
When the Fault-Find mode is accessed, two things occur:
(a) the loop response of all zones is preset to 7mS (fastest
loop response), and (b) securing a zone in trouble will cause
the sounder to beep for about 2 seconds. This set of condi-
tions aids both installer and user. The installer, tapping and
poking at suspect points, can easily locate swingers by listen-
ing for the beep. Similarly, the user can confirm the repair of a
zone in trouble by listening for the beep, and thus eliminate the
need of returning to the keypad to visually check after each
attempt.
Hold down Reset Key [9] to restore normal operation. Arm-
ing the system successfully will automatically cancel the Fault-
Find mode.
System Trouble Indications
The following system troubles will display at the keypad,
whether armed or disarmed, accompanied by flashing
ARMED, STATUS and BYPASS LED's. The indication may
be temporarily reset by holding down Reset Key [9] in order to
check zone status and/or arm the system.
