Natural Classico JE220-01E00 User manual

Natural Classico Electric Tomato Milling Machine
JE220-01E00
Product Manual

Congratulations, you’re on your way to a quick and easy
tomato milling experience!
The tomato milling machine is a multi-purpose until that separates seeds, peels, and all stringy parts
from a variety of fruits and vegetables. Make a wide variety of foods: sauces, purees, chutney, salsa,
soups, jams, marmalades, and preserves.
These machines are, by far, the most user-friendly design on the market and are easy to assemble
and use. Applying oil to the stainless steel hardware and following the cleaning tips on the following
page will keep your Natural Classico machine working for generations.

Tips for keeping your Natural Classico machine in the family
and running for years to come!
Before disassembling any of the components, switch off the machine and disconnect the
plug from the main power supply.
All components that come into contact with food must be washed and dried. Use only dishwash-
ing liquid and hot water or place on the top shelf of dishwasher unit only.
In the event the stainless steel components (rotors, grates, etc.) are left unused for a long period
of time, keep them lubricated with food-safe oil (olive or vegetable) to prevent rusting.
Clean the motor unit using only a soft cloth.
Do not spray with or immerse the motor unit in water.
For a thorough sanitation, run all washable parts through a cycle on the top shelf of a dishwash-
ing unit or prepare a solution of water and a small amount of bleach or dishwashing liquid and
place parts into solution to sit for at least five minutes. Agitate the solution occasionally so that it
reaches all surfaces. After five minutes, remove parts from solution and place on a clean, dry
towel. Allow to air dry. While the parts are drying, place a cup and a half of rice in a gallon zip
lock bag to prepare for storage. Once the parts are dry, place them in the zip lock bag and re-
move as much air as possible before sealing the parts inside.
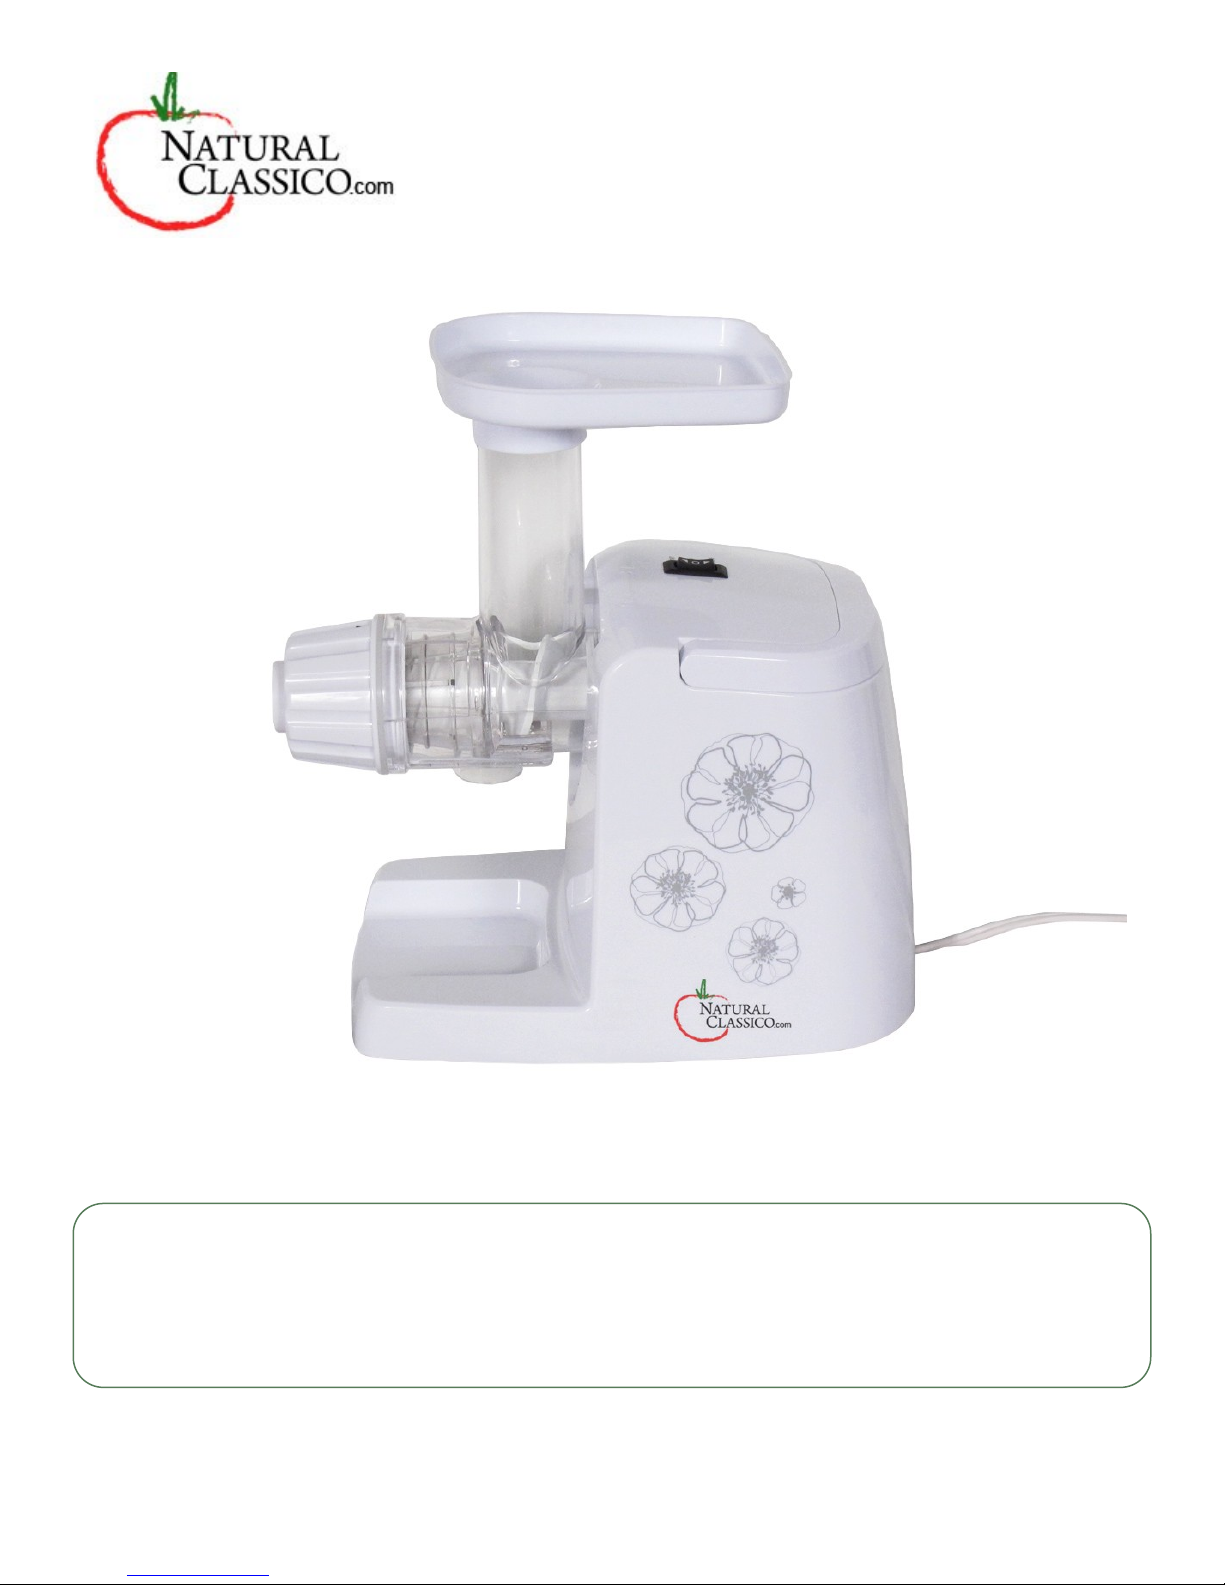
Instructions for Use
Coat the screen and rotor with olive oil as a lubricant.
Assemble the machine according the provided assembly instructions and make sure that the ma-
chine is plugged into the main power supply.
Pour the food to be processed in the hopper. Do not run hot substances through the ma-
chine. To avoid stalling the motor or wearing down the spiral, do not run the machine on
empty.
Place the two food collection containers underneath the machine. Put one at the end of the plas-
tic chute to catch juices and one at the end of the filter to catch waste.
Change the switch position to “on” to turn on the machine.
Guide the food into the hopper using only the supplied pestle.
Discard the first run of tomatoes when using a new spiral and screen. There will be some
metal and plastic shavings where the spiral and screen are pressing together. This is nor-
mal and should be gone after the first run.

Uses
Applesauce
Wash apples, remove stems, and then quarter. Do not peel, deseed, or remove cores. Simmer
about 15 to 20 minutes until soft. Drain and cool. Process through miller. Add sugar, honey, or sea-
soning. Try different apple varieties to suit your tastes.
Tomato Sauce and Juice
For best results, use fresh, ripe, uncooked tomatoes. Wash and quarter. Process through miller.
Season either before or after milling. If cooking tomatoes before milling, make sure to let cool be-
forehand. For thicker sauce or paste, simmer to desired consistency.
Apricots, Peaches, Pears, Plums, Prunes, Etc.
Wash fruit and remove pits if necessary. Simmer until soft. Drain and cool prior to milling. Add
sweetener or seasoning to taste.
Vegetable Soups, Purees, and Baby Foods
Wash vegetables and cube. Simmer until soft. Drain and cool prior to milling. Purees will be seed-
less, skinless, and free of tough fibers.
Beans and Peas
Process through miller and season to taste with garlic, onion, etc. Use any cooled, cooked beans or
peas for soups, side dishes, dips, burritos, tacos, or enchiladas.
Potatoes
Quarter, cook until soft, cool, and mill. Add milk, butter, and salt to taste. Makes enough mashed po-
tatoes for large groups or families.
Note: Any sauces and purees that you make can be used immediately, refrigerated, or preserved for
later use. Always follow proper canning, freezing, and dehydrating procedures when preserving
food.

Assembly
1. Do not assemble miller while motor is plugged into the power supply. Make sure that that
you have all additional parts necessary for assembly.
Hardware includes:
Pestle (plastic)
Hopper (plastic)
Body (plastic)
Pin with rotor (stainless steel/plastic)
Filter (stainless steel/plastic)
Chute (plastic)
2. Attach body to motor. Using the unlock to lock symbol on top of the motor as a guide, turn body to
the left to lock in place. You will hear a click to indicate that the body is properly attached to the mo-
tor. The button next to the body will pop out as well.
3. Insert pin with rotor into body with pin facing inside body and rotor facing outward. The pin will
snap into place.
4. Attach filter to rotor and push into body until the screen slides under the rotor and is directly above
the opening located on the underside of the body.
5. Attach chute to filter. Turn left to lock in place. The arrow should be facing upward.
6. Attach hopper to neck of the body.
7. You are now ready to begin using your miller!
Disassembly
1. Turn off and unplug machine.
2. Move containers away from machine.
3. Remove hopper.
4. Turn chute to the right to unlock. Remove chute from filter.
5. Remove filter from rotor.
6. Remove rotor with pin.
7. Press down button next to body and turn body to the right to unlock it. Remove body from motor.
8. Do a preliminary rinse of all parts before cleaning.
Table of contents