Page 3 Page 8
General Controls
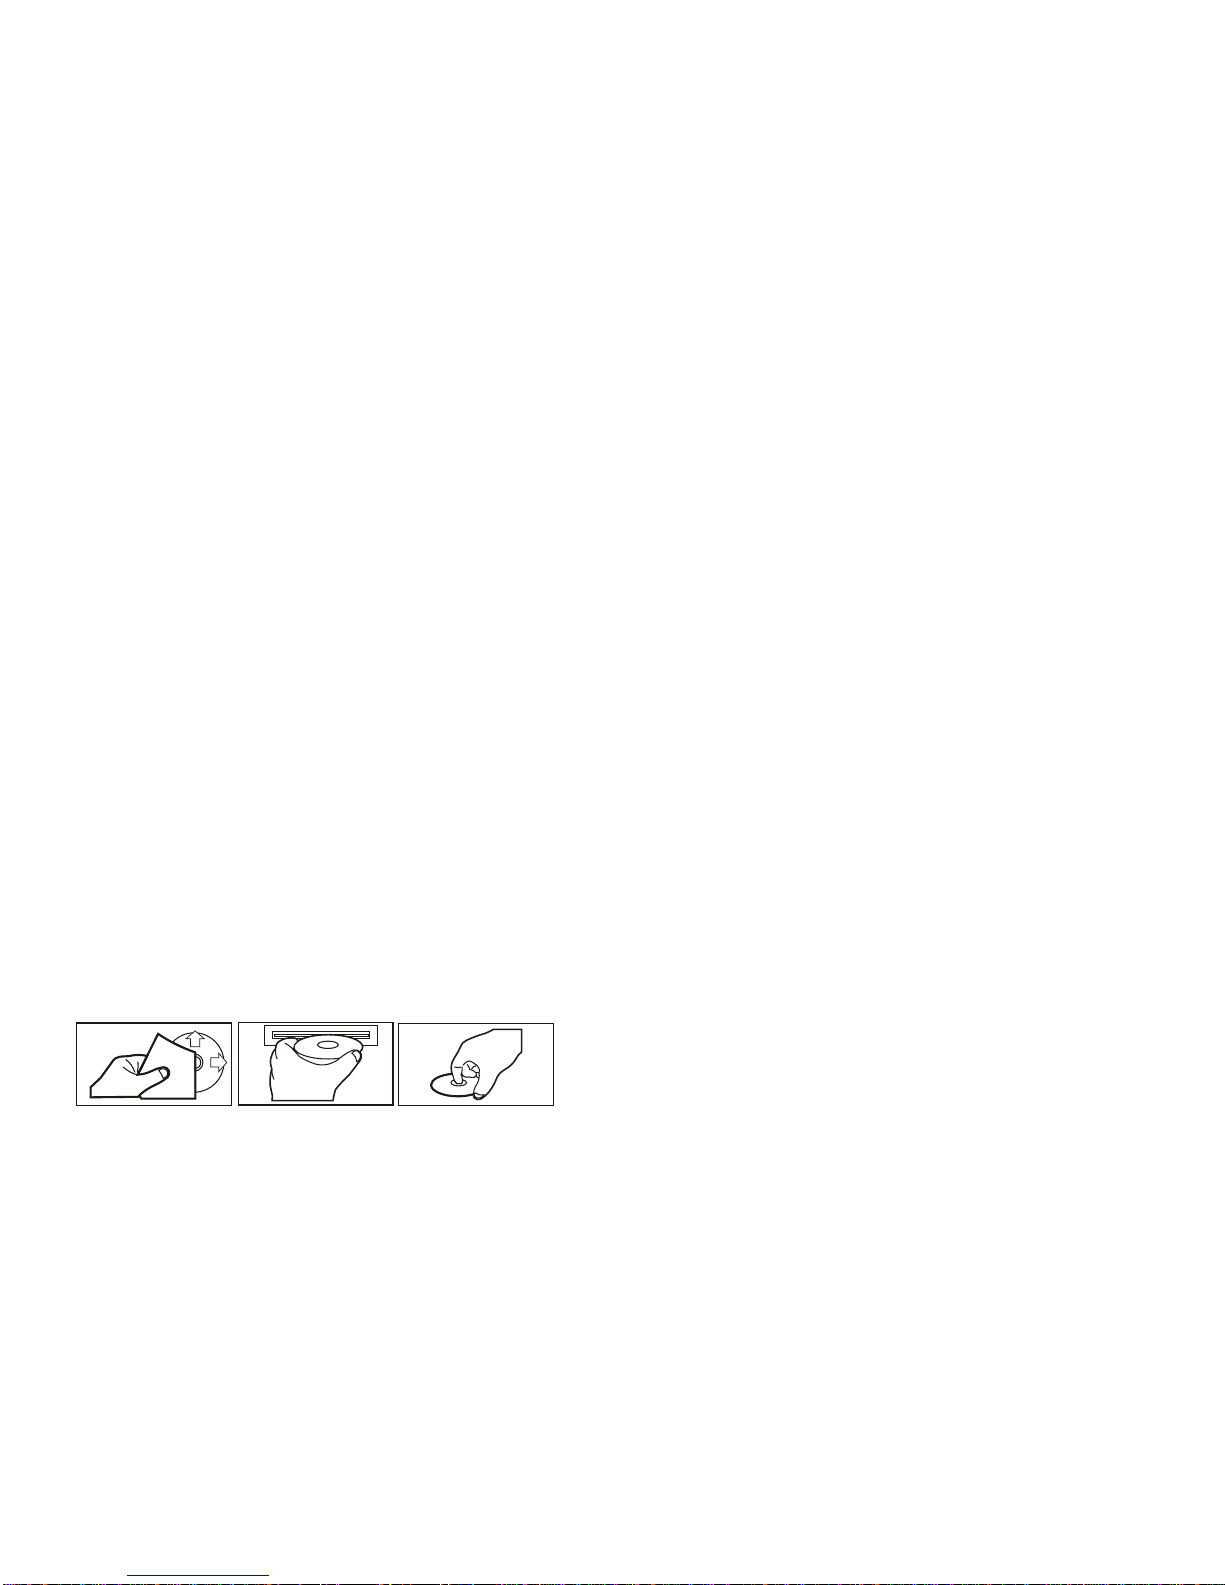
1. OPEN BUTTON
To removethe frontpanel fromthe mainbody,press theOPEN key. And the
anti-theft LEDindicator willbe flashedall thetime tillthe frontpanel berefixed
into themain body.
2. POWER ON/OFF
In poweroff (ACCon) mode,turn onthe unitby pressingthe POWERbutton
on the frontpanel; It alsocan turn onthe unit toinsert a discinto CD slot.It
will start playthe firsttrack on thecurrent disc.
Press the POWERbutton short toturn off the unit.
3 & 4.VOLUMEUP(+)/DOWN(-) BUTTONS
Press thevolume UP(+) or DN(-) button shortor holdto raiseor lowerthe
volume levelduring playback.The bothbuttons arealso usedto adjustthe
settings for Bass,Treble, Balance,Fader, whenyou are inthose audio modes.
5. MUTEON/OFF BUTTON(Only forradio mode)
This buttonserves toswitch theMUTED stateon/off duringRADIO mode.
Press themute(MUTE) buttonshort tosuppress the speakertemporarily.
Press itagain toresume listening.
6. AUDIOFUNCTION ANDMENU SELECT/ADJUST
1)Audio mode selectand adjustment:
Press the SELbutton repeatedly tocycle through fouraudio modes:
-> VOLUME->BASS ->TREBLE ->BALANCE -> FADER
Afterselecting acertain audiomode, youcan adjustthe settingfor Bass,Treble
Balance, faderby pressingthe UP(+) or DN(-) button.
The controlmode ofE.VOL isoperated withfollowing numericdisplay.
- VOL:(MIN)00, 01,......45,46(MAX).
- BASS/TREB: -6,-5,...,00,...5,6
- BAL:9L, 8L,...,00,...8R,9R
- FAD: 9F,8F,...,00,...8R,9R
In each mode,the waiting timeis about 3seconds, and thewaiting time is
over,it returnsto thelast displaymode ofRADIO orCDP mode.
7. EQ BUTTON
Press theEQ buttonshort toaccess thepreset equalizermode. Pressit
repeatedlyto choose EQOFF, or4 preset equalizercurves: FLAT,CLAS,
ROCK, POP. Theaudio outputwill changecorrespondingly.
8. LOUDNESS BUTTON
Pressing andholding theLOUD buttonto enhancethe bassoutput whenlow
volume level. Pressingand holding itagain to cancelloudness effect.
TROUBLE SHOOTING
PROBLEM
No power
Disc cannot
be loaded or
ejected
CAUSE
The fuse is blown
Another CD is present in the
player
Disc incorrectly inserted
upside-down
CD is extremely dirty or
defective
Temperature inside the car is
too high
Condensation
Volume is too low
No sound
Sound skips
The antenna cable is not
connected Insert the antenna cable firmly
The radio does
not work
Wiring is not properly
connected
The installation angle is more
than 30 degrees
CD is extremely dirty or
defective Clean the CD or try a different CD
Adjust the installation angle to less
than 30 degrees
Adjust volume to desired level
Check the wiring connection
Turn off the player for at least an
hour, then try again.
Give enough time for the temper-
ature in the vehicle to cool down.
Clean the CD or try a different CD
Insert the CD with label face up
Remove CD in the player, then insert
a new one with label face up
Replace the fuse
The car ignition is not on. If the power supply is properly
connected to the car, switch the
ignition key to " ACC "
SOLUTION
Before using the check list please make all the connections first.
If you still have questions after going through the checklist, please consult
your local customer service representative.