Tri-Light/Lane Light with IPCamera (Standard) and Label 3
Installation Procedure
To install the Tri-Light/Lane Light with IPCamera (Standard) and Label, follow these
steps:
Note: Ensure that the NCR Customer Helpdesk is informed when the Tri-Light/Lane
Light with IPCamera is installed in the store.
1. Remove the existing Tri-Light/Lane Light Assembly, if necessary. For more
information, refer to Removing the Tri-Light/Lane Light (R6) on the next page.
2. Remove the existing Tri-Light/Lane Light Pole, if necessary. For more information,
refer to Removing Tri-Light/Lane Light Pole on page6.
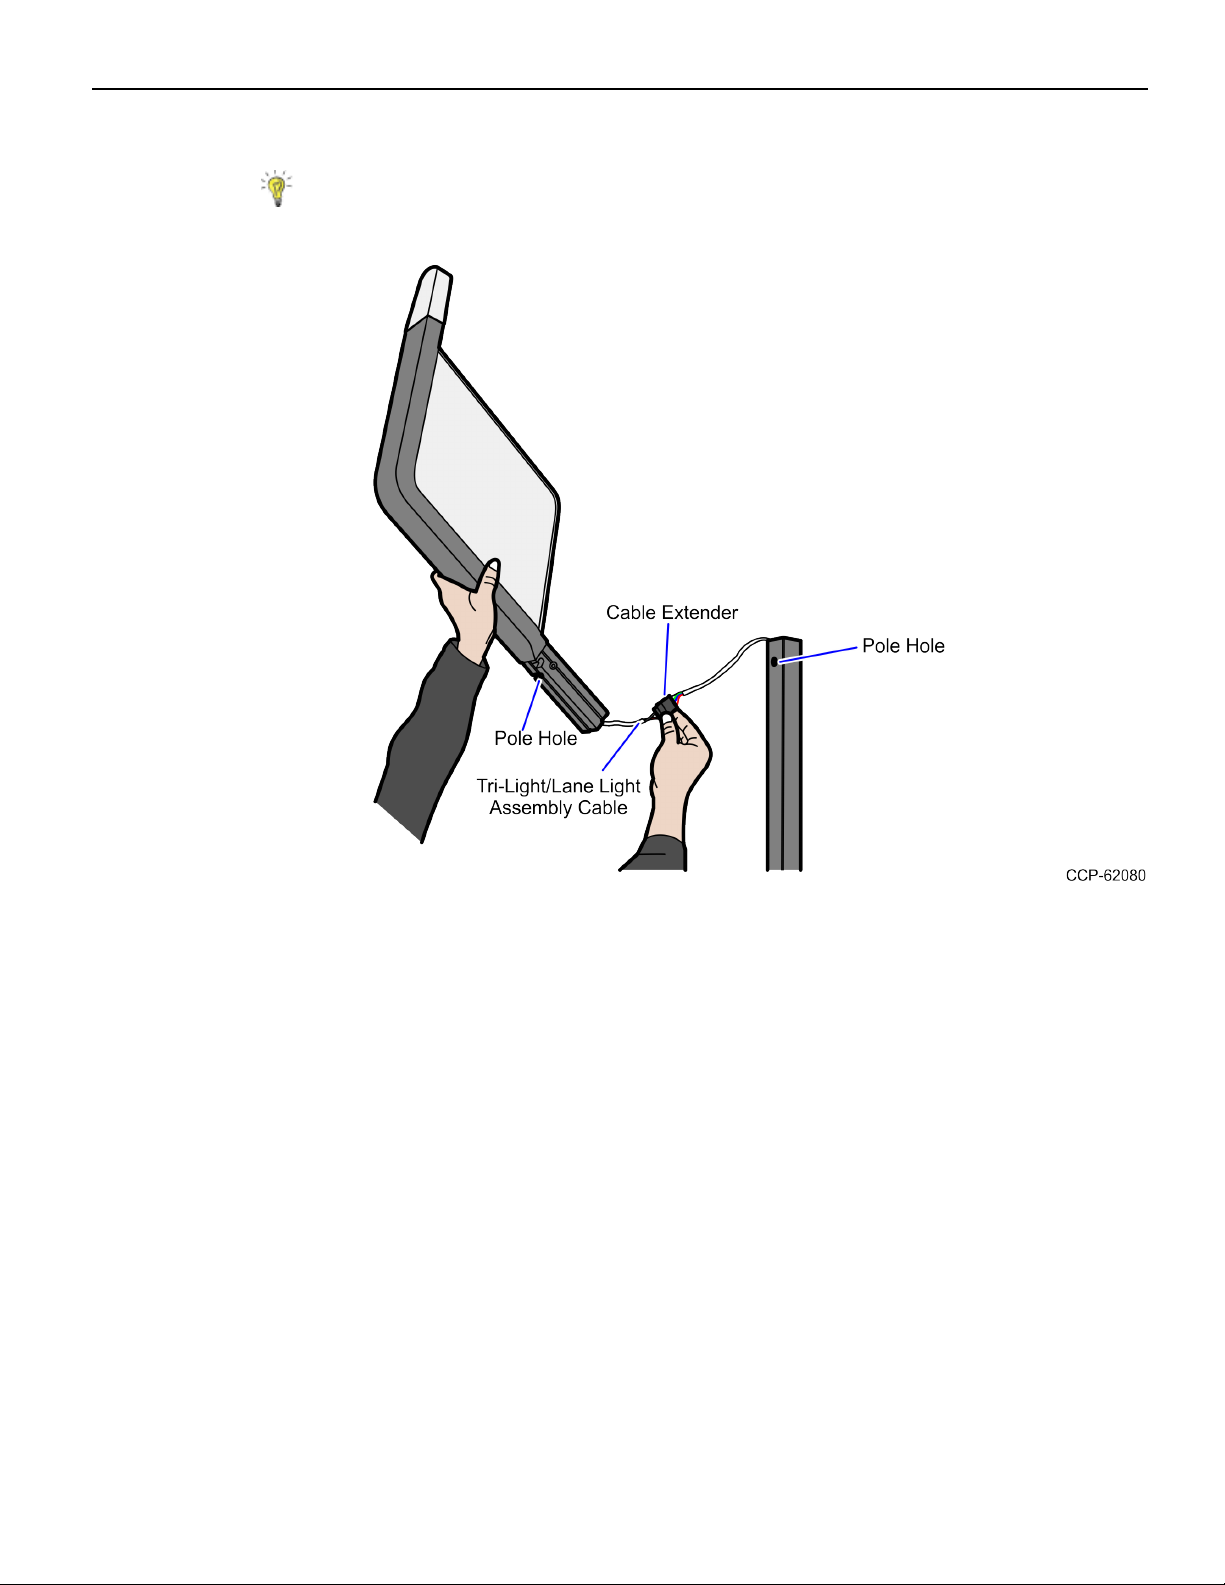
3. Install the Tri-Light/Lane Light Pole with Cable Hole. For more information, refer to
Installing the Tri-Light/Lane Light Pole with Hole Cable on page8.
Note: Only install the Tri-Light/Lane Light Pole with Cable Hole for 7360 units.
4. Install the Lane Light Label to the new Tri-Light/Lane Light Assembly. For more
information, refer to Installing the Label on page12.
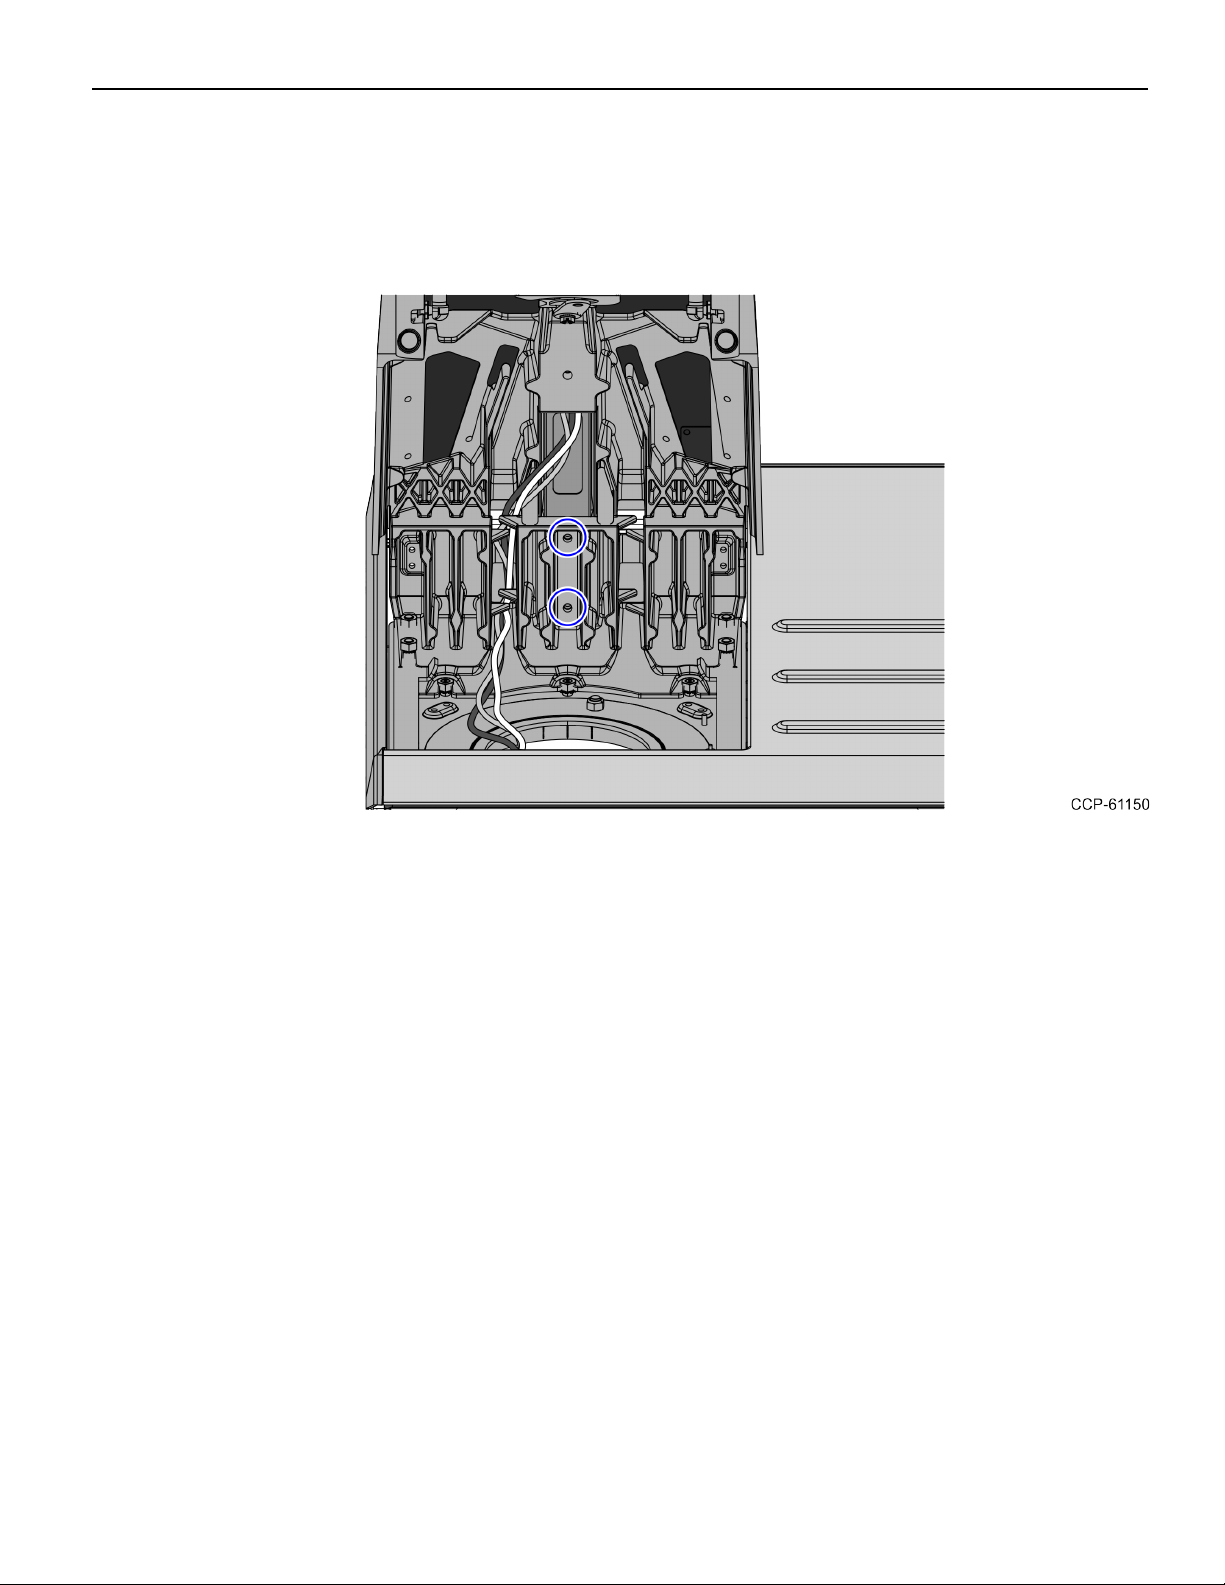
5. Install the IP Camera (Standard) to the Tri-Light/Lane Light Assembly, refer to
Installing the IP Camera (Standard) on page15.
6. Install the new Tri-Light with IPCamera Assembly. For more information, refer to
Installing the Tri-Light/Lane Light with IPCamera Assembly on page19.
7. Configure the Camera Settings. For more information, refer to Configuring the Camera
Settings on page58.
Note: For more information about setting up the camera, refer to VTCNetwork
Camera User Manual.