manuals.online logo
Brands
  1. Home
  2. •
  3. Brands
  4. •
  5. ND?R
  6. •
  7. Light Fixture
  8. •
  9. ND?R PINNACLE Series User manual

ND?R PINNACLE Series User manual

www.ndrelectric.com
t. 1.514.695.8228 I 1.855.739.8228
f. 1.514.695.9009 I 1.855.812.9009
FIXTURE INSTALLATION I INSTALLATION DU LUMINAIRE
PINNACLE
24V TAPE LIGHT I RUBAN LUMINEUX 24 V
SÉRIE I SERIES
TL200, TL250
TL350, TL600
GENERAL INFORMATION INFORMATIONS GÉNÉRALES
•Read and follow all safety instructions to avoid electric shock and proper
installation.
•Save these instructions for future reference.
•It is recommended to consult your electrician for all high voltage wiring to
the LED Class 2 drivers and connecting all 24V low voltage LED tape light.
•All 24V Pinnacle Series Tape Light products come equipped with 3M
Self-Adhesive doubled sided tape. It is designed to be installed on NON-
POROUS surfaces only.
•Installation surface must be cleaned and dry prior to the tape light being
applied.
•
For porous surfaces, it is recommended to seal the porous surface to ensure
the 3M self-adhesive tape will have a strong adhesion to the surface.
•Another method for porous surfaces is to use an aluminum foil tape
before installing the tape light.
•Lisez et suivez les instructions de sécurité pour une installation conforme
et pour éviter tout risque de choc électrique.
•Conservez ces instructions pour référence ultérieure.
•Il est recommandé de faire appel à un électricien pour tout branchement
haute tension aux transformateurs (drivers) DEL de classe 2 et pour toute
connexion des rubans lumineux DEL 24 V à basse tension.
•Tous les rubans lumineux 24 V de la série Pinnacle sont pourvus de
ruban adhésif double face 3M. Ils sont conçus pour être installés sur des
surfaces NON POREUSES uniquement.
•La surface d'installation doit être propre et sèche avant d'y appliquer le
ruban lumineux.
•Pour une installation sur des surfaces poreuses, il est recommandé de
sceller ces dernières afin d'assurer l'adhérence du ruban adhésif 3M.
•Une autre méthode d'installation sur des surfaces poreuses consiste à
utiliser un ruban d'aluminium avant l'installation du ruban lumineux.
Read all instructions in order to ensure safety and proper installation.
Lisez toutes les instructions afin d’assurer une installation sécuritaire.
IMPORTANT
MAINTENANCE & CARE I ENTRETIEN
1. Ensure that the power is disconnected prior to servicing.
Avant de procéder à l'entretien, coupez le courant.
2. To keep the finish of this product, wipe with soft cloth periodically.
Pour préserver le fini de ce produit, essuyez le luminaire périodique-
ment avec un linge doux.
3. Do not use harsh chemical solvents as it may discolour or damage
the finish or lens.
N'utilisez pas de solvants chimiques puisqu’ils peuvent décolorer
ou endommager le fini ou la lentille.
BEFORE INSTALLATION I AVANT D'INSTALLER
1. Read these instructions carefully before attempting to install this
product.
Lisez attentivement toutes les instructions avant d'installer ce produit.
2. Disconnect electrical power before installing or servicing any part
of this fixture.
Coupez le courant avant l'installation ou l'entretien de ce produit.
INSTALLING 24V TAPE LIGHT I INSTALLATION DU RUBAN LUMINEUX 24 V
Always keep the tape rolled on the reel to avoid twisting of the tape and
avoid damaging the LEDs.
Gardez toujours le ruban enroulé sur la bobine pour éviter de tordre le ruban
ou d'endommager les DEL.
During installation of the 24V tape light, the best practice for handling is to
keep the tape as straight as possible.
Veillez à maintenir le ruban lumineux 24 V le plus droit possible lors de
l'installation.
It is possible to go around outside corners with the 24V tape, however it is
recommended to keep a curvature greater than 4.75” (120mm) in diameter.
Bending the tape tight on the corner can damage the LEDs or the circuitry
board.
Il est possible de passer des coins avec le ruban 24 V. Il est cependant
recommandé de conserver une courbure supérieure à 4,75 po (120 mm) de
diamètre. Plier le ruban lumineux sur le coin peut endommager les DEL ou
le circuit imprimé.
R≥120mm
Avoid twisting the tape light during handling and installation of the 24V
tape light.
Évitez de tordre le ruban lumineux 24 V durant la manipulation et
l'installation.
CUTTING AND CONNECTING WITH SNAP CONNECTORS I COUPER ET BRANCHER AVEC DES CONNECTEURS RAPIDES
1 2 3
Always cut the tape light on the
specified copper pad cutting points.
Coupez toujours le ruban lumineux sur
les points de découpe en cuivre identifiés.
Peel away the 3M Self-Adhesive backing
from the area on the tape that will be inside
the connector.
Retirez la protection de l'adhésif 3M sur la
portion de ruban qui se trouvera à l'intérieur
du connecteur.
Using a small tool or your fingernail, pry open the
transparent cover to insert the tape on top of the teeth
inside the connector.
Au moyen d'un petit outil ou de votre ongle, ouvrez
le couvercle transparent pour insérer le ruban sur les
dents à l'intérieur du connecteur.
Risk of electric shock. Turn OFF power before installation
or removal.
WARNING
Risque d’électrocution. Mettez l’interrupteur hors tension
avant de remplacer ou d’installer.
MISE EN GARDE
Ensure you follow the +/- polarity on the tape light and tighten down
the 4 screws on to the copper pads.
Veillez à respecter la polarité +/- sur le ruban lumineux et serrez les vis sur
les pastilles de cuivre.
5 6 • Same process can be used for the screw type L-connectors.
Le même procédé peut être utilisé pour des connecteurs filetés de type L.
• For the screw type Tape-to-Tape joiner and Tape-to-Wire connector,
ensure to follow the recommended tape polarity. Positive (+) on the tape
to the red wire on the connector and Negative (-) on the tape to the black
wire on the connector. (Once you have connected the tape reel to the
connectors, apply the connector caps and remove the blue plastic film.)
Pour le connecteur fileté ruban à ruban et le connecteur ruban à fil,
veillez à respecter la polarité du ruban. Branchez le positif (+) du ruban
au fil rouge du connecteur et le négatif (-) du ruban au fil noir du
connecteur. Une fois que vous avez branché le ruban aux connecteurs,
posez les embouts et retirez le film plastique bleu.
CONNECTING (SCREW CONNECTORS I BRANCHER AVEC DES CONNECTEURS FILETÉS
1
Using the Phillips head screwdriver provided, loosen the 4 screws to allow
the tape light to be inserted. Ensure you do not completely remove the screws
from the connectors.
À l'aide du tournevis Philips fourni, desserrez les 4 vis afin de pouvoir insérer
le ruban lumineux. Assurez-vous de ne pas enlever complètement les vis
des connecteurs.
Align the tape light straight and ensure the screws are in contact with the
copper pads on the tape.
Alignez le ruban lumineux de façon à ce que les vis soient en contact avec
les pastilles de cuivre du ruban.
4 5 6
Ensure the +/- polarity on the tapes
you are connecting are in sequence.
Assurez-vous de respecter la polarité +/-
sur les rubans que vous connectez.
Press the cover down onto the tape ensuring
the tape is aligned straight.
Refermez le couvercle sur le ruban en vous
assurant que le ruban est bien aligné.
For tape to wire connectors, ensure you always
connect the (+) side of the tape to the red wire and
the (-) side of the tape to the black wire.
Pour les connecteurs ruban à fil, veillez à toujours
brancher le côté (+) du ruban au fil rouge et le côté
(-) du ruban au fil noir.
32 4
LED I DEL
TRIAC DIMMER I GRADATEUR TRIAC
DRIVER TRANSFORMATTEUR (DRIVER)
•24V tape light must always be used in conjunction with a Class 2 rated
LED driver. Never connect the tape light directly to high voltage power.
Bypassing the driver will damage and burn out the LEDs.
• For full range dimmability, we recommend using the NDR LED Class 2
drivers (TLD24V-60W or TLD24V-96W).
• Ensure to refer to the 24V Tape Light LED Driver dimmer compatibility
page on ndrelectric.com to find the LED dimmer best suited for your
installation.
• The NDR LED drivers are rated for 120-277V input/ 24V output. Ensure
that you connect the wires from the power source to the input side of the
driver and the wires from the tape light to the output side of the driver.
• When installing in a wet location, ensure to use proper wet location rated
knockout connectors. Failure to use proper connectors can cause damage to
wiring compartment and/or to the LEDs on the tape light.
•Le ruban lumineux 24 V doit toujours être utilisé avec un transformateur
(driver) DEL de classe 2. Ne branchez jamais le ruban lumineux directement
à une source d'alimentation à haute tension, sous peine d'endommager
et de brûler les DEL.
• Pour une intensité réglable à 100 %, nous recommandons l'utilisation
des transformateurs (drivers) DEL de classe 2 de NDR (TLD24V-60W ou
TLD24V-96W).
• Référez-vous à la page de compatibilité entre les gradateurs et les
transformateurs (drivers) du ruban lumineux DEL 24 V sur ndrelectric.com
pour trouver le gradateur DEL adapté à votre installation.
• Les transformateurs (drivers) DEL de NDR sont certifiés pour une tension
d'entrée de 120-277 V et une tension de sortie de 24 V. Assurez-vous de
brancher les fils de la source d'alimentation dans le côté entrée du
transformateur et les fils du ruban lumineux dans le côté sortie du
transformateur.
• Dans le cas d'une installation dans un endroit mouillé, veillez à utiliser
des connecteurs pour entrée défonçable certifiés pour endroits mouillés.
Dans le cas contraire, le compartiment électrique et/ou les DEL sur le
ruban lumineux peuvent être endommagés.
Limited Warranty
The warranty applies to the product from the original date of purchase for five (5) years against
manufacturing defects. The owner must provide a copy of the original proof of purchase. The
manufacturer's obligation under this warranty is limited to repairing or replacing the component. It is
not related in any way to the cost of the connection, the installation of the replacement parts or cost
of transport. For all claims, please contact our customer service department at 1-855-739-8228 or
e-mail us at [email protected]
Important Safety Information
Before installing your light fixture, thoroughly review enclosed installation manual. Check all
connections to be sure they are tight and correct. This fixture is not serviceable. Any attempt to
disassemble this fixture may cause damage to the product and will void warranty.
This product must be installed in accordance with the applicable installation code by a person
familiar with the construction and operation of the product and the hazards involved. If you are
unsure about the wiring, installation, or maintenance of this fixture, consult a qualified electrician
or local electrical inspector, and check your local electrical code.
WARNING: Risk of electrical shock. Turn off the main power at fuse or circuit breaker before wiring
the fixture to the power supply.
CAUTION: Risk of injury. Some parts of this fixture may have sharp edges. To prevent cuts and
scrapes, wear gloves when handling the parts. Account for small parts and destroy packing material,
as these may be hazardous to children.
CAUTION: Risk of fire. Use only on 120 - 277 volt 60Hz circuits.
The tape light products are compatible for use with LED dimmers.
Garantie limitée
Cette garantie limitée s'applique pour une période de cinq (5) ans suivant la date d'achat par
l'acheteur original contre tout défaut de fabrication. Une copie de la facture originale sera exigée.
L'obligation du fabriquant se limite à la réparation ou au remplacement de l'unité. Cette garantie ne
s'applique pas aux frais d'installation ni aux frais de transport. Pour toute réclamation, veuillez
contacter notre département de service à la clientèle au 1-855-739-8228 ou par courriel à l'adresse
suivante : [email protected]
Informations de sécurité importantes
Avant d'installer ce produit, lisez attentivement le manuel d'installation ci-joint. Vérifiez que toutes les
connexions sont correctes et sécurisées. Ce luminaire ne peut pas être réparé. N'essayez pas de le
démonter, car cela peut endommager le luminaire et la garantie ne sera plus valide.
Ce produit doit être installé conformément aux normes d'installation en vigueur par une personne qui
connaît bien le produit et son fonctionnement ainsi que les risques inhérents. Si vous avez des doutes
quant au câblage, à l’installation ou à l’entretien de ce luminaire, consultez un électricien qualifié ou
un inspecteur en électricité et vérifiez la conformité au code de l'électricité local.
AVERTISSEMENT: Risque de choc électrique. Coupez le courant au niveau du fusible ou du
disjoncteur avant de connecter le luminaire à l'alimentation électrique.
ATTENTION: Risque de blessure. Certaines composantes peuvent avoir des bords coupants. Pour
éviter toute blessure, portez des gants lors de la manipulation des composantes. Faites attention
aux petites pièces et jetez tous les matériaux d'emballage, puisqu’ils peuvent être dangereux pour
les enfants.
ATTENTION: Risque d'incendie. Pour une utilisation sur les circuits 120 - 277 V, 60 Hz uniquement.
Les rubans lumineux sont compatibles pour une utilisation avec des gradateurs DEL.

This manual suits for next models

4

Other ND?R Light Fixture manuals

ND?R APOLLO FM60 User manual

ND?R

ND?R APOLLO FM60 User manual

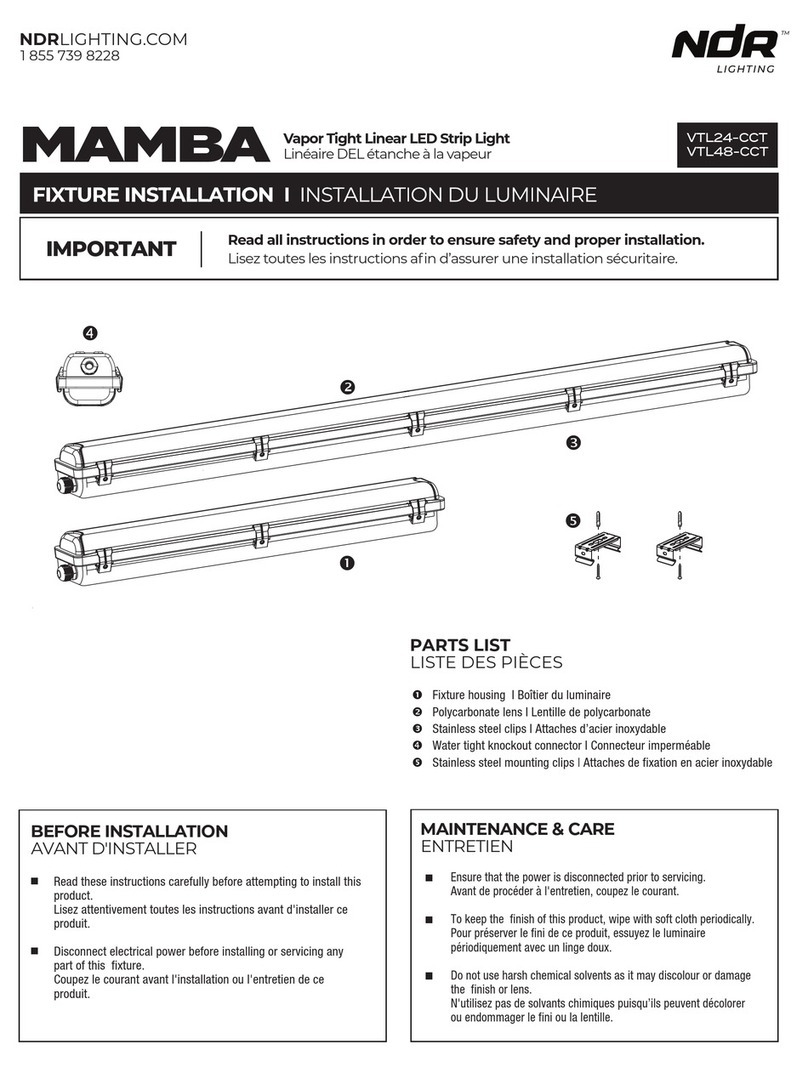
ND?R MAMBA VTL24-CCT User manual

ND?R

ND?R MAMBA VTL24-CCT User manual

ND?R UNS70DIM-CCT User manual

ND?R

ND?R UNS70DIM-CCT User manual

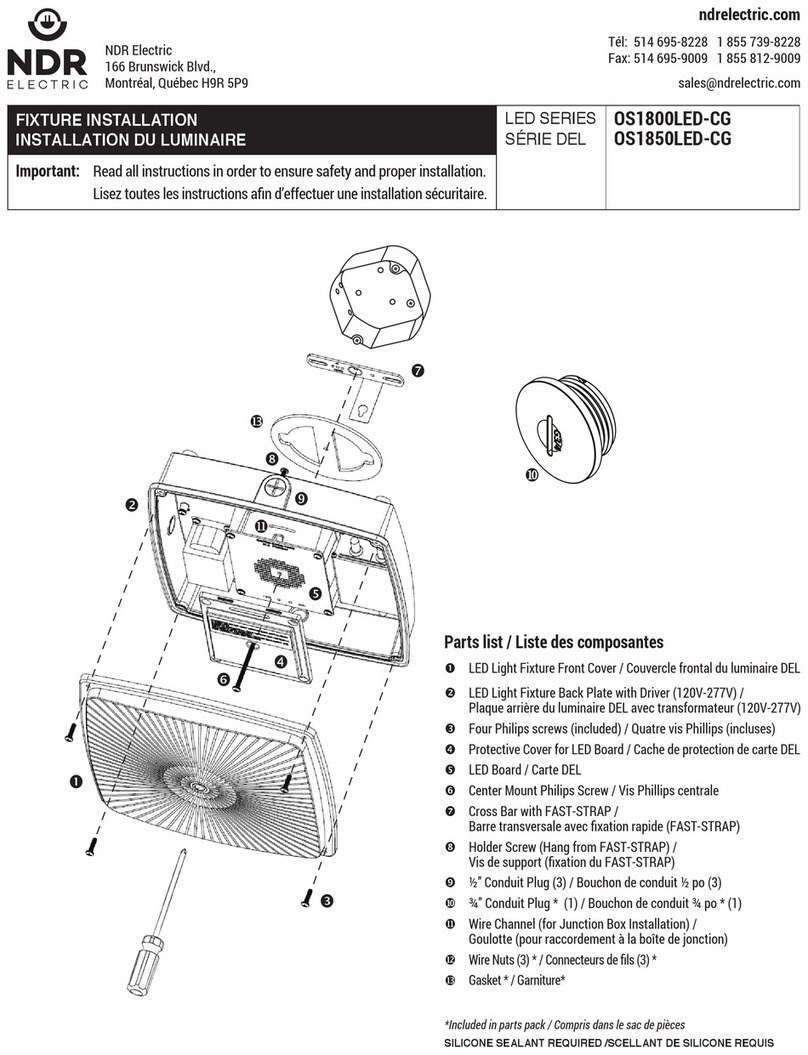
ND?R OS1800LED-CG User manual

ND?R

ND?R OS1800LED-CG User manual

Popular Light Fixture manuals by other brands

Cooper Lighting AMETRIX SRR installation instructions

Cooper Lighting

Cooper Lighting AMETRIX SRR installation instructions

L&S LUGANO IP44 EMOTION quick start guide

L&S

L&S LUGANO IP44 EMOTION quick start guide

GINGKO Smart Book Light user manual

GINGKO

GINGKO Smart Book Light user manual

Sensio SE9072HD installation instructions

Sensio

Sensio SE9072HD installation instructions

Lightolier Calculite 8097CB specification

Lightolier

Lightolier Calculite 8097CB specification

Lightolier Lytecaster 1185 specification

Lightolier

Lightolier Lytecaster 1185 specification

EuroLite PAR-64 Profi Spot user manual

EuroLite

EuroLite PAR-64 Profi Spot user manual

Vello TH-250 instruction manual

Vello

Vello TH-250 instruction manual

Chauvet COLORado 3 user manual

Chauvet

Chauvet COLORado 3 user manual

Blizzard Lighting TORRENT 90 manual

Blizzard Lighting

Blizzard Lighting TORRENT 90 manual

Ibiza JDL009R user manual

Ibiza

Ibiza JDL009R user manual

Cooper Lighting Neo-Ray VICEORY 501-IW Specifications

Cooper Lighting

Cooper Lighting Neo-Ray VICEORY 501-IW Specifications

Lightolier STEM KIT installation manual

Lightolier

Lightolier STEM KIT installation manual

impact Astral Extreme AS-X-400 instructions

impact

impact Astral Extreme AS-X-400 instructions

Larson Electronics IND-HR-UVC-EXS-R1-24-3L-120V-2X instruction manual

Larson Electronics

Larson Electronics IND-HR-UVC-EXS-R1-24-3L-120V-2X instruction manual

Clas Ohlson S-1708B quick start guide

Clas Ohlson

Clas Ohlson S-1708B quick start guide

involight MH-255S user manual

involight

involight MH-255S user manual

Williams-Sonoma C103177 Assembly instructions

Williams-Sonoma

Williams-Sonoma C103177 Assembly instructions

manuals.online logo
manuals.online logoBrands
  • About & Mission
  • Contact us
  • Privacy Policy
  • Terms and Conditions

Copyright 2025 Manuals.Online. All Rights Reserved.